Project DARE.
Forum rules
Section for all vehicle and related projects. Please keep responses pertinent to thread.
-
- Posts: 718
- Joined: Wed Apr 01, 2009 2:14 pm
- fill in the right answer: 15
- Location: Newcastle, Staffordshire.
Project DARE.
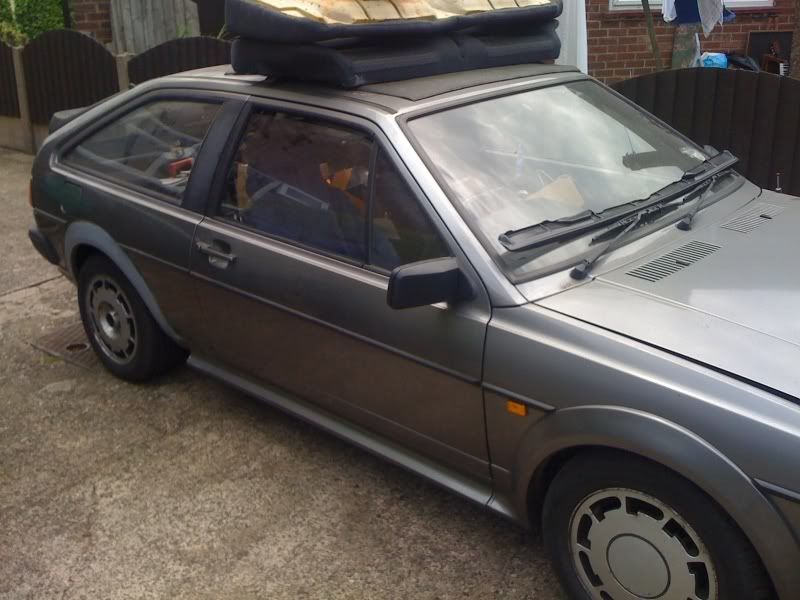
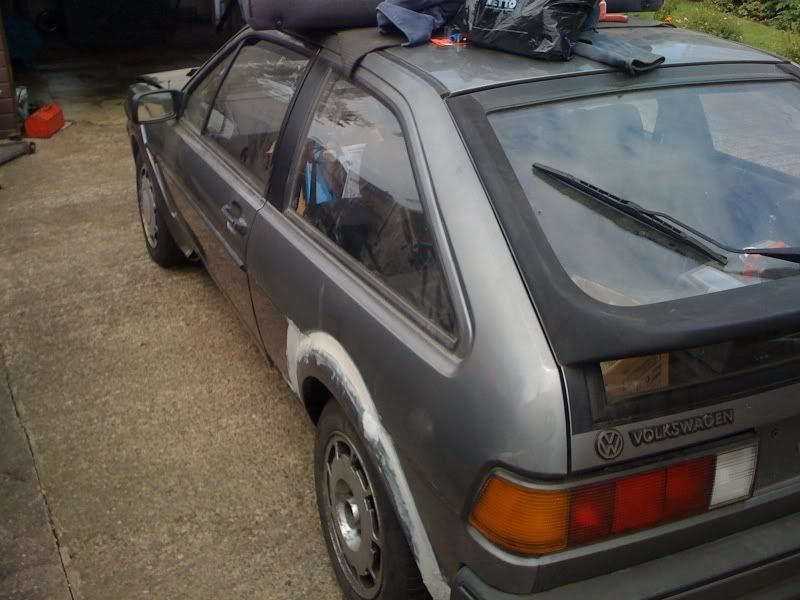
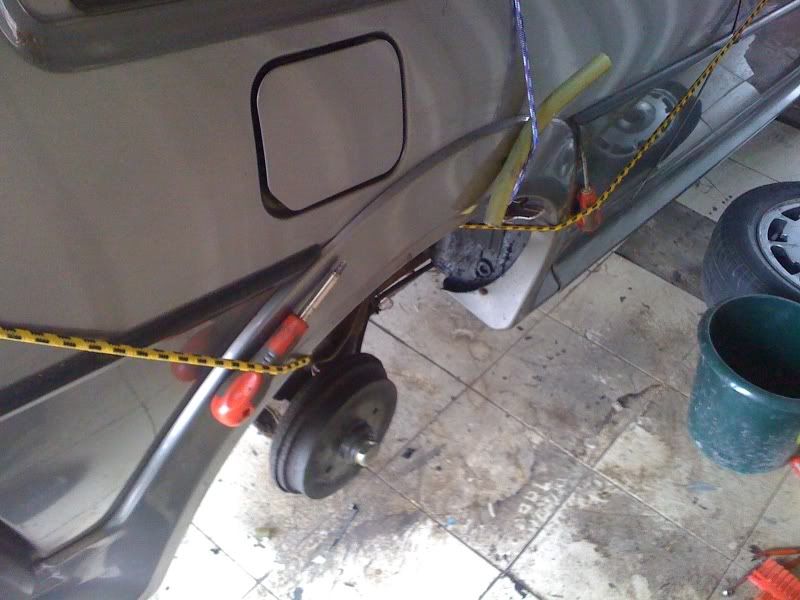
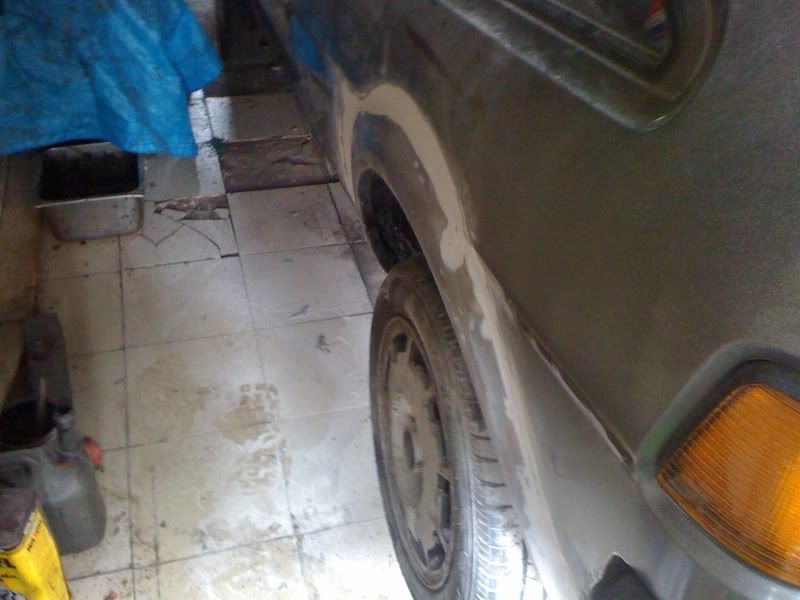
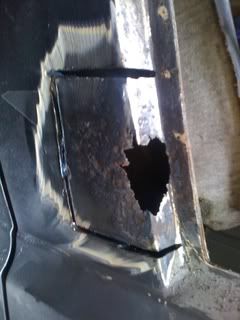
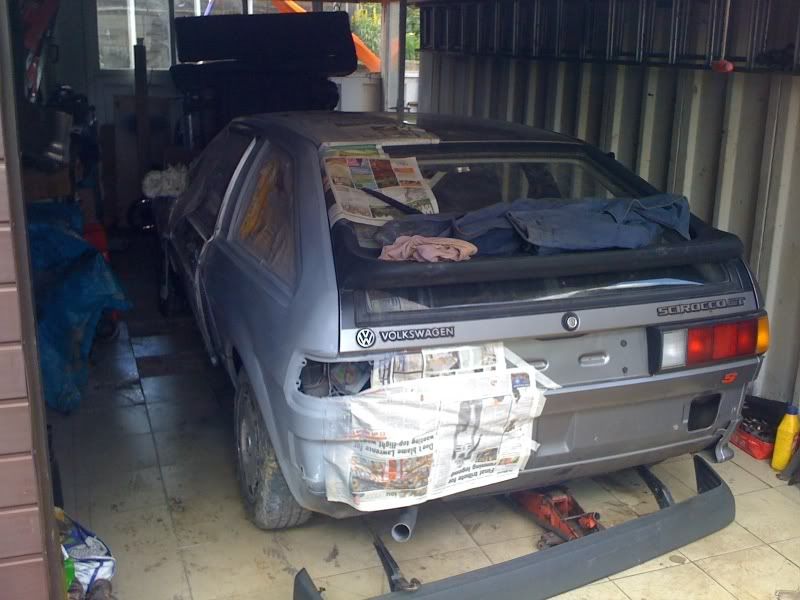
Had a bit of a breather after finishing project Red GT, but now have started on the GTS (DARE). By far the biggest job will be repairing the rotten rear arches, but i'l get round to that soon.
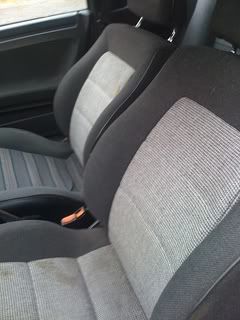
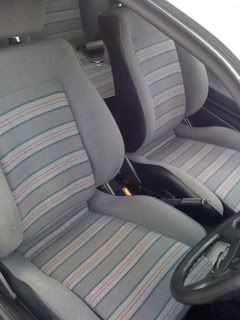
The interior was a real mismatch of original seat parts mixed with Audi parts.
So this lot was taken out in favour of the correct GTS seats bought from Jimmyb.
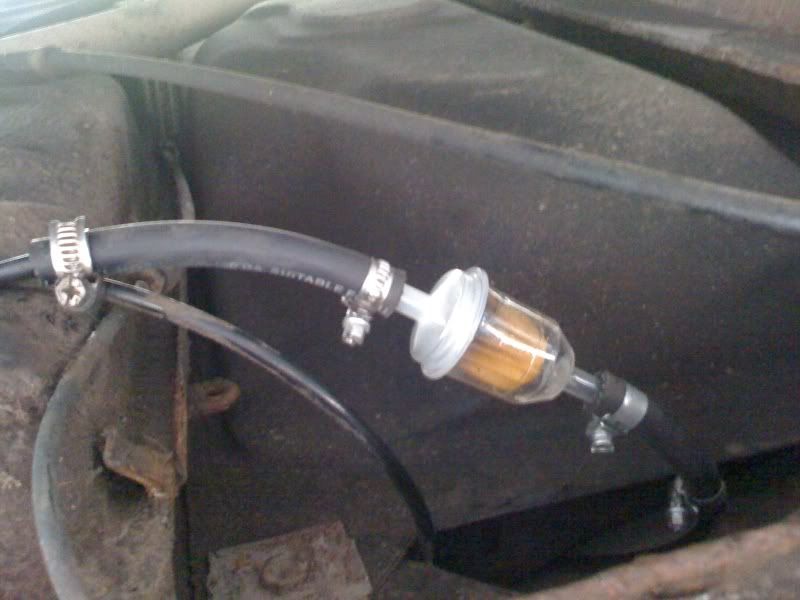
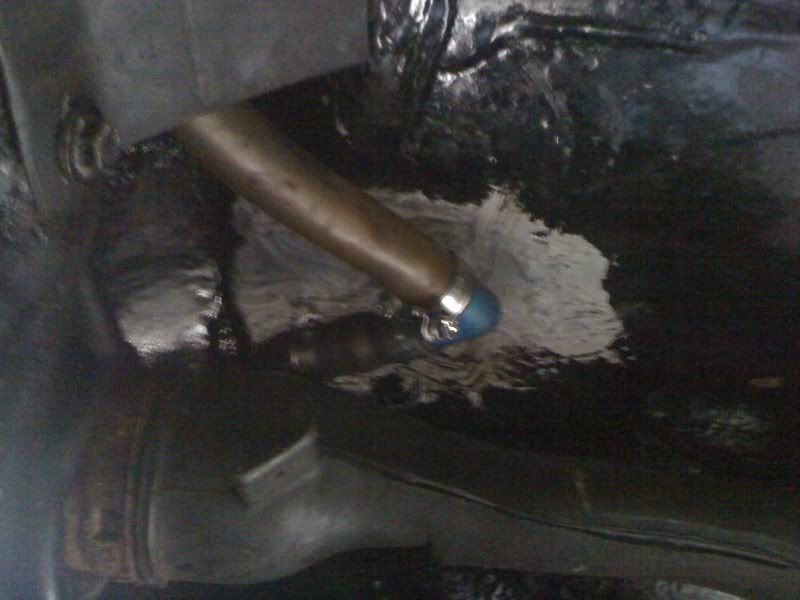
It had problems starting which was down to the previous owner having replacing some of the fuel pipes, and then refitting them the wrong way round (feed pipe on the return and vice versa ) so some new hose, new clips and new filter, recharged battery, and she fired into life.
I'l get some more done this week, if the weather improves.
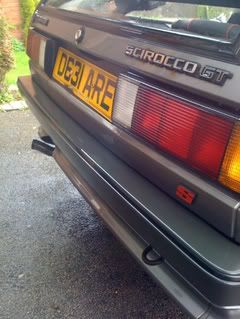
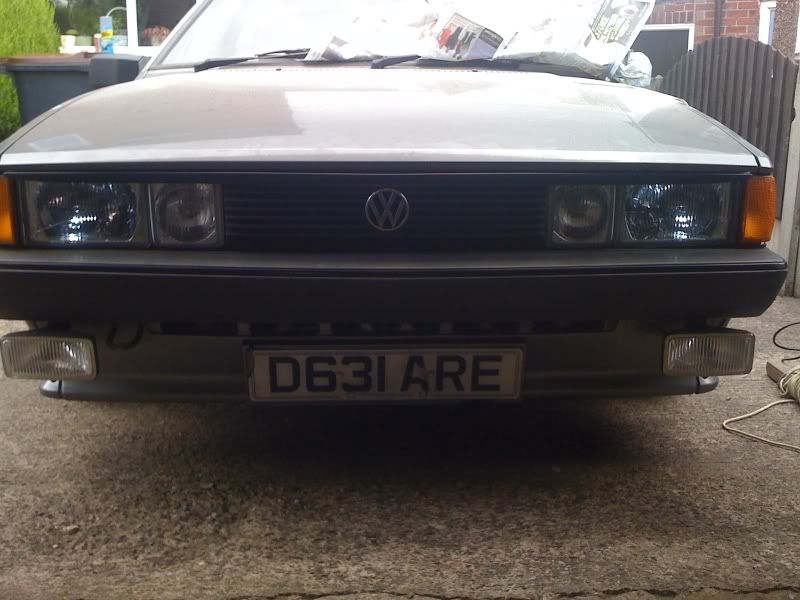
Heres the reason its called Project DARE..
Don't ask me....it was like that when i got here !
-
- Posts: 718
- Joined: Wed Apr 01, 2009 2:14 pm
- fill in the right answer: 15
- Location: Newcastle, Staffordshire.
Re: Project DARE.
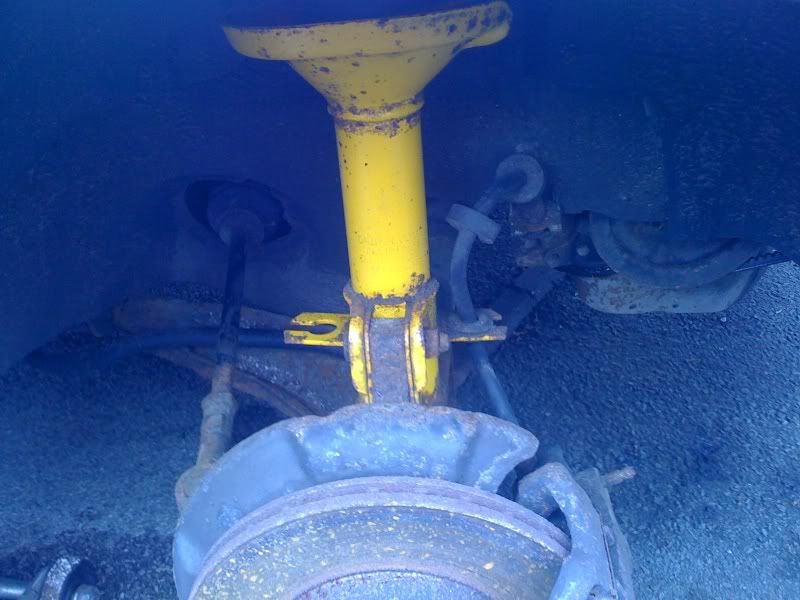
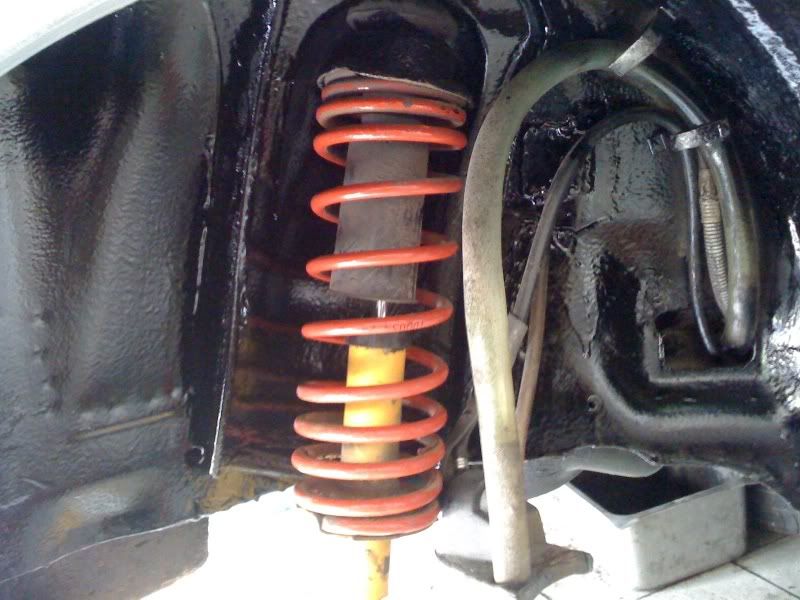
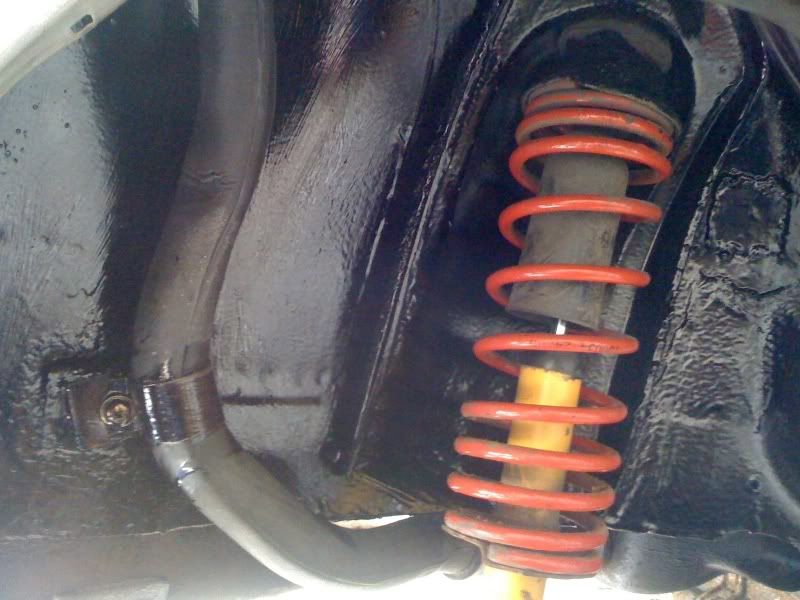
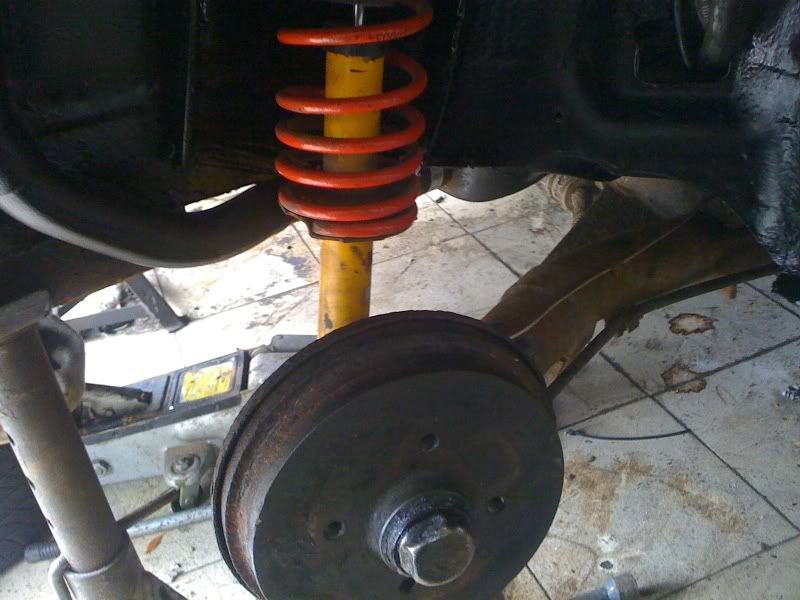
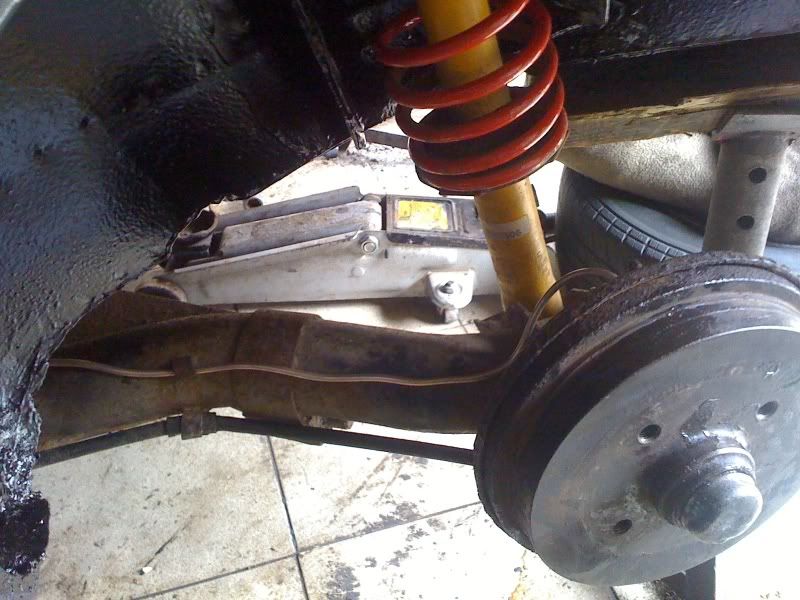
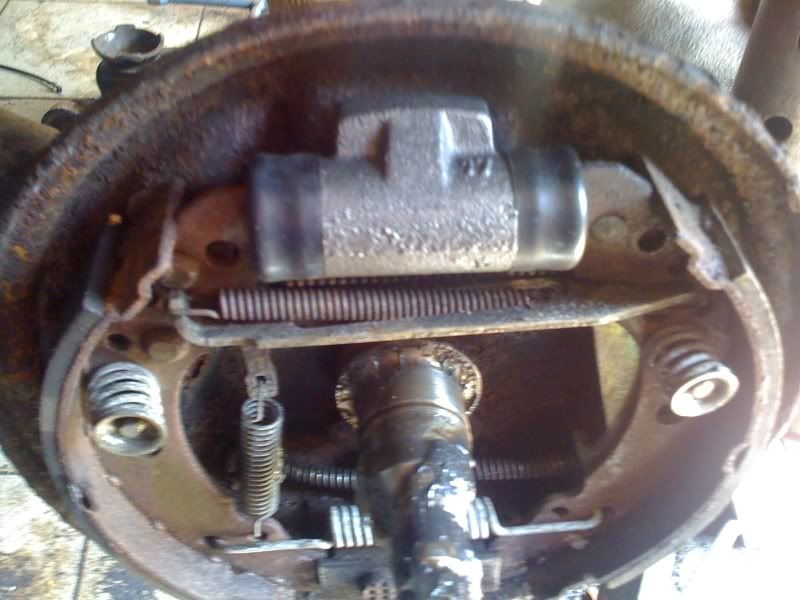
Did a bit more today, whipped the front wheels off as the tyres were going flat and i took them down the petrol station to blow them up. So while they where off i had a chance to check out the front end. The suspension was completely renewed not long back, shocks, 20mm lowered springs and new top mounts. The brakes and brake pipes are all in good shape, but they will get a good clean up before MOT.
As the car had had filler neck problems in the past, i decided to fit a second fuel filter just after the tank ( the flexi hose needed changing anyway).
I took the fuel sender out of the tank to check for rust and crud in the tank, and theres not much, but i dropped a couple of magnets in there to be safe.
Other jobs done today included sorting the non working horn (fuse blown), straightened the bent front bumper, changed the n/s front seat belt as it wasnt recoiling properly, and fixed the number plate lights, also changed the bulbs to LEDs while i was at it.
I'l crack on tomorrow, and hopefully get alot more done.
Don't ask me....it was like that when i got here !
-
- Posts: 718
- Joined: Wed Apr 01, 2009 2:14 pm
- fill in the right answer: 15
- Location: Newcastle, Staffordshire.
Re: Project DARE.
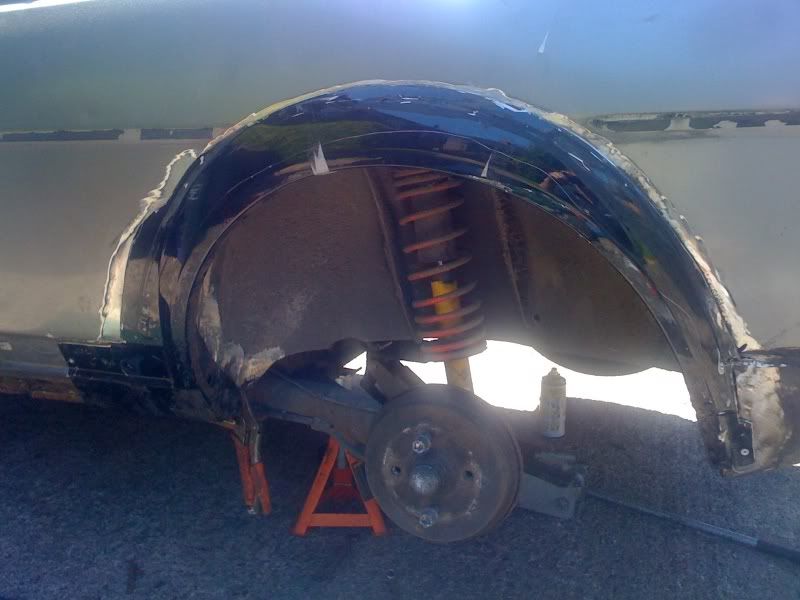
Took the plunge today and decided to tackle the rotten wheel arches. Started with the drivers side, as i knew it was in better shape than the passenger side. What i found under the body kit didnt really come as a surprise....
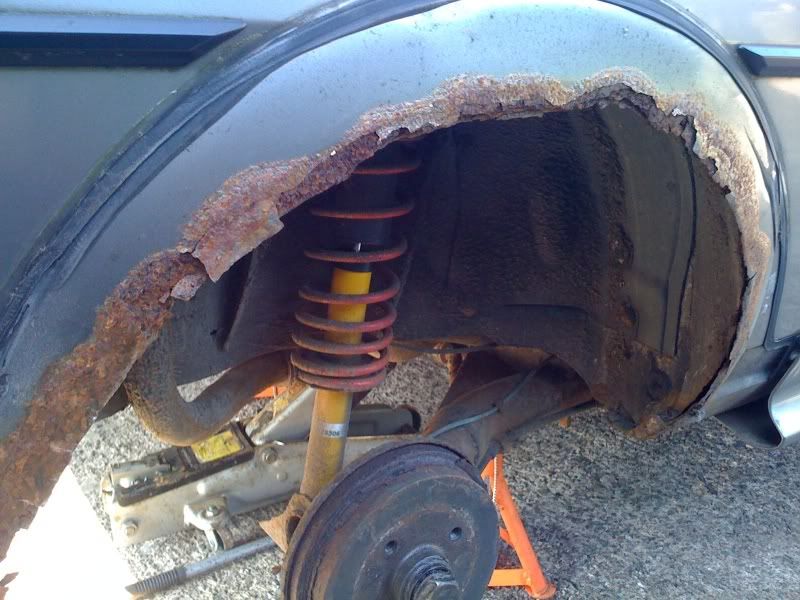
so out with the grinder, and off with all the rotten metal.
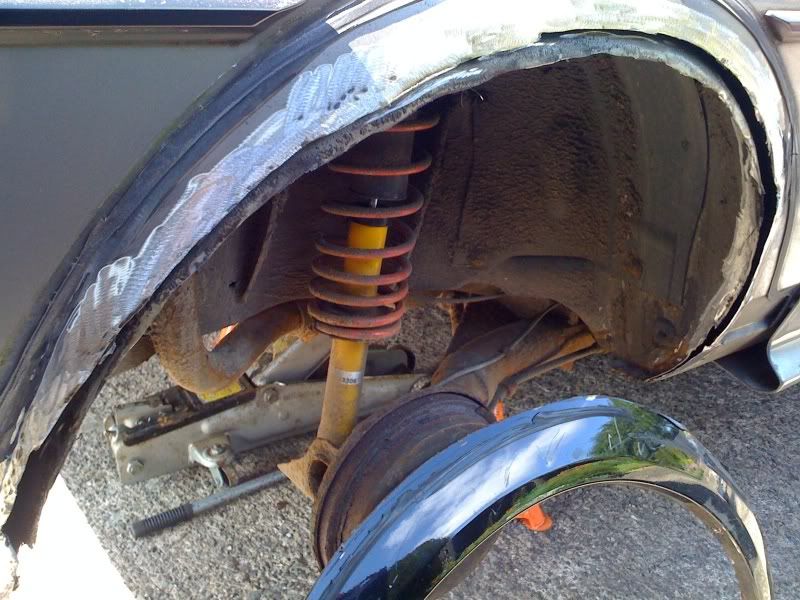
The donor arches were cut from ONX before it was scrapped, they needed a bit trimming to get a nice fit.
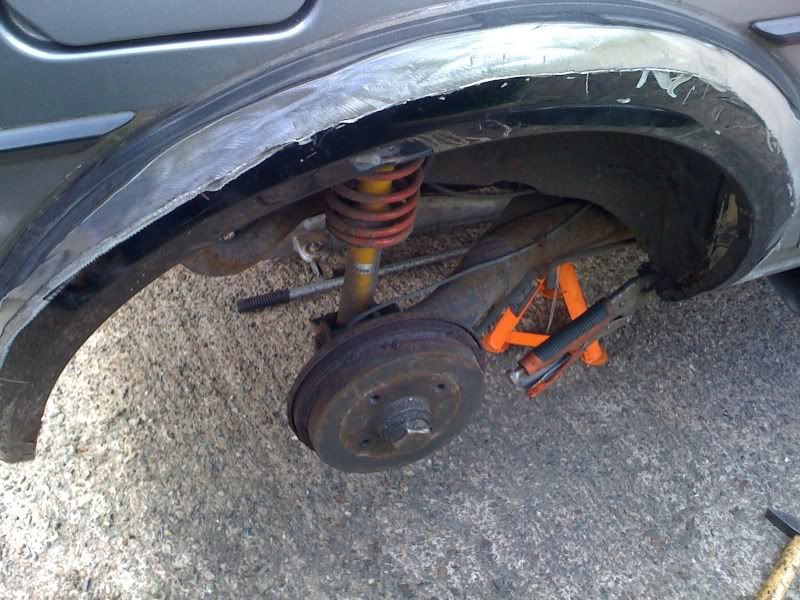
When i cut the arches from Onx, i cut well into the inner wheel well to get plenty of metal to work with. This means that the arches can be MIG welded in the wheel well and the outside of the arch to give it plenty of strength.
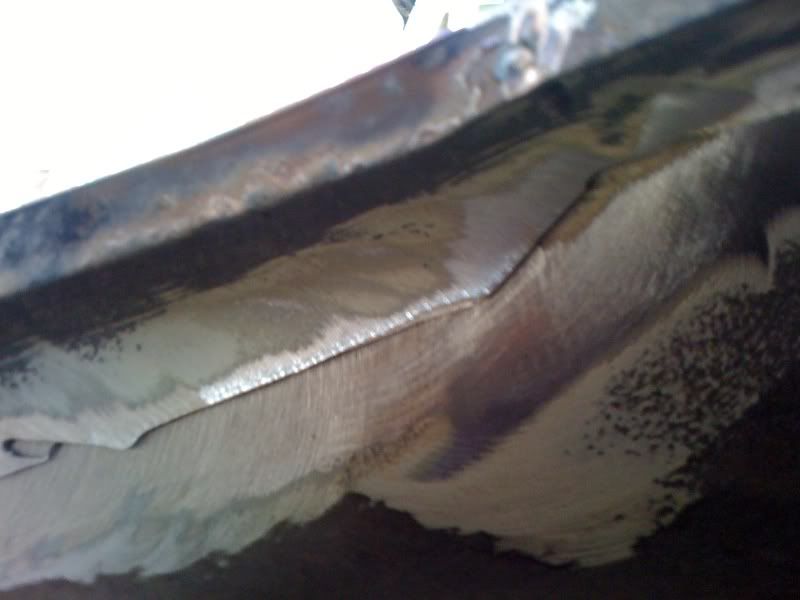
Once i was happy with the fit, i temporarily pop riveted the arch in place until im ready to MIG weld them. Very pleased with this one so far..
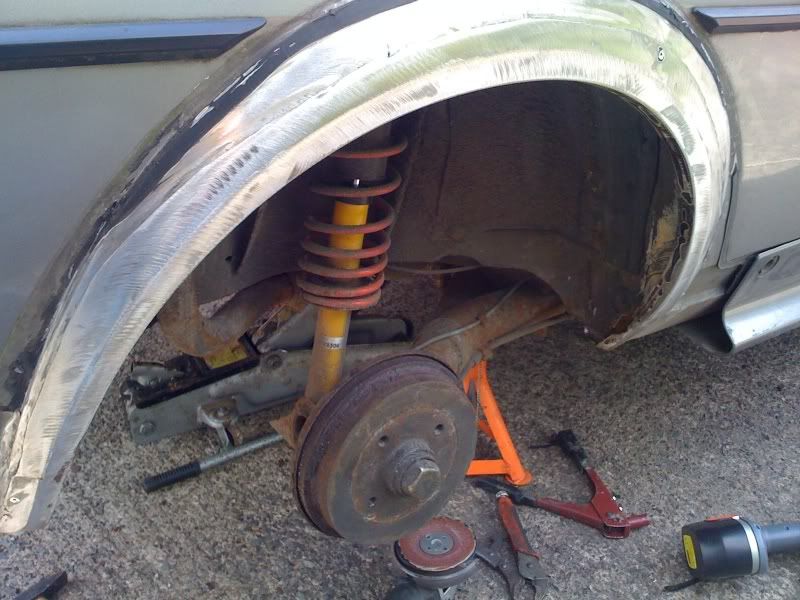
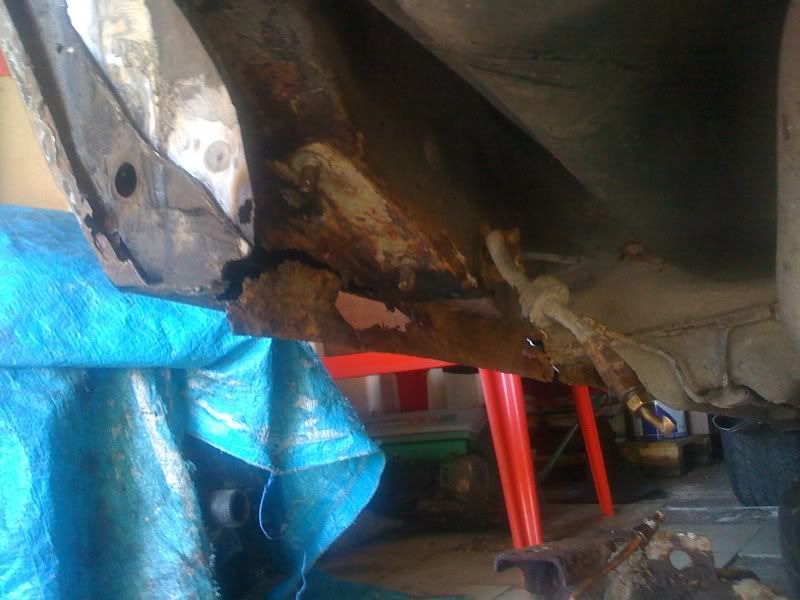
Then came the passenger side. Now i knew this would be bad, but it was worse than i expected....
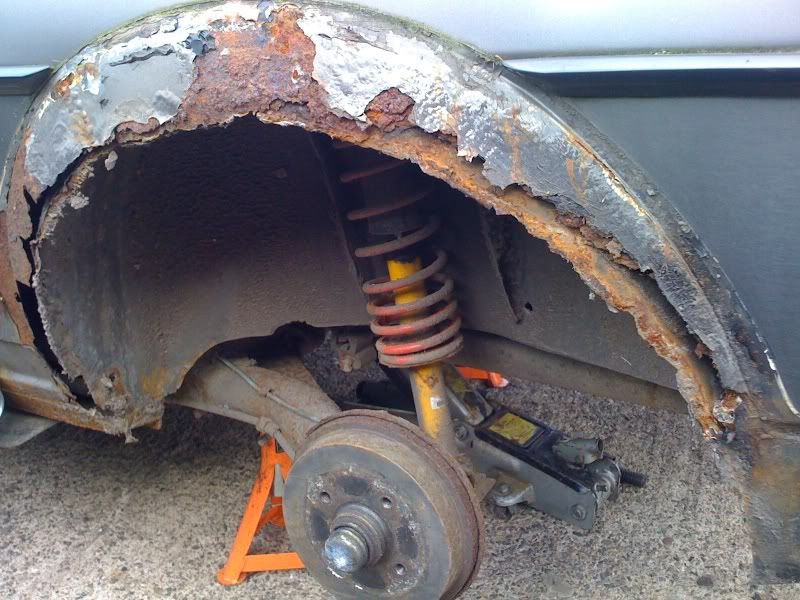
The rot has also got to about a third of the way along the sill from the arch, and also on the back edge of the sill behind the beam mount. Now at this point i must admit i was wondering if i should carry on, but after a quick brew to get over the shock and weigh the job up, i got cracking again. I cut out all the rot, and then started to trim the new arch to fit...
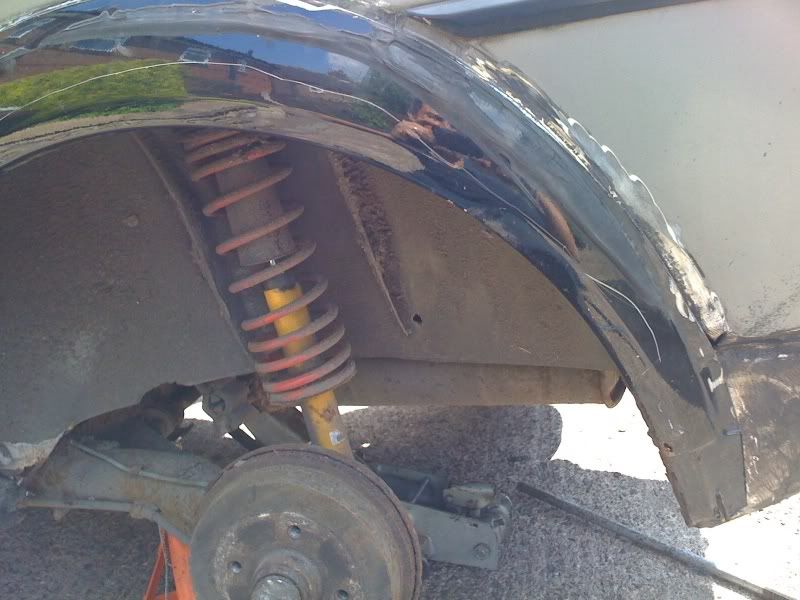
Obviously theres no point in riveting the arch in place, as ive got to make plates to repair the sill, and the inner sill by the beam mounts. So i just got it fitted snugly and called it a day.
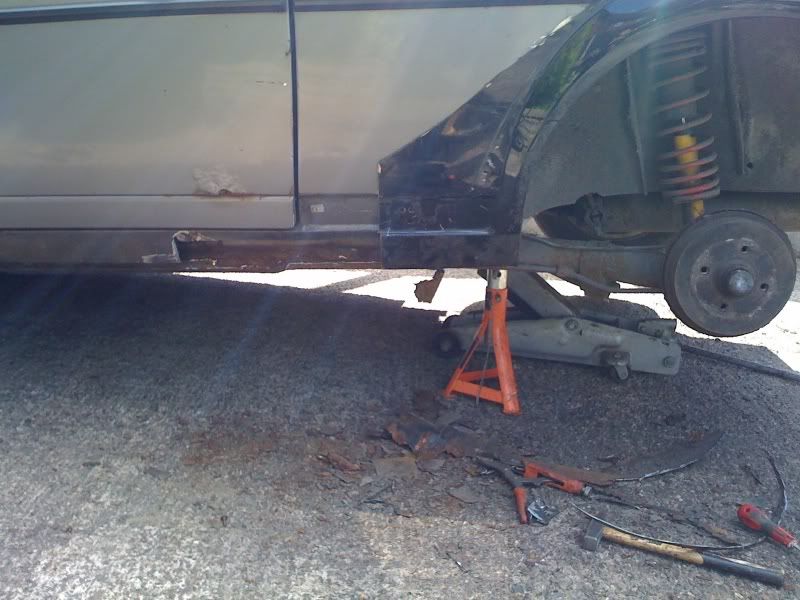
The remains of the arch...
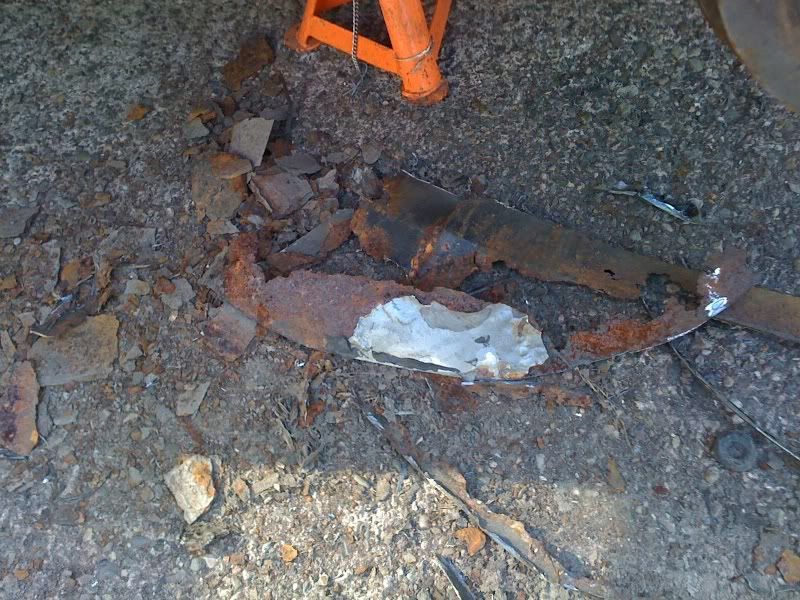
Granted theres a lot of work to do, but im looking forward to getting to grips with it all. It just so happens that id recently got a set of urethane beam mounts off Ebay, so seeing as the beams coming out to do the welding, i'l fit the urethane mounts while its out, and change the rear brake hoses, so its all worked out nicely really.
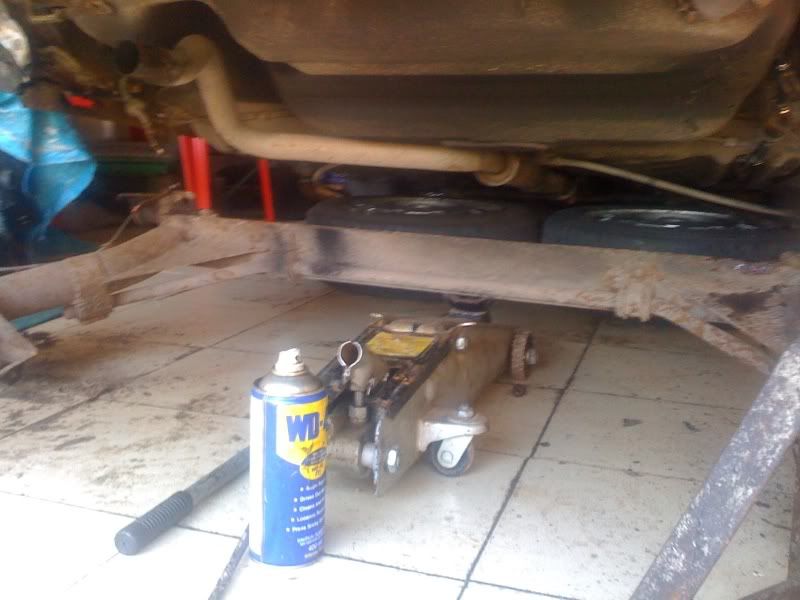
Wont get anything else done until monday now as i'm off to Manchester for the weekend with Lynne and the kids, so before i stuck the car in the garage, i wire brushed the beam mounting bolts and soaked them in WD40 to hopefully make things easier on monday.
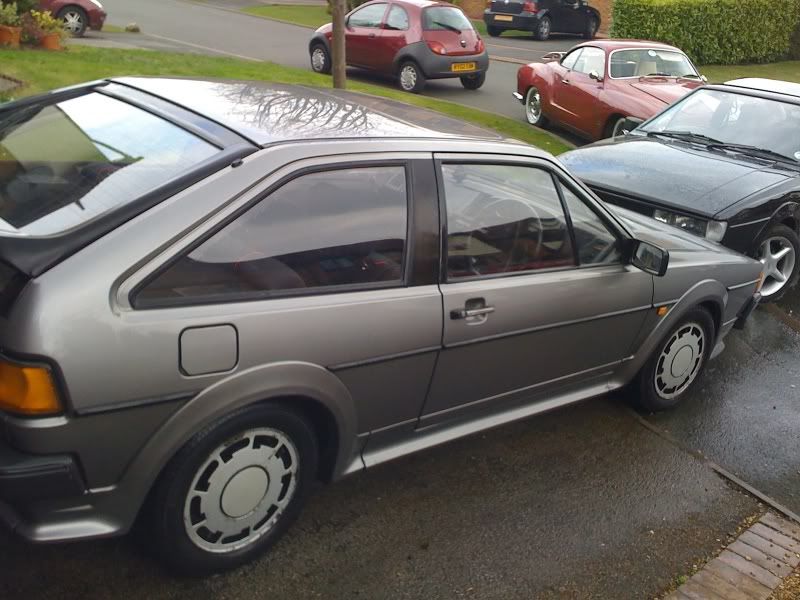
Don't ask me....it was like that when i got here !
-
- Posts: 718
- Joined: Wed Apr 01, 2009 2:14 pm
- fill in the right answer: 15
- Location: Newcastle, Staffordshire.
Re: Project DARE.
Back to it today after a great weekend away in Manchester. Carried on trimming the replacement passenger side arch to get a better fit, then temporarily riveted it in place to check that the plastic arch moulding sat right. Everything spot on...
I cant really do alot more on the welding side yet, as im waiting for some sheet steel to make the new repair pieces with. So i very carefully set about loosening the beam mounting nuts The nuts themselves were heavily corroded, and i was dreading this part in case i snapped any of the mounting studs off. I first got them hot with a blowtorch, then let them cool for 20 mins, then repeated the process. Next i soaked them in WD40, and had to hammer a 16mm socket over them (they were so rusty that the usual 17mm socket wouldnt grip), then i hoped for the best and cracked each one off, total success !!! All four came off without a hitch, and the studs are in great shape too So new nyloc nuts and washers when it all goes back.
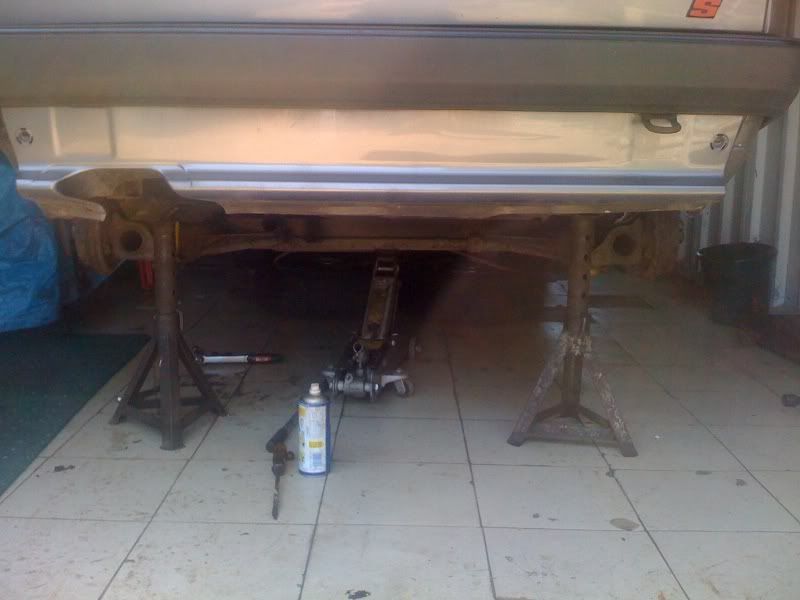
Jacked up ready to drop trhe beam...
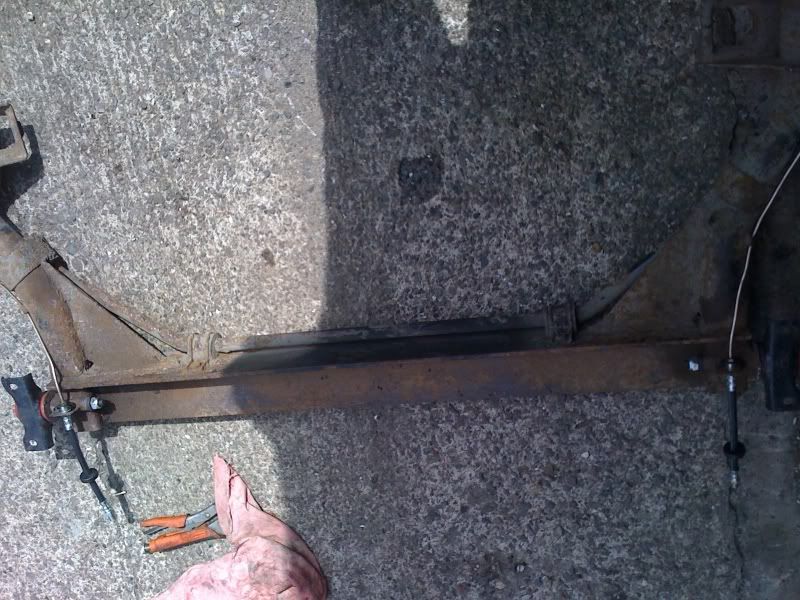
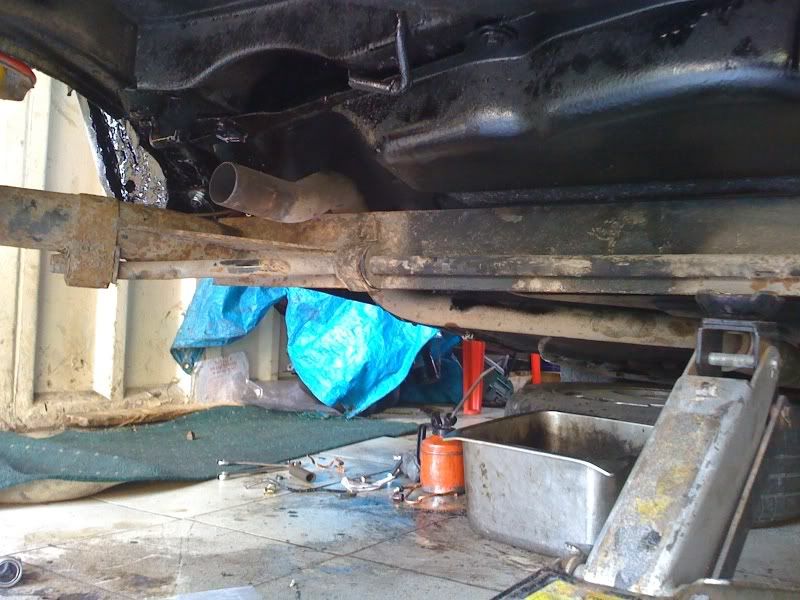
Then beam out in about 10 mins, rear lower shocker bolts came out easy (luckily the shocks were changed not long ago), the brake pipes and flexi's separated easily (new flexi's going on regardless)..
Now the beams out,im also gonna drop the fuel tank to give it a good swill out. Lewis is fixing me up with a decent replacement filler neck for the tatty one thats in place now.
Now i get chance to see the corrosion properly now that the beams out of the way, and even though it looks a mess right now, its a pretty straightforward job to weld in new metal..
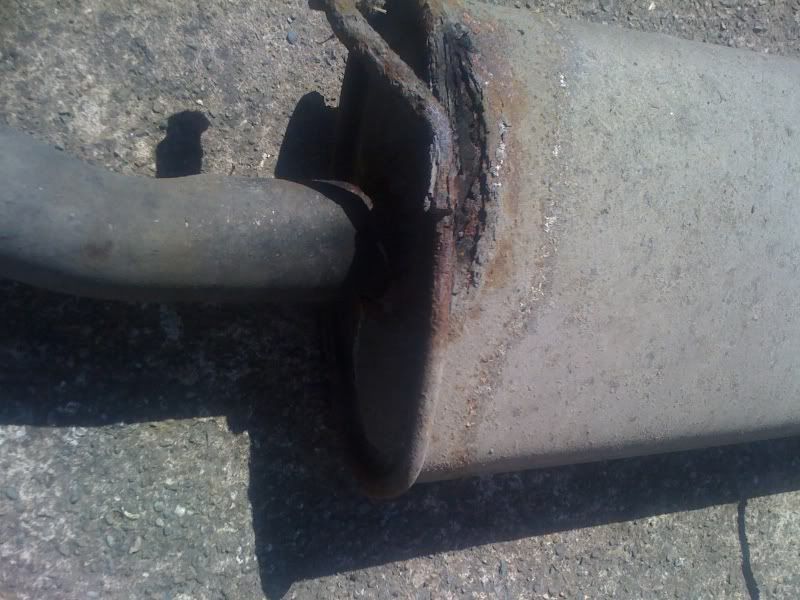
Tomorrow i'l probably get on with,cleaning up and painting the beam, then fitting the new urethane beam mount kit. Also the tank will be taken out and cleaned and repainted. Also replacing this knackered rear silencer with one i got from jimmyconway...
More updates tomorrow.
Don't ask me....it was like that when i got here !
-
- Posts: 718
- Joined: Wed Apr 01, 2009 2:14 pm
- fill in the right answer: 15
- Location: Newcastle, Staffordshire.
Re: Project DARE.
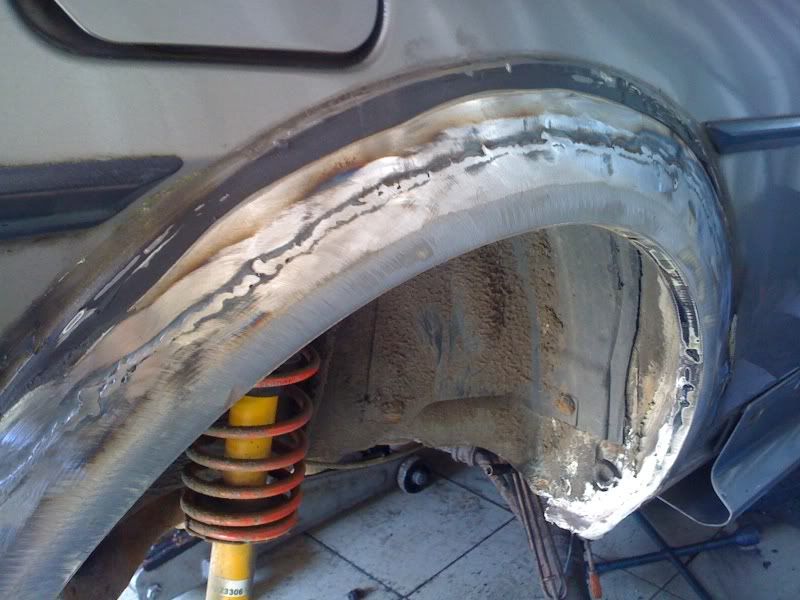
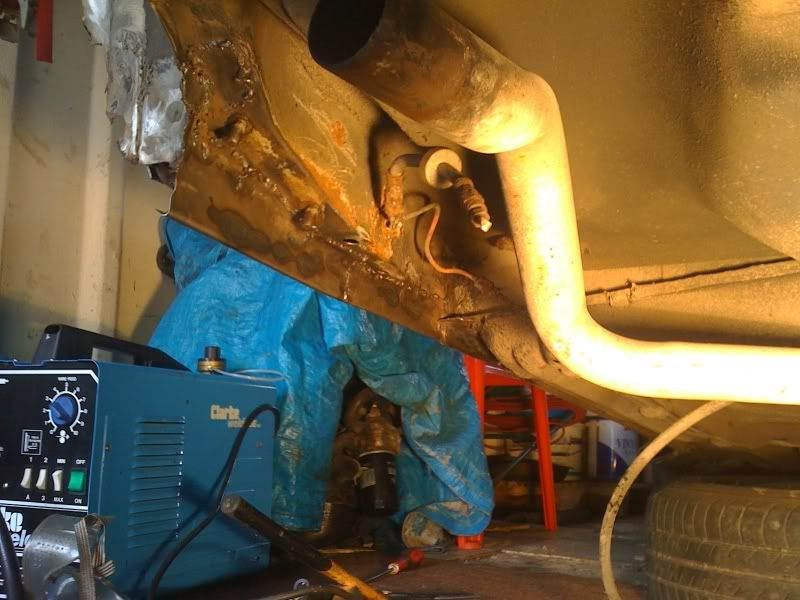
Today was my last chance to make some good progress, until im off again next week. Borrowed my brothers MIG welder and welded up the drivers side rear arch. Welded it inside the wheel well and all around the outer edge of the arch, and now its all rock solid as VW intended, really pleased with how this side has worked out. Seam sealered the welds inside the well, and now all thats left is to skim over the outer welds with filler and prep for paint.
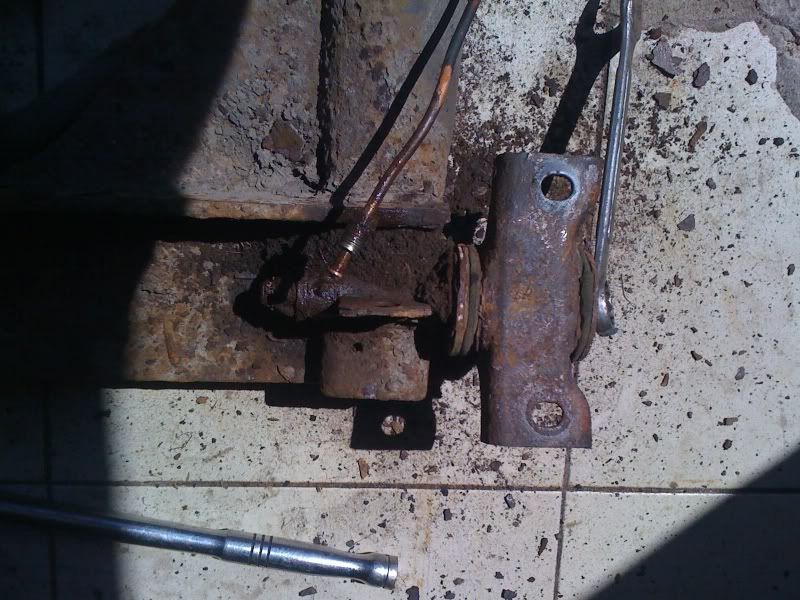
Also managed to strip down the rear beam mounts, anyone who has ever done this knows its not the best of jobs to do, as the long bolt through the mounting bracket and bushes tends to rust solidly in its sleeve making it a real pig to get them out.
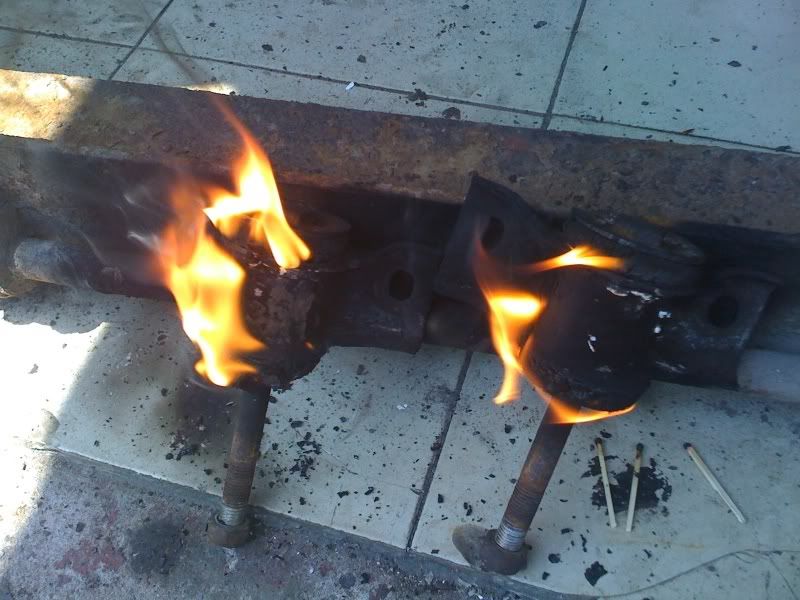
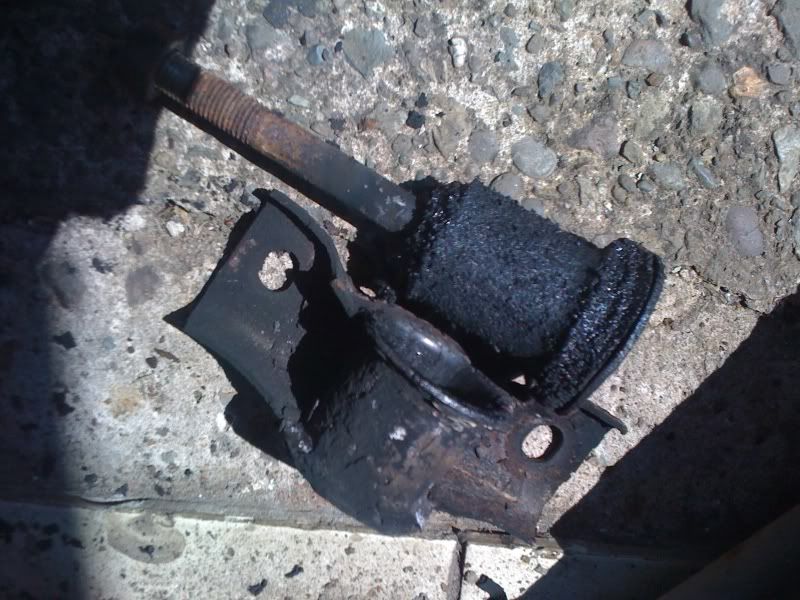
The brackets are easy to take off the beam, its when you come to strip the bracket that the fun begins. My tried and tested method of removal is simple and brutal, FIRE.
Basically i just get a blow torch and hold it on the rubber bushes until they burn freely, then i just leave them to burn, while i carry on with something else. In a very short while the bush burns away and pratically drops out of the mount, they you can cut off the remains of the bush (once its cooled down) and then cut or grind the metal sleeve that the bolt is rusted into (careful not to damage the bolt if you dont have replacements)
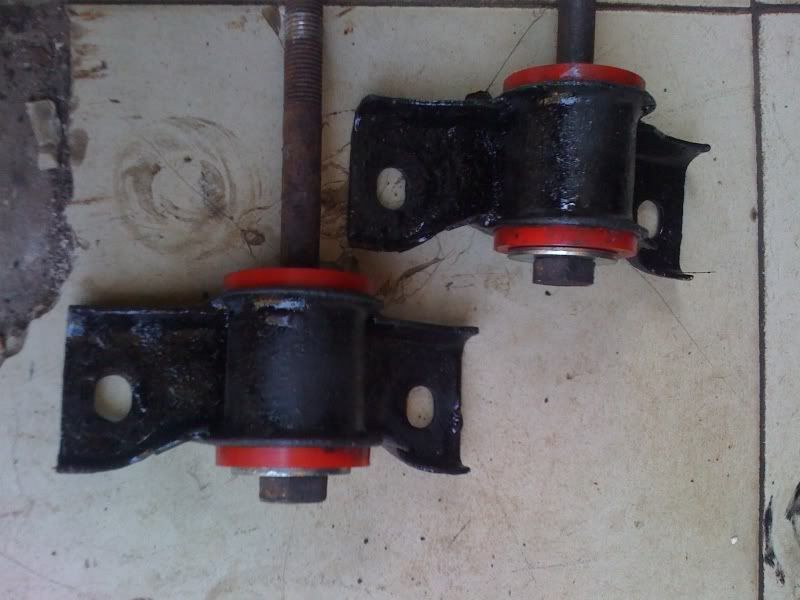
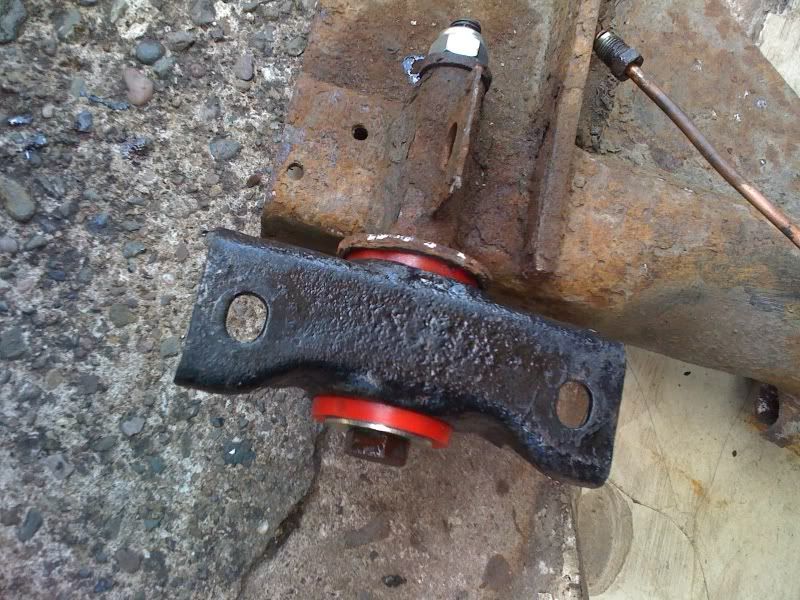
Then i cleaned up the brackets, painted them in black Hammerite, and fitted the new poly bushes.
Im going to re-use the bolts as they are in good shape, but will fit new nyloc nuts when it goes back together.
My sheet steel should arrive tomorrow, so next week i will crack on with welding up the passenger side sill and arch. So far everythings going really well, lets just hope it stays that way !
Don't ask me....it was like that when i got here !
-
- Posts: 718
- Joined: Wed Apr 01, 2009 2:14 pm
- fill in the right answer: 15
- Location: Newcastle, Staffordshire.
Re: Project DARE.
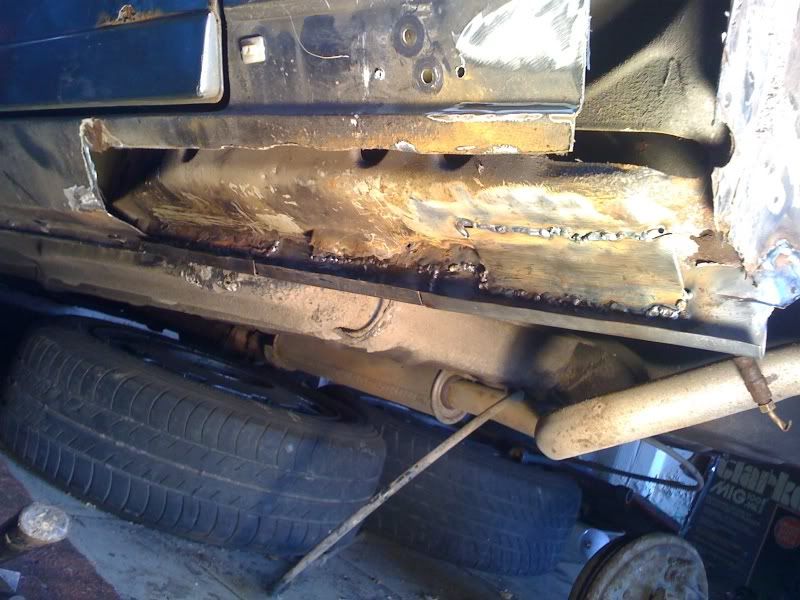
After a day of cutting, grinding and welding, its gone from this....
To this....
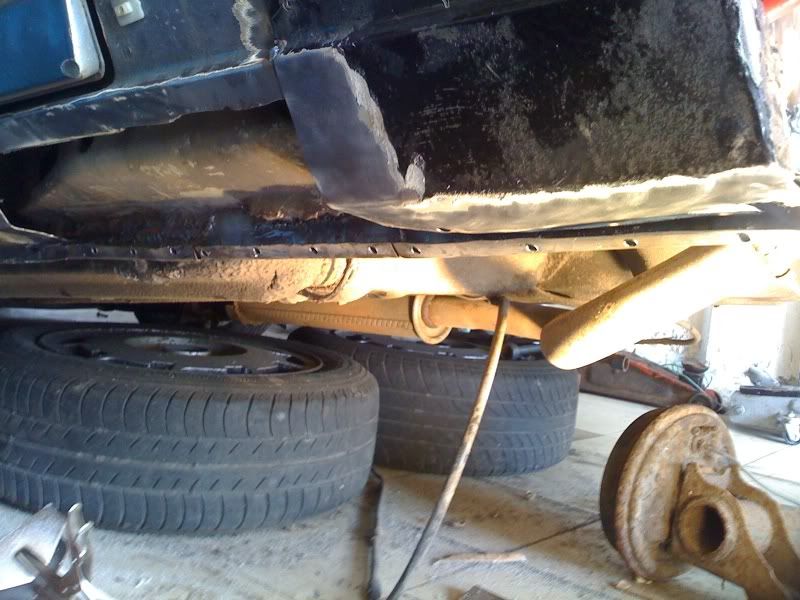
It was quite intracate around the beam mount so i had to make up the repair plate in three pieces, these were then welded from the underside and also the inner sill...
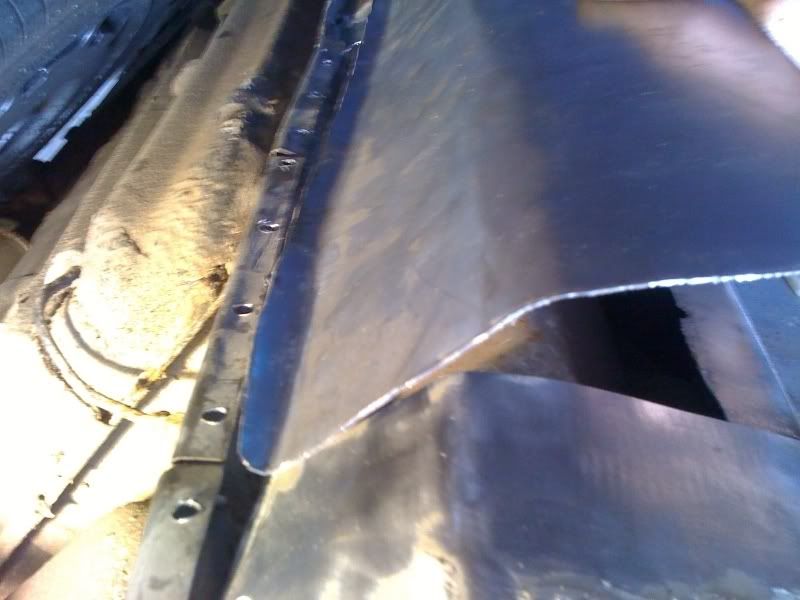
Not the best welding ive ever managed, but its solid enough. With the inner sill welded up i could finally weld the replacement arch into place, which meant i could make the final repair plates for the outer sill. Before i fitted these, i drilled holes in the outer lower lip of the sill fold. this means as well as welding along the seam of the outer sill repair plates, i could also weld the holes up after the repair plates were in place, giving the whole section extra strength...
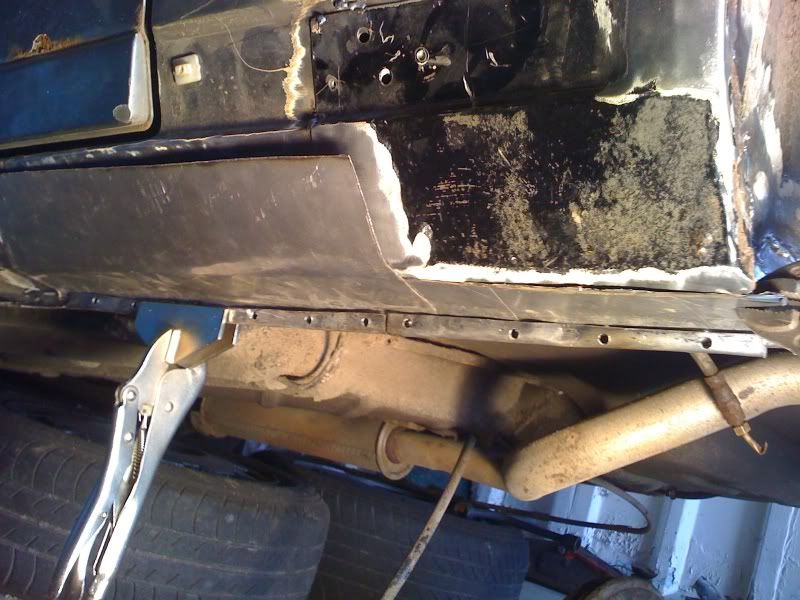
The outer repair plates were made with a small lip at the bottom, so they would fit inside the fold on the sill, and then be welded up through the holes i'd drilled earlier. This means that when complete, the bottom lip of the new sill piece would be three layers of steel thick, giving it plenty of strength...
And in place, clamped up ready to weld.....
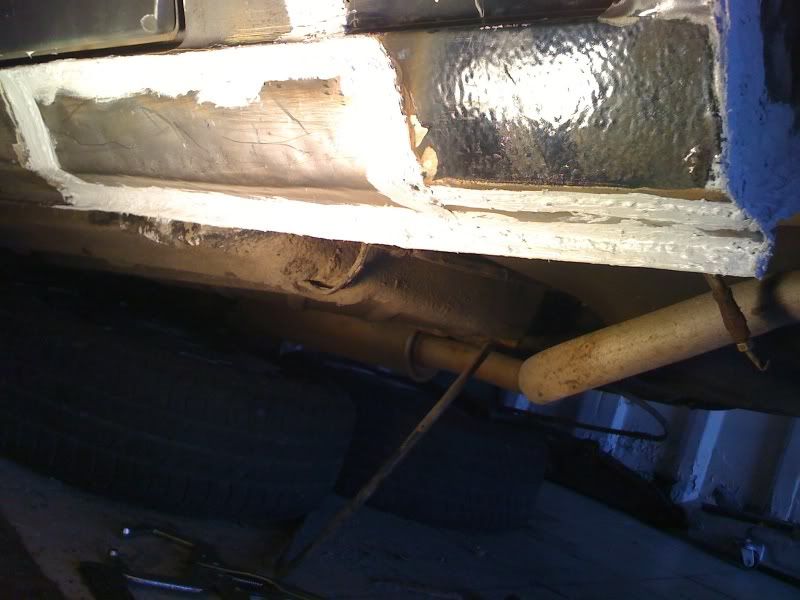
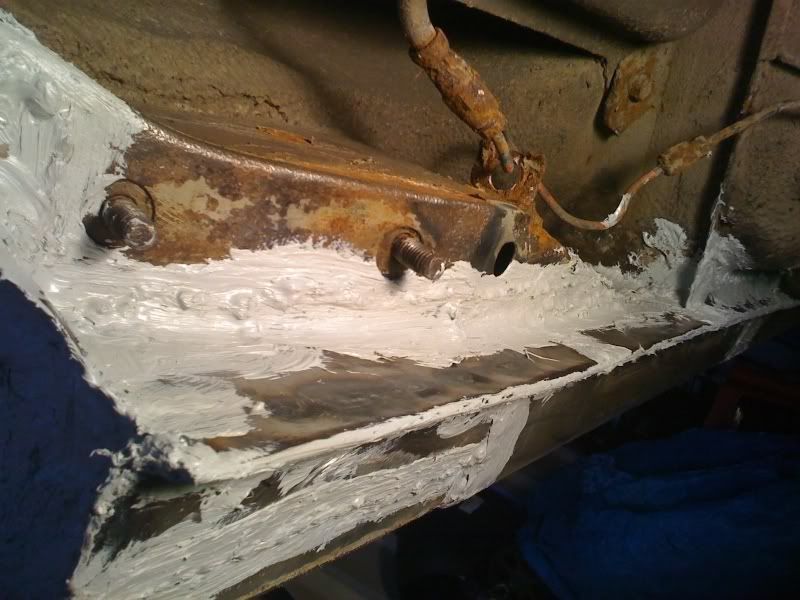
I then welded all around the plates, and through the drill holes, the whole area is now rock solid and should be good for a few years now. Next up was to wire brush all around the new welds, and apply a good coat of seam sealer. I will give them another coat before everything is undersealed....
Before i refit the grommit in the wheel arch, i will give it a good spray with Waxoyl inside the sill. Very pleased with how things are working out so far, and getting the arches sorted was by far the biggest part of the project. Still loads to do yet though !!!!!
Just had time to refit the beam mounts as well, with new nyloc nuts....
I'l do a couple of hours on it tomorrow morning, then it'l be on hold till monday as i'm working all weekend.
Don't ask me....it was like that when i got here !
-
- Posts: 718
- Joined: Wed Apr 01, 2009 2:14 pm
- fill in the right answer: 15
- Location: Newcastle, Staffordshire.
Re: Project DARE.
Not much to report today really, only had a couple of hours spare this morning so dropped the fuel tank, and gave it a good wash out. No more hidden nasties on the underside of the body, so i will spray underseal the floor before the tank goes back....
Waiting for a filler neck from Lewis, as the old one is shot...
Luckily the fuel tank isnt very old, and is in perfect condition. Also had time to skim the newly fitted passenger side arch with filler. Its going to be monday now before i get time to do any more.
Waiting for a filler neck from Lewis, as the old one is shot...
Luckily the fuel tank isnt very old, and is in perfect condition. Also had time to skim the newly fitted passenger side arch with filler. Its going to be monday now before i get time to do any more.
Don't ask me....it was like that when i got here !
-
- Posts: 718
- Joined: Wed Apr 01, 2009 2:14 pm
- fill in the right answer: 15
- Location: Newcastle, Staffordshire.
Re: Project DARE.
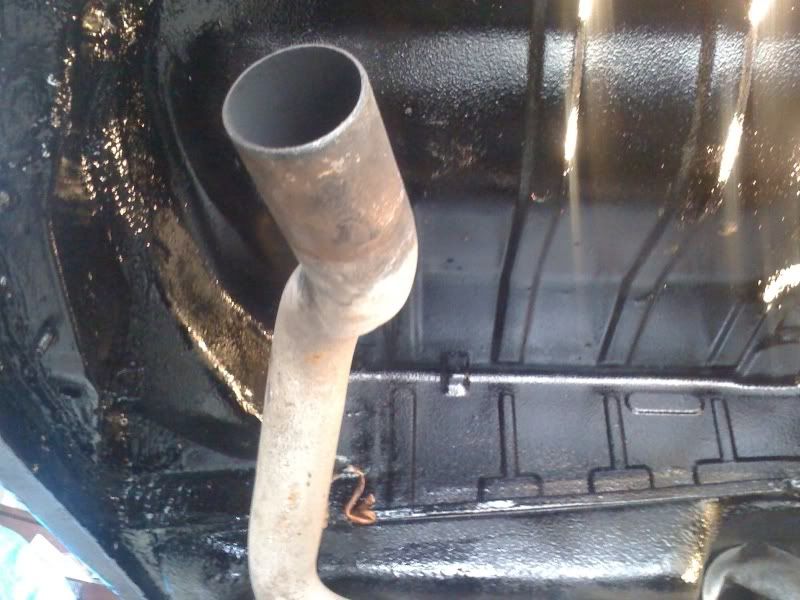
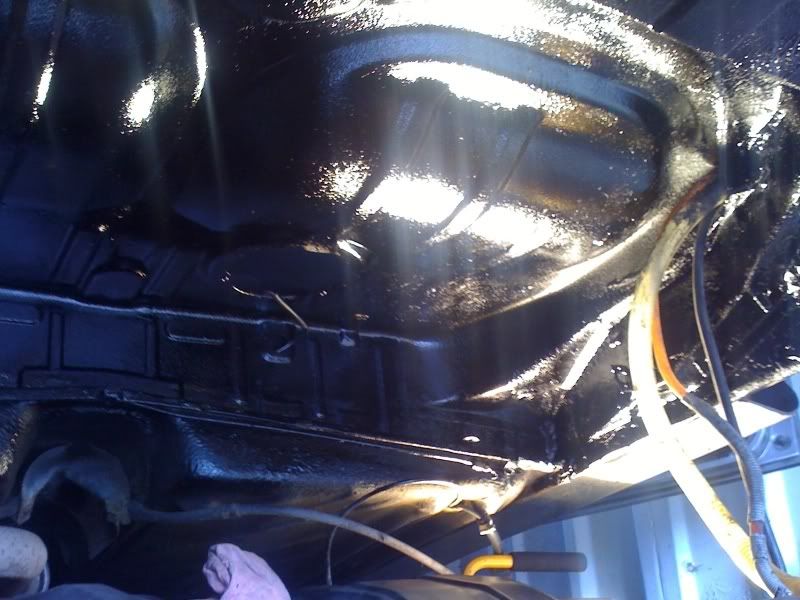
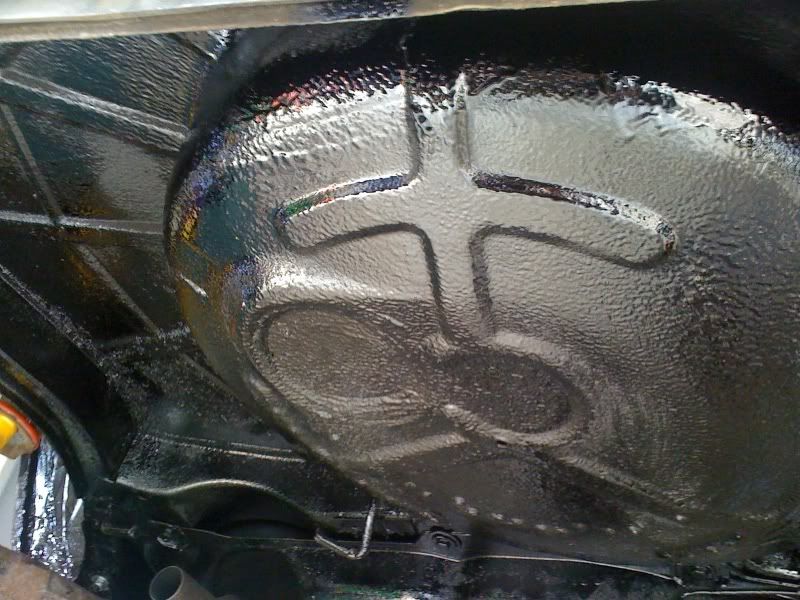
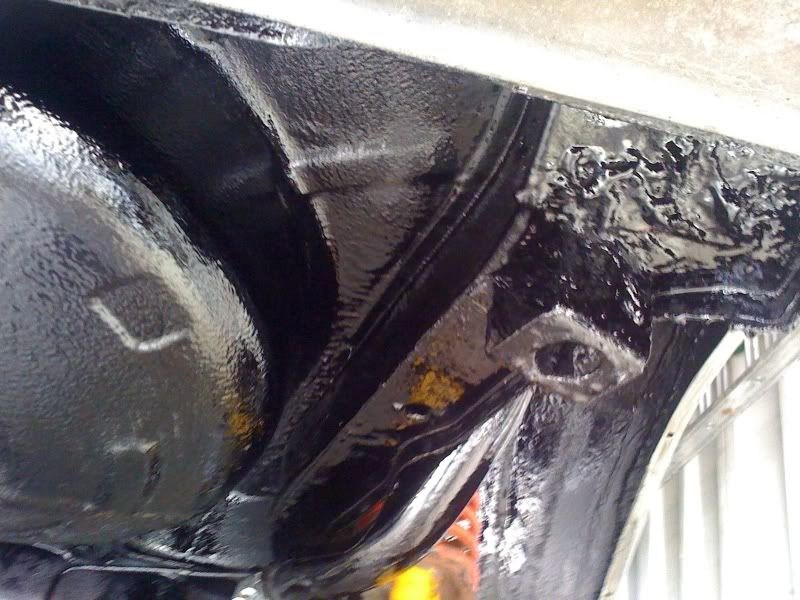
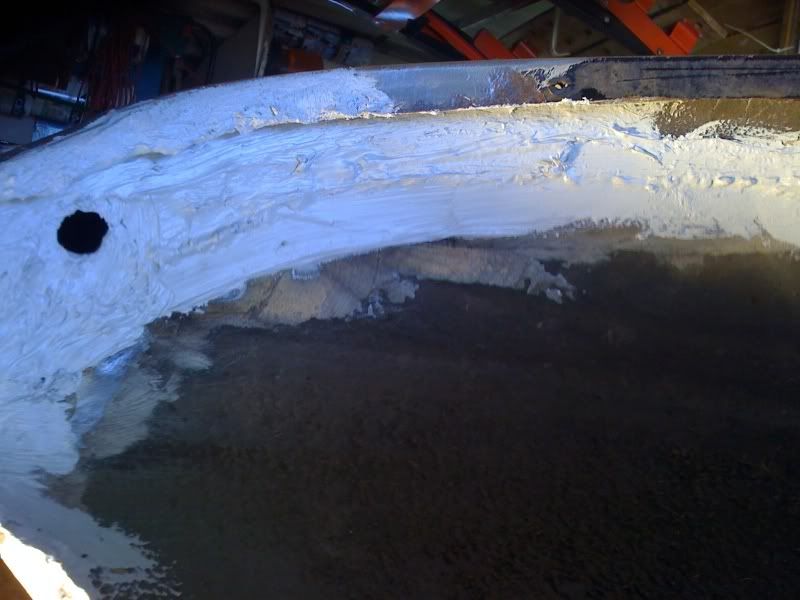
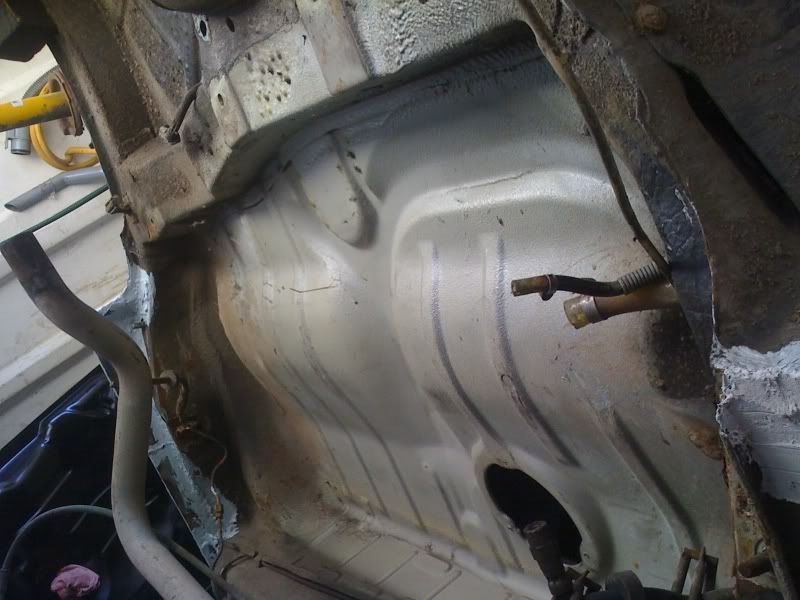
Todays update, well, while the tank was out i cleaned up the floor underneath. Any areas of surface rust were rubbed down and given two coats of black Hammerite, along with the new repair plates, then these areas were sprayed with underseal....
Then the tank was refitted, but not before i gave the top and seams a coat of Hammerite. Refitted the breather pipes with new hose clips.
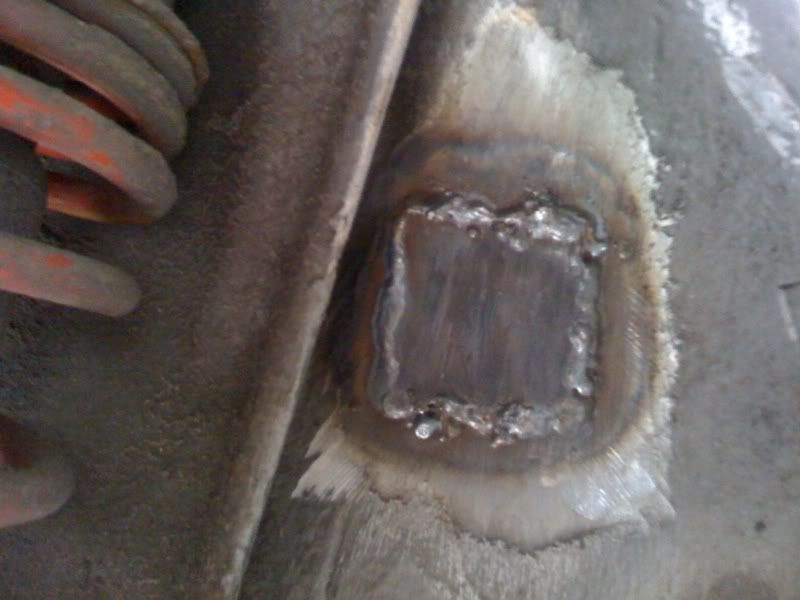
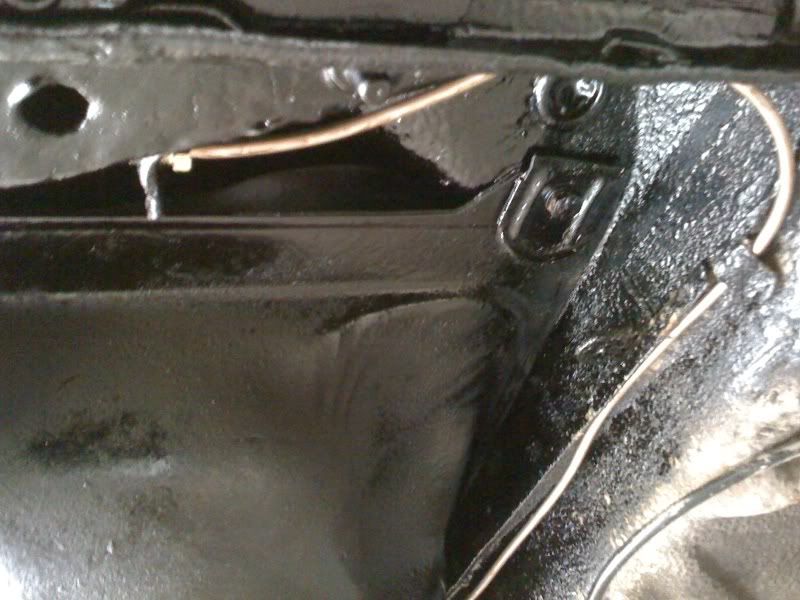
I decided that i was going to completely cover the inner wheel wells in fresh underseal, so i had to remove the plastic cover that protects the breather pipes where they run up from the tank to the filler neck. Three of the four screws came out ok, but the forth wasnt doing alot, due to a small hole that had developed behind the cover. so it was back out with the MIG, and a plate welded in place...
Thats about it for today. the plan for tomorrow is to make new metal brake pipes for the rear beam , and to replace a couple of corroded sections of the main pipes that come from the master cylinder to the rear of the car, fit the new rear flexi brake hoses, and then refit the beam and bleed the brakes. Then time permitting i can spray underseal the wheel wells and the rest of the floor and refit the exhaust. Fingers crossed it all works out.
Don't ask me....it was like that when i got here !
-
- Posts: 718
- Joined: Wed Apr 01, 2009 2:14 pm
- fill in the right answer: 15
- Location: Newcastle, Staffordshire.
Re: Project DARE.
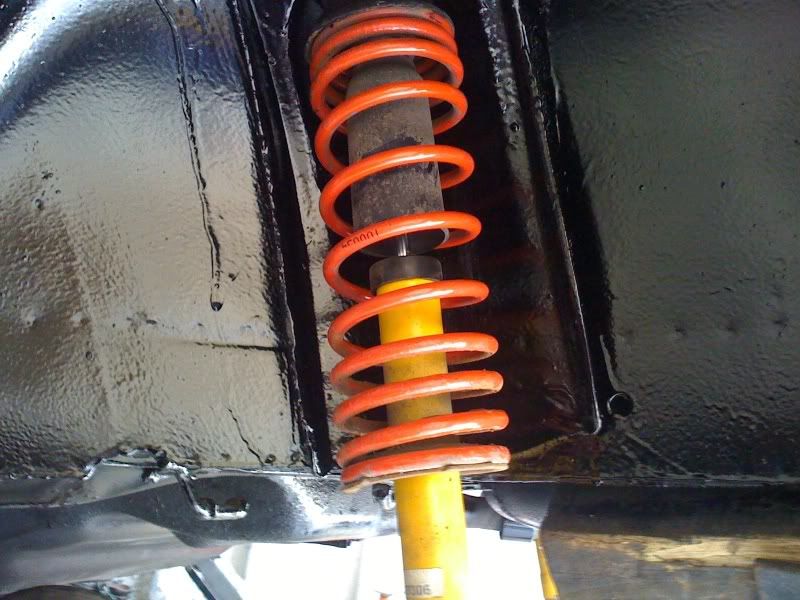
Had a bit of a late start today, because i was fitting roof rails on FECKO, so didnt get everything done that i was hoping to do, still made some progress though. First up was to spray the wheel wells with underseal....
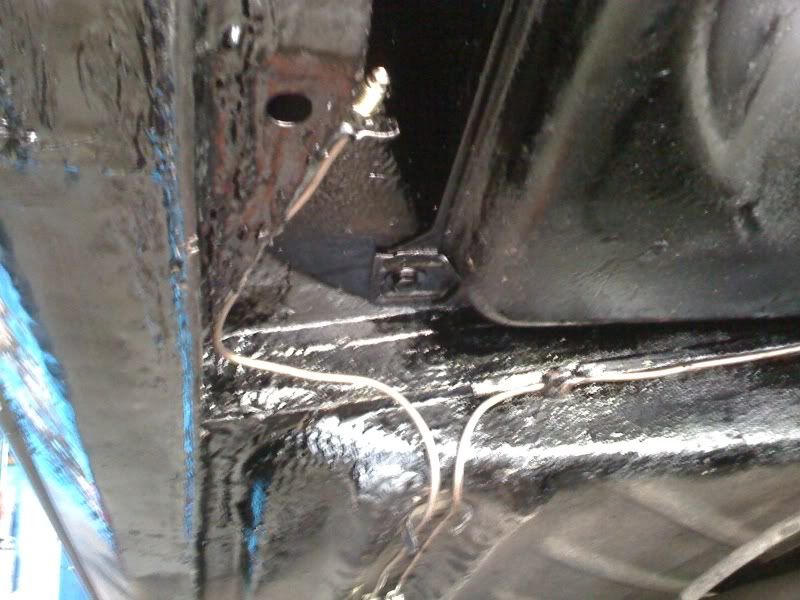
Thenset about making and fitting new metal brake pipes at the rear..
Then made up new pipes for the beam and refitted them with the new flexi brake hoses. Already to go back in to the car....
I was tempted to paint the beam black, but it would mean a delay in refiting it, and i cant really afford the time at the mo, so it went back in as it was....
I fitted new washers and Nyloc nuts on the beam mounts and the lower shocker mounts. I wont be working on the car until friday now, so i hope on friday to reconnect the handbrake cables, and clean and adjust the back brakes, bleed the whole system front and back, and then get the car back on its wheels so i can carry on with the bodywork, and all the other jobs that need sorting. Still pleased with the progress so far.
Don't ask me....it was like that when i got here !
-
- Posts: 718
- Joined: Wed Apr 01, 2009 2:14 pm
- fill in the right answer: 15
- Location: Newcastle, Staffordshire.
Re: Project DARE.
As you may have seen from the general discussion section, i spent some time making a BMW plastic filler neck fit DARE...
Then i refitted the fuel sender unit in the tank and reconnected the fuel pipes.
I also cleaned up the rear brakes, reattached the handbrake cables, then adjusted them up. Theyre now ready to bleed when i next get some time off.
Its unlikely now that i'l get chance to work on it over the next week.
Then i refitted the fuel sender unit in the tank and reconnected the fuel pipes.
I also cleaned up the rear brakes, reattached the handbrake cables, then adjusted them up. Theyre now ready to bleed when i next get some time off.
Its unlikely now that i'l get chance to work on it over the next week.
Don't ask me....it was like that when i got here !
-
- Posts: 718
- Joined: Wed Apr 01, 2009 2:14 pm
- fill in the right answer: 15
- Location: Newcastle, Staffordshire.
Re: Project DARE.
Finally after over a week, i manage to fit a couple of hours in on the car. Went to bleed the rear brakes, and as is often the case, the rear bleed nipples snap off. So a quick trip down to ECP gets me two new wheel cylinders to fit...
Next i wash out the wheel bearings, before repacking them with fresh grease, adjusting the rear brakes and refitting the drums. Then bled the rear brakes, and checked all the new pipes for leaks, everything is looking good.
I then jacked the car up so i could take out the axle stands, and underseal all the rear underside of the car....
And for the first time in weeks, i can finally get the car back on its wheels, theres still work to do with the wheels off, but at least im not cramped up in the garage, unless the weathers bad...
Just had time to Waxoyl inside the arches and inner sills, while the rear door cards are still off, to prevent any more corrosion in these areas. Im working up until friday now, so next i plan to re-route the breather pipe on the BMW filler neck, and refit the plastic sheild that covers the breather pipes, bleed the front brakes, and make a start on getting the arches ready for paint. My deadline is August to get it MOT'd, and its fast approaching !!
Don't ask me....it was like that when i got here !
-
- Posts: 718
- Joined: Wed Apr 01, 2009 2:14 pm
- fill in the right answer: 15
- Location: Newcastle, Staffordshire.
Re: Project DARE.
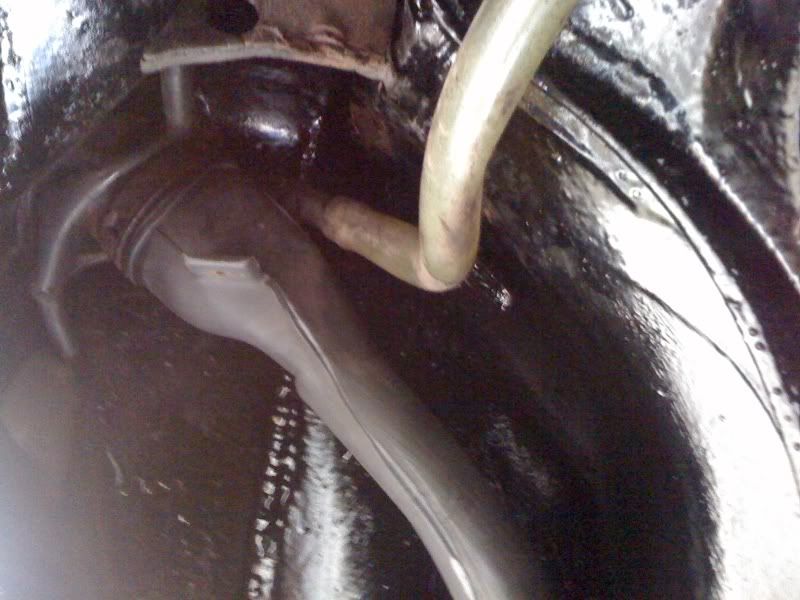
Todays efforts began with modifying the fuel breather pipe to fit the BMW filler neck, and then refitting the plastic cover that protects the 3 breather pipes....
This more or less completes the work around this area, so i was able to refit the plastic arch, with new self tappers and plenty of Tiger Seal. Then everything was trussed up to hold the arch in place while the adhesive dries....
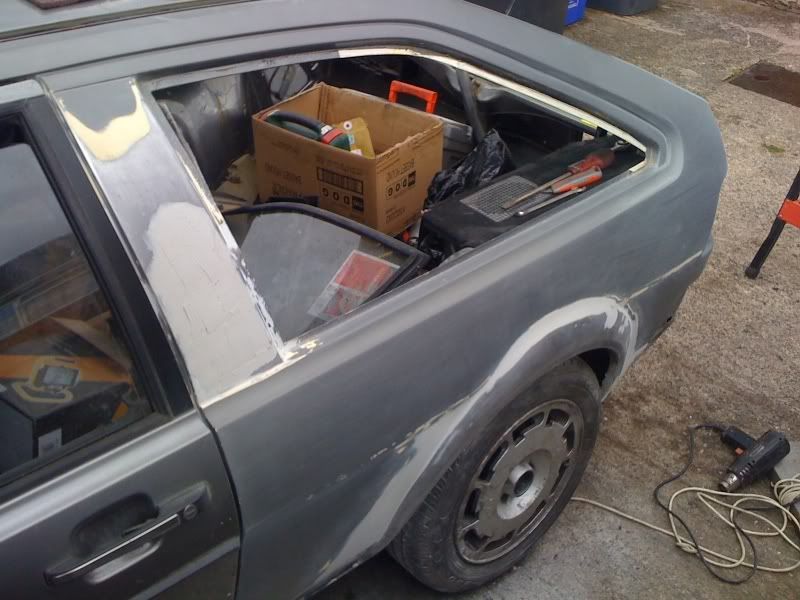
I really wanted to get the car outside to work on it, but sods law, its rained all bloody day ! So i made a start rubbing down the fillers on the passenger side rear arch....
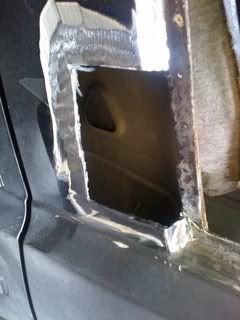
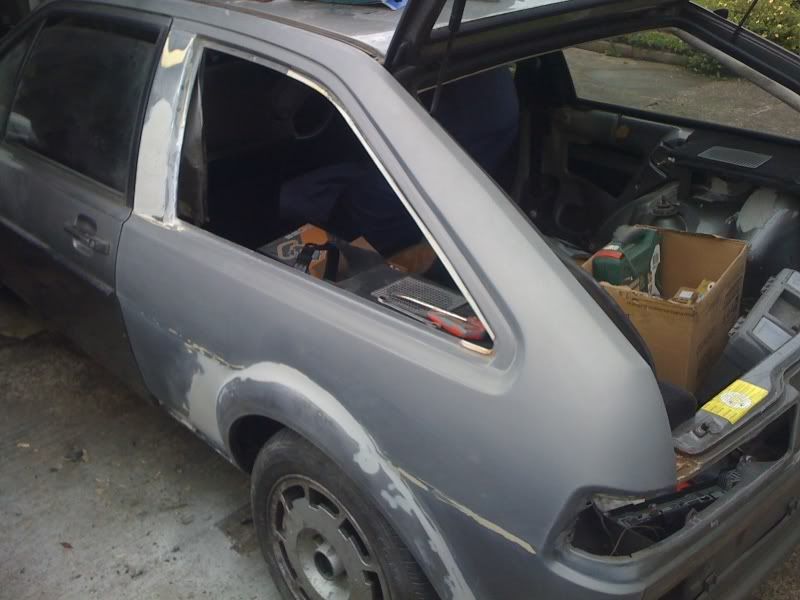
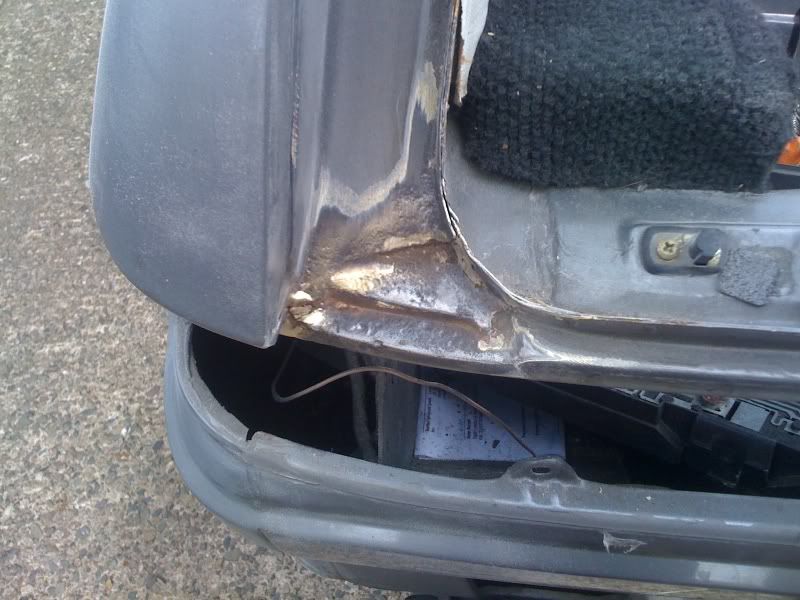
This whole panel will be repainted ,as the old paint is crazed. So i popped out the rear side window and rear light, to make preparation easier. Also on this side, i had to deal with this hole in the Bpillar....
Which, as you can see, id already started to cut out, ready to weld in good metal......
Thats all for today, more to come when im next off work on weds/thursday.
This more or less completes the work around this area, so i was able to refit the plastic arch, with new self tappers and plenty of Tiger Seal. Then everything was trussed up to hold the arch in place while the adhesive dries....
I really wanted to get the car outside to work on it, but sods law, its rained all bloody day ! So i made a start rubbing down the fillers on the passenger side rear arch....
This whole panel will be repainted ,as the old paint is crazed. So i popped out the rear side window and rear light, to make preparation easier. Also on this side, i had to deal with this hole in the Bpillar....
Which, as you can see, id already started to cut out, ready to weld in good metal......
Thats all for today, more to come when im next off work on weds/thursday.
Don't ask me....it was like that when i got here !
-
- Posts: 718
- Joined: Wed Apr 01, 2009 2:14 pm
- fill in the right answer: 15
- Location: Newcastle, Staffordshire.
Re: Project DARE.
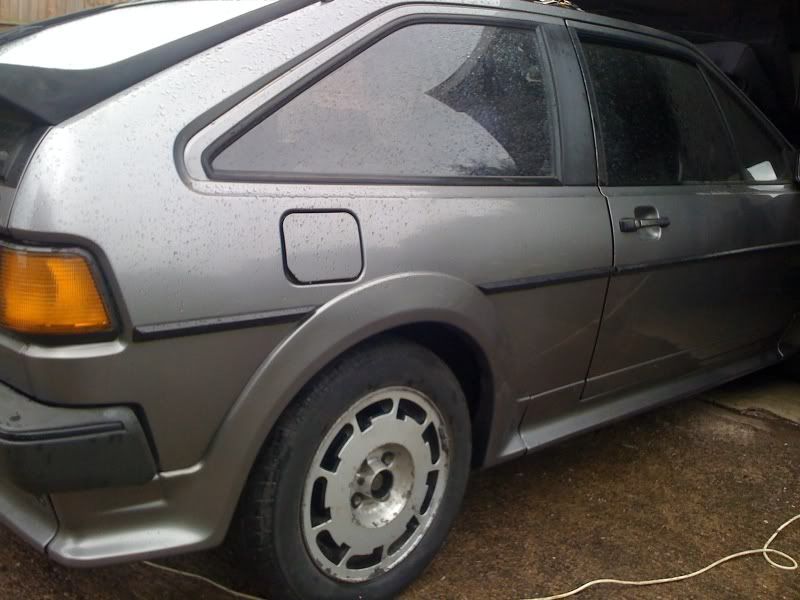
Back to it today, managed to do a few hours despite not having any sleep since finishing work at 4am today. Its starting to look like a Scirocco again.......well at least one side is !
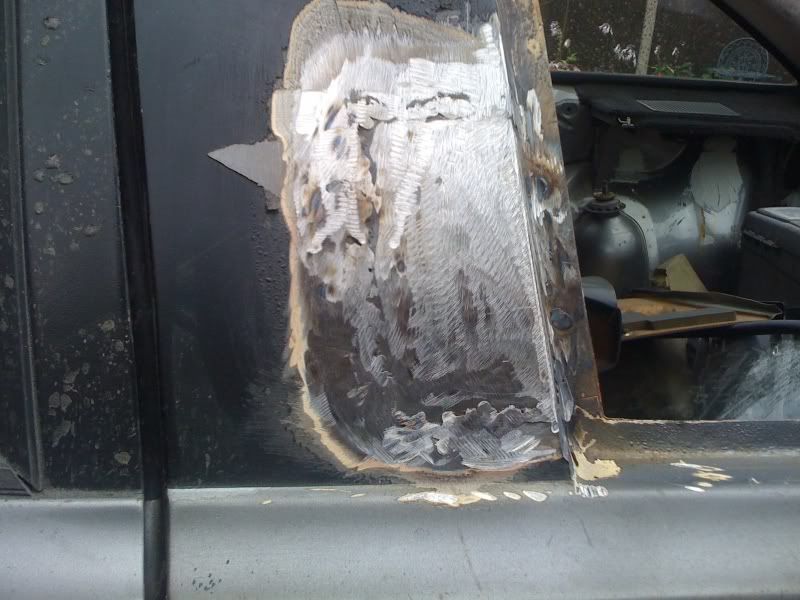
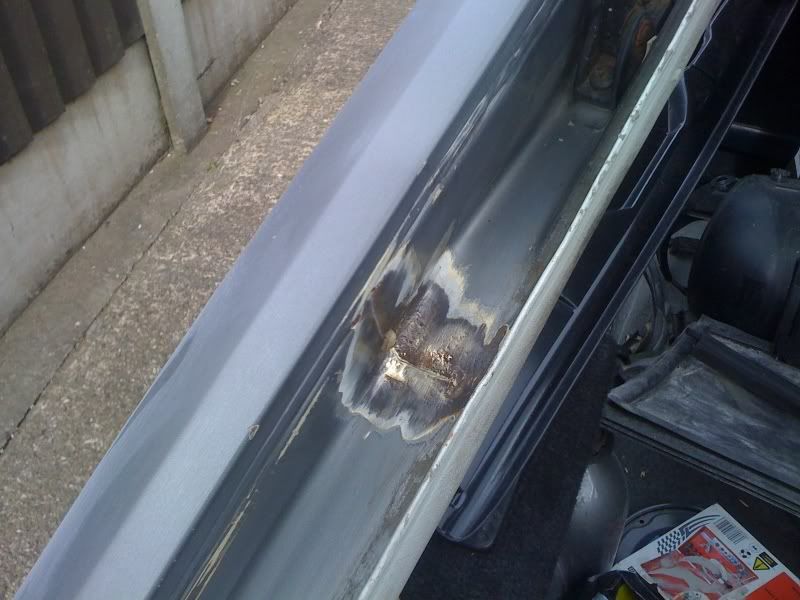
Sorted the rot on the passenger side B pillar.....
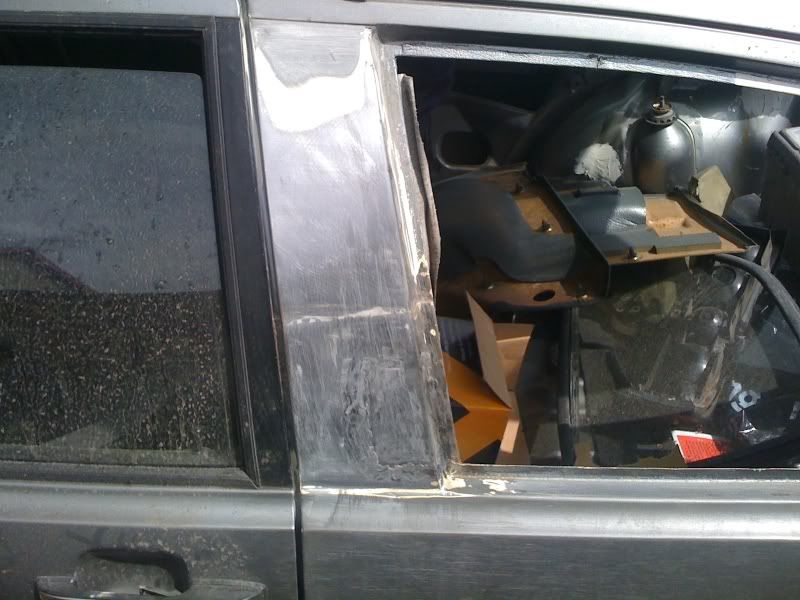
Then cleaned off all the old black vinyl.....
Before skimming with filler, and rubbing it down, also started to rub the rest of the panel down with Scotch pads to prep for paint....
Still alot more prep work to do on this panel, which i hope to have finished tomorrow, so it can have its first coat of primer on friday.
Don't ask me....it was like that when i got here !
-
- Posts: 718
- Joined: Wed Apr 01, 2009 2:14 pm
- fill in the right answer: 15
- Location: Newcastle, Staffordshire.
Re: Project DARE.
A bit more prep work today, cleaned up the joints where the quarter panel has previously been replaced as there was rust coming through the paint....
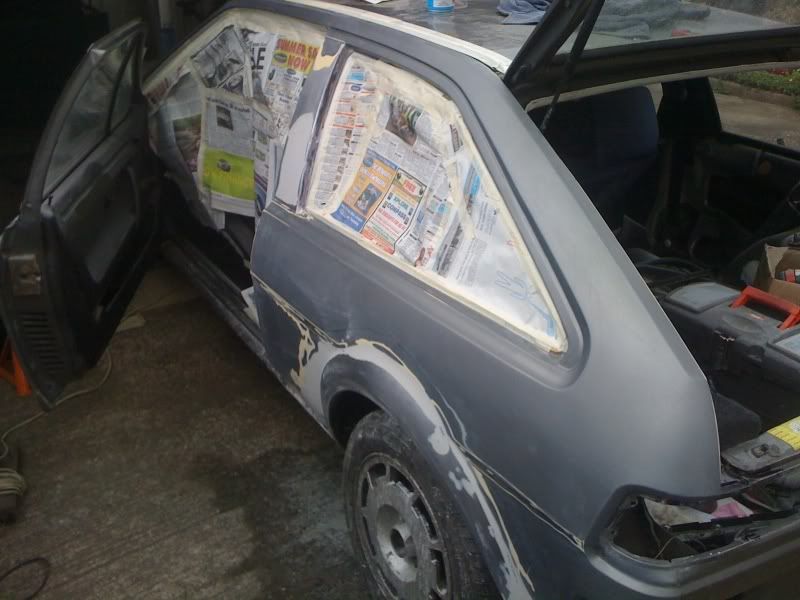
Then after rubbing down the whole panel with wet and dry (this is the job i really hate, but its probably the most important to get a decent finish) i started to mask off ready for primer....
Then started off with a good coat of filler primer on the areas that had had the most work......
This has shown up a few blemishes that i still need to sort out, but better to find out now then when the top coat goes on ...
Still a fair bit to do, but i am beginning to think i'm making some progress.
Don't ask me....it was like that when i got here !
-
- Posts: 718
- Joined: Wed Apr 01, 2009 2:14 pm
- fill in the right answer: 15
- Location: Newcastle, Staffordshire.
Re: Project DARE.
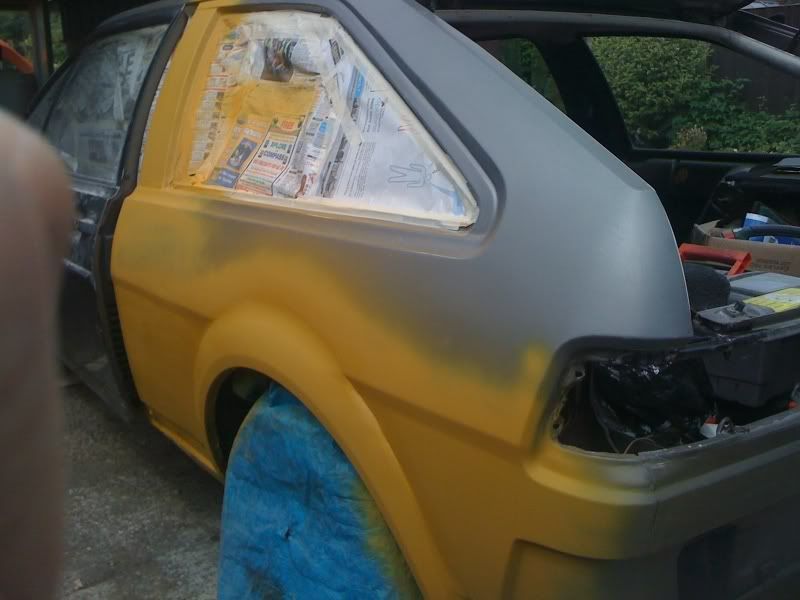
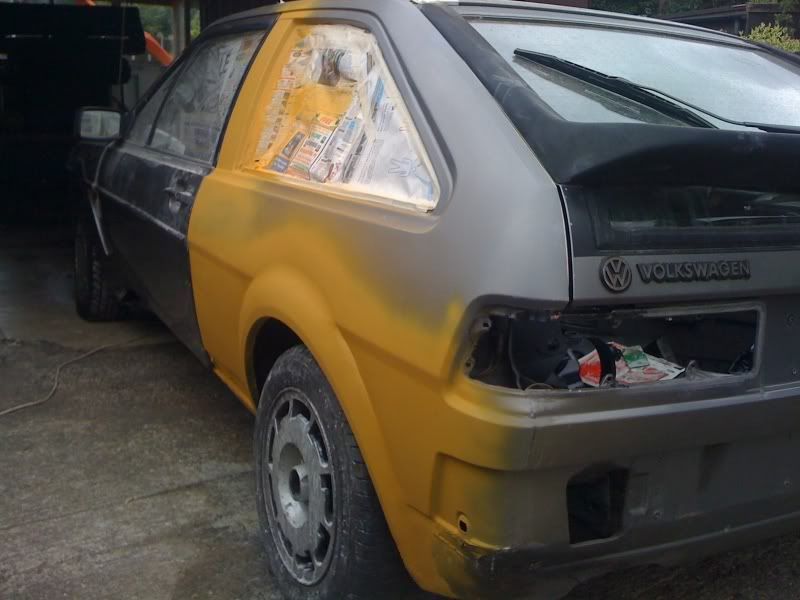
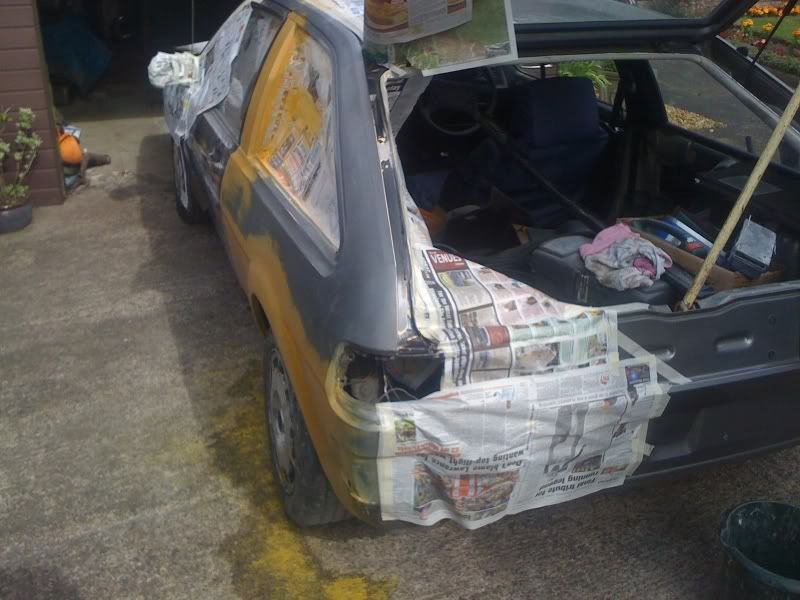
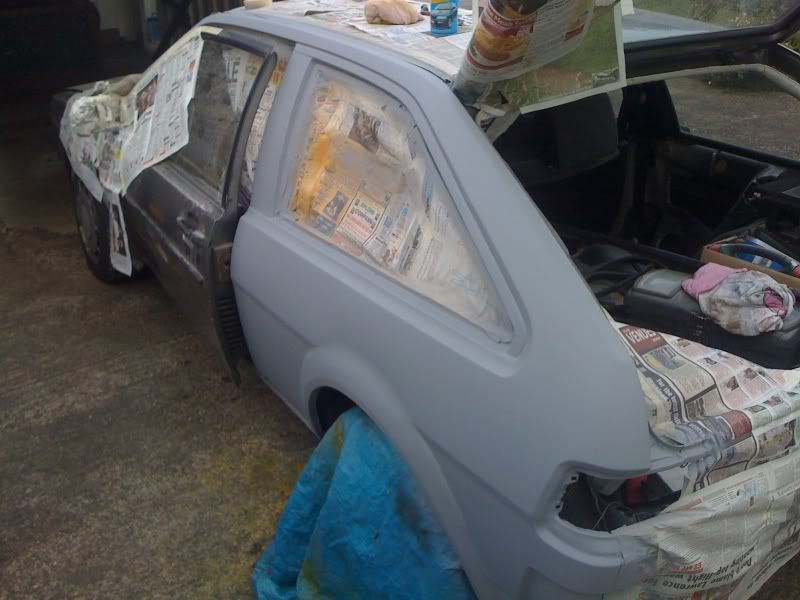
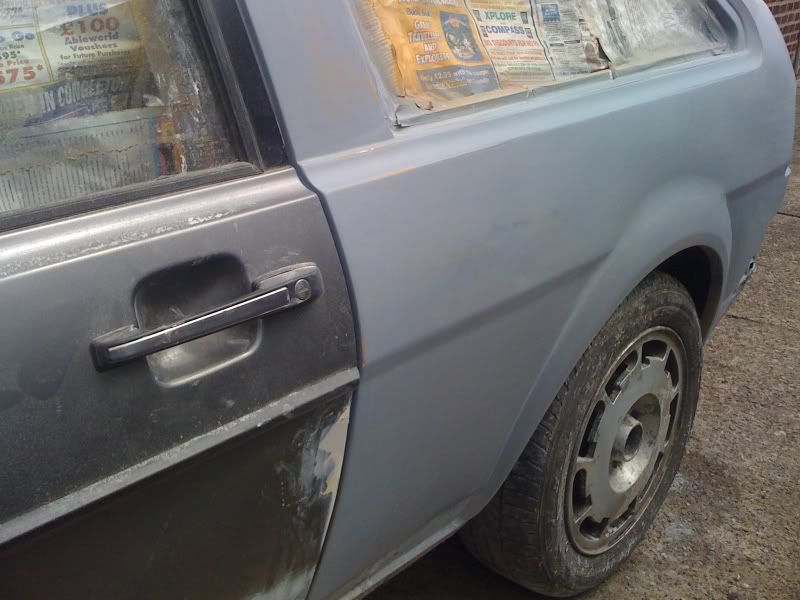
Had one of those rare days today, when everything went smoothly and i got loads done in a couple of hours. First off was to finish of masking up the car for a full coat of grey primer.....
And rub down the filler primer, to lose some of the blemishes that had shown up....
Then on goes a thick layer of grey primer (applied in thin coats) which is later wet sanded with fine emery paper to give a smooth base for the base colour...
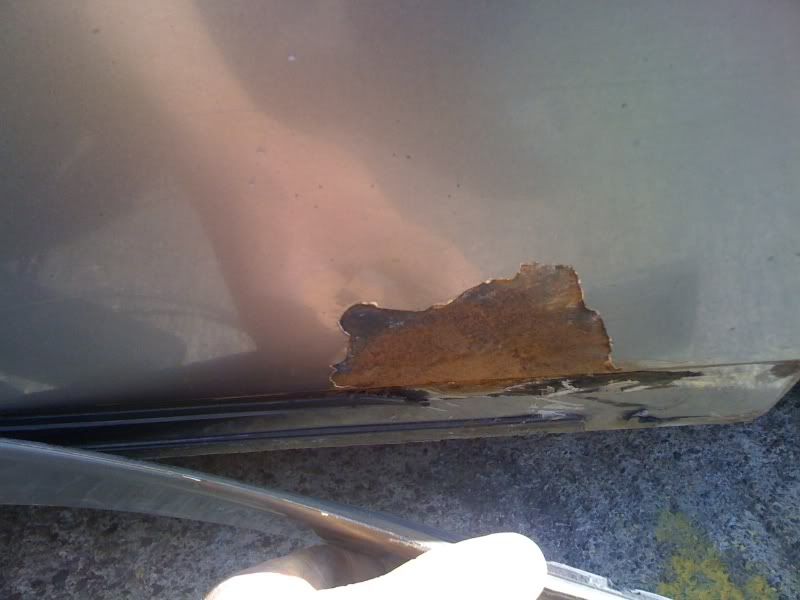
I also needed to tackle this bad rust patch on the bottom of the passenger door...
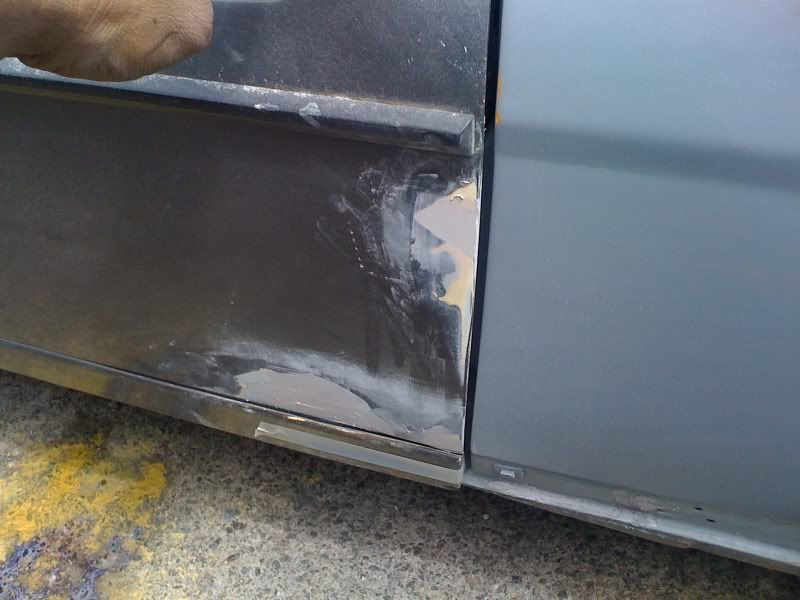
So i got an abrasive pad on the grinder and ground off all the rust. Luckily the rust hadnt perforated the door skin, so i gave it three good coats of rust eater and then skimmed it with filler.....
This will then need to be rubbed down , primered and smoothed for top coat......
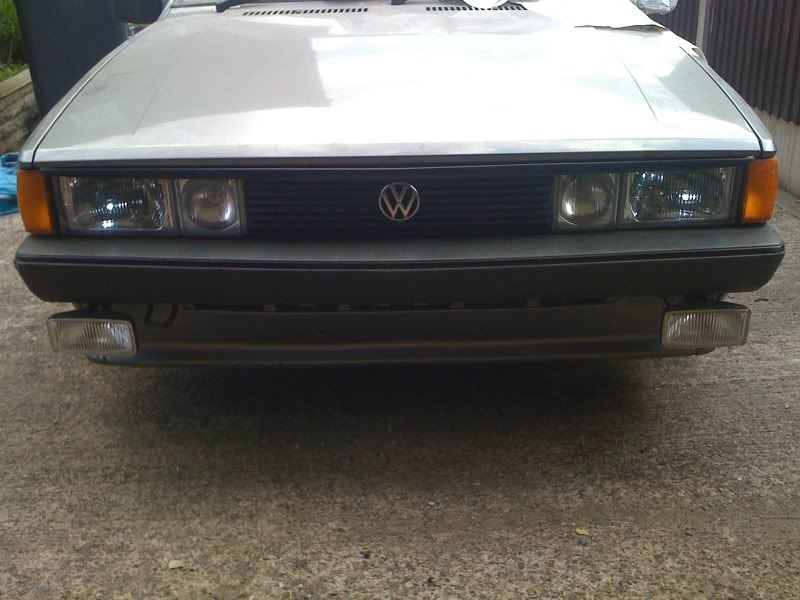
In between waiting for fillers and primer to cure, i decided to fit the front eyebrow spoiler and LED sidelight bulbs...
In the previous photo you'll probably notice that the front number plate and plinth are broken, so i took these off, and also Tcut the front panel. I have a replacement plinth, and will get a new set of plates made up next week. Shame really as the old plates were the original dealer plates....
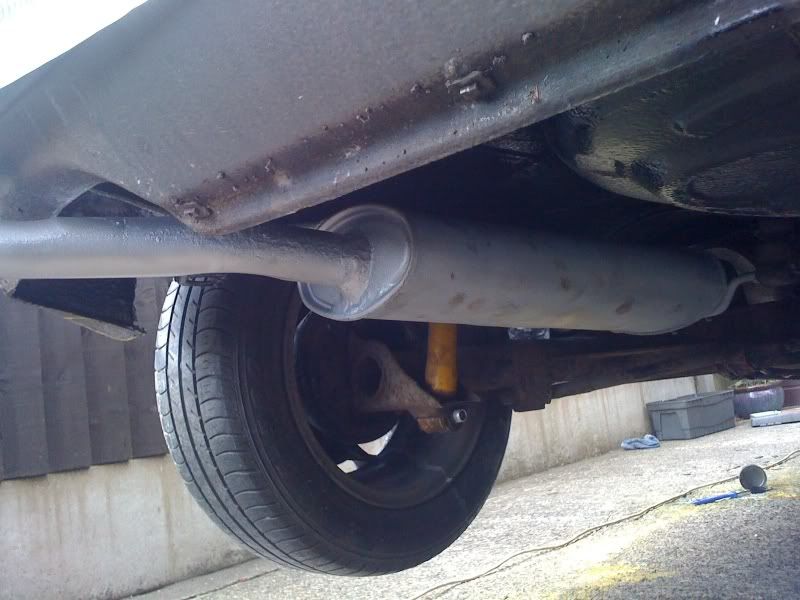
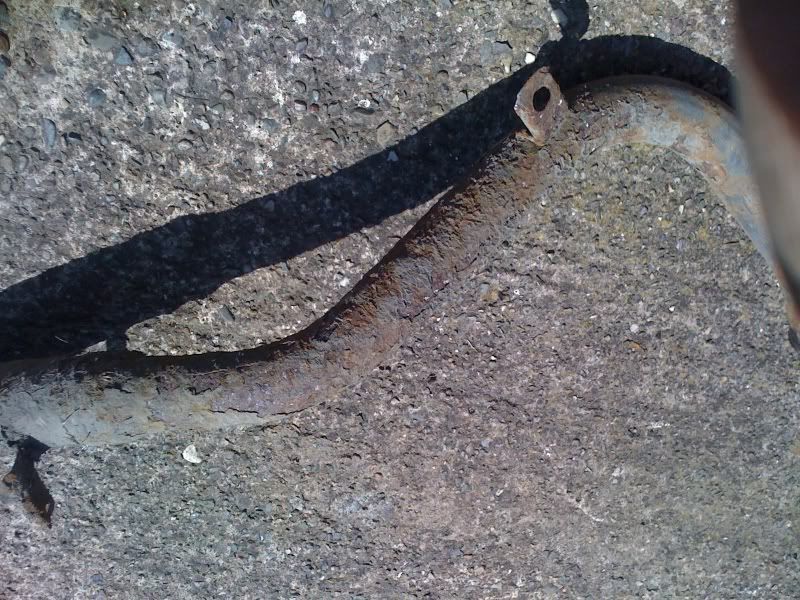
I also got to fit the second hand rear exhaust silencer i got off jimmyconway, its not brilliant, but should get through MOT and then i can get a new one when funds allow...
Once the primer had dried enough (luckily its been sunny and warm all morning) i flatted it with fine wet and dry paper, so its now nice and smooth and ready for colour.
Other small jobs included, replacing a cracked number plate light cover and giving the inner wheel arches another coat of underseal. im working tonight and Sat/Sun nights, and wont get anything done now until monday so DARE gets stashed away for the weekend...
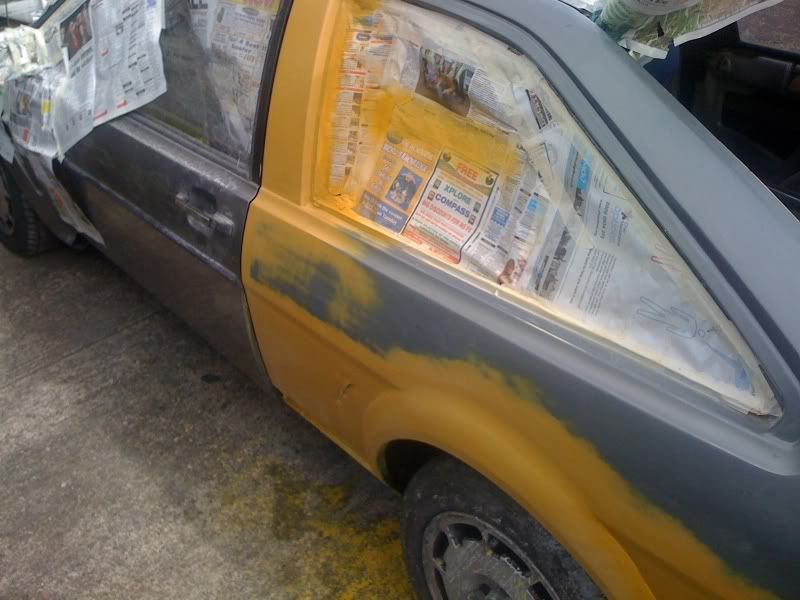
On monday i will get the local bodyshop suppliers to mix up the paint, and hopefully get some colour on it.
Don't ask me....it was like that when i got here !