Page 1 of 5
Kamei GTX - Finally Finished?
Posted: Mon Jan 17, 2011 9:08 pm
by Birdy
Re: Rebuilding the valver!
Posted: Mon Jan 17, 2011 9:24 pm
by Birdy
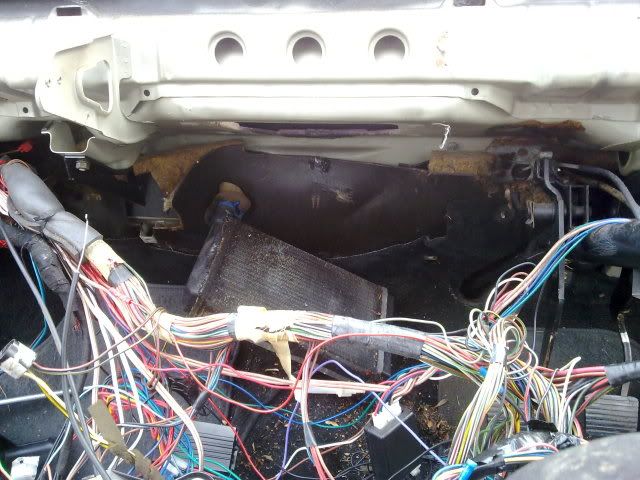
I've always fancied having a go at doing a full dash swap, so while i have got the car off the road i figured how hard can it be??

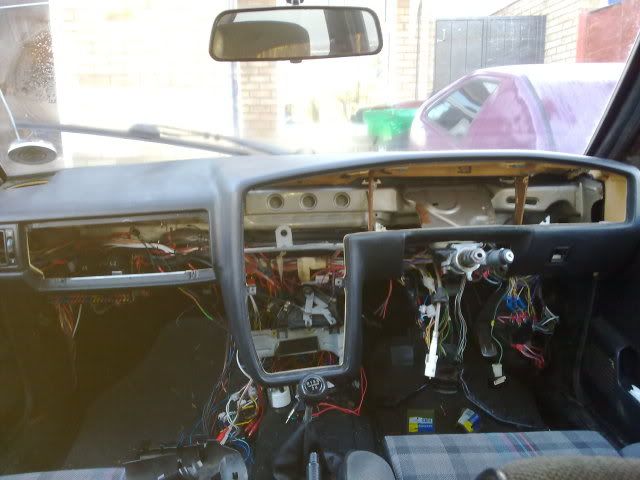
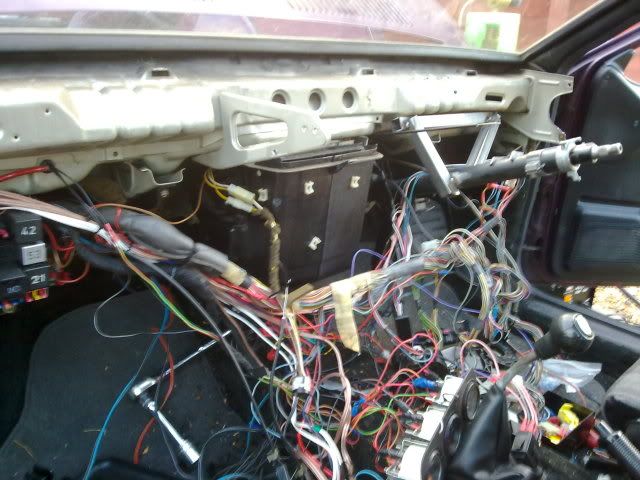
Out came the dash, i hate wiring, its taking ages to sort through it all and tidy it up!
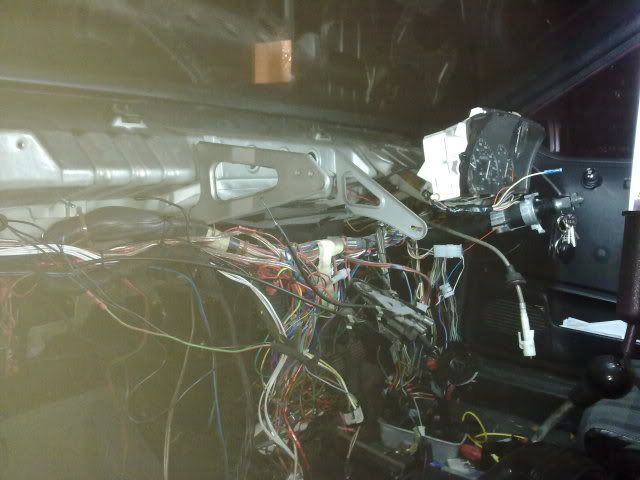
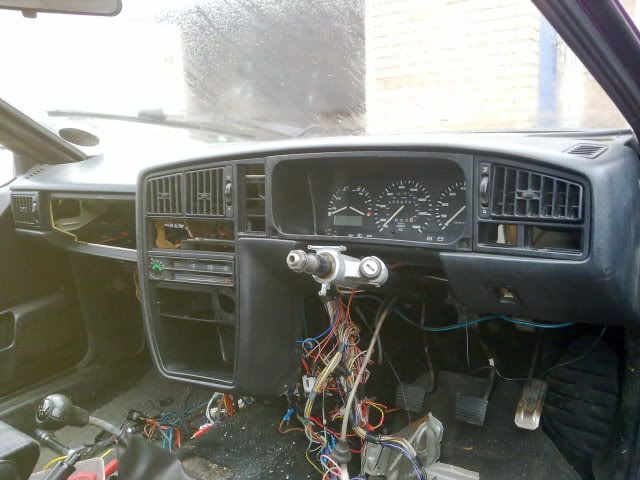
Yup, thats not a Scirocco clock set either...
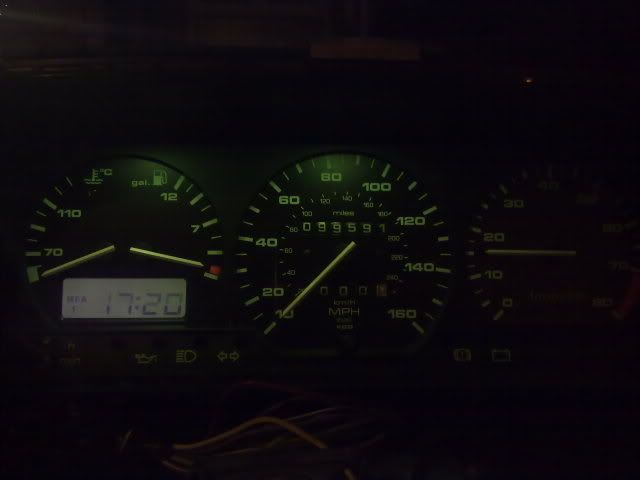
After days of reading wiring looms and fuse box break downs i managed to adapt the new clocks loom so it would plug and play with the 'rocco loom; it worked first time!!!

The headlight switch on the other hand is a right pain in the arse

Anyway, with the dash out i made a template of the back of it
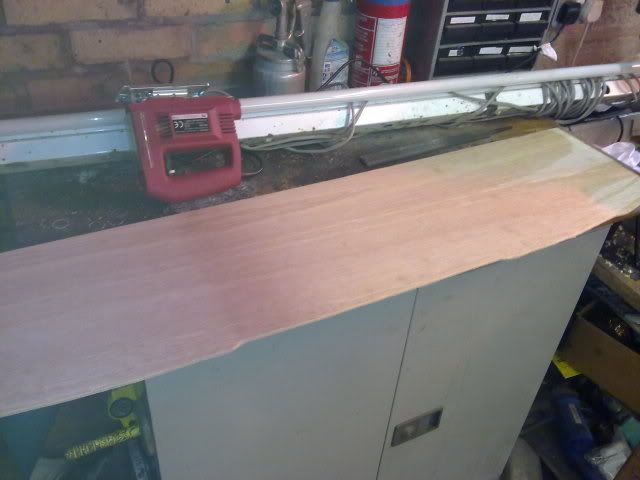
then made sure it was a good fit against the base of the screen

Clamped the template onto the new dash to see how much it needed fettling by....
quite alot was the answer!
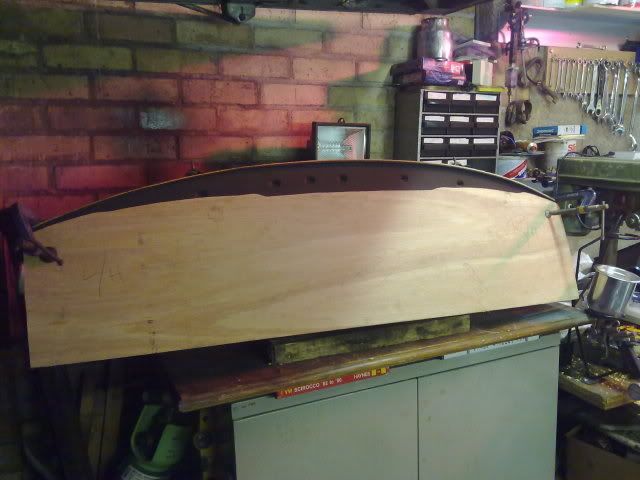
Got it trimmed down (ignore the messy garage

)
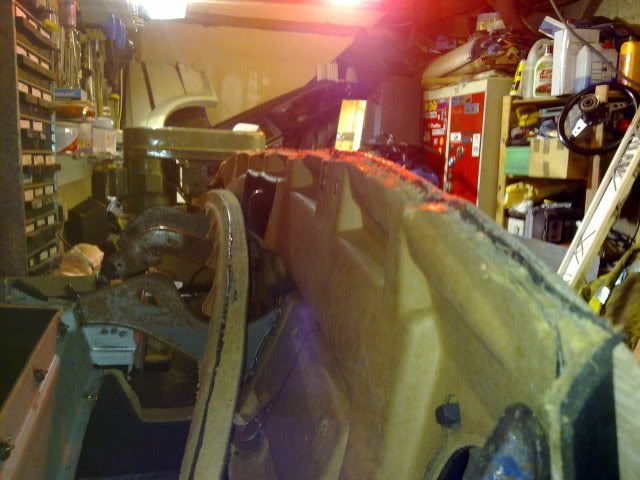

but not had the chance to try it in place yet - was too dark tonight by the time i'd finished with cutting the dash to shape
Plenty more to come over the next weeks/months - including another change of colour i think

Re: Rebuilding the valver!
Posted: Tue Jan 18, 2011 6:57 pm
by Birdy
Managed to get some daylight hours in today and thought i'd have a look at how the dash looked
Needed another good 40mm trimming off the back of it, meaning there has been loads taken off now!
With it trimmed again it looks a much better fit
Only thing is it fouls on the steering column mount, quite badly infact

I'll be attacking that with an angle grinder; after i've designed and welded a new coloumn mount in place......
That'll be a nice 10 min job

Re: Rebuilding the valver!
Posted: Tue Jan 18, 2011 9:43 pm
by 83mars
very nice man,
always loved the dash in sciroccos, but that looks quite tasty.
be looking forward to this one.
keep it up.
Re: Rebuilding the valver!
Posted: Wed Jan 19, 2011 12:42 am
by Risocco
Nice one Dan! Best of British

Alex
Re: Rebuilding the valver!
Posted: Sat Jan 22, 2011 5:47 pm
by Birdy
Managed to get a few hours in on the dash today, would of got more done but its bloody freezing!!
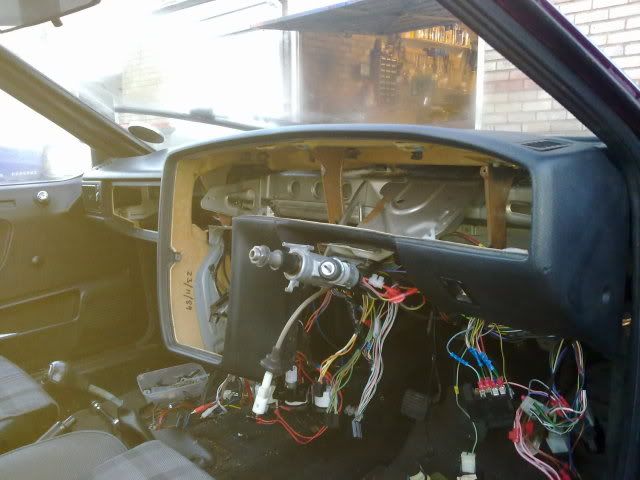
First task was to get rid of the standard steering column mount
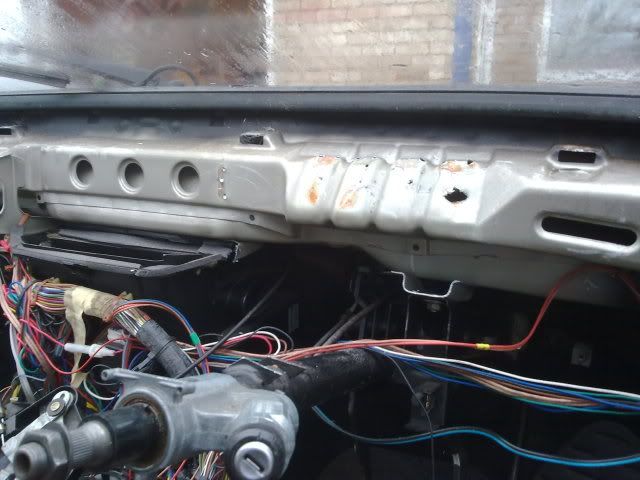
Took absolutely ages!!!! Couldnt use a grinder with the screen still in place as knowing my luck i'll get sparks all over it and have to find a new one before i get the car back on the road
Still not welded in a new mount, have the materials to do it with but with the temp hanging around 0 today i couldnt be bothered to freeze any more

With the area cleared i took the chance to get the dash in and mounted, all i can say is what a pain in the arse it is to get everyting in properly until i was happy (ish!) with it!
Still absolutely loads to figure out, need to sort the lower centre console and then work out how the hell im going to get the dash and screen vents working properly
Re: Rebuilding the valver!
Posted: Sun Jan 23, 2011 2:32 am
by 83mars
just a thought but could you use an electric heater with flexi piping for the vents??
it would cut out having to plumb for a heater matrix so you would'nt have to worry about leaks...
http://users.silenceisdefeat.com/~lgtng ... eater.html somthing like this, just keep a fire extinguisher handy,maybe.
Re: Rebuilding the valver!
Posted: Mon Jan 24, 2011 4:59 pm
by Chaps
welcome to the corrado dash club!! Its coming along nicely..
Did you get the lower dash sections with yours? i.e. underneath the steering column and glovebox?
Re: Rebuilding the valver!
Posted: Mon Jan 24, 2011 5:12 pm
by Birdy
83mars wrote:just a thought but could you use an electric heater with flexi piping for the vents??
it would cut out having to plumb for a heater matrix so you would'nt have to worry about leaks...
http://users.silenceisdefeat.com/~lgtng ... eater.html somthing like this, just keep a fire extinguisher handy,maybe.
I'll have a read of that later on, may be a route to ge down!
Chaps wrote:welcome to the corrado dash club!! Its coming along nicely..
Did you get the lower dash sections with yours? i.e. underneath the steering column and glovebox?
I'm quite pleased with it so far, not all that happy with the cut below the screen but i'll have to have another look at it at some point!
Yeah, i got every panel that had anything to do with the dash - plus loads of others i'll never need

Not even got round to looking at how much i will need to remove/shape to get the lower sections to fit yet. I do know the glovebox may not fit properly and will need modding, tho thats just by sight and not actually being bothered to walk 5 metres to fetch the glovebox to try it

Which lower console is in yours?
Re: Rebuilding the valver!
Posted: Tue Jan 25, 2011 9:45 am
by Chaps
Birdy wrote:Which lower console is in yours?
I havent got any lower sections fitted yet. I have been looking at a number of solutions, but think i'm going to try and fit the lower panels off a mk3 golf as they are more rounded, and are easier to come by. There are so many Grey dash's available but not many black ones.
Birdy wrote:I do know the glovebox may not fit properly and will need modding
The back of the glovebox does need to be trimmed abit yes, but shouldnt be too hard to sort out..
Re: Rebuilding the valver!
Posted: Sat Jan 29, 2011 6:28 pm
by Birdy
Managed to find a few hours to get some work done today. Always surprises me how little gets done in a few hours too
Took the dash back out of the car so i could get a new column support tacked into place
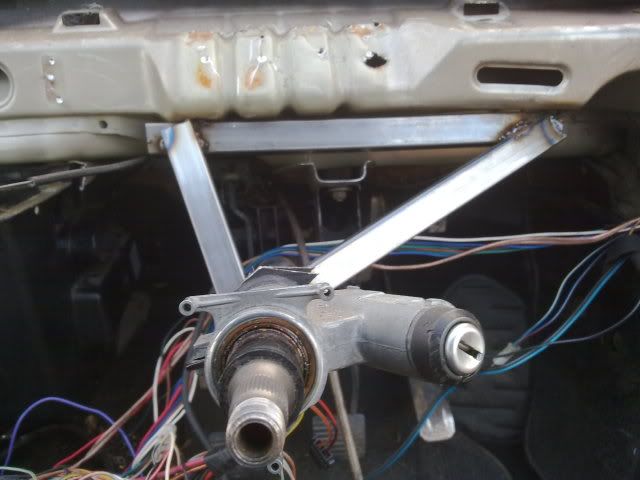
Kind of happy with it, there is no flex and the column in now nice and rigid again! Luckily the dash will hide it from view
Still needs to be welded up properly but i need to make sure i still get clearance with the clocks and dash first
While the dash was out i took the chance to change the blower motor unit - i'd got the old one covered in overspray and it was squeeling while on 1 and 2
Didnt fancy taking the heater matrix out as it means draining the fluid - doing it this way makes it bloody awkward changing the unis over tho!
New one fitted with plenty of swearing at wires and everything else in the car

Got alot of wiring to sort through again, couldnt be bothered with it today as i was bloody freezing!
Had some new componant tweeters turn up during the week too, so while the garage was warm i got them fitted into the standard corrado dash speakers. Had to put a hole cutter through them first so i could glue the alpine aftermarket jobbies in place
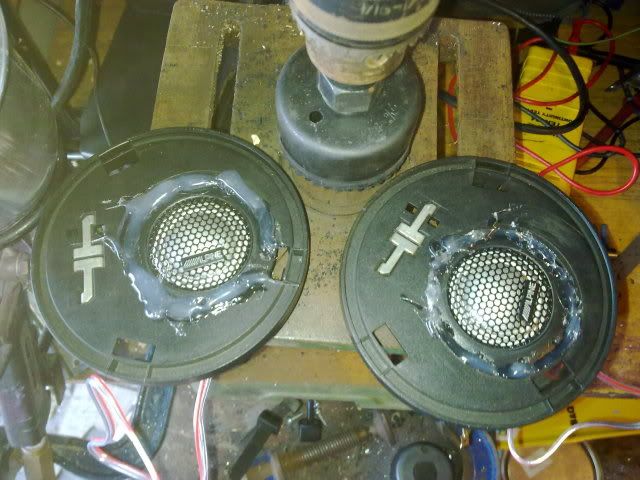
Mounting them this way means i can still use the cover grills with no clearence issues. Had them wired up too and they sound pretty good! Just have to decide how i'm going to power the 10 speakers and the sub now
Progress is slow but its getting there

Re: Rebuilding the valver!
Posted: Wed Feb 02, 2011 7:56 pm
by Birdy
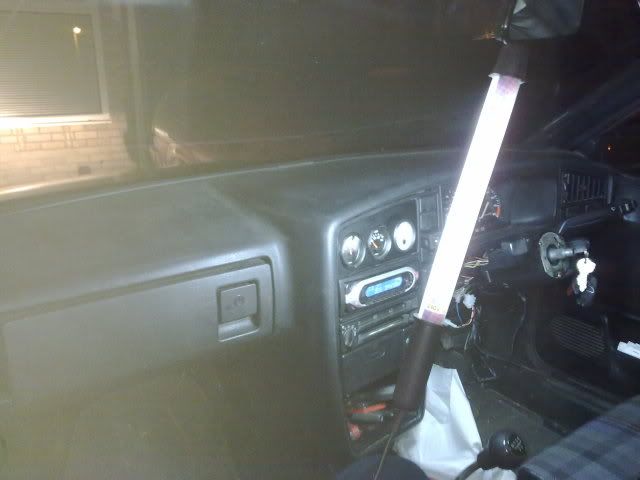
Slowly getting through the dash installation, only doing a couple of hours at a time is dragging it out too mch for my liking
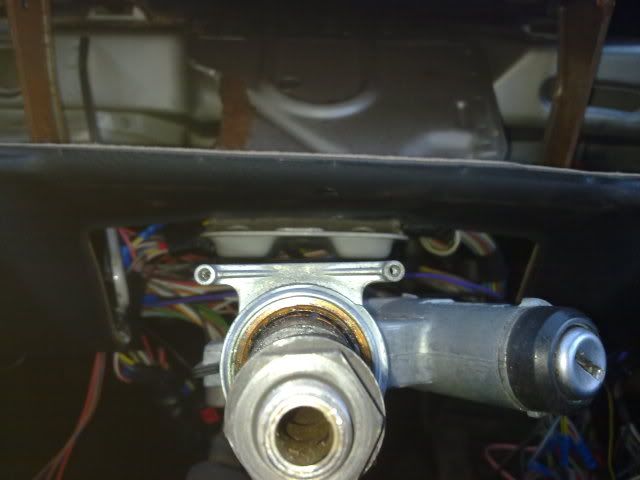
Managed to get the welding done on the new steering mount
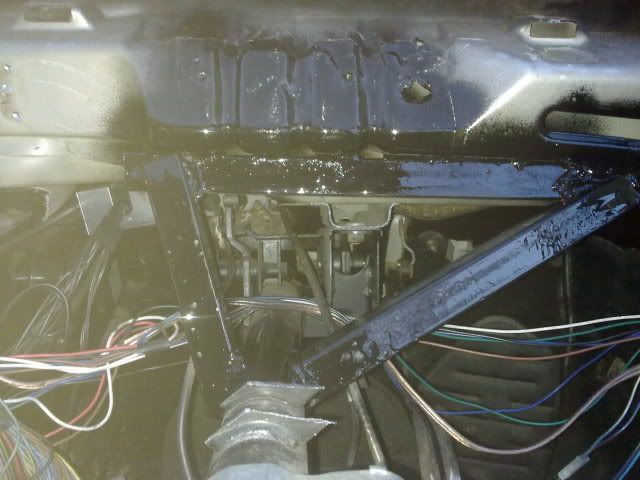
Got plenty of weld in there so it deffinately wont be going anywhere

Still need to grind the remains of the original mount away from the column at some point tho
Then came a massive schoolboy error on my part
Not at one stage did i actually put the dash back in place to make sure it cleared the new mount; I meant to but never got round to it
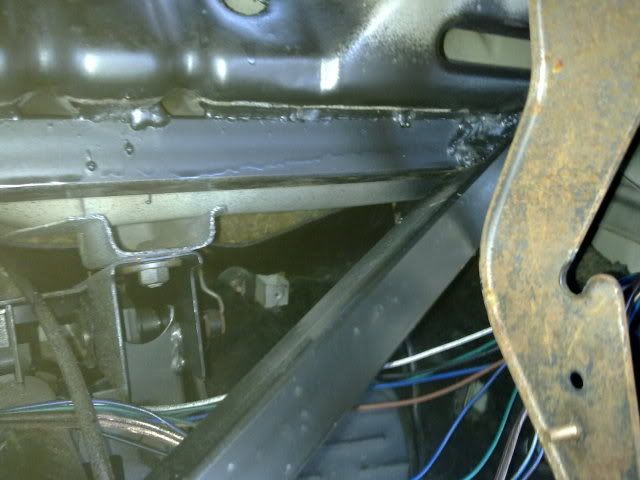

Typical, the dash support hits the box section before the dash is sat back properly!!!
Soon sorted that out tho
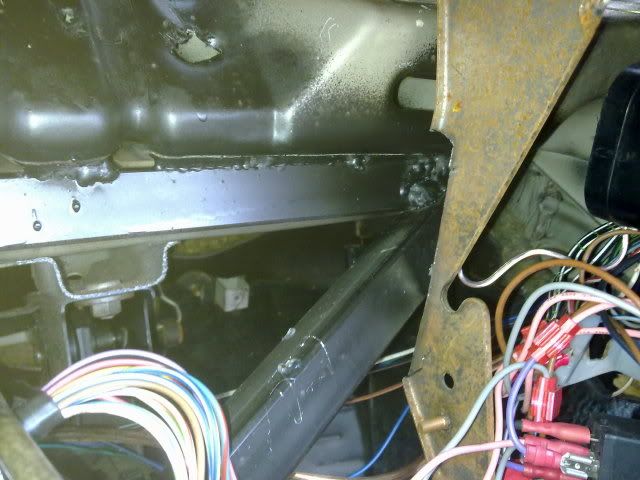
Meet mr cutting disc
Re: Rebuilding the valver!
Posted: Wed Feb 02, 2011 8:17 pm
by Birdy
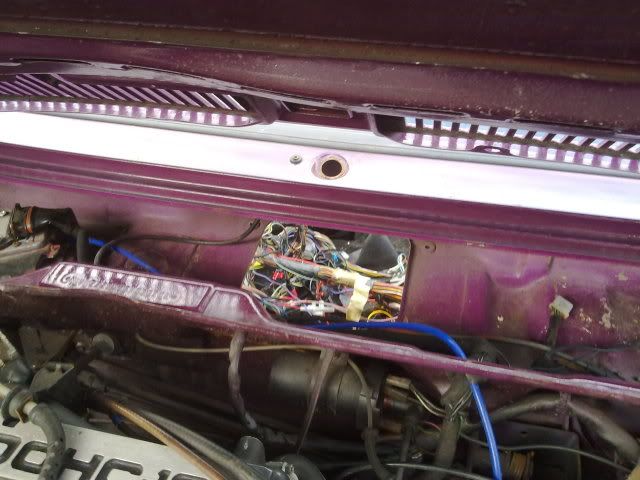
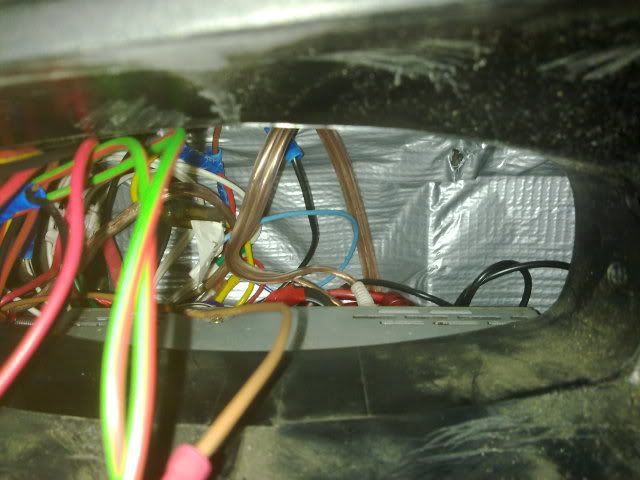
Before the dash was fixed in place i had a slight gap at the back of it to seal up and get air tight so i can use the dash vents properly
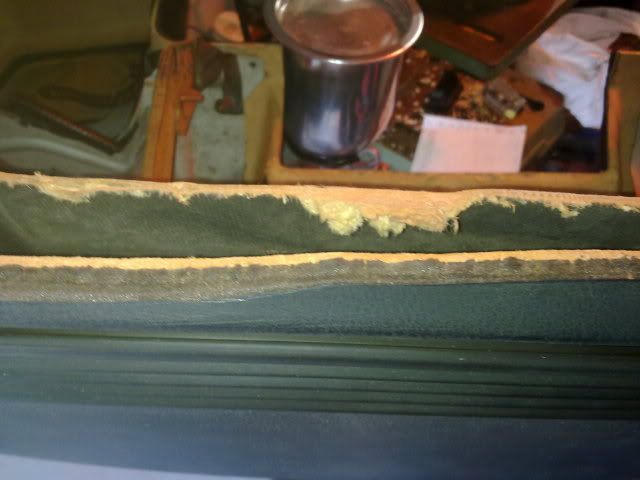
Was like this most of the way down the back of it, tho smaller in places! Took some thinking about but i finally settled on using some thin hardboard stuff from the dash off-cuts ive got in the garage, sealed in place with a hot glue gun!
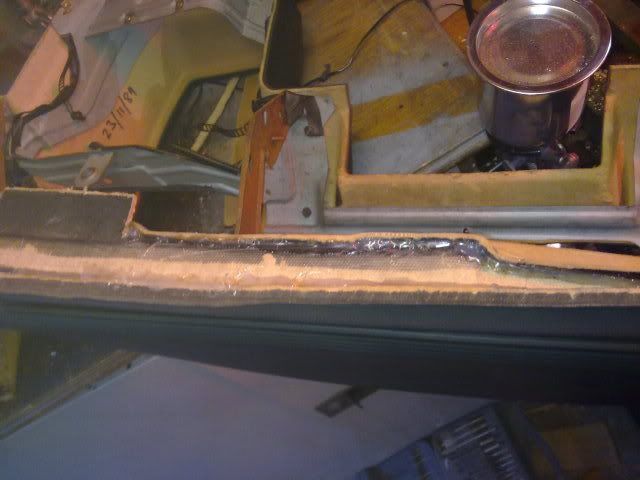
Managed to get a good seal and the dash is now back to being air tight, tho once its back in the car i have this gap
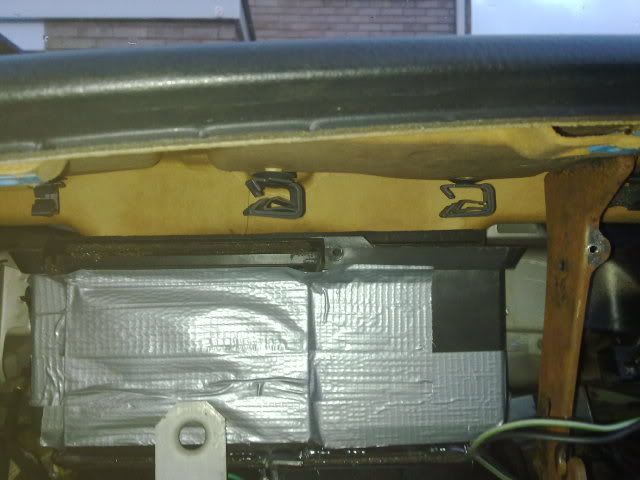
Its where the dash sits above the top of the inner air chamber. Bit stumped on this one so im open to any suggestions!!

Ignore the duct tape; its there as a temp measure while i tested the new blower motor (it works!!) and until i fix the dash vent outlet in place - ive a good idea on how im going to do this one tho
Also started to get the switches in place and sorted out, done the headlight, hazard and fog light switches
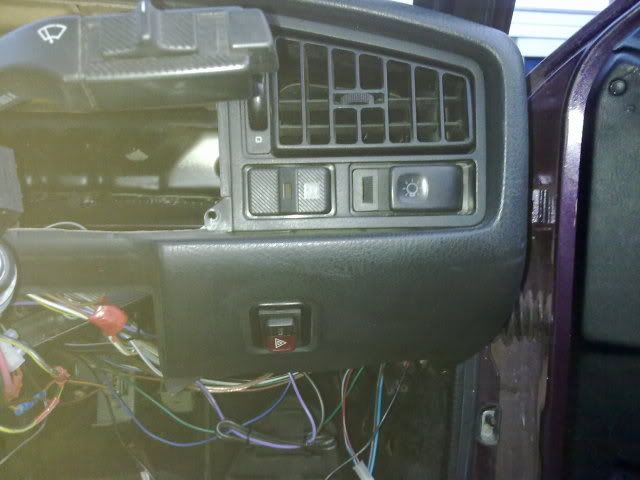
Also managed to work out which wire the clocks needs to have the brake warning light working properly, means its one less thing to re-home somewhere in the new dash!
Getting there but still a fair amount to work out and get sorted
Re: Rebuilding the valver!
Posted: Sun Feb 06, 2011 10:14 pm
by Birdy
Good few hours work this afternoon and im much happier with progress now!
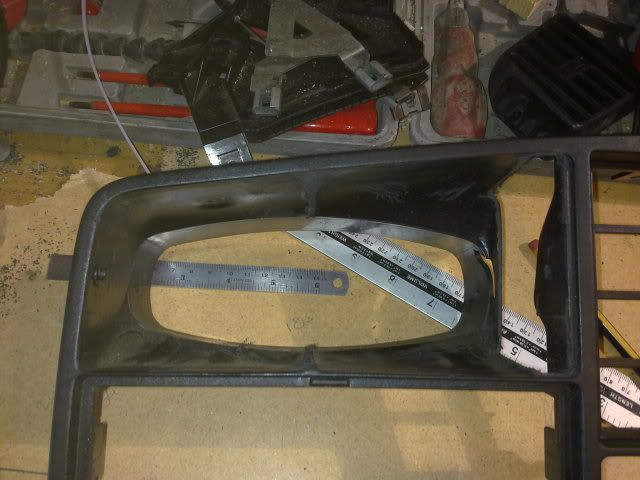
Decided i couldnt get the central dash vents working properly and after looking at chaps' dash conversion i thought i'd copy how the gauges were done
Got the central vents removed and cut the divider and open/close mech out, gave me just about enough room to make a triple gauge panel.
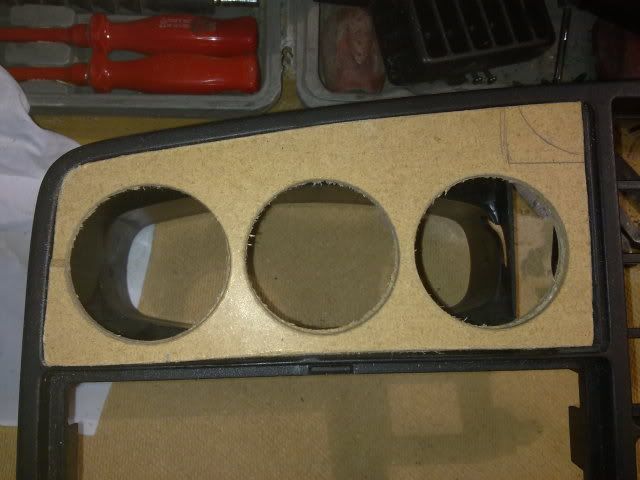
Nice tight fit so i havent had to secure it in place, also i have covered it with black vinyl; not a bad match with the dash so its not bad!
Got the dash put together properly, used duct tape and cardboard ro seal up the screen vent, will come up with something a bit less 'bodgy' when i think of something
Also found out its very tight on space behind the dash when the stereo is in
Took some slight persuasion to make it fit
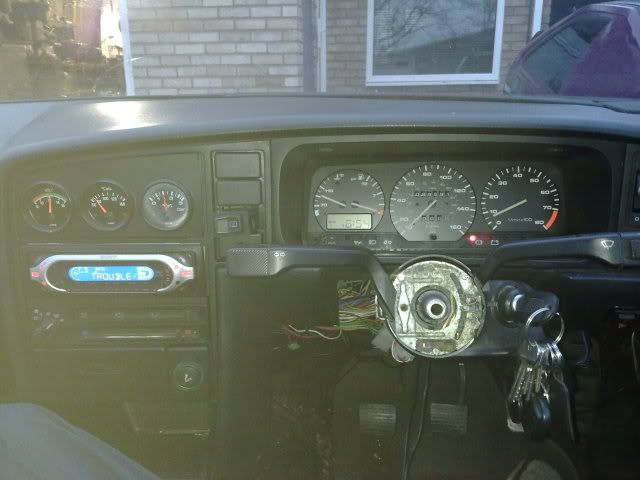
Looking good!
Re: Rebuilding the valver!
Posted: Sun Feb 06, 2011 10:26 pm
by Birdy
Did find out that when the clocks were in the speedo drive cable couldnt be plugged in to the back of it
Will have to look at adjusting the metal work under the screen at some point, shouldnt be too hard to figure out really!
While i was on a roll i got round to looking at the glove box, didnt have to chop it down by as much as i thought i would have to

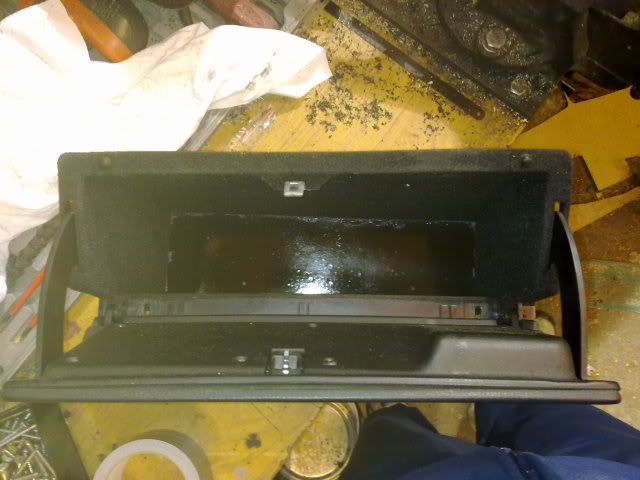
The tape is only there while the silicone goes off, tho knowing me it will be there for a while

Pretty happy with it so far, still have to do the side vent ducting and work out the lower dash sections. Shouldnt be too much longer until i take the rear beam off and sort the welding out!