Project RED GTX
Forum rules
Section for all vehicle and related projects. Please keep responses pertinent to thread.
-
- Posts: 718
- Joined: Wed Apr 01, 2009 2:14 pm
- fill in the right answer: 15
- Location: Newcastle, Staffordshire.
Project RED GTX
So it begins.........................
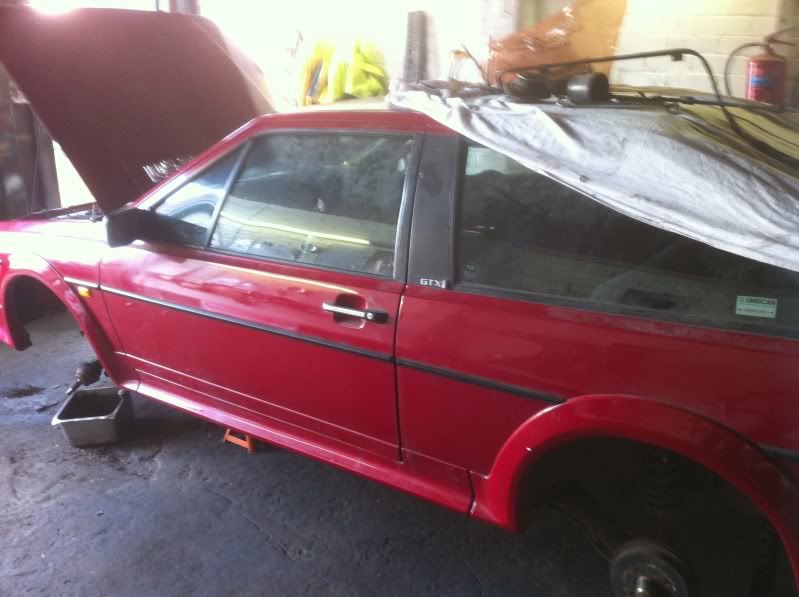
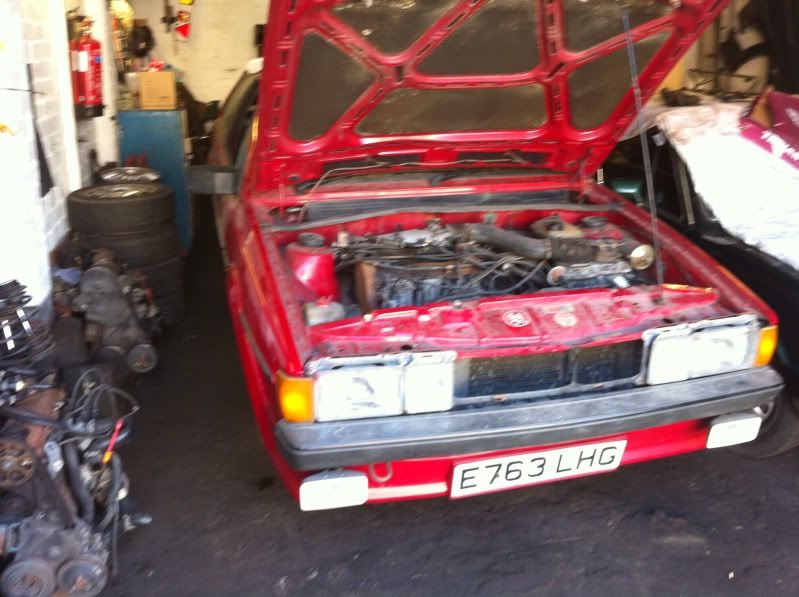
Blew the tyres up and then towed it from one of my council lock ups up to my workshop, on an A Frame on the back of DARE. Havnt got much done today, other than get it up on axle stands and soak the beam mount bolts in WD40.
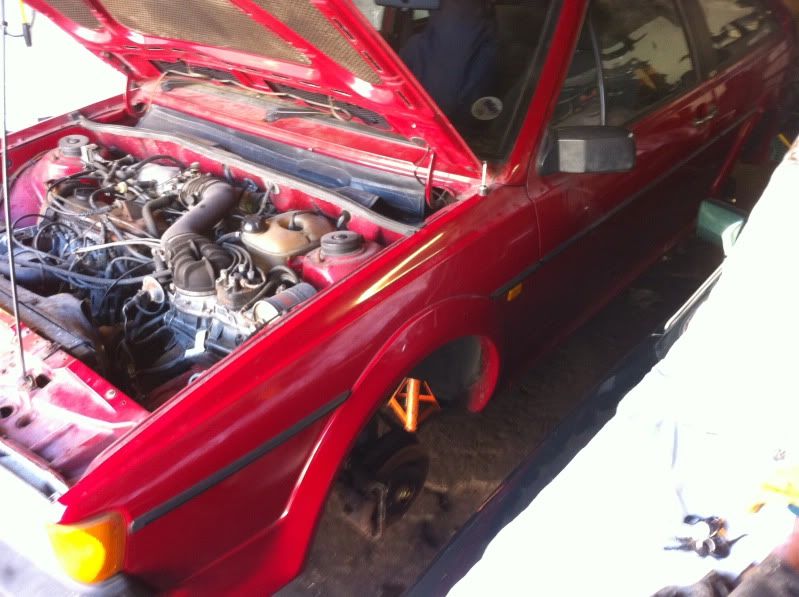
Plenty of work to be done including, new suspension all round, new front wishbones, new ball joints, discs , pads, brake pipes and hoses ( got a new set of braided hoses ready to fit) the fuel tank is shot, (so while the beams out il poly bush it), rear brakes need checking and seeing as the car had stood so long before i bought it (8 and a half years to be exact) il fit a new master cylinder and replace the front calipers.
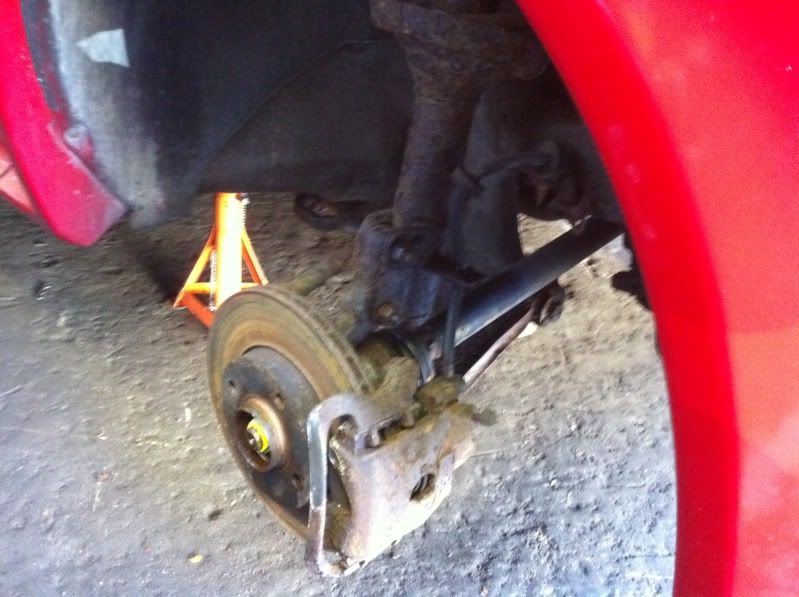
Then it needs a thorough clean, service and cam belt. Cant wait to get started
Don't ask me....it was like that when i got here !
-
- Posts: 718
- Joined: Wed Apr 01, 2009 2:14 pm
- fill in the right answer: 15
- Location: Newcastle, Staffordshire.
Re: Project RED GTX
Cheers Jake. you still wanting that axle beam geezer ?
Don't ask me....it was like that when i got here !
Re: Project RED GTX
Great project Mark; good luck with it pal
1986 Mk2 1.6GT tintop
1977 Type 2 Devonette
- Reverend Frog
- Posts: 497
- Joined: Wed Apr 01, 2009 12:57 pm
- fill in the right answer: 15
- Location: Belfast
Re: Project RED GTX
Looking forward to seeing this finished Mark (although you've just started it).
What mileage does she have?
-
- Posts: 718
- Joined: Wed Apr 01, 2009 2:14 pm
- fill in the right answer: 15
- Location: Newcastle, Staffordshire.
Re: Project RED GTX
She's just turned 99,000 Rich.
The poly bushes for the rear beam turned up today, so that's one more thing off the parts list.
Don't ask me....it was like that when i got here !
- Cpt Custom
- Posts: 761
- Joined: Mon Jul 19, 2010 1:46 pm
- fill in the right answer: 15
- Location: Northallerton
Re: Project RED GTX
There's nothing beats a nice red Scirocco!
Good luck with it Mark ...
1987 Alpine White Mk2 GT Lily
Re: Project RED GTX
Hey man think im ok now, the one on the storm is still very good..markh wrote:Cheers Jake. you still wanting that axle beam geezer ?
-
- Posts: 718
- Joined: Wed Apr 01, 2009 2:14 pm
- fill in the right answer: 15
- Location: Newcastle, Staffordshire.
Re: Project RED GTX
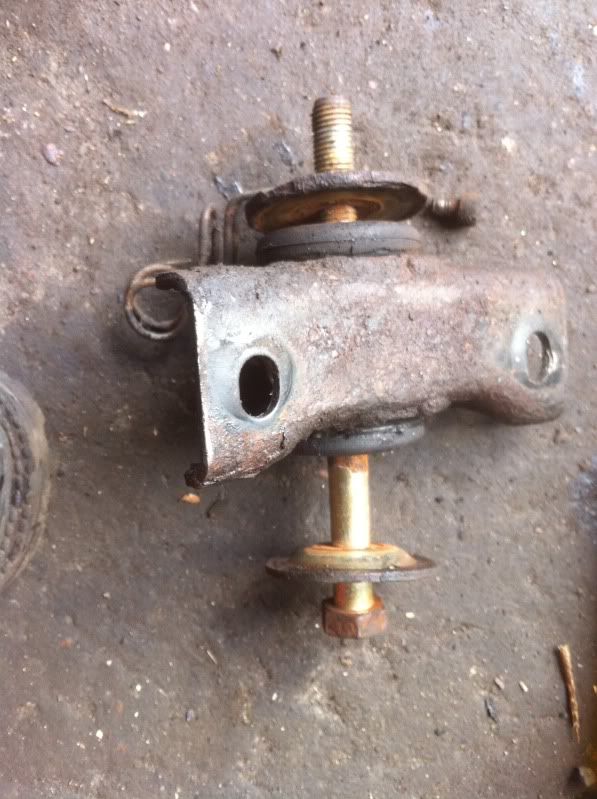
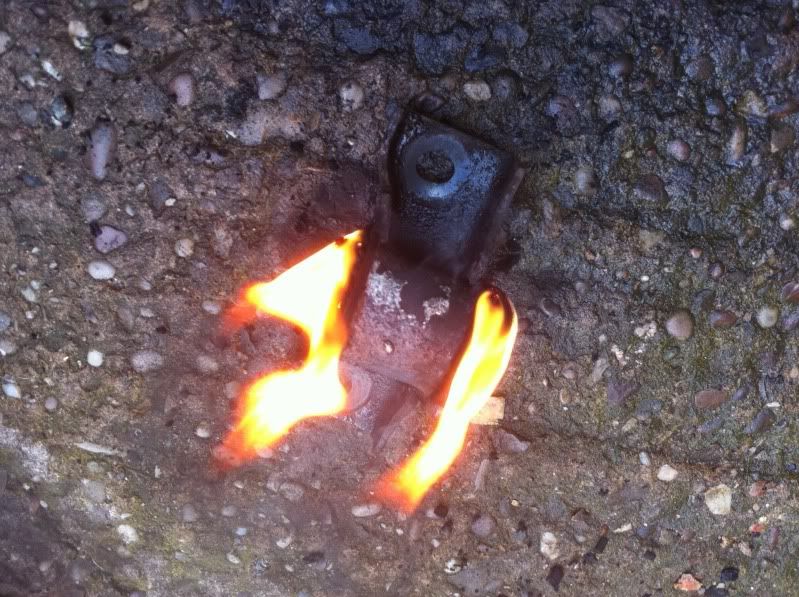
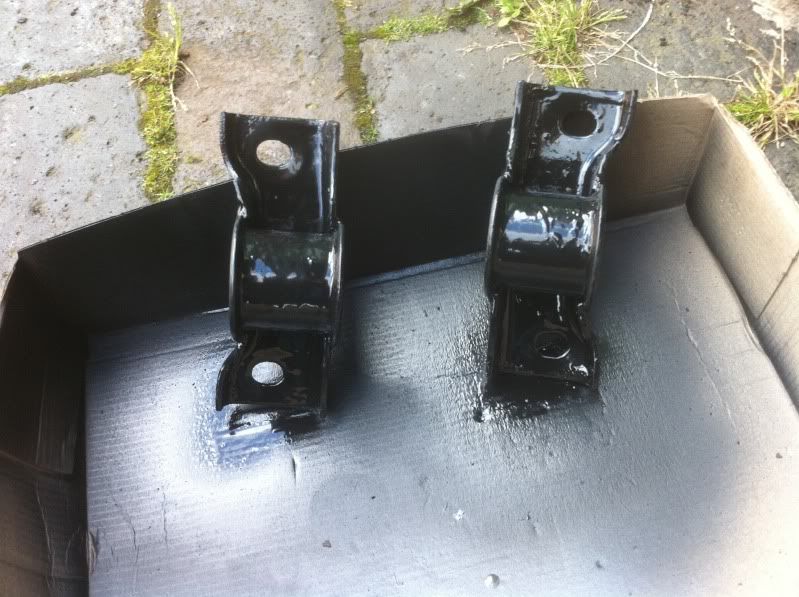
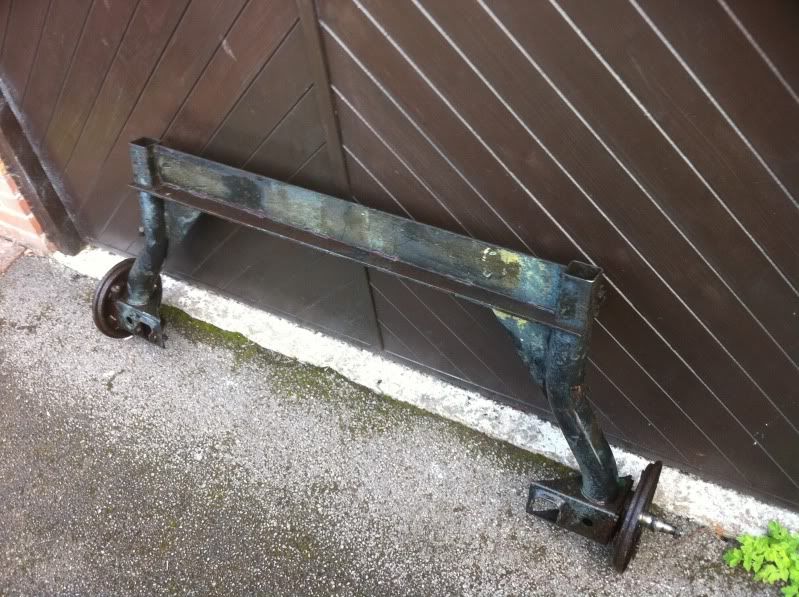
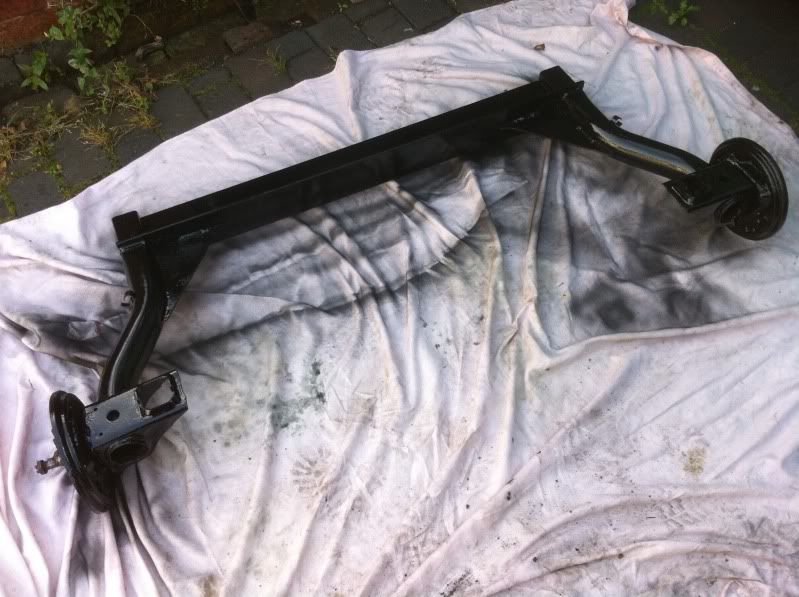
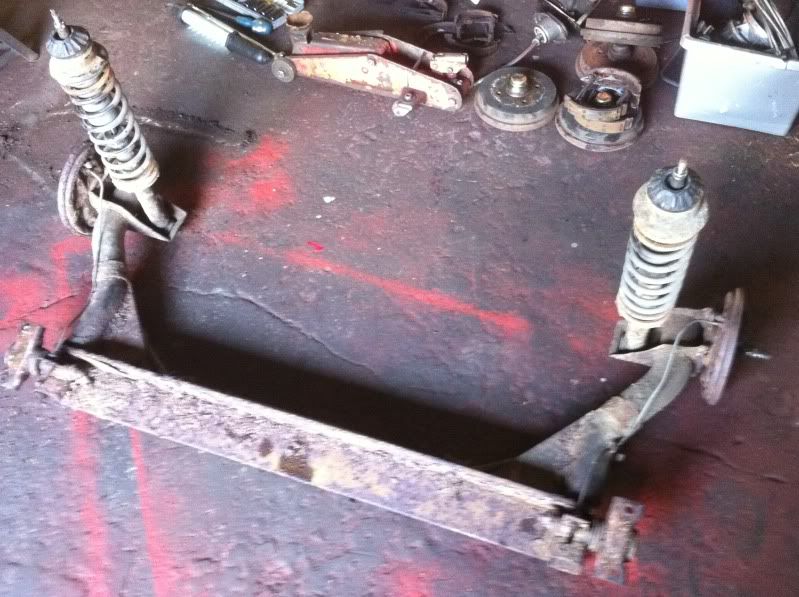
Spent a couple of hours on the car today. Seeing as the rear beam has got to come out to replace the fuel tank and rear brake hoses and seeing as the original one on the car is heavily rusted, i decided to recondition a better one i had had lying around for a while. I started off by removing the beam mounts and stripping them down ready to repaint them and fit the new poly bushes i have bought.
The old bushes were'nt in too bad a shape, but i prefer poly bushes anyway, so i burned out the old ones.
Then wire brushed, primered and then painted them in black polyurethane paint. When they are properly dry, and the beam has been painted, i will fit the new bushes using the old bolts, but with new washers and nyloc nuts.
I took the beam home, and jet washed the worst of the crud off it. When its dry, i will wire brush it and repaint it, refit the mounts, fit the new braided brake hoses, new metal brake pipes, new wheel cylinders and brake shoes. Then its all ready to go back in the car.
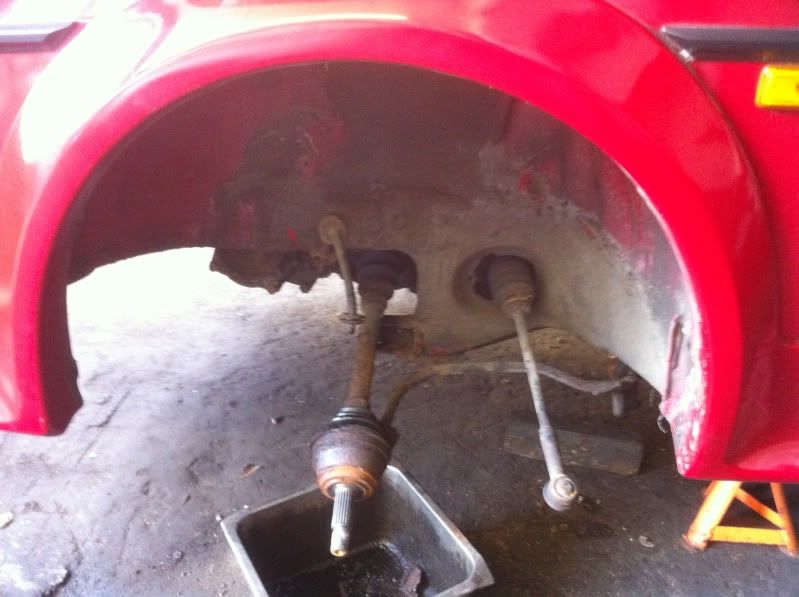
I also stripped out the old front suspension from the passenger side, its all going for scrap and new parts will be fitted.
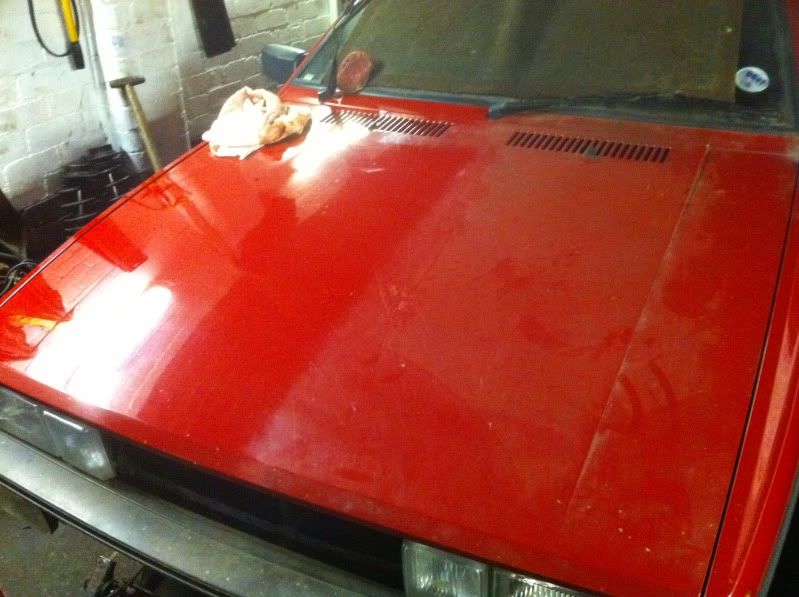
I Tcut half of the bonnet as i was keen to see what the paint was like after being covered in 9 years worth of dust and crap.
More tomorrow hopefully.
Don't ask me....it was like that when i got here !
-
- Posts: 718
- Joined: Wed Apr 01, 2009 2:14 pm
- fill in the right answer: 15
- Location: Newcastle, Staffordshire.
Re: Project RED GTX
Cheers LEEP
Did a bit more work on the refurbished beam today.
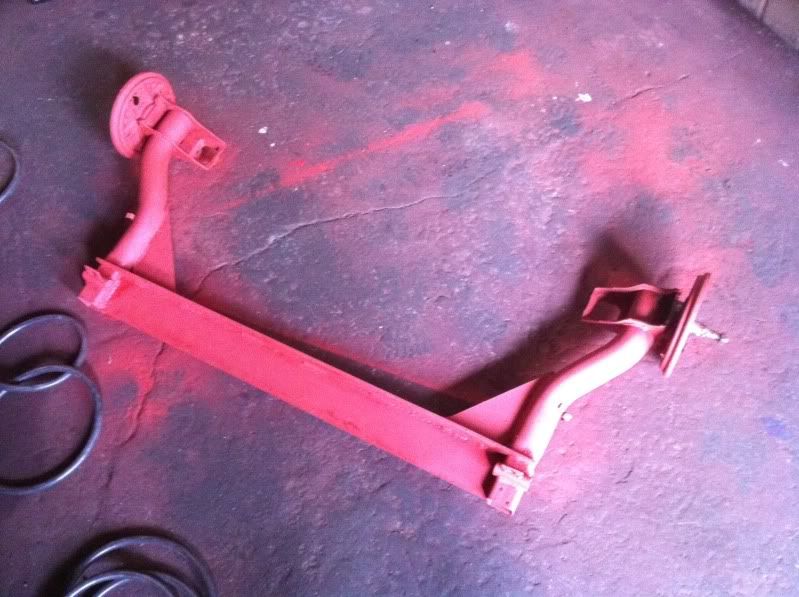
After it had dried since being jet washed, i wire brushed the few rusty bits and then gave it a few good coats of red oxide primer.
Once this had dried, it had several good coats of urethane gloss black paint. Im pleased with the result. I also made up two new rear metal brake pipes, so hopefully tomorrow i can start building the beam back up.
I took the old beam out of the car, luckily the beam mounting nuts and studs parted company without too much hassle, its always a worry, dont want to go snapping a stud !!
All this lot will be binned (apart from the roll bar) as its all in a bit of a rough state.
More tomorrow.
Don't ask me....it was like that when i got here !
-
- Posts: 709
- Joined: Tue Dec 08, 2009 10:07 pm
- fill in the right answer: 10
- Location: Aberdeenshire
Re: Project RED GTX
Where did you get the poly paint from, every search I do comes up with garage floor paint.
Sigh...makes me wish I'd held out for a garage when buying a house.