old school California look GTX

Scirocco Register members projects
Forum rules
Section for all vehicle and related projects. Please keep responses pertinent to thread.
User avatar
Vonlard
Posts: 114
Joined: Mon Dec 07, 2009 3:28 am
fill in the right answer: 10
Location: Colchester Essex

old school California look GTX

Post by Vonlard »

PART 1
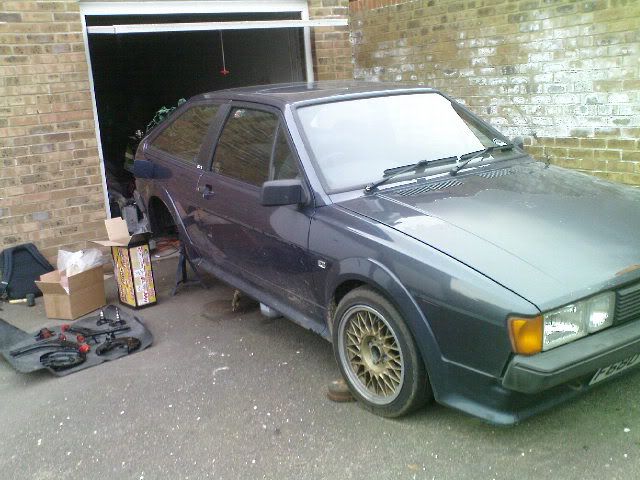
Thought it was about time I started a build thread for my whip as I have had it for almost 2 years now and have done quite a bit already.
the guy before had lowered it and fitted a 2l bottom end and box but the shift rods were knackered and the drivers seat was from another car and had all the stuffing hanging out.
The day after getting the car home some idiot didn't look when leaving a roundabout and rubbed the front of his car down the drivers rear 1/4 and drove off making me chase him to the other side of the town and then give me false details... Thanks!
following weekend jet wash took most of the lacquer off the bonnet, all in all not a great start to rocco ownership.

Got a gear shift referb kit and sorted out the lack of first and second, took a mate for a drive and he snapped the cables for the sunroof, Thanks!
found a full interior on the bay in Kent for £40 went to pick it up and the guy who's name I cant remember knew of a mkII the same colour as mine in a scrappy down the road and suggested I follow him so I could liberate the sunroof from it. Very nice fella and a nice silver mkII.
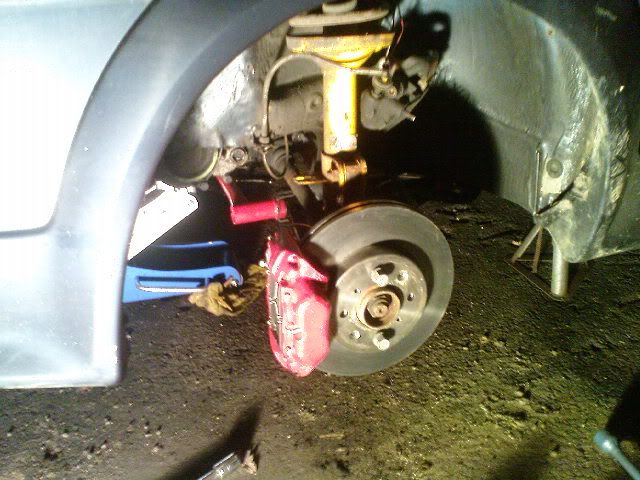
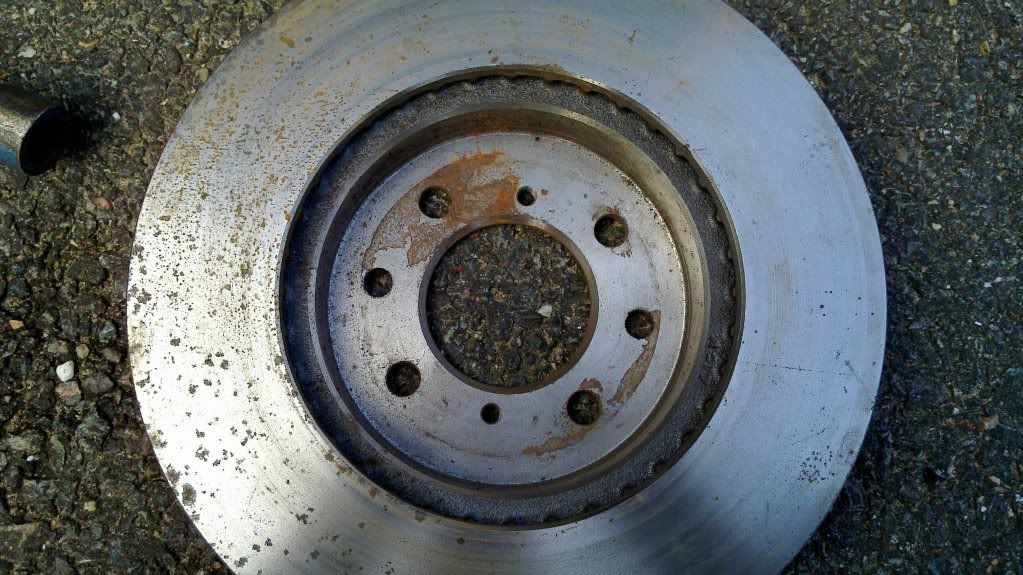
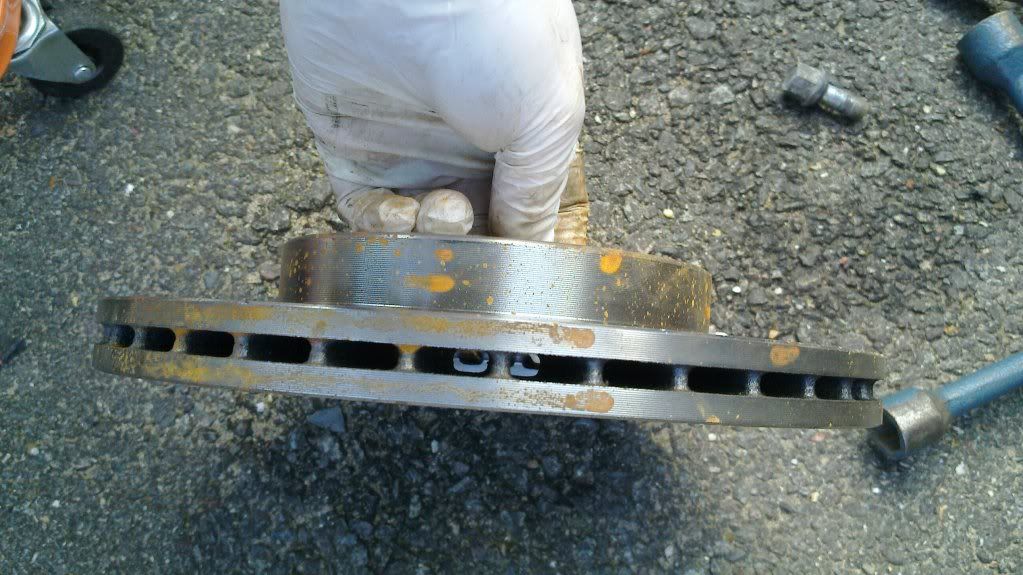
Ride hight was next on my agenda and having never raised a car was not gonna start then so got hold of a set of BMW BBS from a guy who works in the local dealerships parts dept gave em a quick paint job and treated them to a set of 40 profile TOYO PROXY'S and loaded the car to set off for Bug Jam 08....
....every corner was rubbing so all luggage and beer was swapped into a mates T4 van but roundabouts still came with the Dolby 5.1 rubber on lips (Trimmed the fronts n stopped having anyone in the back or a full tank and problem solved), spent the weekend hammered dressed as a gay cowboy and left to go home, all electrics died just after leaving the pod and then came back to life an hour later and still don't know why.
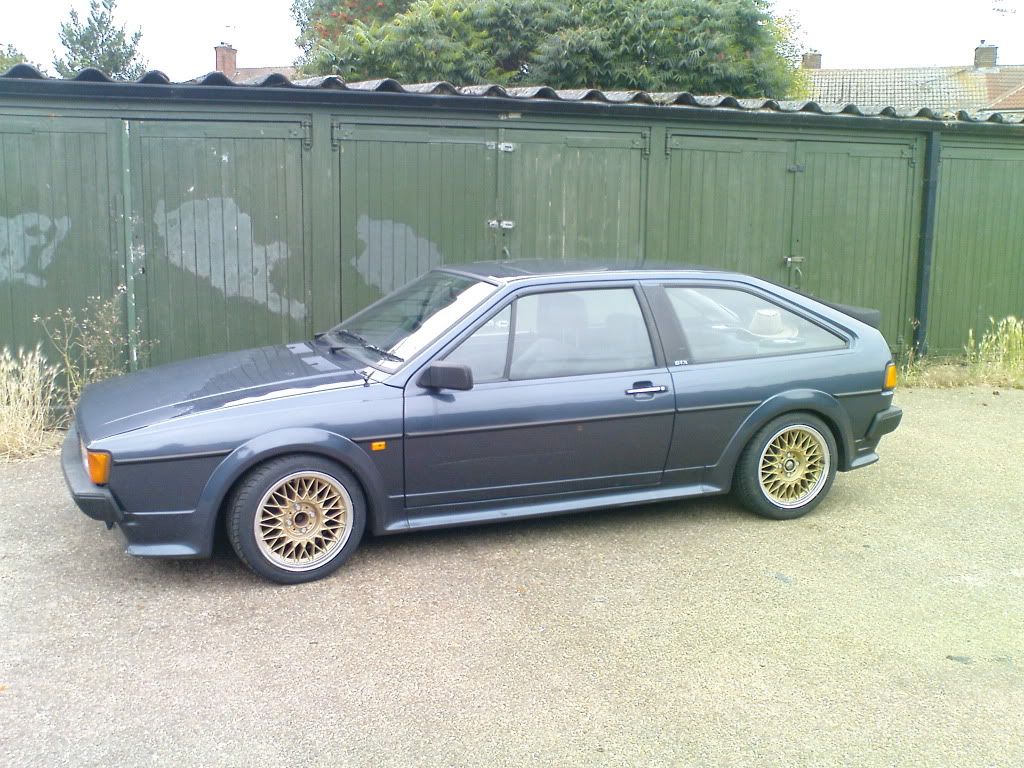
Image
Morning of bug jam
Image
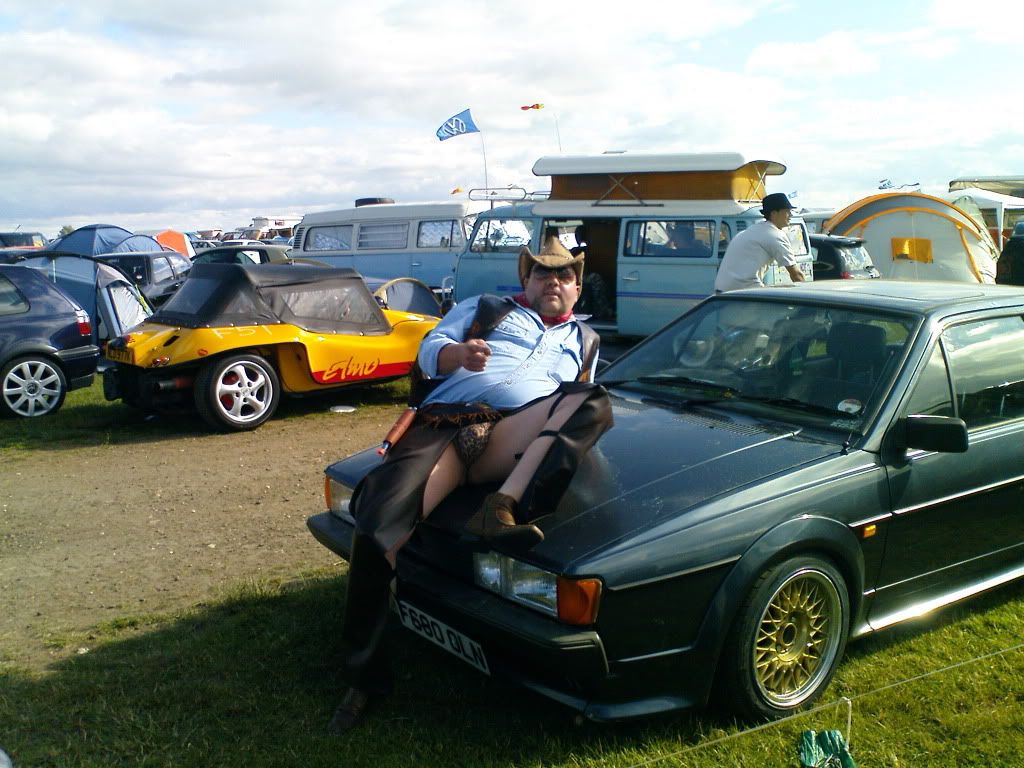
Told you I was hammered


It was meant to be a cheep run around till I finished the Type 1, Now I have 2 projects and an obsession

61 Type 1 Gasser project
88 Scirocco GTX rolling project
Nate
Posts: 4045
Joined: Thu Apr 02, 2009 10:37 pm
fill in the right answer: 10
Location: Cirencester / Swindon

Re: old school California look GTX

Post by Nate »

that 2nd pic is gonna give me nightmares! :shocking:


Image

Check out my photostream on Flickr
'69 bay, '79 bay, '74 bug, '78 GLS, '91 GT2, '10 SAAB 9-3
User avatar
Vonlard
Posts: 114
Joined: Mon Dec 07, 2009 3:28 am
fill in the right answer: 10
Location: Colchester Essex

Re: old school California look GTX

Post by Vonlard »

PART 2
replaced the rear brakes with G60 disks, swapped front disks n pads and master cylinder/servo for 16v golf bits and braided hose.
swapped steering wheel for smaller flat bottomed Sparco wheel as I had trouble getting in and out without moving the seat.
Dash caught fireImage
Replaced dash loom with a golf cab loom
fitted 4 2 1 stainless header
replaced golf cab loom with a rocco one and then burnt it out ImageImage
found the problem was dash lights so bent up the lever for the dimmer and estimated my speed in the dark ever since
While waiting at the end of my road for the car in front to pull out onto the main road said car t boned a car pulling in then panicked and reversed into the front of mine taking out the bonnet an inner lamp and the grill.
fixed them and started collecting body parts for the respray
fitted a snap off adapter to the steering wheel as my chunky legs were still a squeeze getting in and out also moving the wheel about 2" closer making all the clocks visible again and getting the driving position spot on just don't take the wheel off when your driving as your pants may change colour!
got HUGE split welded up on the firewall by the clutch
shaved the washer bottle from the engine bay by running the wipers from the reservoir in the back
changed the steering rack and fitted polly mounts
polly bushed the engine mounts (sorted the movement on acceleration and the vibration at idle is quite soothing)
fitted rear brace and now where the car is now.

took the car off the road to do the rest of the polly bushes, powder coat the suspension swap the front breaks for the Volvo 4 pot/Rover 220 disks I had collected and never got round to fitting, clean out the tank replace all the solid lines and fit a new filler neck.
Image
Image
Image
Image
Image
Image
also fitted a lower strut brace.
Callipers have about 2mm clearance from the wheel and at one point I thought I was gonna have to run spacers.
fitted 5mm spacers between the rear beam and the stub axlesImage
I got all the powder coating done at Maldon shot blasting and powder coating in Essex and they done a great job si if anyone needs some done they are well worth a visit http://www.ctc-powder-coating.co.uk/


It was meant to be a cheep run around till I finished the Type 1, Now I have 2 projects and an obsession

61 Type 1 Gasser project
88 Scirocco GTX rolling project
User avatar
Vonlard
Posts: 114
Joined: Mon Dec 07, 2009 3:28 am
fill in the right answer: 10
Location: Colchester Essex

Re: old school California look GTX

Post by Vonlard »

Nate wrote:that 2nd pic is gonna give me nightmares! :shocking:
haha your lucky I haven't got a shot from the back Unlike everyone that I found posing behind me when I turned around in toilet cues


It was meant to be a cheep run around till I finished the Type 1, Now I have 2 projects and an obsession

61 Type 1 Gasser project
88 Scirocco GTX rolling project
User avatar
Funky Diver
Posts: 1175
Joined: Fri Apr 17, 2009 10:26 pm
fill in the right answer: 10
Location: Darlington
Contact:

Re: old school California look GTX

Post by Funky Diver »

Nate wrote:that 2nd pic is gonna give me nightmares! :shocking:
It certainly wasn't what I needed at 7.45 this morning, lol.


Storm
Posts: 61
Joined: Wed Apr 01, 2009 12:15 pm
fill in the right answer: 10
Location: Dorset

Re: old school California look GTX

Post by Storm »

made me :laugh:


Image
User avatar
The Autoad
Posts: 732
Joined: Sat Feb 28, 2009 5:57 pm
fill in the right answer: 10
Location: Nottingham
Contact:

Re: old school California look GTX

Post by The Autoad »

I could make a joke about chaps but i won't.

Do the Volvo 4 pots just bolt up to the hub or is there some machining to do?


Your friendly neighbourhood Scirocco restorer for hire
User avatar
andy69
Posts: 39
Joined: Sat Feb 20, 2010 10:45 pm

Re: old school California look GTX

Post by andy69 »

I'll never look at my bonnet in the same way again....ever! :shocking:


1986 Mk2 1.6GT tintop
1977 Type 2 Devonette
User avatar
Vonlard
Posts: 114
Joined: Mon Dec 07, 2009 3:28 am
fill in the right answer: 10
Location: Colchester Essex

Re: old school California look GTX

Post by Vonlard »

The Autoad wrote:I could make a joke about chaps but i won't.

Do the Volvo 4 pots just bolt up to the hub or is there some machining to do?
Kind of, the bolt holes are the same distance apart but slightly larger diameter and need spacing out from the hub so you need to machine the spacer and the callipers need 2 brake lines feeding each one so hard lined them to a T piece on a T shaped bracket I made to connect to the braided line and there are more nipples on each one than a suckling pig. When I bought them the spacers were already made and they came with an old issue of The Golf magazine with a bit about the upgrade (p35 June 97) it states Rover 216 GTI 260mm disks and Volvo 245 Estate callipers and was done by Cars and car conversions magazine for a project car a few years previously. tomorrow I will pull a spacer out take some pics and get the rough measurements for you


It was meant to be a cheep run around till I finished the Type 1, Now I have 2 projects and an obsession

61 Type 1 Gasser project
88 Scirocco GTX rolling project
User avatar
Vonlard
Posts: 114
Joined: Mon Dec 07, 2009 3:28 am
fill in the right answer: 10
Location: Colchester Essex

Re: old school California look GTX

Post by Vonlard »

Sorry its these taken a while to post these but here are the pics of the spacer for the volvo brakes and a diagram with the dimensions
Image
Image
Image
Image
Image
Image
Image
Image
Image
hope this helps anyone else considering the swap, disks are 262mm.
Dont know what they are like to use yet as the mot ran out yesterday and I have spent the last week looking for a bolt I put in a safe place and tracking down a fuel leak but hopefully will go for a test drive tomorrow if all works out


It was meant to be a cheep run around till I finished the Type 1, Now I have 2 projects and an obsession

61 Type 1 Gasser project
88 Scirocco GTX rolling project
User avatar
Vonlard
Posts: 114
Joined: Mon Dec 07, 2009 3:28 am
fill in the right answer: 10
Location: Colchester Essex

Re: old school California look GTX

Post by Vonlard »

Also had to run spacers on the front to clear the callipers I have used 3mm then added 6mm to the rear wheels to level things out a bit


It was meant to be a cheep run around till I finished the Type 1, Now I have 2 projects and an obsession

61 Type 1 Gasser project
88 Scirocco GTX rolling project
User avatar
Vonlard
Posts: 114
Joined: Mon Dec 07, 2009 3:28 am
fill in the right answer: 10
Location: Colchester Essex

Re: old school California look GTX

Post by Vonlard »

quick update, got the car back on the road today. Had to put the 6mm spacers on the front as the 3's didn't give enough clearance for the callipers so to even up the rear I put the other pair of 5mm stub axle spacers on there bringing the back out 10mm on each side and still sitting under the top of the arches but will need rolling back so will do this after the MOT and a good wash tomorrow and will post some more pics when clean


It was meant to be a cheep run around till I finished the Type 1, Now I have 2 projects and an obsession

61 Type 1 Gasser project
88 Scirocco GTX rolling project
User avatar
Vonlard
Posts: 114
Joined: Mon Dec 07, 2009 3:28 am
fill in the right answer: 10
Location: Colchester Essex

Re: old school California look GTX

Post by Vonlard »

MOT today went straight through with no advisory s but shift rod keeps popping off so having to granny shift into secondImage
and my god the brakes are amazing! I keep flooring it everywhere just so I can use them more. now I have a feeling I will be hankering after some more pony's in the front so got to go get the 16v and start playing


It was meant to be a cheep run around till I finished the Type 1, Now I have 2 projects and an obsession

61 Type 1 Gasser project
88 Scirocco GTX rolling project
bennyboi
Posts: 74
Joined: Mon Jun 08, 2009 7:13 pm

Re: old school California look GTX

Post by bennyboi »

any chance on a DIY how to for the brakes dude woulnt mind runni that on my 20vt rocco


User avatar
Vonlard
Posts: 114
Joined: Mon Dec 07, 2009 3:28 am
fill in the right answer: 10
Location: Colchester Essex

Re: old school California look GTX

Post by Vonlard »

bennyboi wrote:any chance on a DIY how to for the brakes dude woulnt mind runni that on my 20vt rocco
not much of a how to needed, if you get the spacers made up and source the parts it is all simple bolt on where the old callipers came off and find a way to merge the 2 brake line input of the calliper with the 1 brake line and there must be prettier ways to do it than how I have.
bleed, fit spacers(if needed) put wheels back on, drive the hell outa the car again.

Quick update: Missing Linkz kit turned up yesterday and got fitted today and is a major improvement still got a little bit of an ishue finding 2nd but I think that is more to do with the lever needing repositioning as one of the captive nuts is turning so I cant get it tight. also picked up a spare front wing of ebay on Friday for £15 but on the drive to pick it up discovered the front wheels need rebalancing as between 70 and 90 it sounds like there is a bren gun strapped to the dash and runs smooth as anything up to 120 and still has a bit left in it.
jobs for tomorrow: take it to get the alignment sorted and front wheels rebalanced, may take a hammer n dolly to the rear arches and sort out that captive nut may even get round to moving the rad forward so I can replace the plastic airbox with the alloy one I have and fit the CDA induction kit. busy day ahead so will take plenty of pics


It was meant to be a cheep run around till I finished the Type 1, Now I have 2 projects and an obsession

61 Type 1 Gasser project
88 Scirocco GTX rolling project
Post Reply