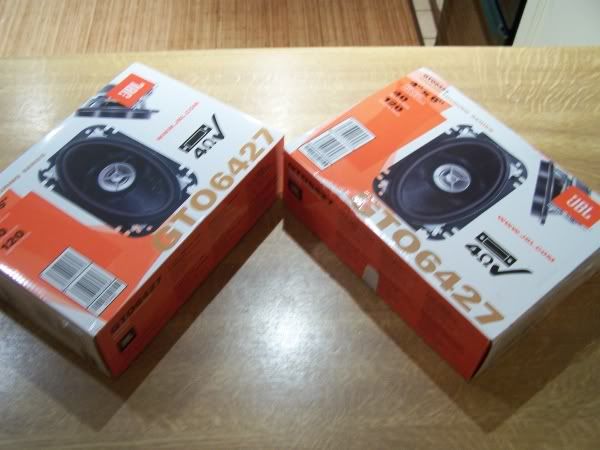
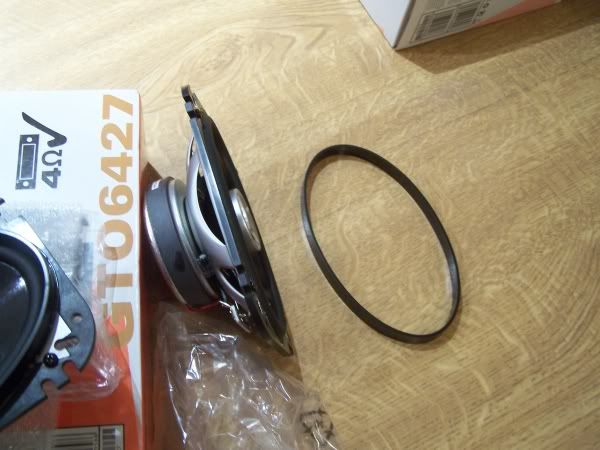
Speakers used-
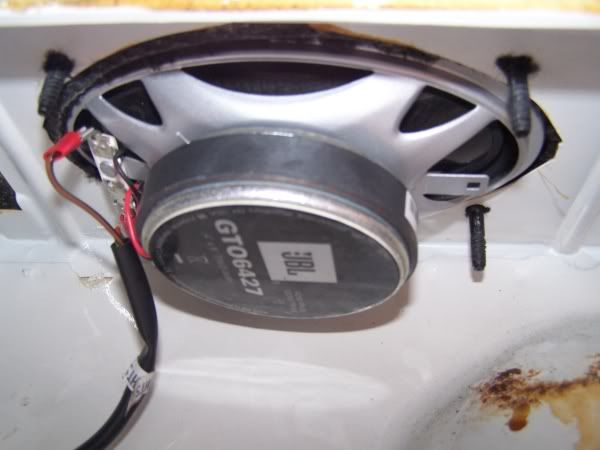
JBL GTO6427 6x4
"http://cgi.ebay.co.uk/ws/eBayISAPI.dll? ... gory=14939"
Tools needed-
Flat head screwdriver
Philips Screwdriver
Socket set with a 9mm socket (really need this for the rears a spanner would take ages)
Wire cutter/pliers
Speaker wire connectors (4 large, 4 small)
Time needed-
About an hour
First job it to strip down the new speakers so they’ll fit. This involves removing the rear plastic mounting plate. This is done with the 4 small screws, these had a little soft glue on them as well.
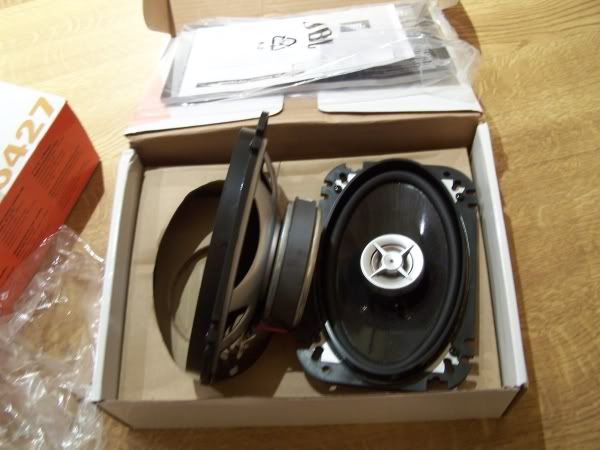
Next, in order for the speaker to fit behind the original grill’s (front and rear) the oval plastic ring that goes round the speaker need to be removed. This was easier than I thought it was going to be. A little pressure to its side and it lifted from here it was easy to lift the rest and remove. Its only lightly glued in place, I suppose you could warm it up first, but all 4 came off really easily.

Front speakers-
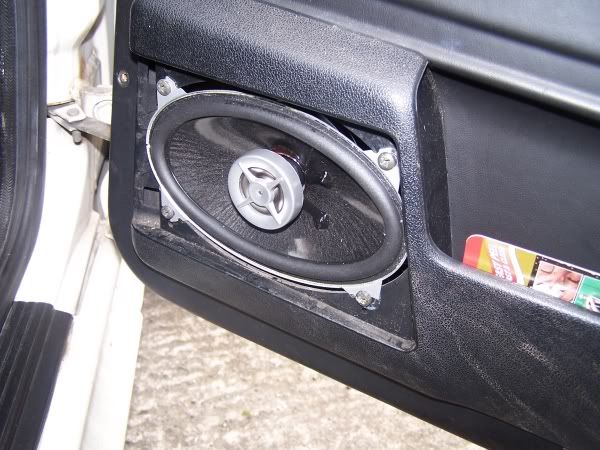
Use the flat headed screwdriver to remove the grill.
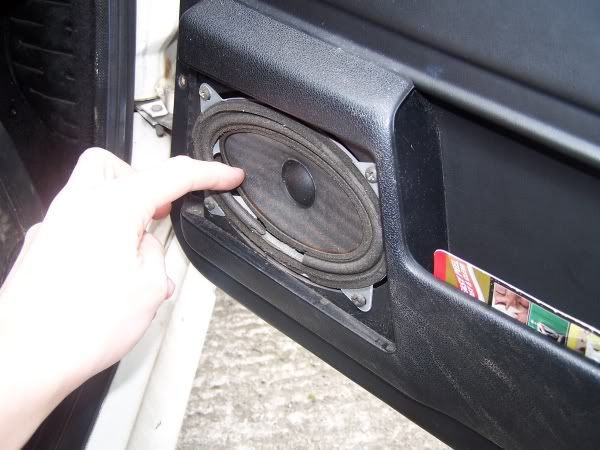
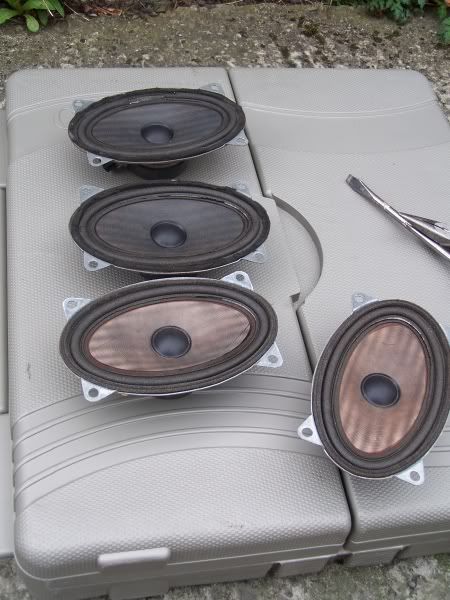
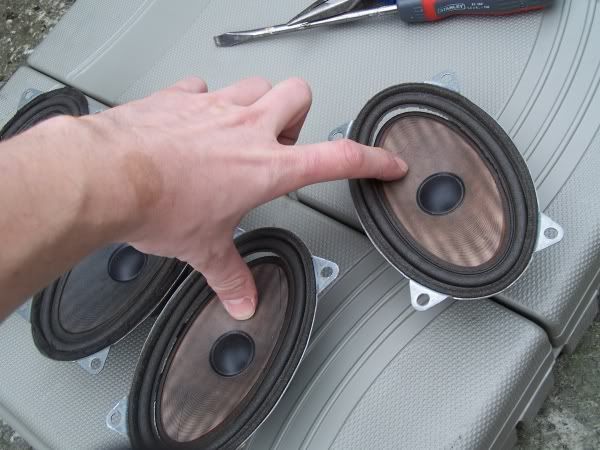
As you can see the existing speakers are in a real state all torn. Remove this and unhook the connector block from the rear (must admit was surprised to see this).
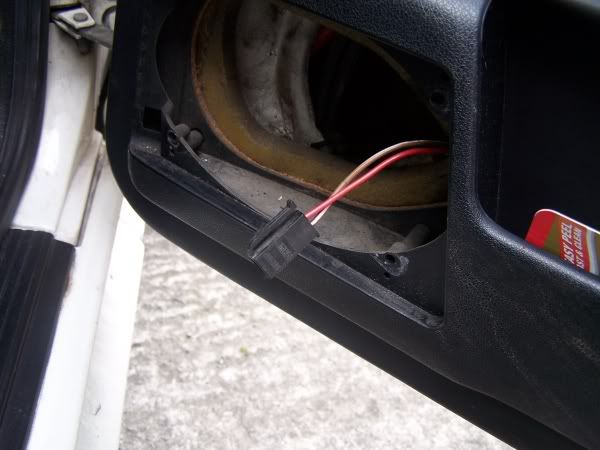
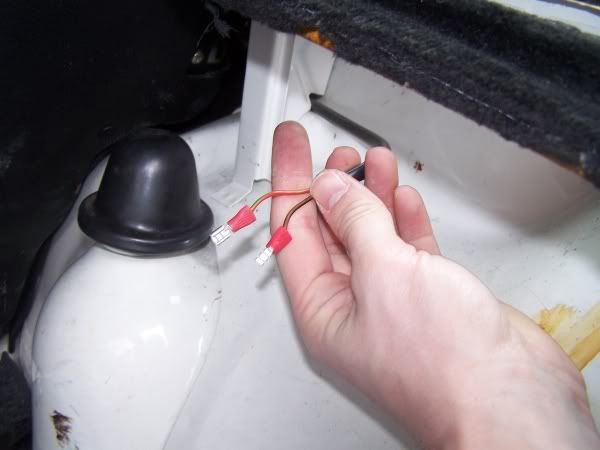
Cut block off and add connectors making sure the large one goes on the positive.
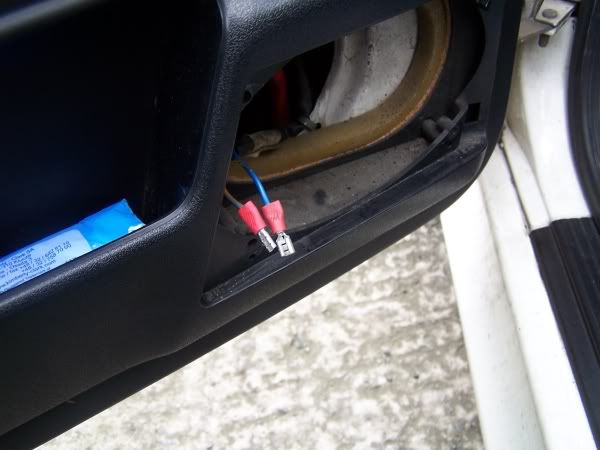
All done its just a case of popping the new speaker in the door and screwing back in. One note though with the new speaker magnet being much larger that the original I had to bend the connection points on the rear of the speaker by 90 degrees to allow for refitting.
All done
The just refit the cover
Rear Speakers-
These are a little more difficult to fit, purely because your working upside down!!!!
First job is to unbolt the grill from underneath, these bolts are locking nut type that bite into the plastic screw section of the grill to hold everything in place. The locking nut is an odd size 9mm, fortunately I had a 9mm socket and a small ratchet, so could get in. This was more awkward on the drivers side due to the fuel filler neck coming in on that side.
Once free a little force mat be needed to remove the grill (be careful in trying to free it I unfortunately snapped off on of the screw threads)
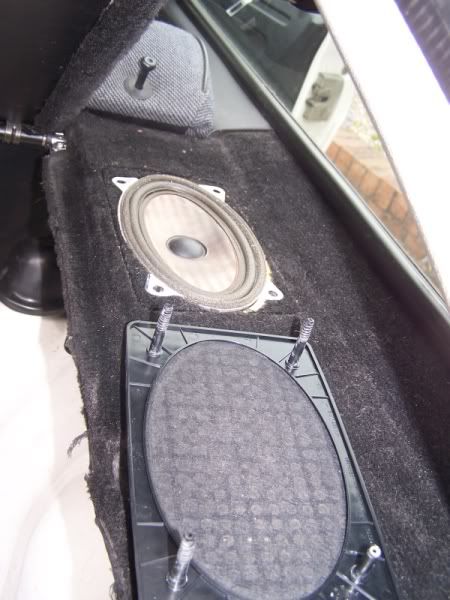
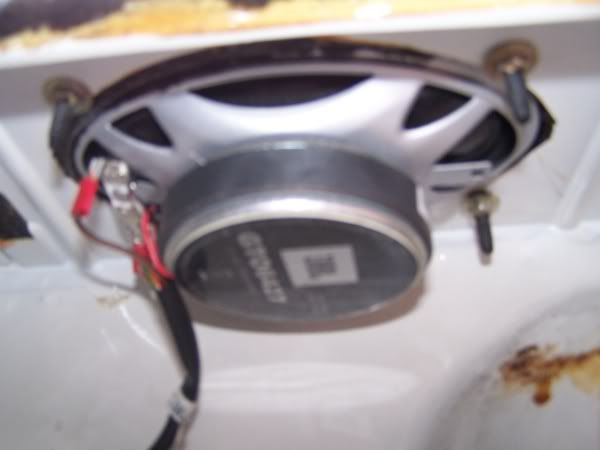
The speaker was not bolted down, so removal is easy. As with the front speaker, remove the connector and cut of and replace with the wire connectors.
The protective cover that fit over the rear of the original speaker will not fit over the larger magnet of the new ones so I removed these before replacing the grill and bolting up.
The only real issue I had with the rears was re-bolting up with the locking nuts, it may be worth cutting a few mm of the ends of the plastic screw threads on the grill, as my socket wasn’t deep enough to bolt them all the way up with the rear protector removed.
After about an hour all the speakers were replaced and working brilliantly,it’s amazing the old ones produced any sound.