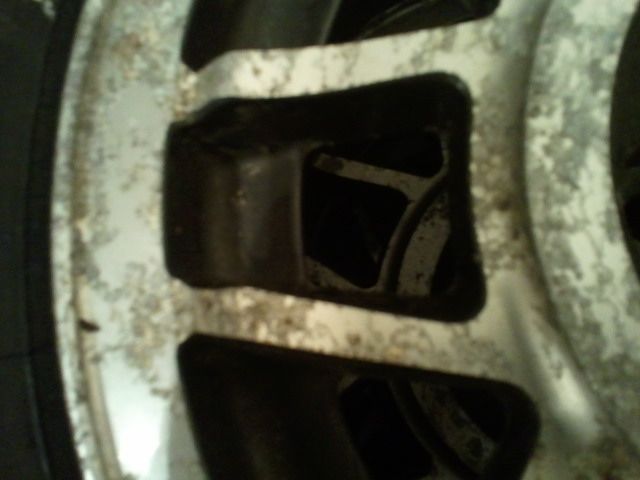
think you get the general idea from the images above.
Did a bit of asking around and found that I could probably get the results I wanted just by using this little bit of kit:
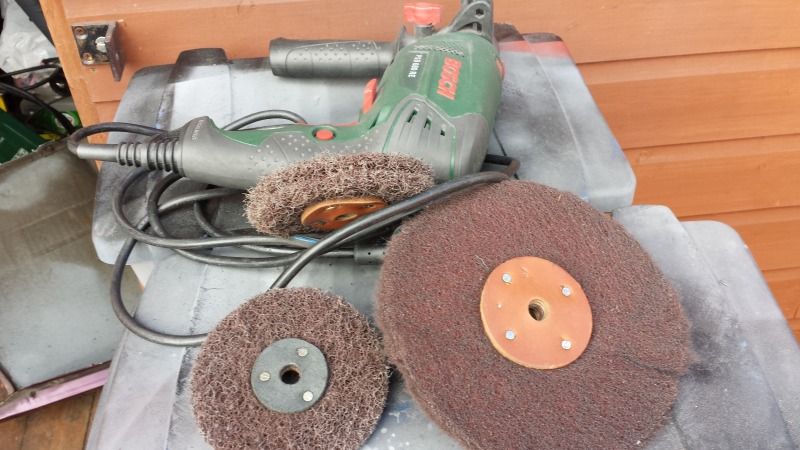
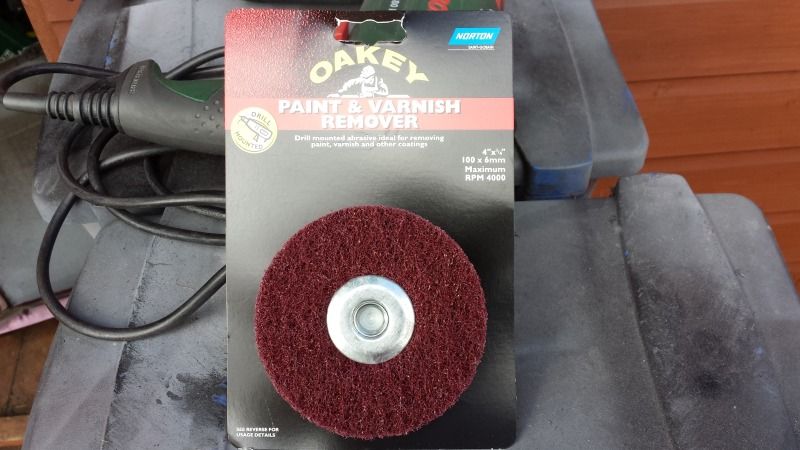
I would also recommend some safety glasses as you'll find bits start to fly everywhere generally in the direction of your face...
The drill is a variable speed one which I found to be essential so if you're are thinking of having a go I would definitely recommend investing in a good variable speed one if you don't already have it. The Oakey paint stripping wheel you can get from B&Q (other diy stores are available..lol). The other 'scotchbrite' wheels I got online from 'The Polishing Shop'. They were very helpful in advising which to buy to get the finish I was looking for and they recommended the medium and fine grade wheels. They can also provide the drill spindle to attach the wheels to (the Oakey wheel comes spindle mounted). They are inexpensive to purchase so I got a few and more, to have a play around with.
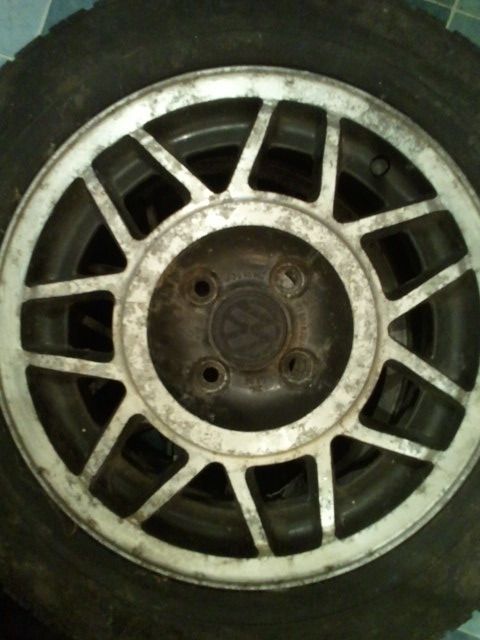
After giving the wheels a thorough cleaning it was time to start with the 'Oakey' stripping wheel. This is the first point you realise the variable speed of the drill becomes important. Have a play to find out which speed works best for you - you'll see the effect the wheel has depending on the pressure you apply but be careful - press to hard and you'll find you start to make a groove in the wheel. Also try not to stay on one spot for to long for the same reason. It's also very tempting to keep going at some of the areas that are 'pitted' but there are times when you have to say enough is enough and accept that you might not be able to get it all out.
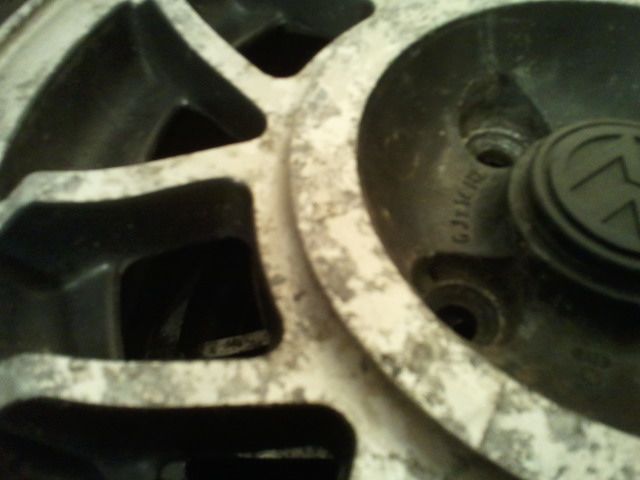
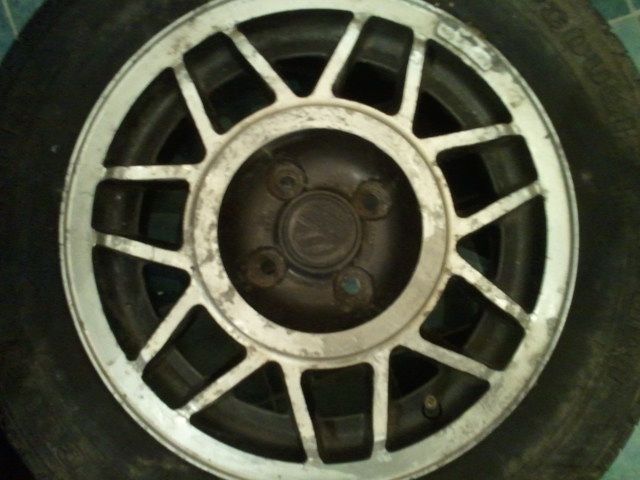
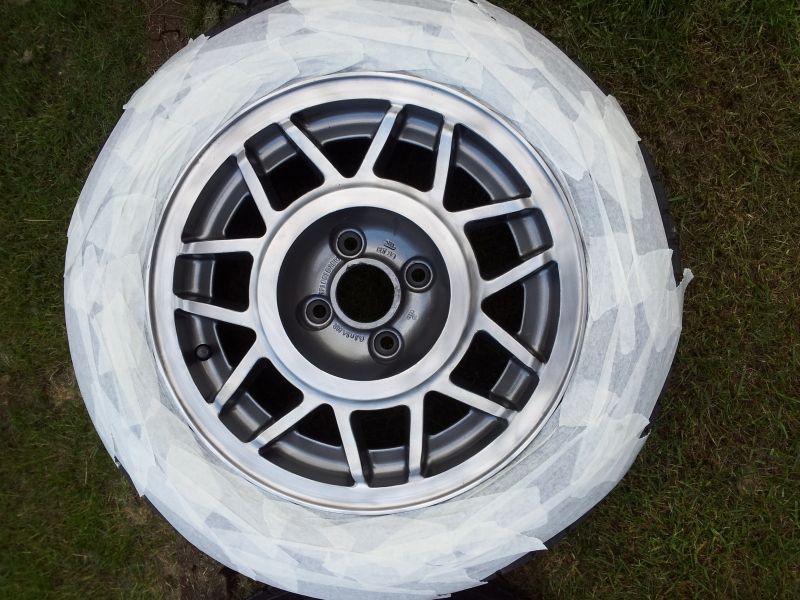
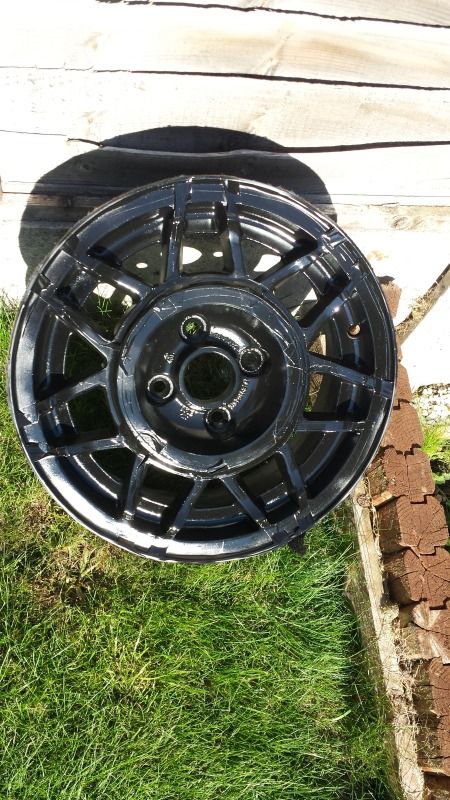
Anyway having used the stripping wheel I got the wheels to this stage:
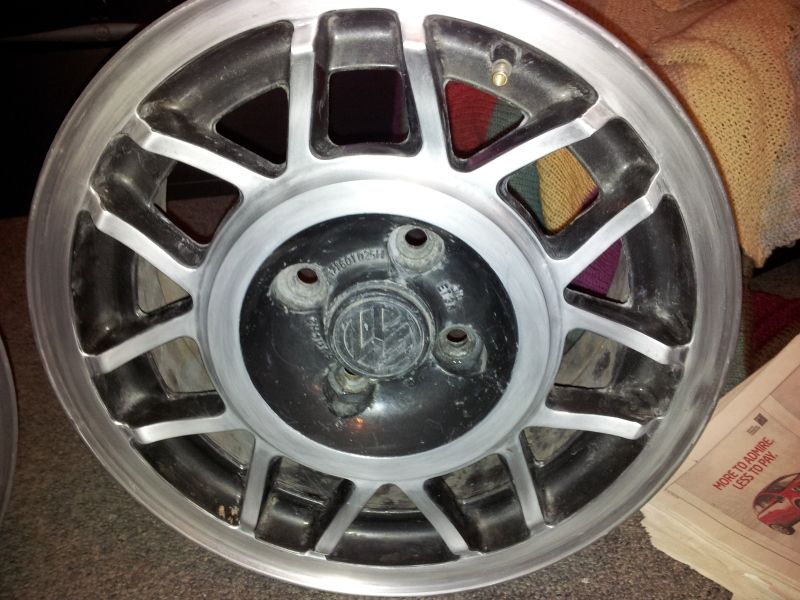
Again you get the general idea.
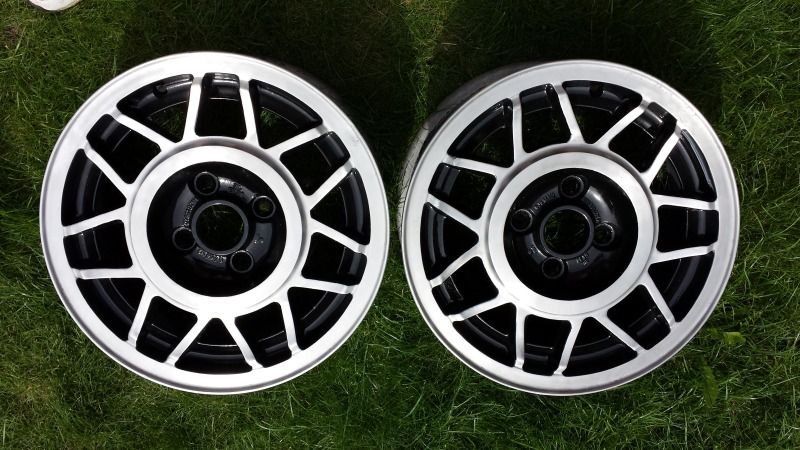
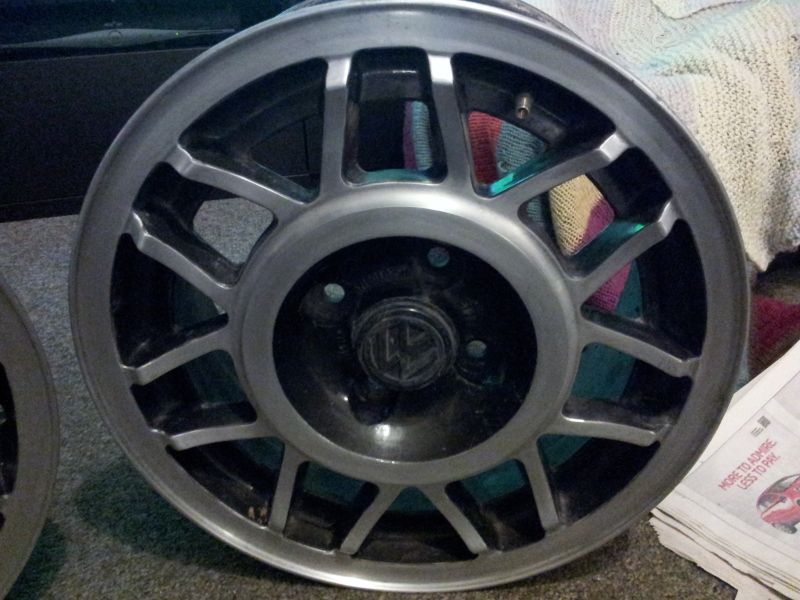
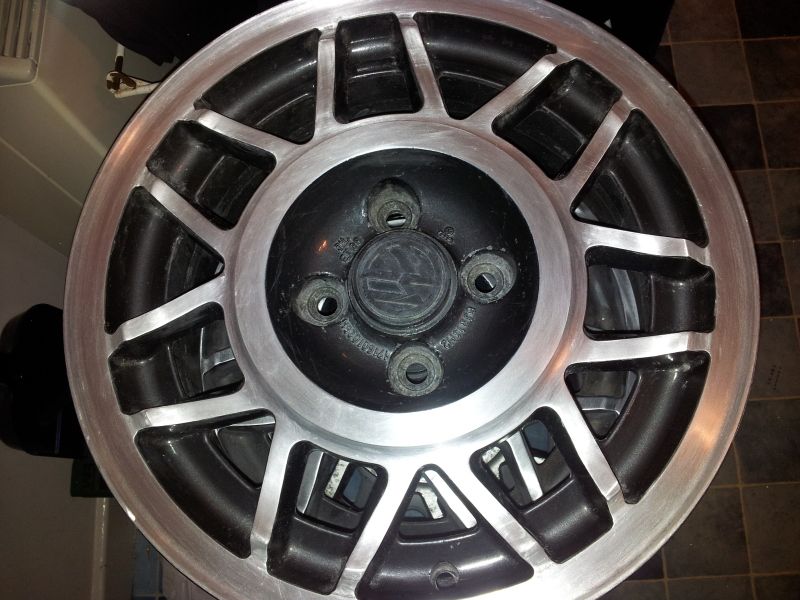
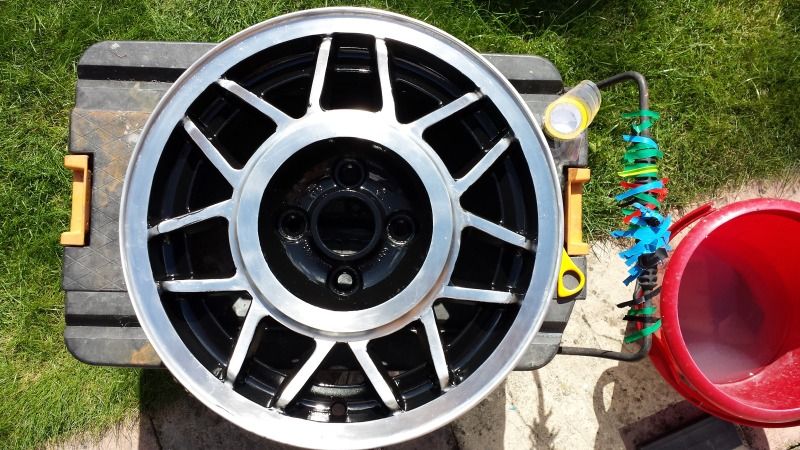
Having got them to this point it was time to try and get the finish to the 'faces' of the wheels that I wanted. I pretty much knew I wasn't going to get a diamond cut look so thought I'd try to get 'brushed satin/brushed aluminium' look. This is where the wheels from the polishing shop come in. Again it was a case of trial and error with regards to getting the speed of the drill and finding a technique that worked. I found that a relatively low to medium drill speed worked best whilst moving around the wheel slowly and moving the 'scotchbrite' wheel in a back and forth motion across the area being worked on. When doing the spokes I always tried to move along the spoke at the same angle on each one to get that uniformed look around the wheel. I should point out at this point to be careful when working on the spokes. If you apply to much pressure or stay on one spot for to long as you work the 'shoulder' area of the spoke it is very easy to start losing the shape of it - you'll see what I mean if you try it!
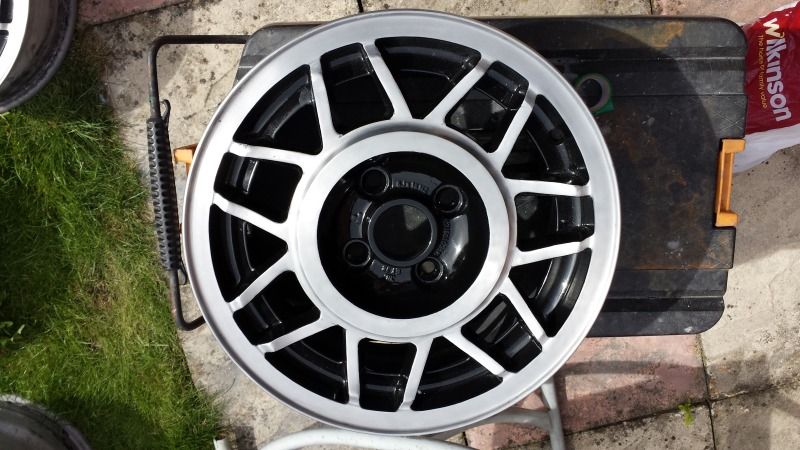
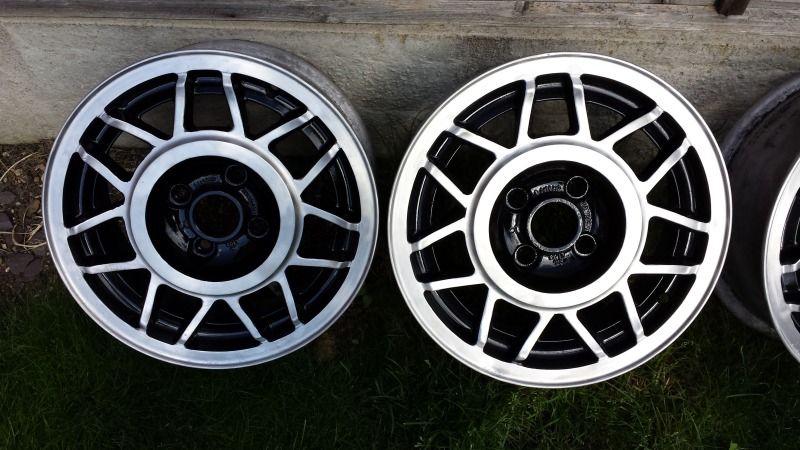
Now at this point of doing the first set I messed up with the photos and deleted them before I'd uploaded them so the images below are after the first set had been masked, primed and painted and were ready to be lacquered but hopefully you can see the effect/finish on the face of the wheels.
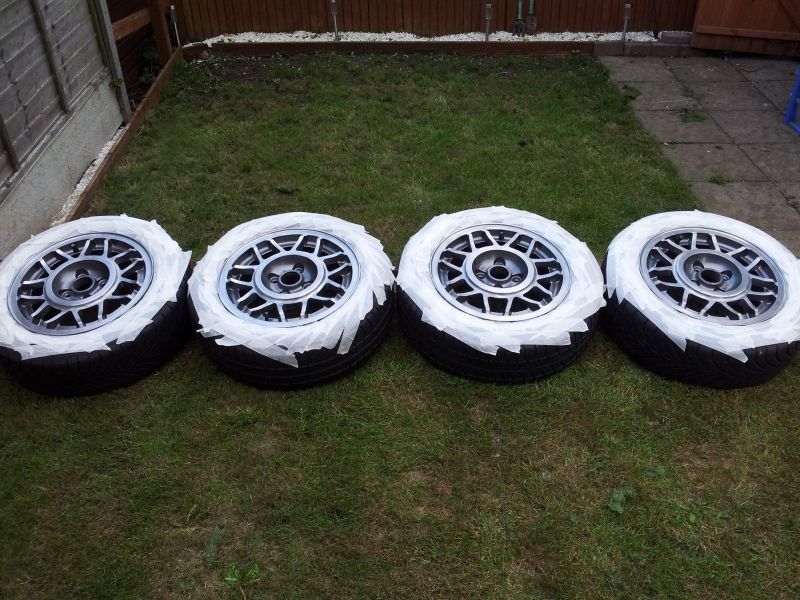
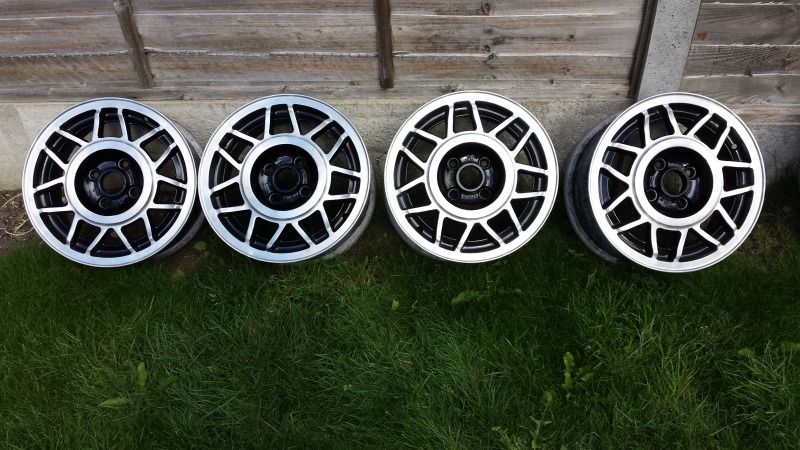
This first set of wheels I painted Anthracite which I felt best suited the car and after having given them a couple of coats of lacquer this was the result:
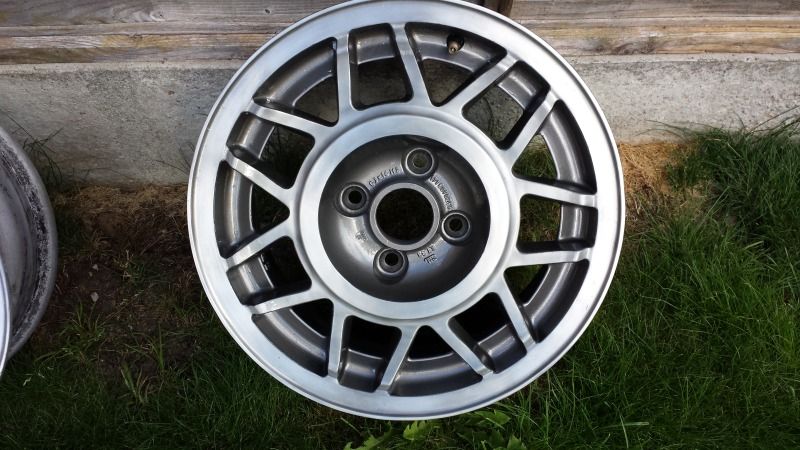
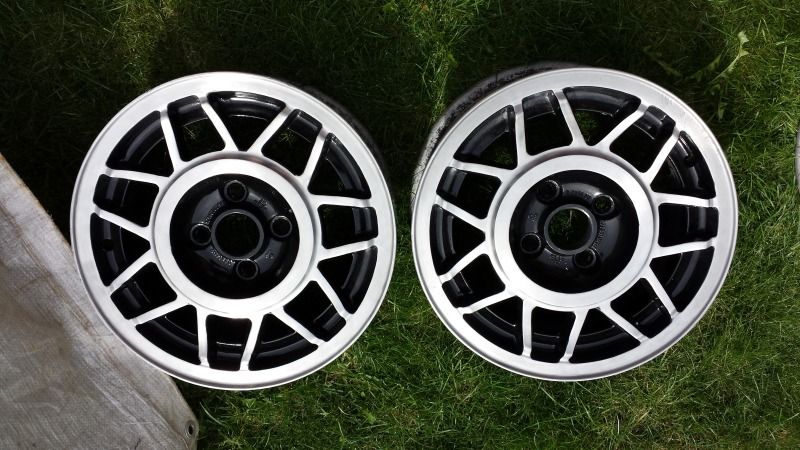
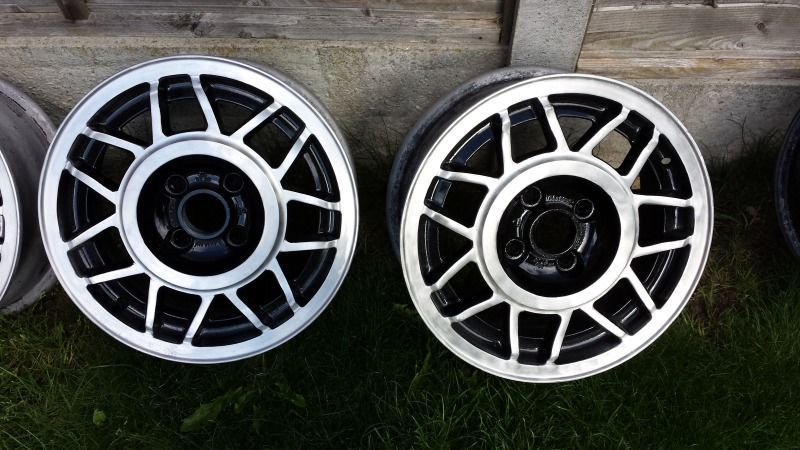
The second set went through the same process. This time though I intended to paint them a gloss black and thought that I'd try to get the faces a little brighter than the first set. Again the variable speed on the drill proved its worth as increasing the speed seemed to do the trick and gave a brighter finish.
This time though I have a few more images.
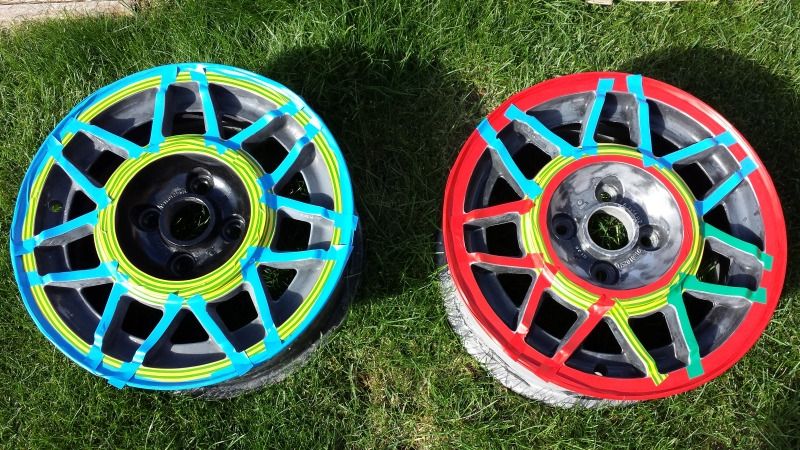
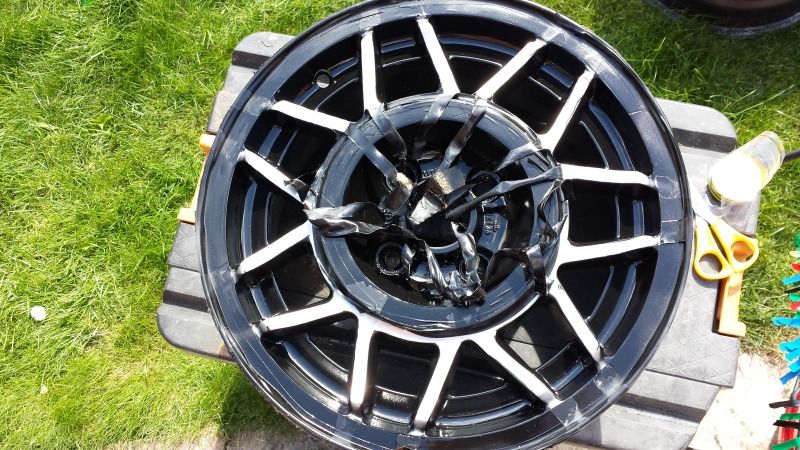
Having got the wheels to pretty much the finish I wanted it was time to mask them. I found that electrical tape was the best option as it will stretch and allow you to curve it around the wheel. Have a shop around - a market diy stall or even wilkos is your best bet. I think I used around 7 standard size rolls to mask up a set of 5 wheels. A craft knife comes in very handy as well to trim the tape when masking off the spokes. As an afterthought you may be able to get some 'pinstripe' that would match the width of the spokes?
Masked up
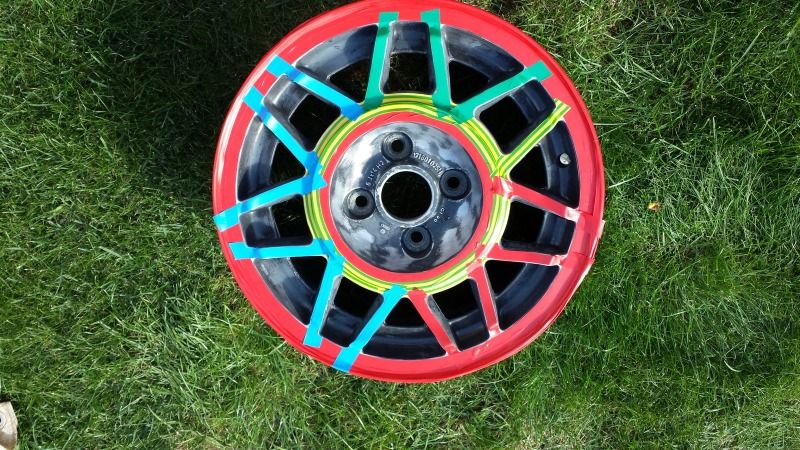
You might notice one of the wheels has already had a coat of black in its centre. Reason...well... The paint I've used is from Halfords (I know...
So I gave the wheels a couple of coats of primer and and then went on to give them a couple of coats black
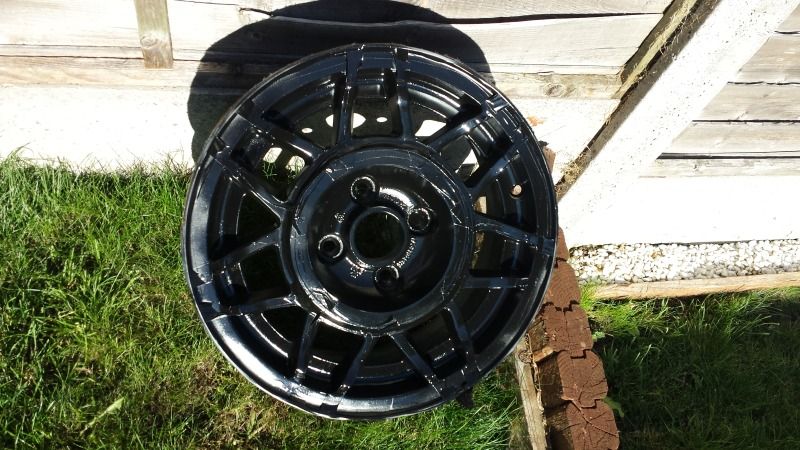
The moment of truth.....
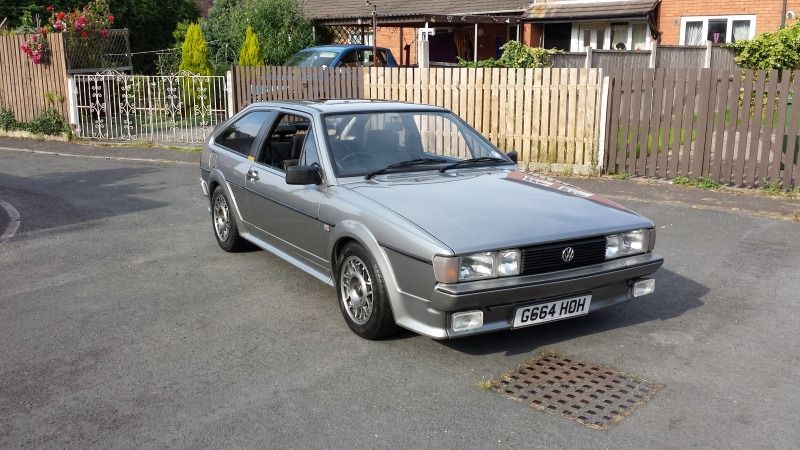
Having removed the tape I wasn't happy with the finish of the faces
So very carefully went over them to get the result I wanted.