Well over the weekend I fitted this to my dash-

What is it I hear you say-
It was got off Ebay for £17 delivered and sold as a DIN replacement, I decided to go for this rather than a Audi or VW unit for a few reasons, its price, alright the finish isn’t as good as OEM, but also its size so easier to fit :)
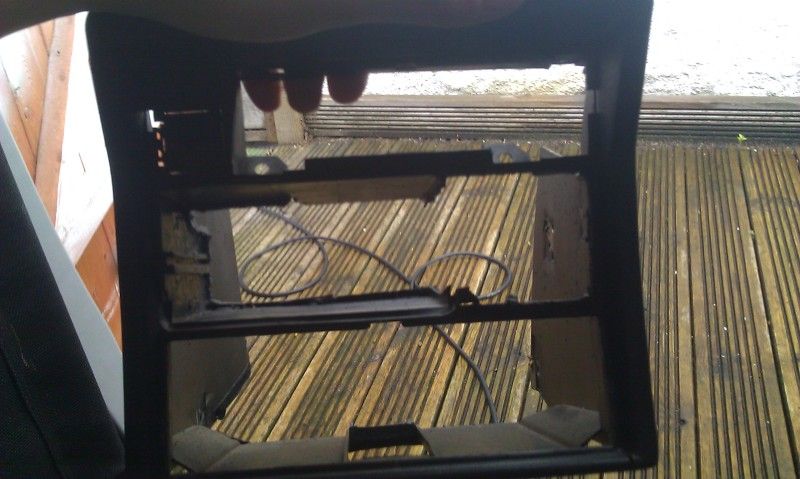
So centre dash removed (Haynes says undo 5 screws and withdraw unit, in reality theres 2 more behind the heater facia and the heater unit its self, of and the under shelves both sides, so not bad Haynes!!!!!) oh and ashtray removed-
It was then out with the tools and start cutting-

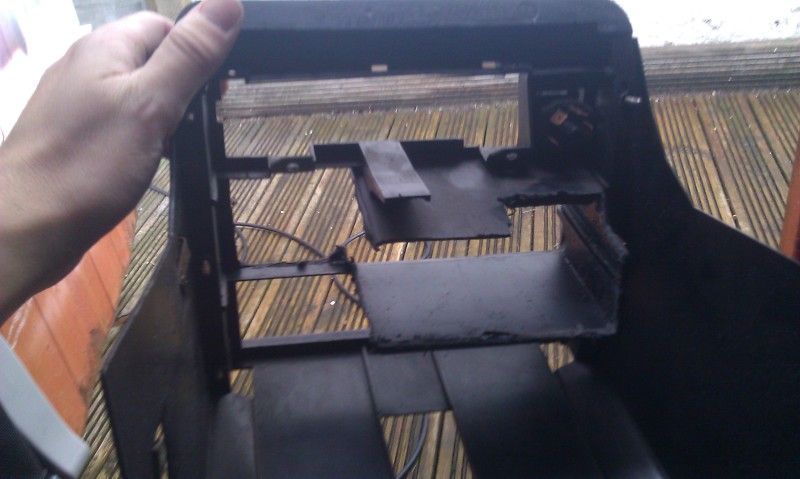

And test fitted-

Now after cutting out all that plastic I needed to build some sort of bracket to hold the unit in place. My original idea was to use some metal banding to tie-ing timber roofs together for the job you know the stuff anout 10mm wide and full of holes. But after chatting the local DIY store owner, he said that this was to thin and what I needed was some metal. As that point I remembered that when I removed the old passenger side door I cut out the steel panels off it to practice welding on it “eventually”. So I left the DIY place with some aviation sheers and dug out one of the panels-

Some cutting, measuring and hammering on the vice later I had this-

Now the question was how to attach it, screws were no good due to lack off room, so I broke out the riveter-

So some measuring and using a piece of wood to drill against (luckily had a bit the perfect thickness!!!!) the bracket was riveted on both on top and underneath linking the top and bottom of what was the ash tray, this also helped stabilise it all as well as set the drink unit at the right height-


Luckily the draw in the unit don’t go all the way to the rear, there about 10mm of space. This allowed some self tappers to be used top and bottom to securely fix the unit on place, I also used some of the cut out plastic as a spacer to lift the unit up and level it by pushing it in below the unit with some sticky back foam (to help hold it and stop any rattles)-


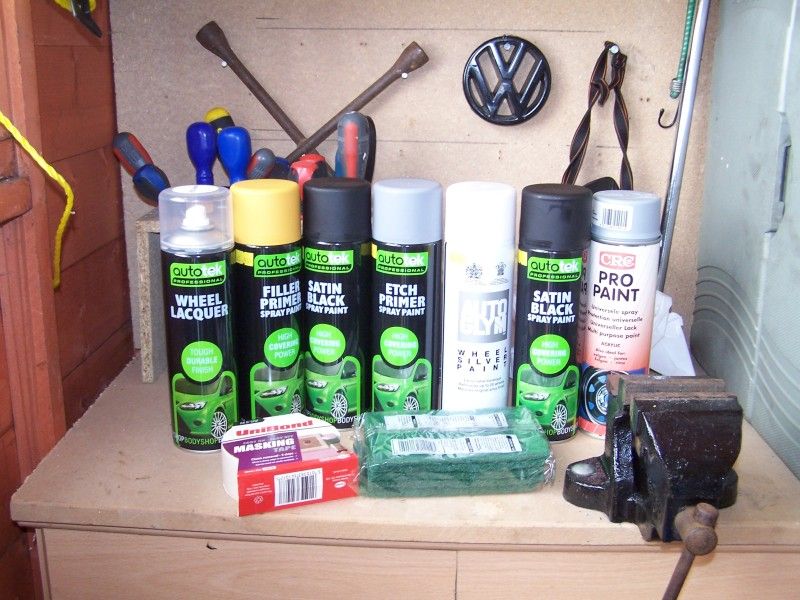
To finish it off, the removable surround (jut like one for a car stereo) and the one for the stereo (mines silver) were treated to a coat of satin black so they would match-

Much better :)
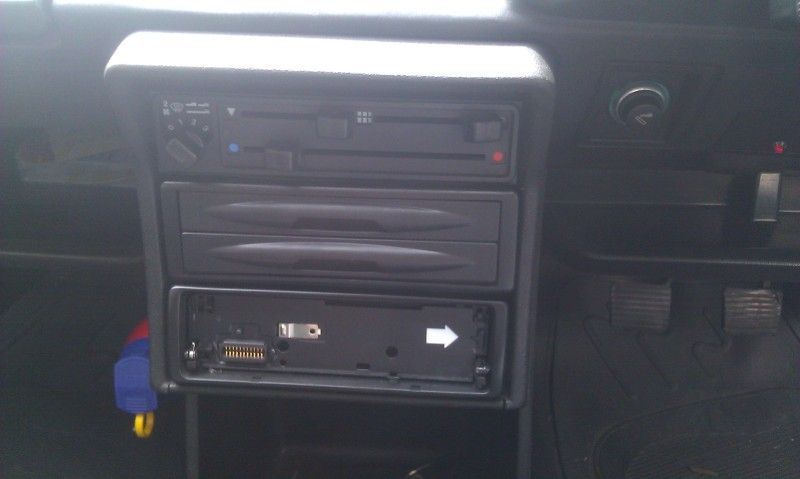
And fitted to the car, Haynes say, put back in the reserve to removal, hmmm its not that easy. I also saw the state of the stereo wiring!!!!!! And decided to turn a blind eye lol
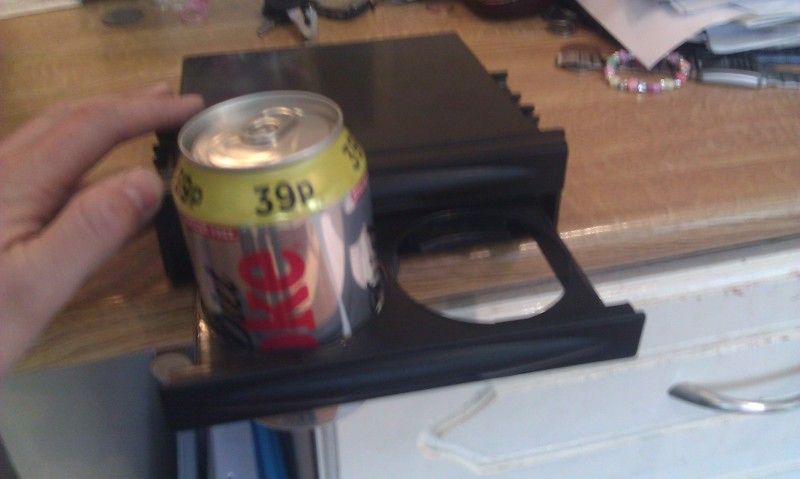
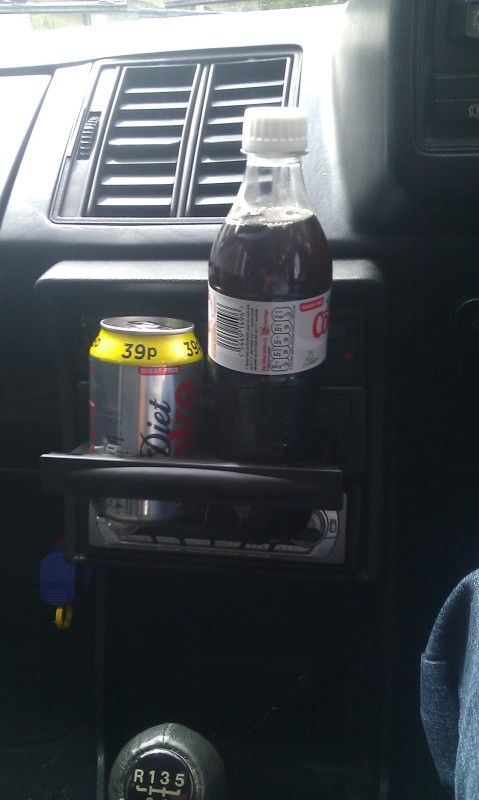
So here it it fitted-

And before you say, “hold on a minute doesn’t the top of the console come over” yes it does, but you can just about squeeze a can in (could do with some tweaking) but for me I’ll be using bottles-

To make sure it would clear would mean swapping over the stereo to the upper position and then cutting down the gear stick to miss the bottom of the holder.
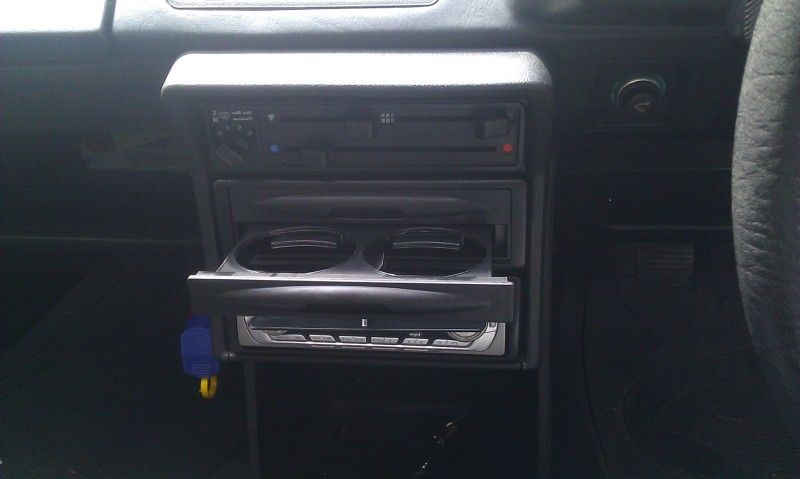
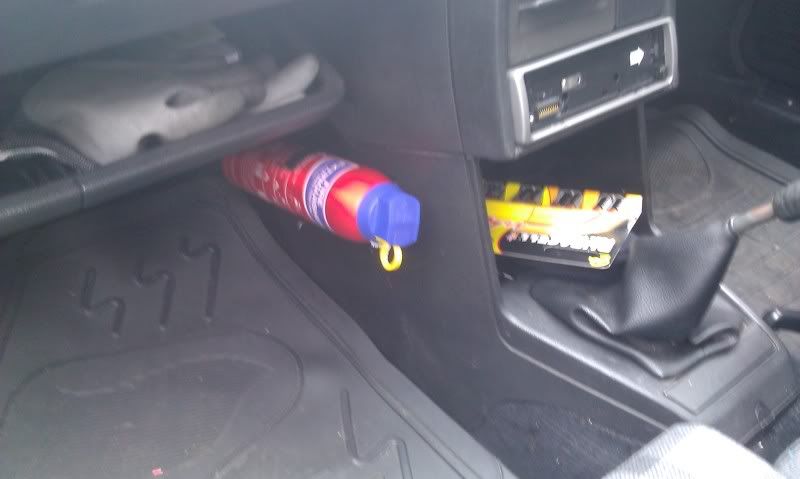
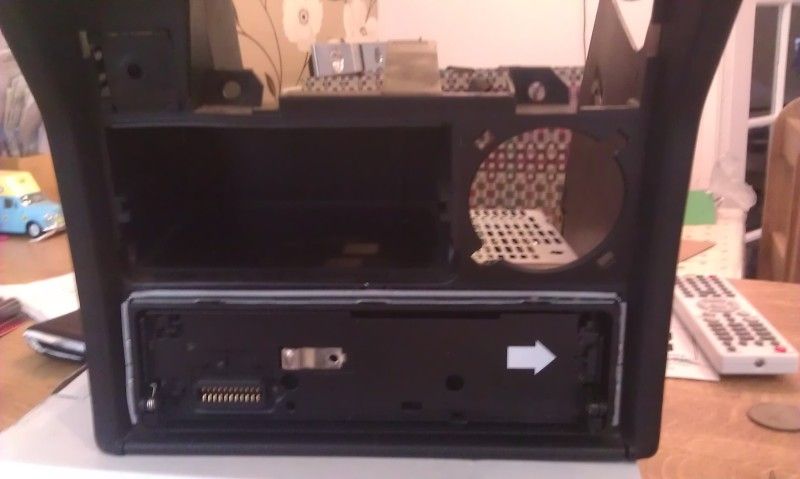
Oh and the upper draw is just a tray-

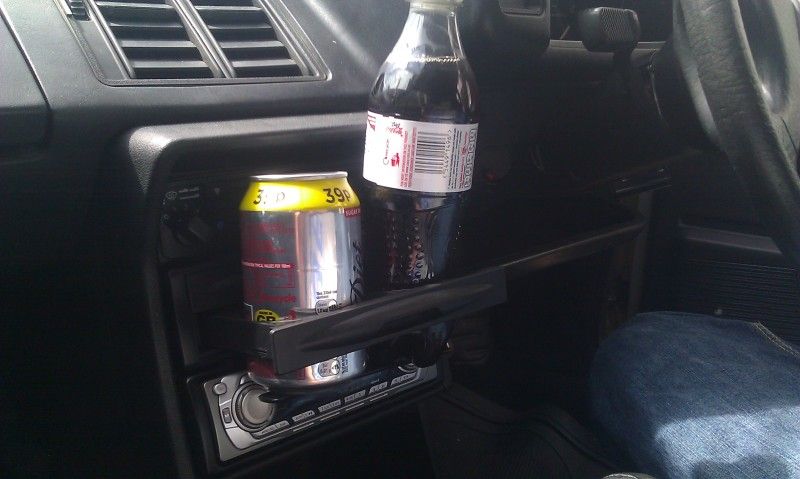
And one more of it installed-
The only other job I had to do was relocate the immobiliser warning light that was in the middle of the voltmeter blanking panel next to the ash tray. This was moved to the chock blanking panel, mines an injection so will never be used :)