Page 5 of 11
Re: Project RED GTX
Posted: Wed Oct 06, 2010 7:53 pm
by markh
Back to it today, painted the rocker cover and refitted the repainted upper cam cover. Still plenty of cleaning to do under the bonnet.
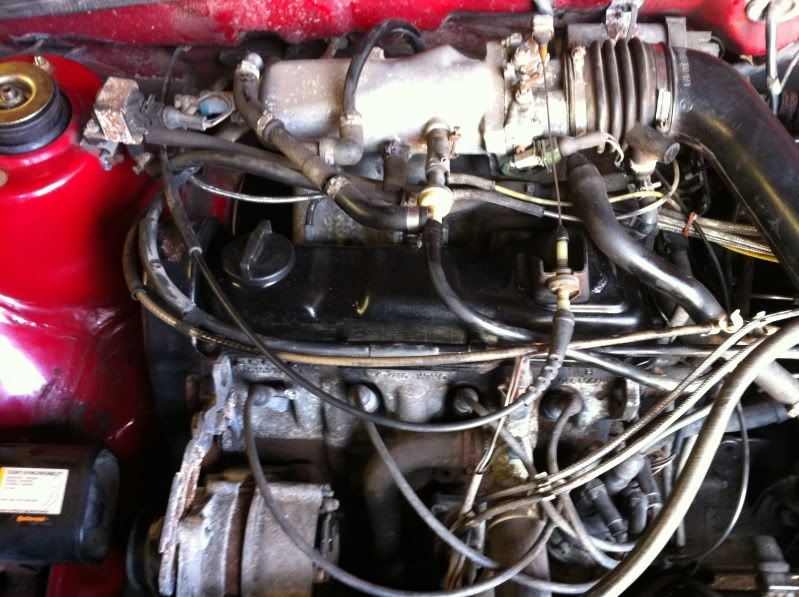
Painted the washer bottle, and replaced the washer mototr as the old one was knackered.

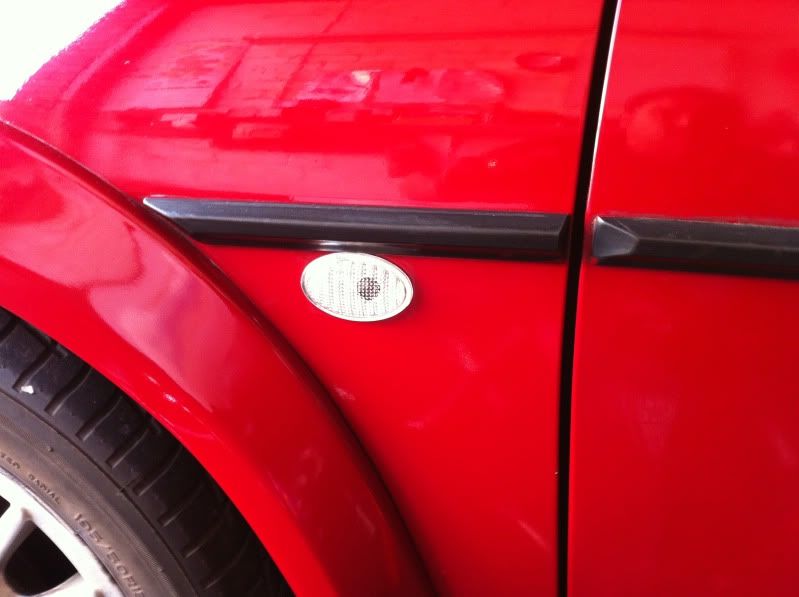
Other jobs done included, getting the foglights working (the relay was faulty), fitting the clear indies (cheers MikeH !

) fitted the eyebrow spoiler ( it will be repainted, either body colour or matt black) set the ignition timing and a few other bits and small jobs.
I went for the Porsche style side indies for a change from the usual oblong ones.
I gave it a quick run round the block to check the brakes, which are great, and to see if any problems show up. It does have a flat spot when accelarating, so i will have to look into that, and theres a bit of play in the steering column, this maybe down to the column bush being worn, or play in the U/J but im not too worried about it.
But otherwise for a car that has stood for over 9 years, things are looking good.
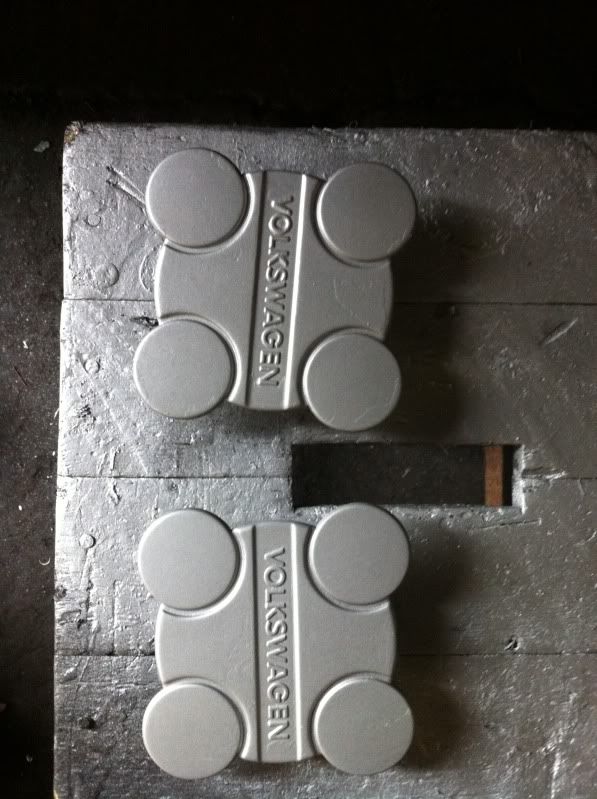
Before finishing up for the day, i Tcut the rest of the bonnet, and painted one of the centre caps from the Sebrings, as they were looking tatty, its not a bad colour match for the wheels, so i will do the rest of them tomorrow.
Re: Project RED GTX
Posted: Thu Oct 07, 2010 4:38 pm
by markh
Didnt have much time today, so not a massive update. I painted the rest of the Sebring centre caps.
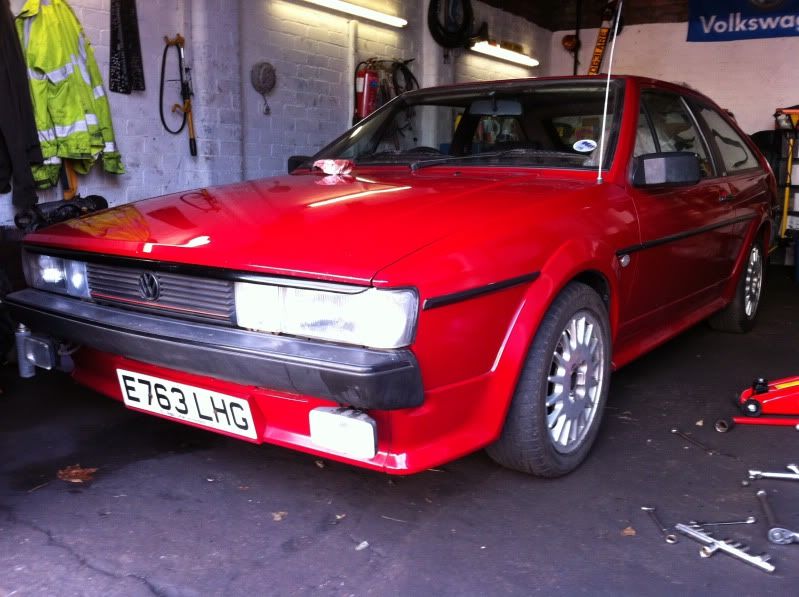
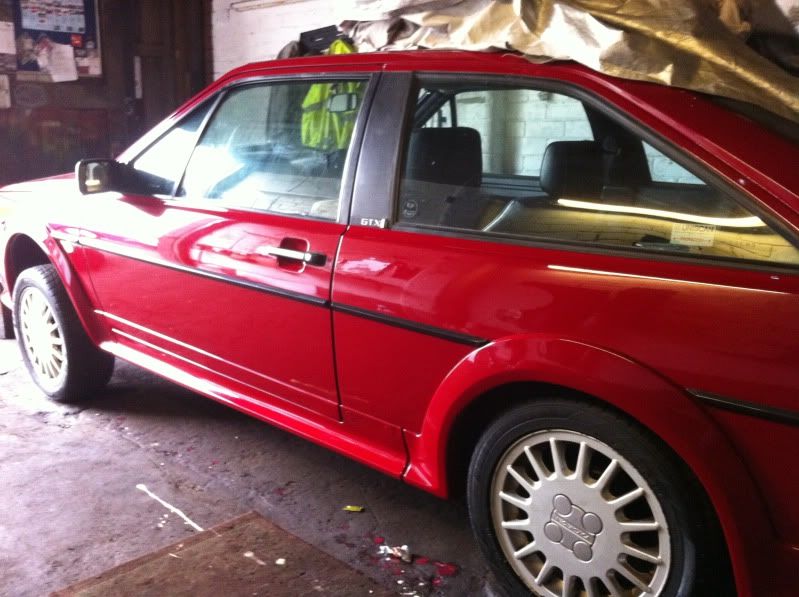
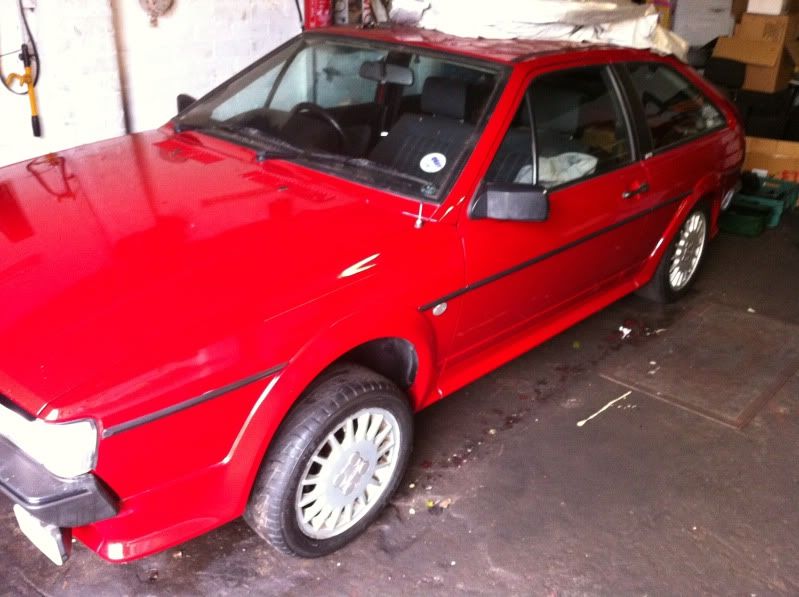
One of the tyres had a slow puncture, so i dropped it off at the local tyre place for a new valve and balance. Then decided i'd make a start on cleaning up the paintwork, so i Tcut and polished the passenger side panels and its come up really well.
Still plenty to do, but it'l have to wait until im off work again next week.

Re: Project RED GTX
Posted: Thu Oct 07, 2010 5:22 pm
by DT1
Have to take my hat off to you, that's a pretty quick turnaround.

Re: Project RED GTX
Posted: Tue Oct 12, 2010 4:07 pm
by markh
DT1 wrote:Have to take my hat off to you, that's a pretty quick turnaround.
Thanks Colin.
Re: Project RED GTX
Posted: Tue Oct 12, 2010 4:16 pm
by markh
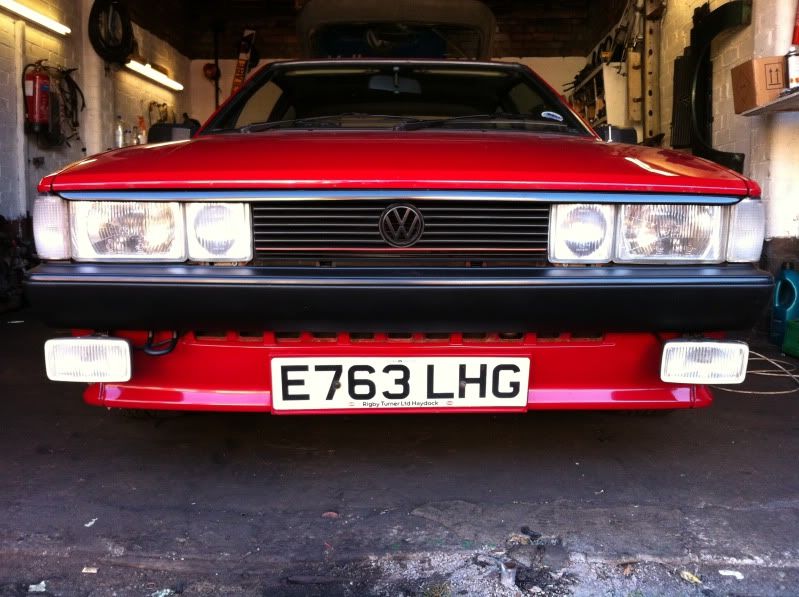
A spare hour today see's the front bumper removed so it can be cleaned up and painted. It also gave me chance to clean the front panel properly.
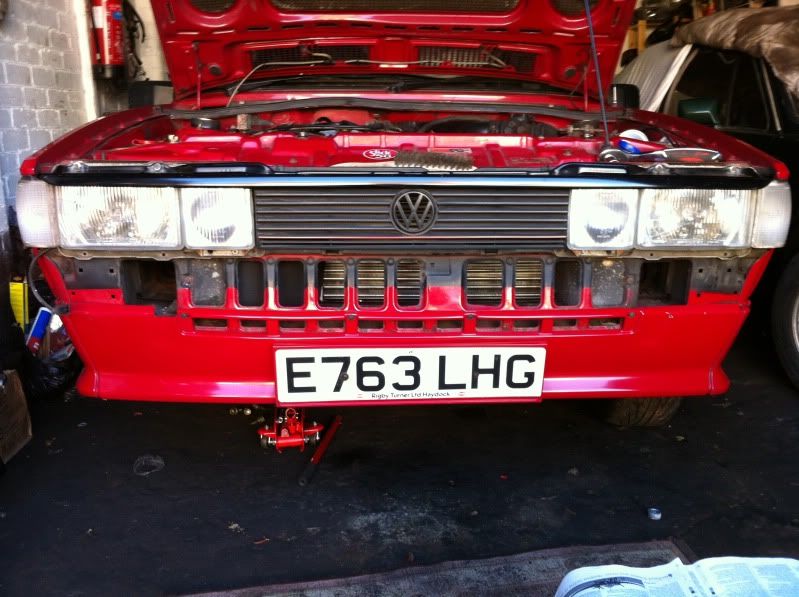
I removed the trim strip and gave the bumper a clean off with white spirit and masked off the fog lights.
Then gave it several coats of matt black paint. It doesnt look alot different in the photo's, but believe me it is !!!
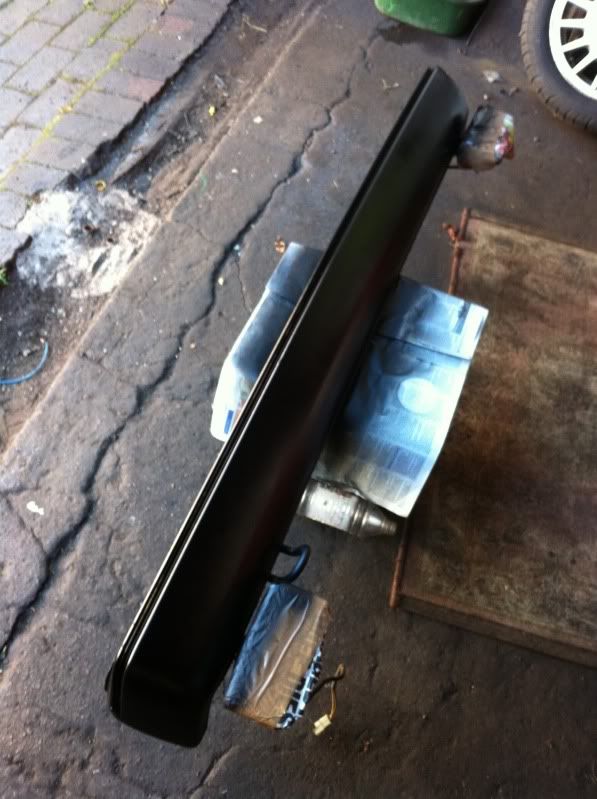
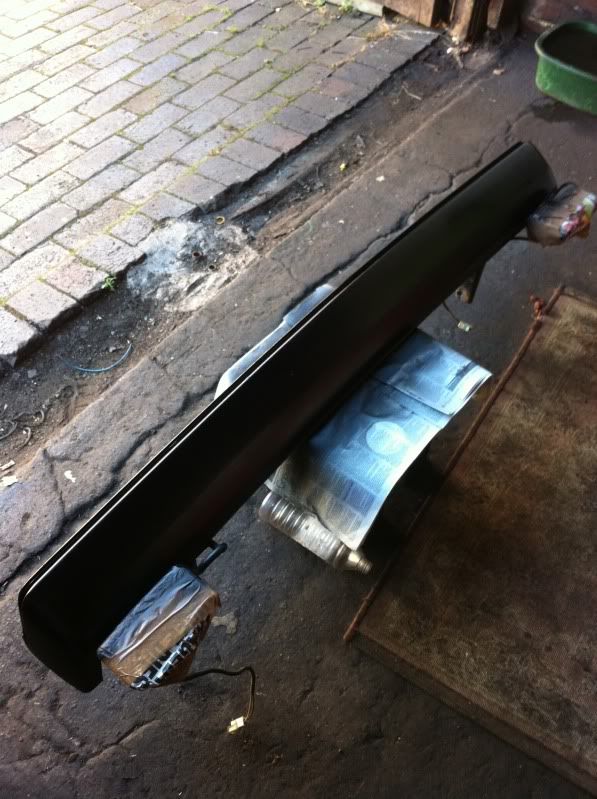
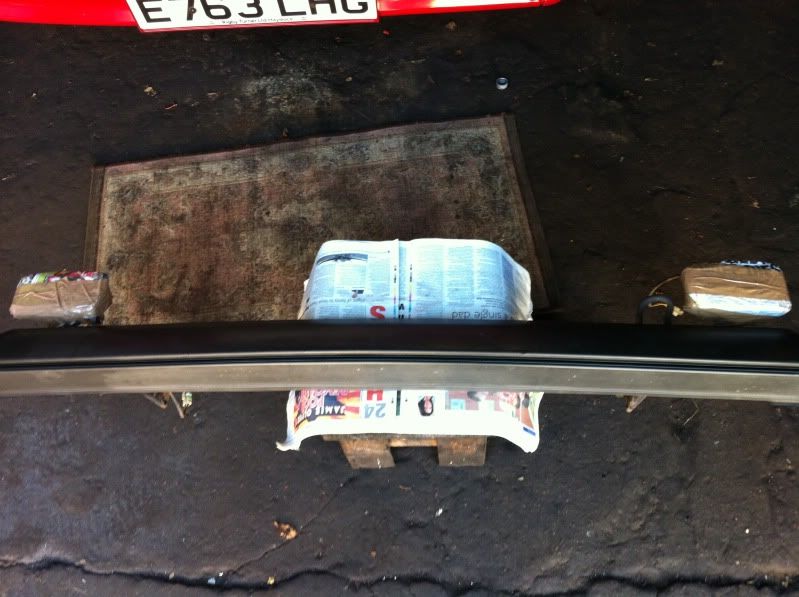
I also did the front wiper arms in the same paint and removed the rear bumper so that can be painted tomorrow.
Re: Project RED GTX
Posted: Tue Oct 12, 2010 5:25 pm
by Reverend Frog
I'm vicariously enjoying cleaning your car up Mark! Looks beaut with that red paint all polished up
Re: Project RED GTX
Posted: Tue Oct 12, 2010 6:06 pm
by markh
Reverend Frog wrote:I'm vicariously enjoying cleaning your car up Mark! Looks beaut with that red paint all polished up
Thanks Rich, but theres still a ton of cleaning and polishing to do yet !!!

Re: Project RED GTX
Posted: Tue Oct 12, 2010 7:48 pm
by monzajake
cleeeeeeeeeeeeeeaaaaaaaaaaan
Top job fella
Whens mot booked ?
Re: Project RED GTX
Posted: Wed Oct 13, 2010 3:51 am
by markh
monzajake wrote:cleeeeeeeeeeeeeeaaaaaaaaaaan
Top job fella
Whens mot booked ?
Cheers Jake. I dont think it'l get MOTd until next month now, due to other commitments.
Re: Project RED GTX
Posted: Wed Oct 13, 2010 1:44 pm
by Cpt Custom
For a total noob like me Mark it's inspiring watching how you tackle your projects.
Can't wait to see how it looks when you have it all put together!
Re: Project RED GTX
Posted: Wed Oct 13, 2010 7:17 pm
by markh
Cpt Custom wrote:For a total noob like me Mark it's inspiring watching how you tackle your projects.
Can't wait to see how it looks when you have it all put together!
Thanks Paul, cant wait to see it finished myself !!

Re: Project RED GTX
Posted: Wed Oct 13, 2010 7:46 pm
by markh
Tried to sort out the flat spot on accelerating, double checked the timing, which was fine and checked for any air leaks. A small adjustment to the mixture screw ( weakened it off) seems to have cracked the problem. Last week i also found some play in the steering column, turns out that at sometime someone had stripped the thread on the ignition barrel housing and the allen bolt wouldnt tighten up and clamp the column securely. So a replacement nut and bolt were used and the problem solved.
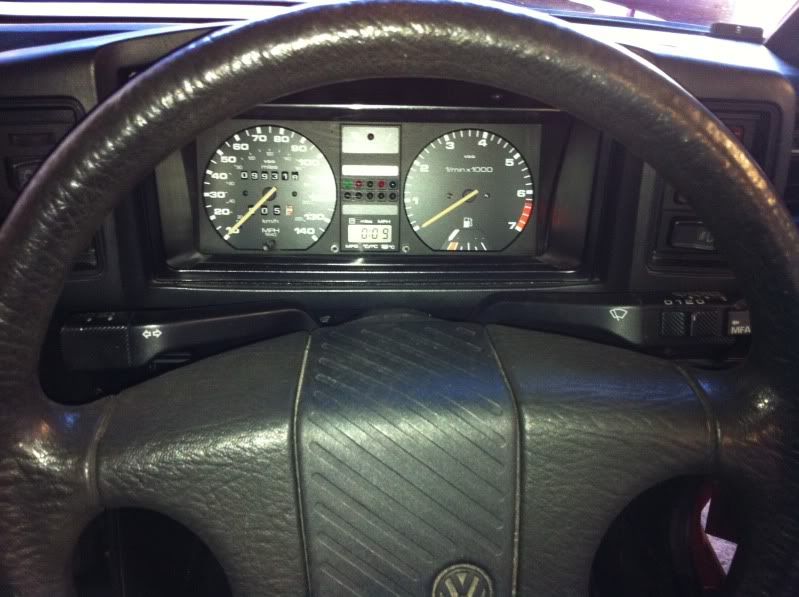
While i was working on the column, i decided to fit the later Golf type stalks, they look way better than the standard ones.
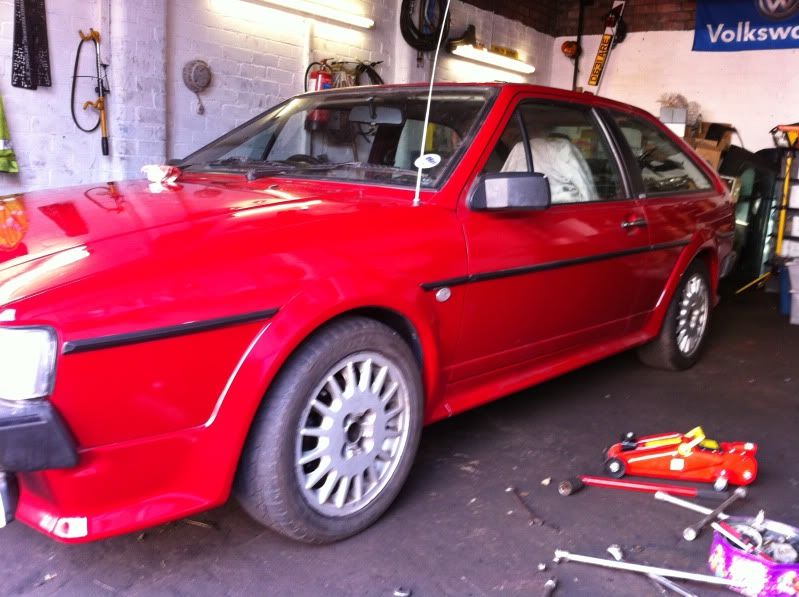
Refitted the painted front bumper.
Cleaned up the rear panel while the bumper was off. The badges still need cleaning up and replacing.
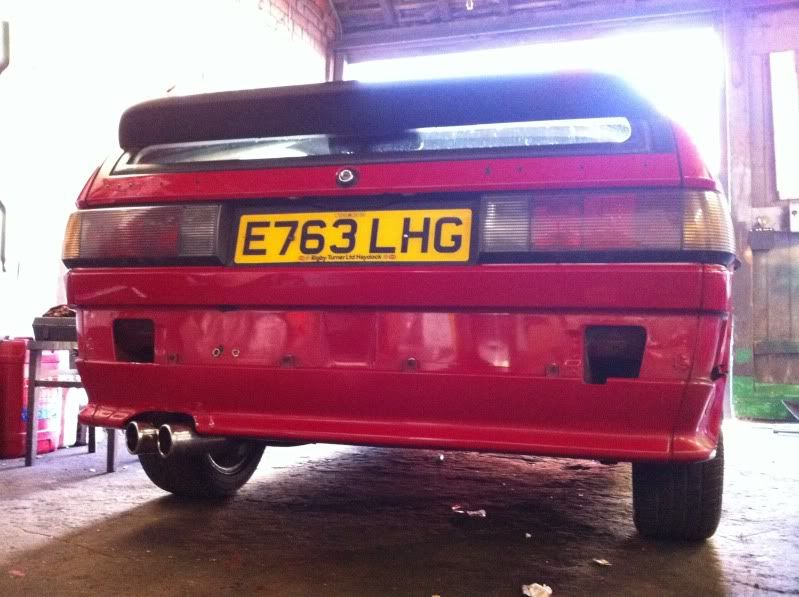
Refitted the bumper once the paint was dry.
Fitted chrome indicator bulbs in the clear front indies (bargain £2.95 off ebay for a pair with free postage) and started to Tcut the panels on the drivers side.
Getting there slowly !!!
Re: Project RED GTX
Posted: Wed Oct 13, 2010 9:16 pm
by Risocco
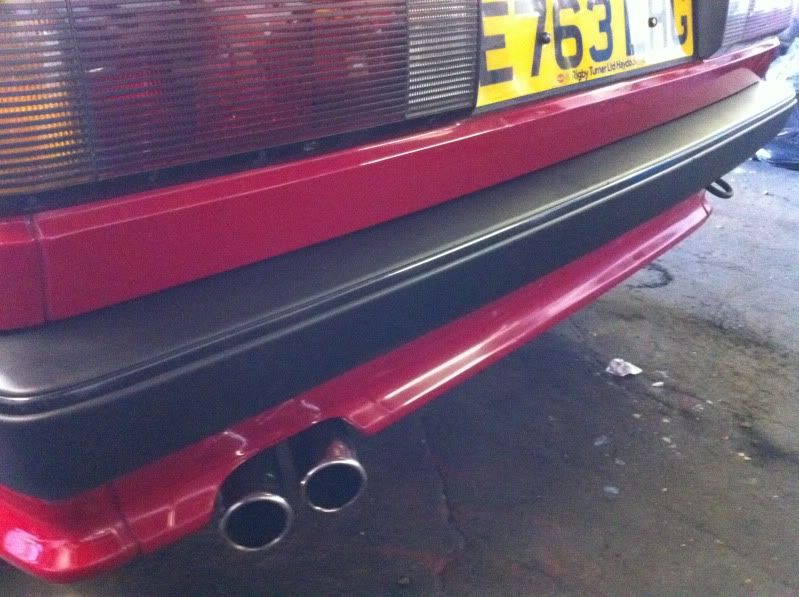
Just my 2p mate, have you thought about painting the bumper stripe red? Think that may look good
Either way, cracking stuff as always dude
Alex
Re: Project RED GTX
Posted: Wed Oct 13, 2010 10:19 pm
by Reverend Frog
Risocco wrote:Just my 2p mate, have you thought about painting the bumper stripe red? Think that may look good
Either way, cracking stuff as always dude
Alex
i did this on my Rocco. it looks amazing
Re: Project RED GTX
Posted: Thu Oct 14, 2010 7:33 am
by markh
Alex, Rich, i had considered doing that when i paint the eyebrow spoiler, but im undecided on it.
