Page 8 of 11
Re: Eefy's White Scala
Posted: Mon Mar 18, 2013 8:27 am
by eefy
the main issue with the upper from one i got was the ring that sits on the turret, the OMP one doesnt have that problem as its just 2 lets a side so creates more room :)
Re: Eefy's White Scala
Posted: Wed Apr 03, 2013 1:10 pm
by eefy
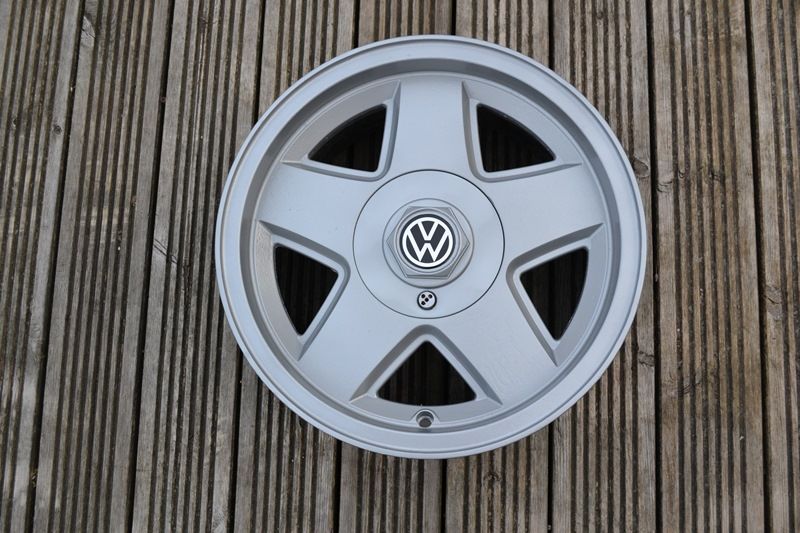
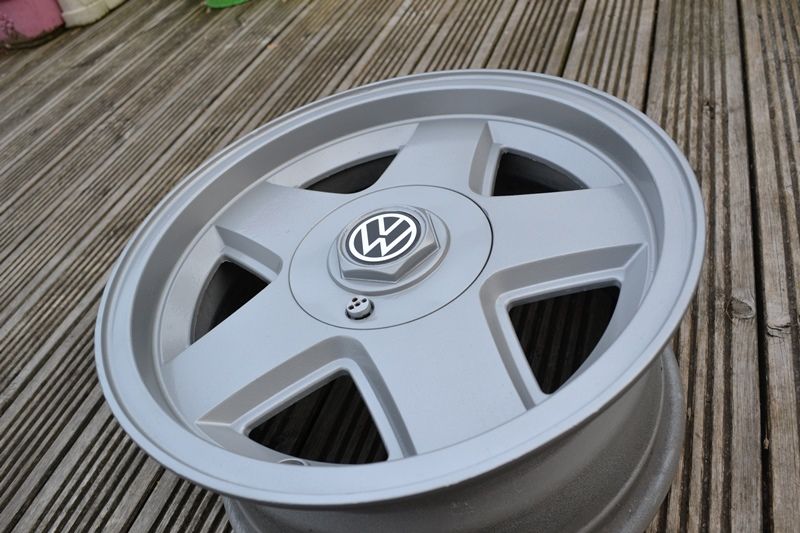
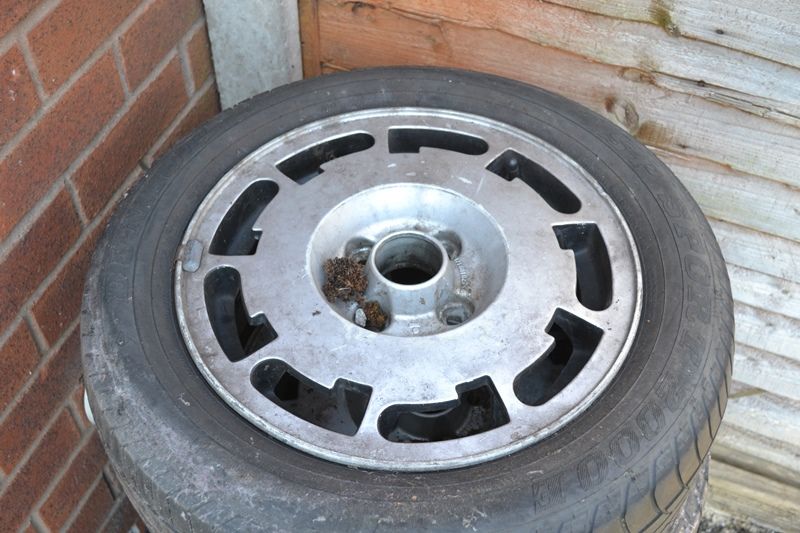
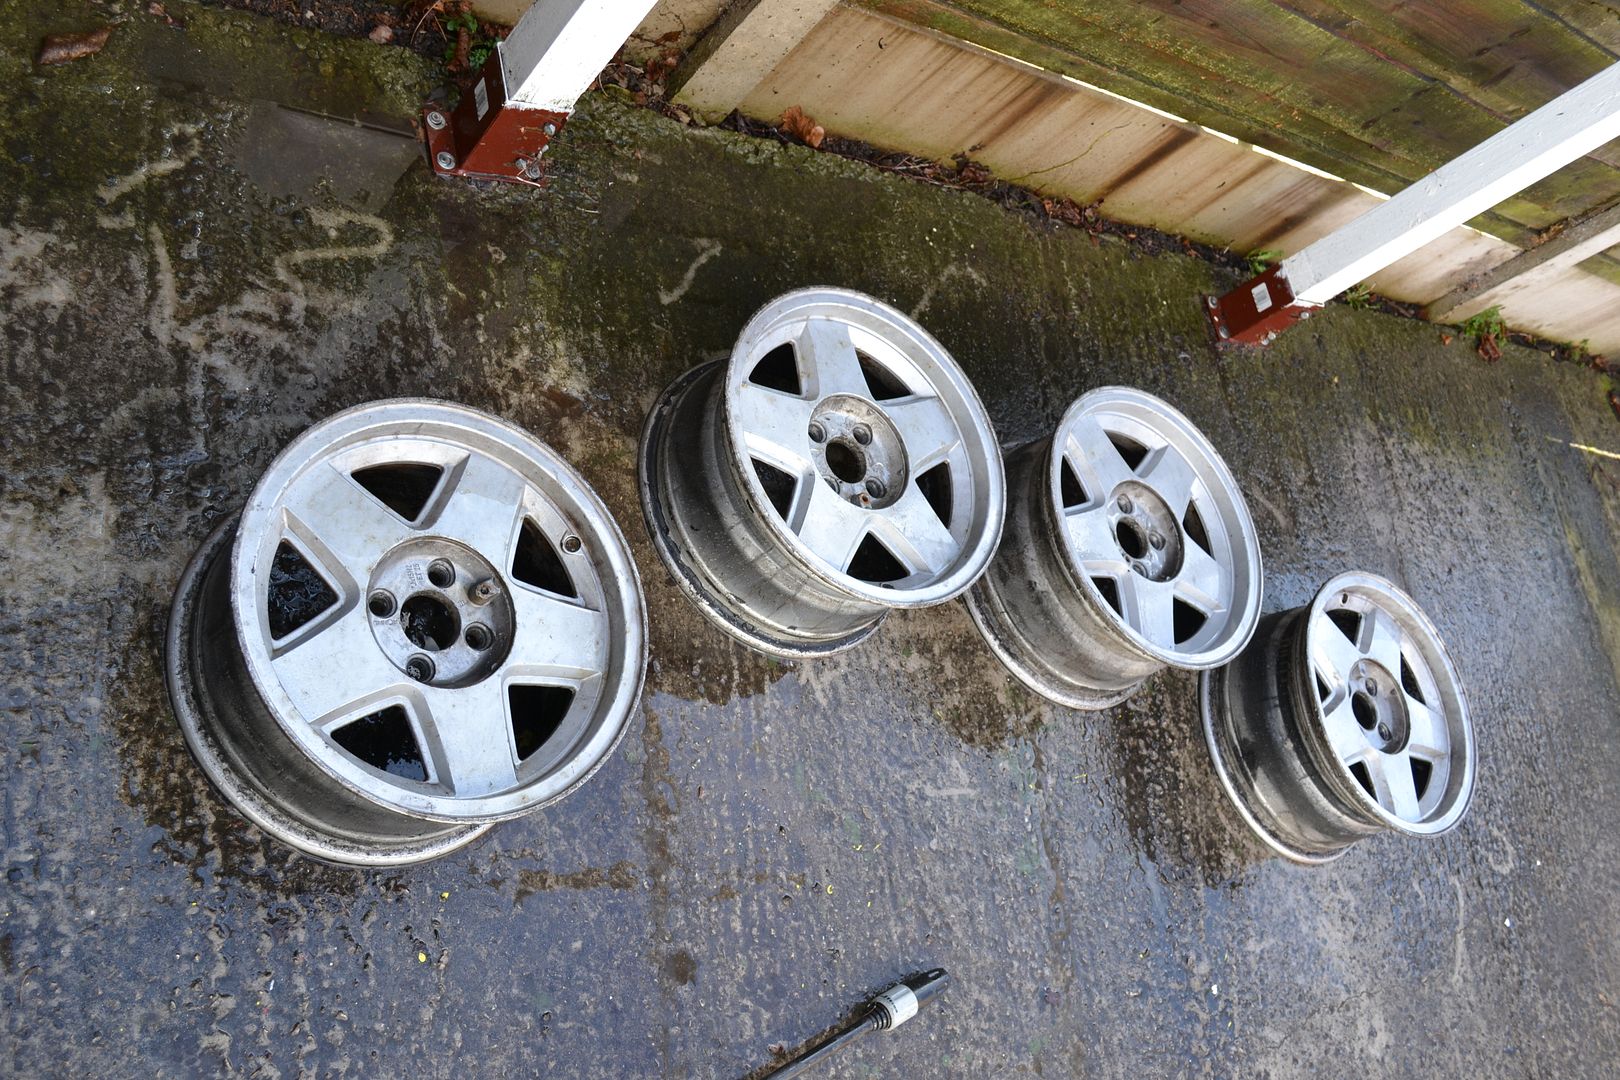
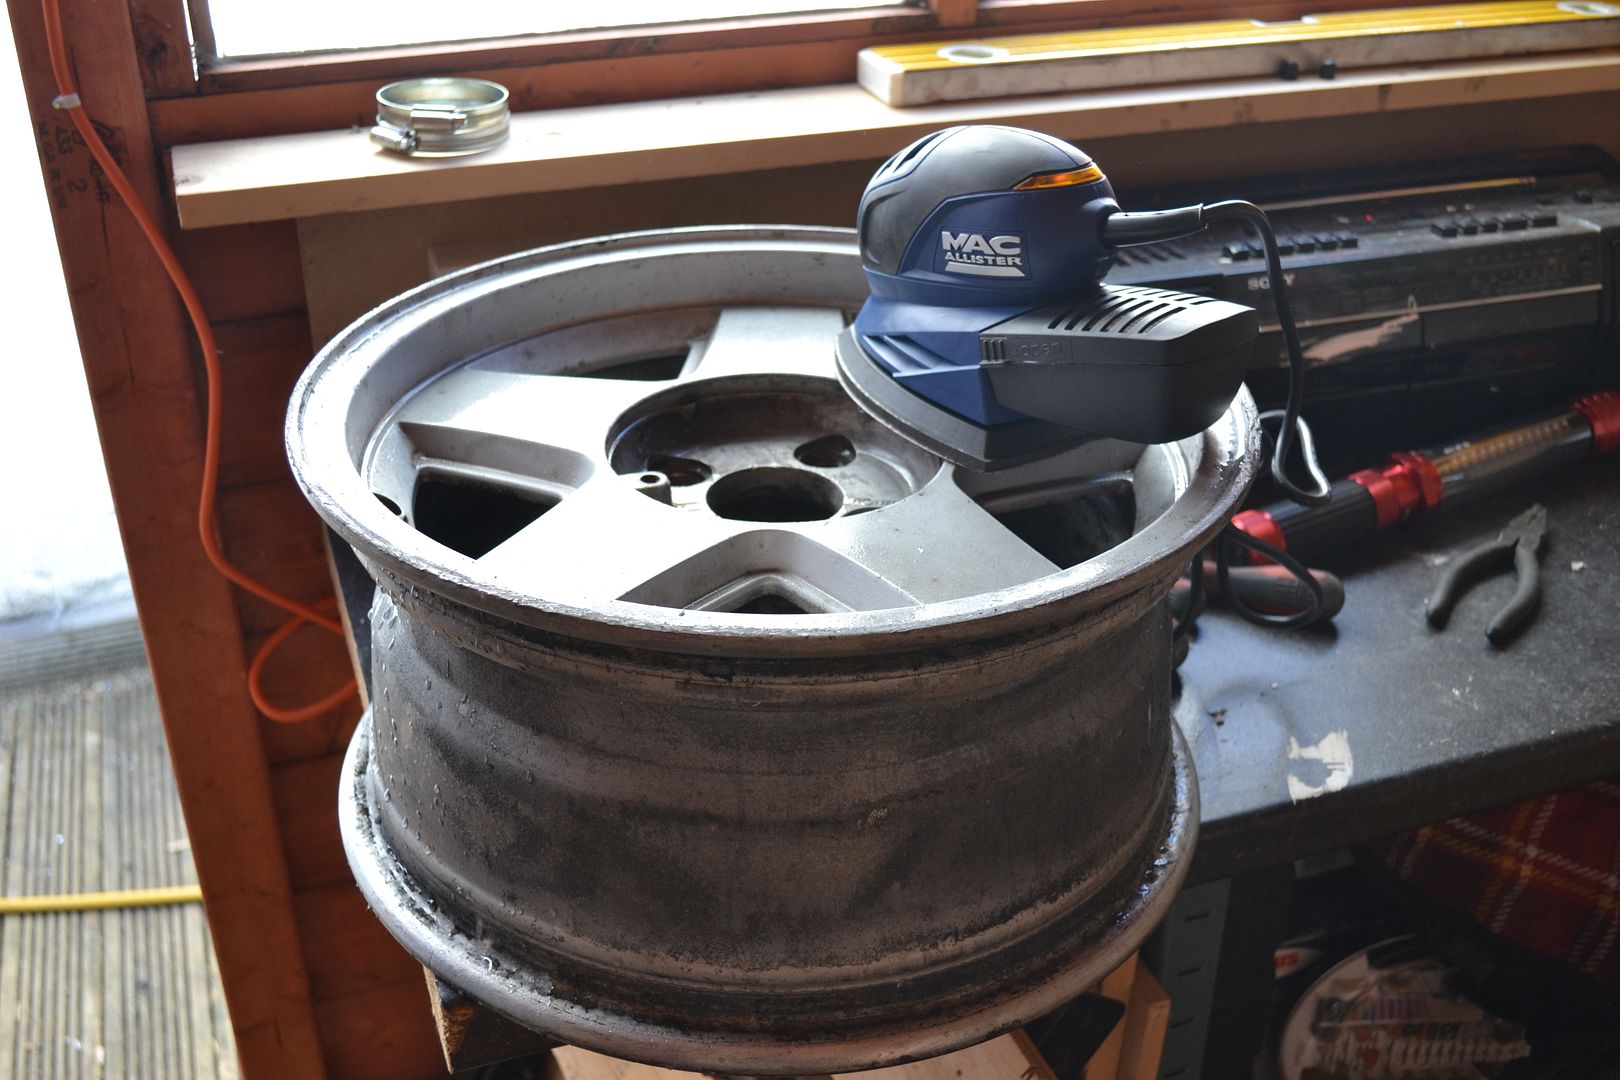
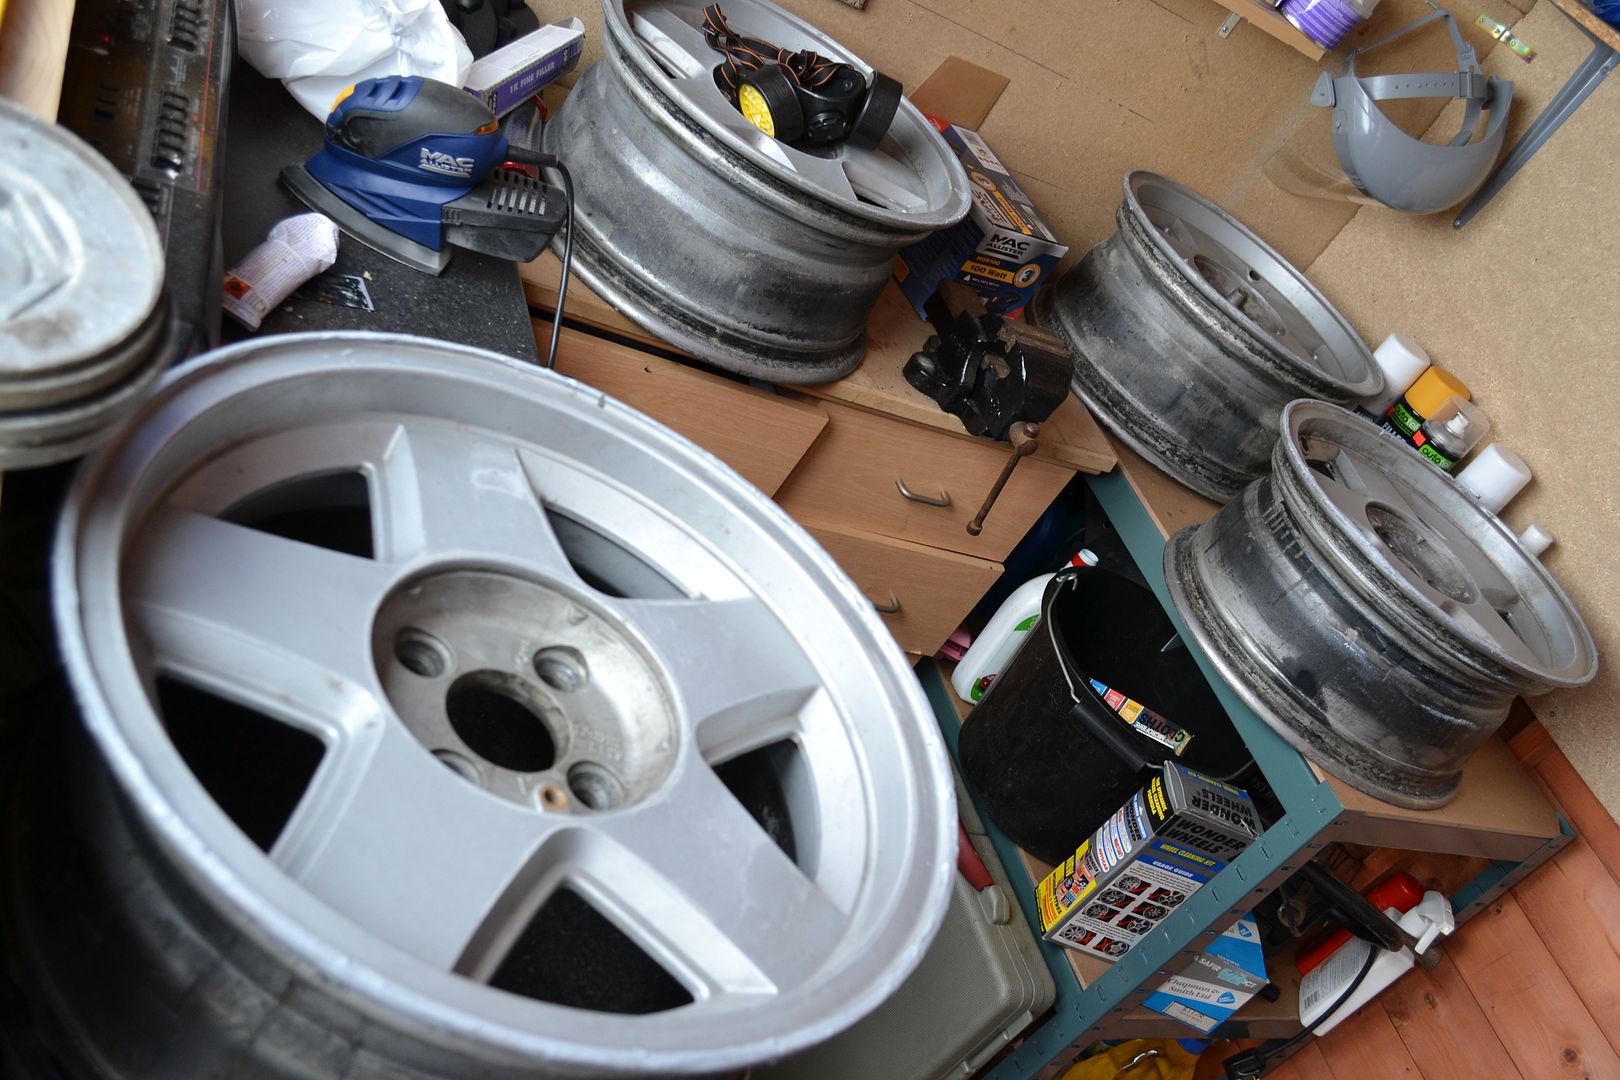
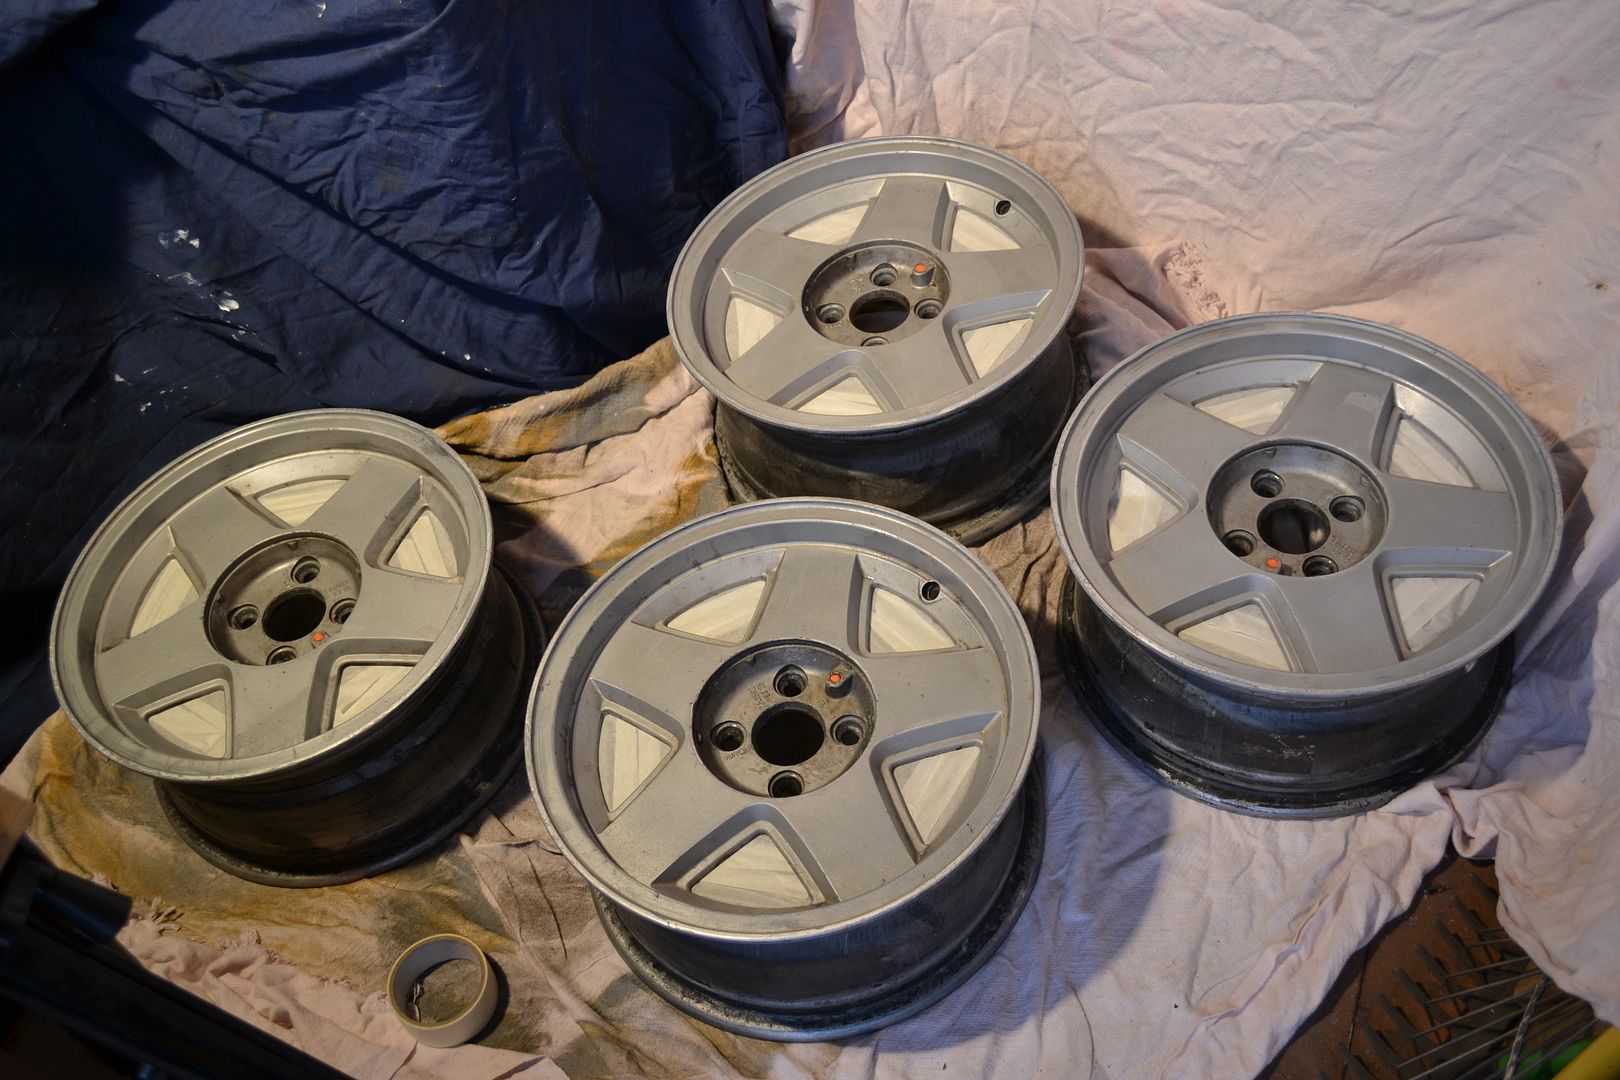
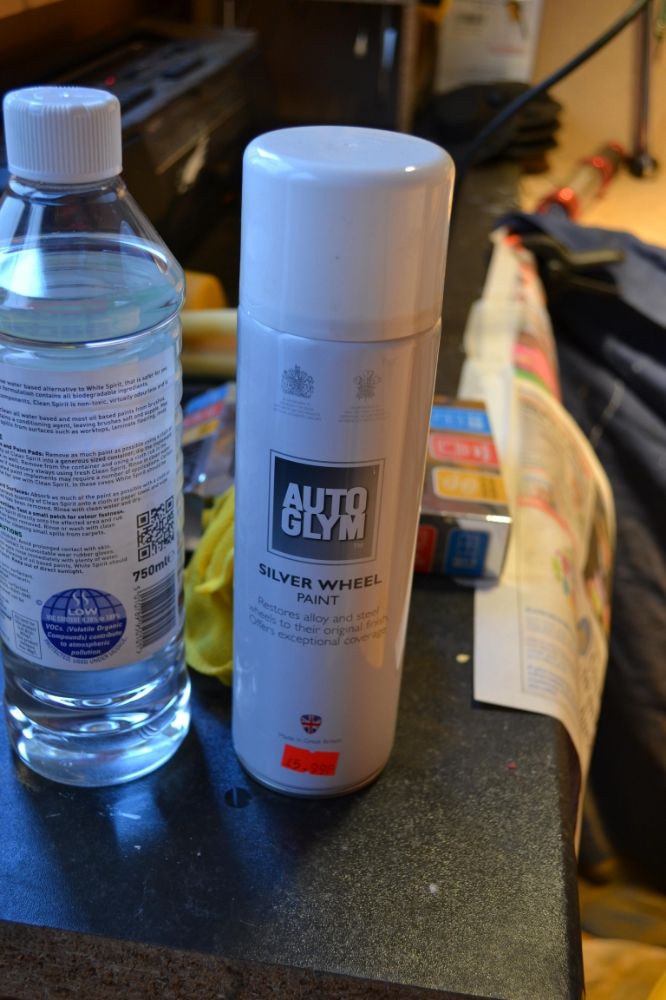
With show season about to begin I thought it was time that my tired old 5 spoke Ronal’s had a bit of attention. So £35 lighter I had this little lot-

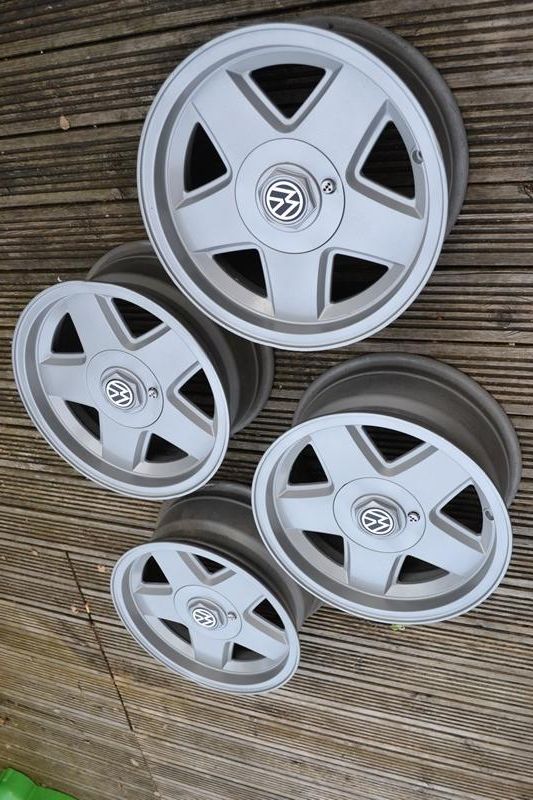
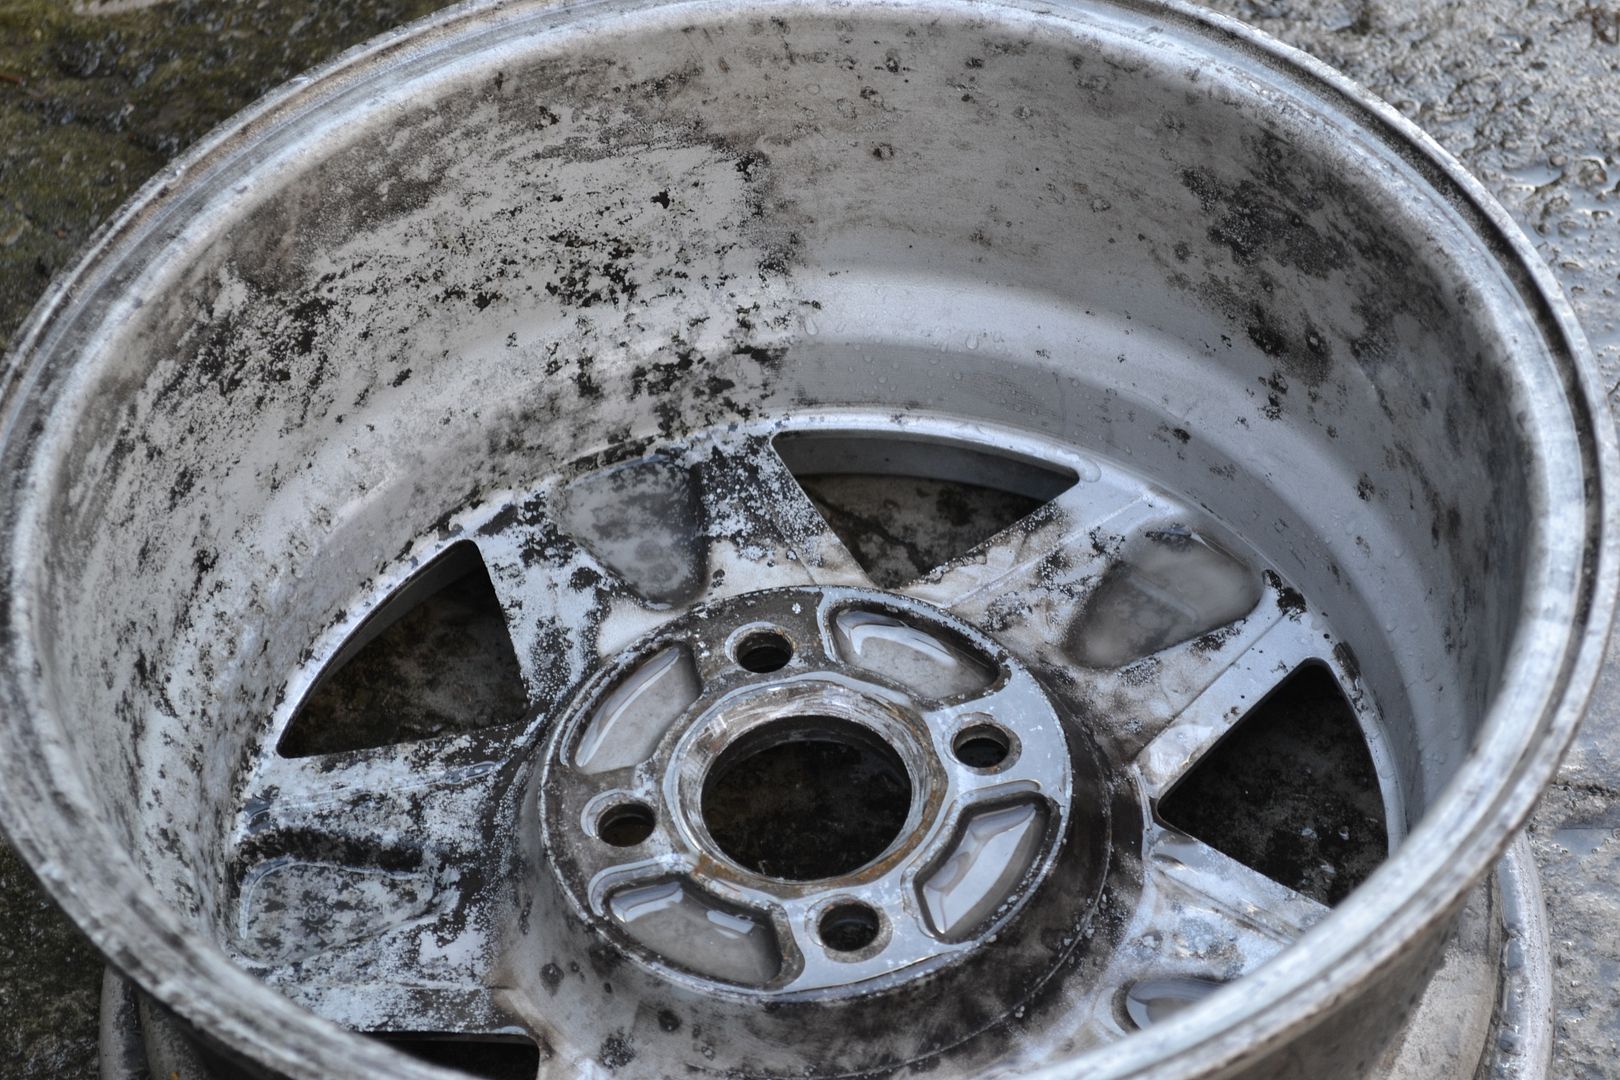
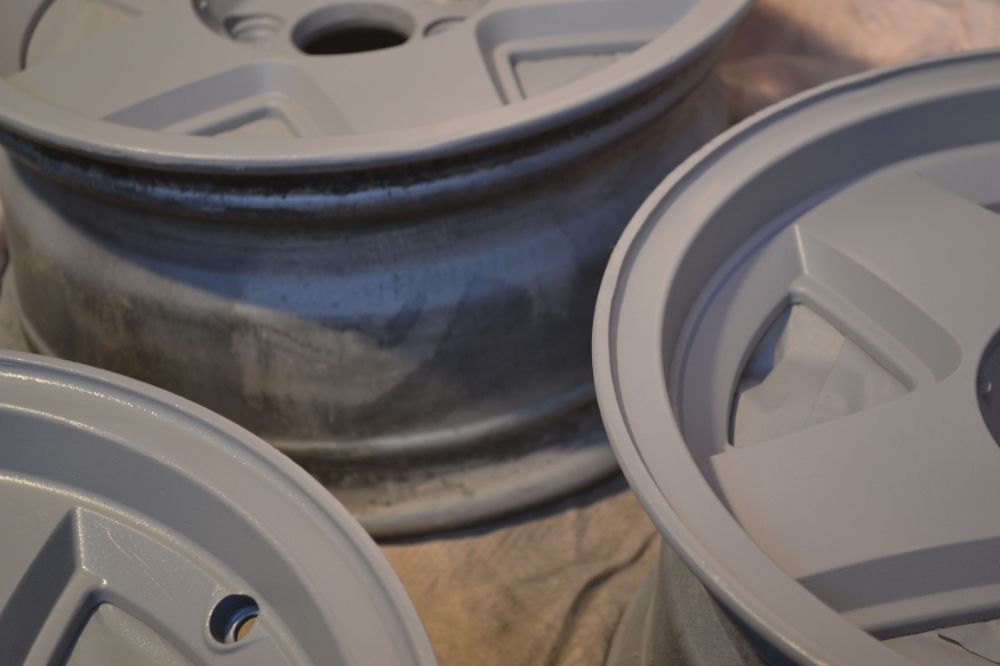
The intention is not to do a full restoration but more make them more presentable and clean them up. They are in fairly poor condition with scraped rims, with some dints and quiet pitted. Added to that at some point a CV joint has gone and the grease wasn’t cleaned up meaning it had eaten in to the original paint!!!! So here’s how they are now, they’ve been stacked in the garden for about 12 months with little protection-
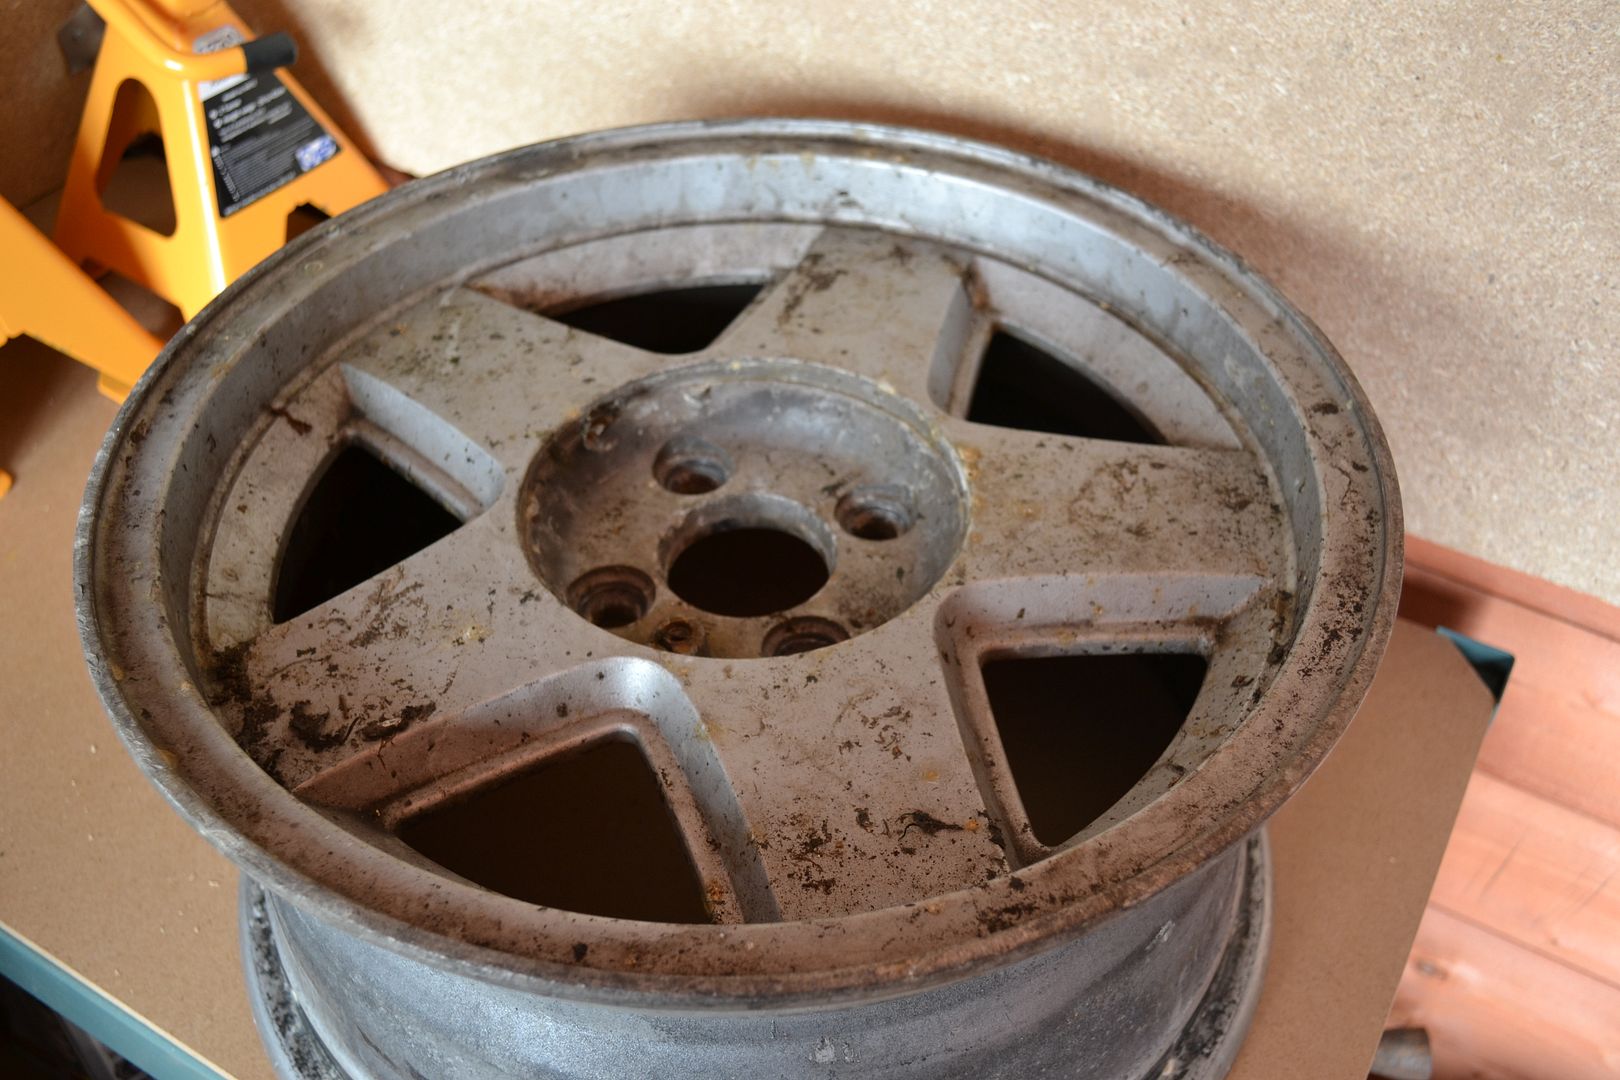

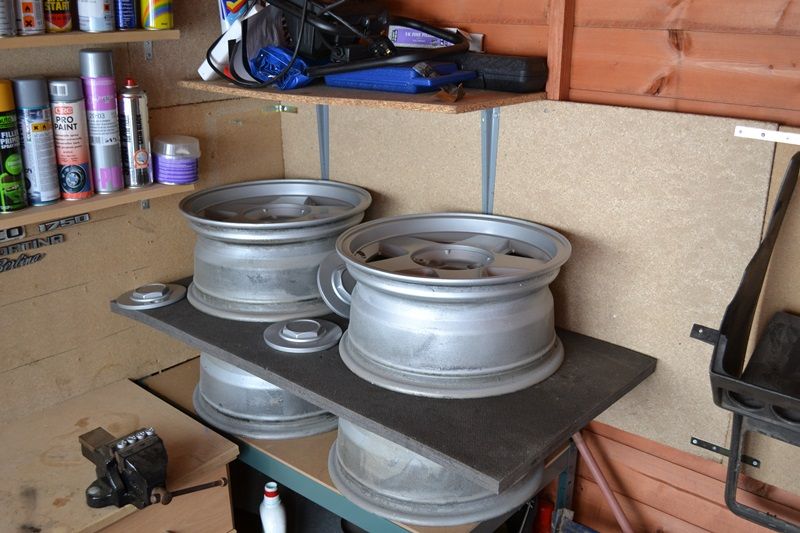
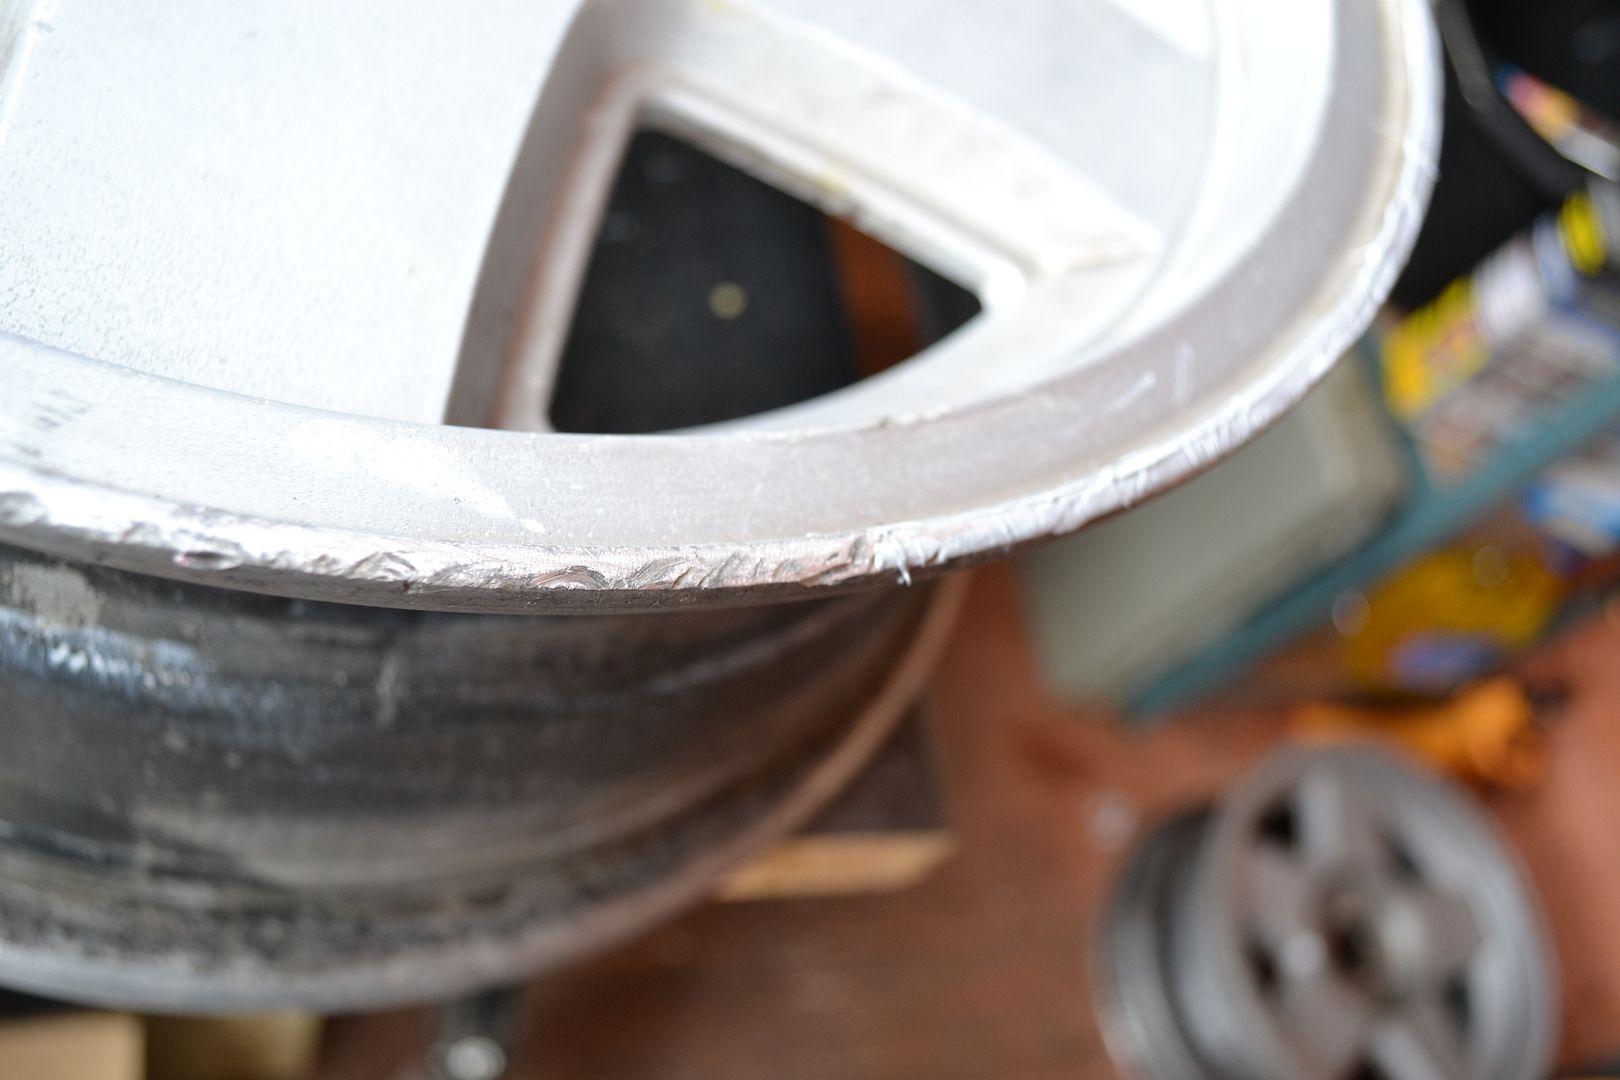
So they had a damn good jet washing and rub down with a scouring pad to clean off the worst of it. the insides were a real mess and really the only way to sort it would be to shot blast them, particularly the one eaten away be grease. So I decided to concentrate my efforts on the inner rim that would be seen through the spokes-

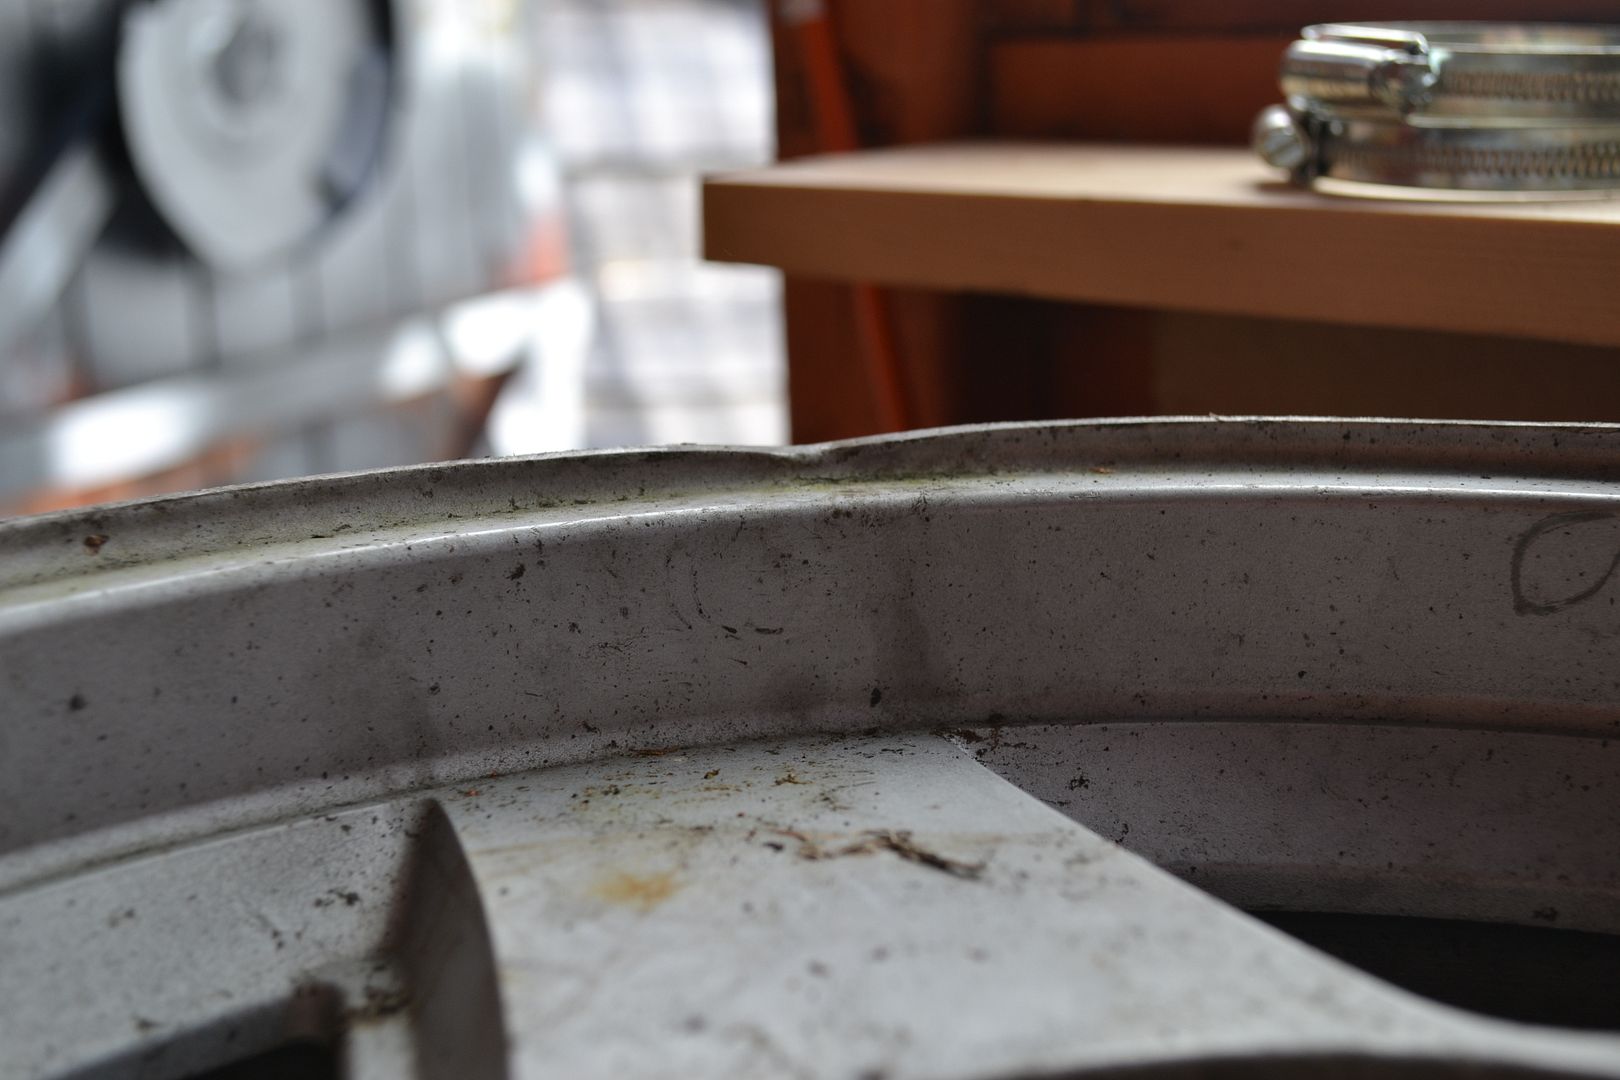
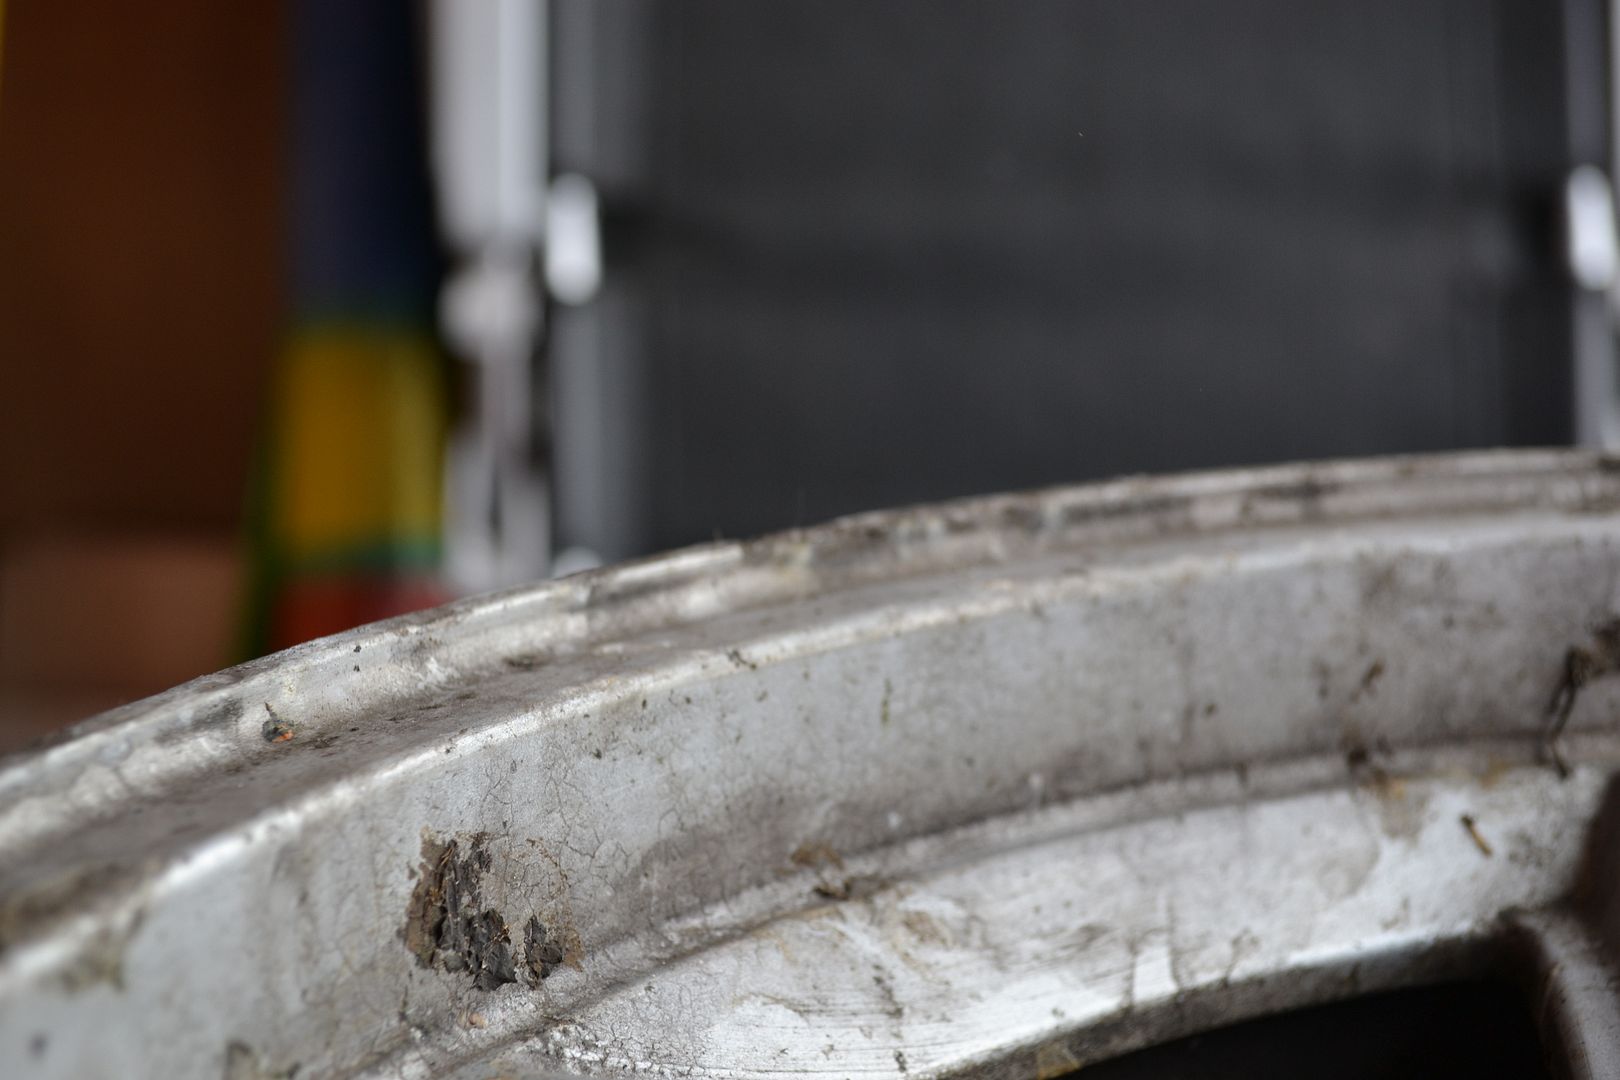
Next was a rub down with these to take the worst off the rim, started with a file, and then broke out the mini sander, much easier and a smoother finish to boot-
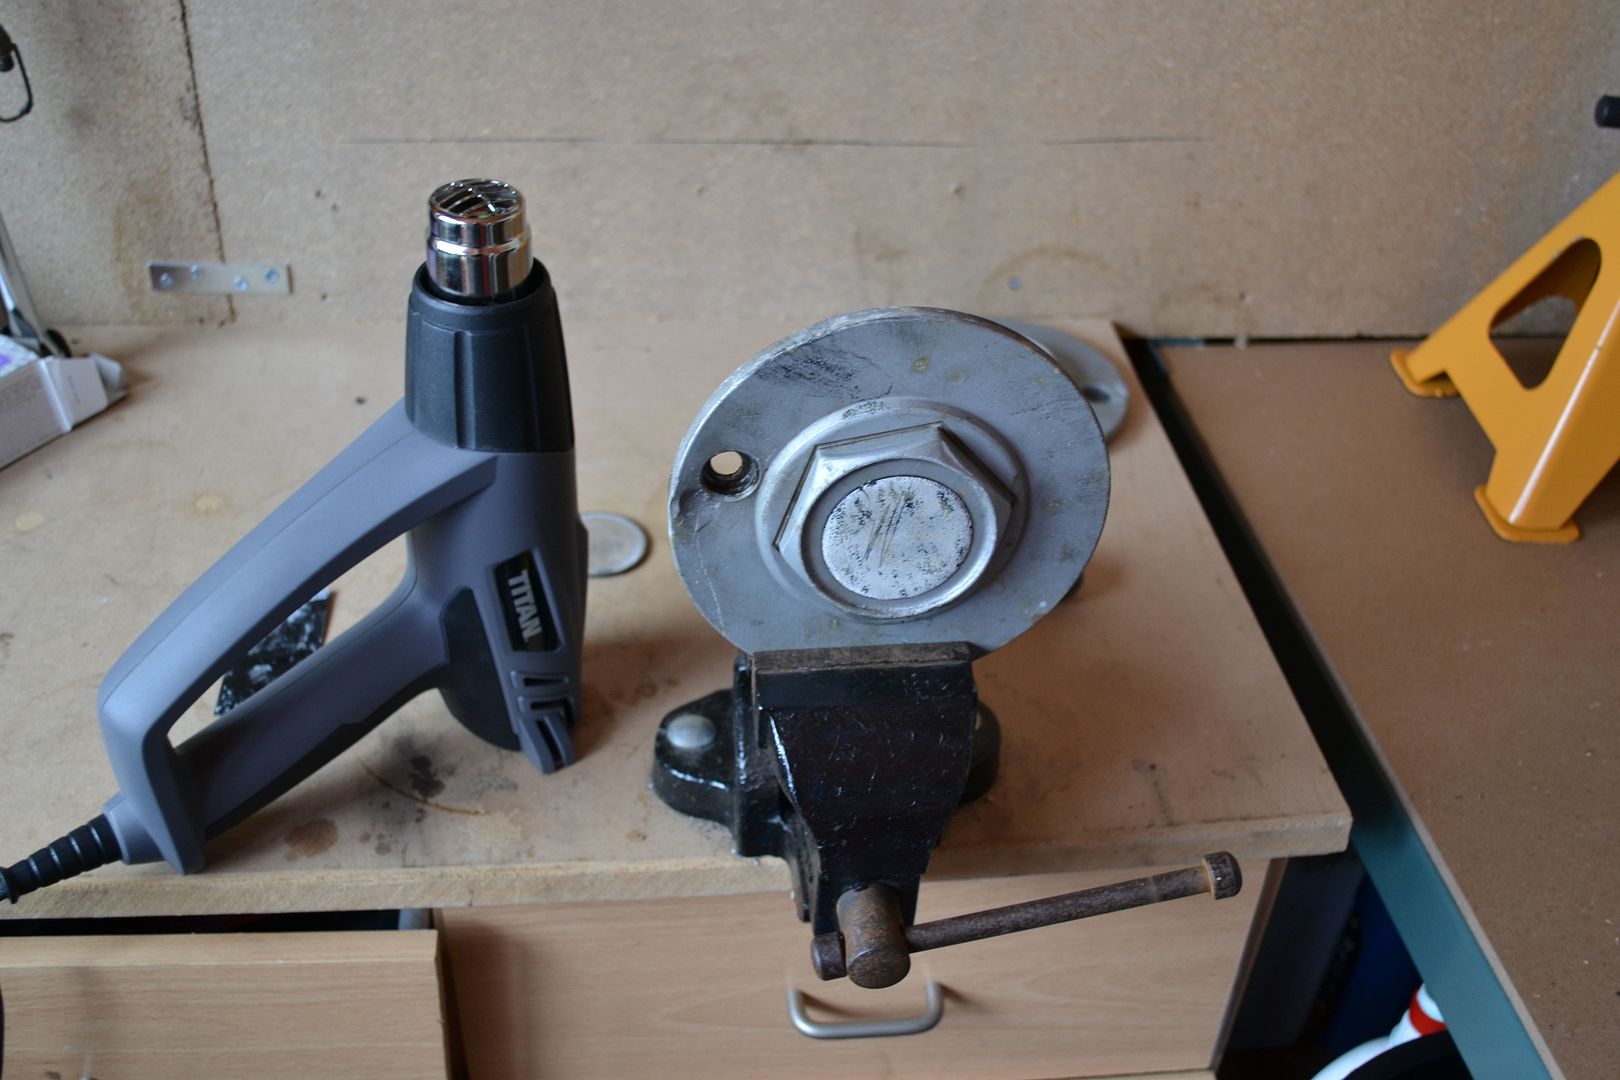
The reason for the heatgun was to try and het up the damaged ege with the dink in it and tap it back in to line, I did try this but gave up thinking I’ll only end up knocking off a huge chunk of metal work!!!!
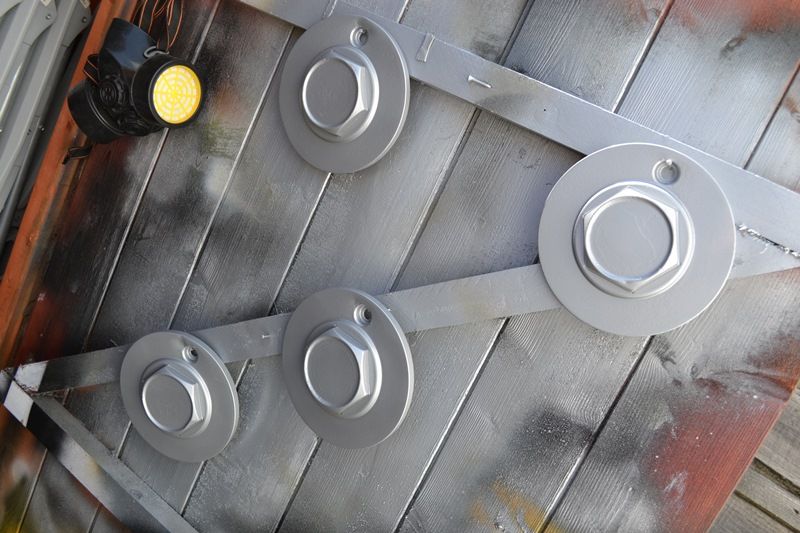
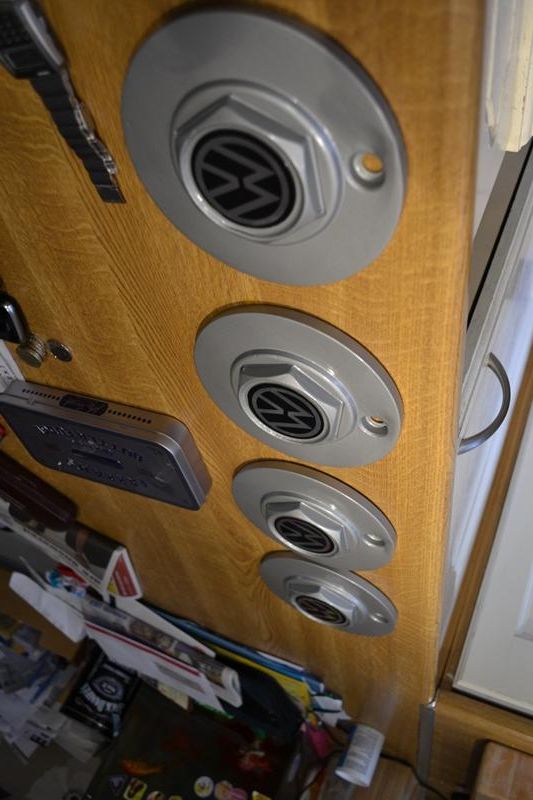
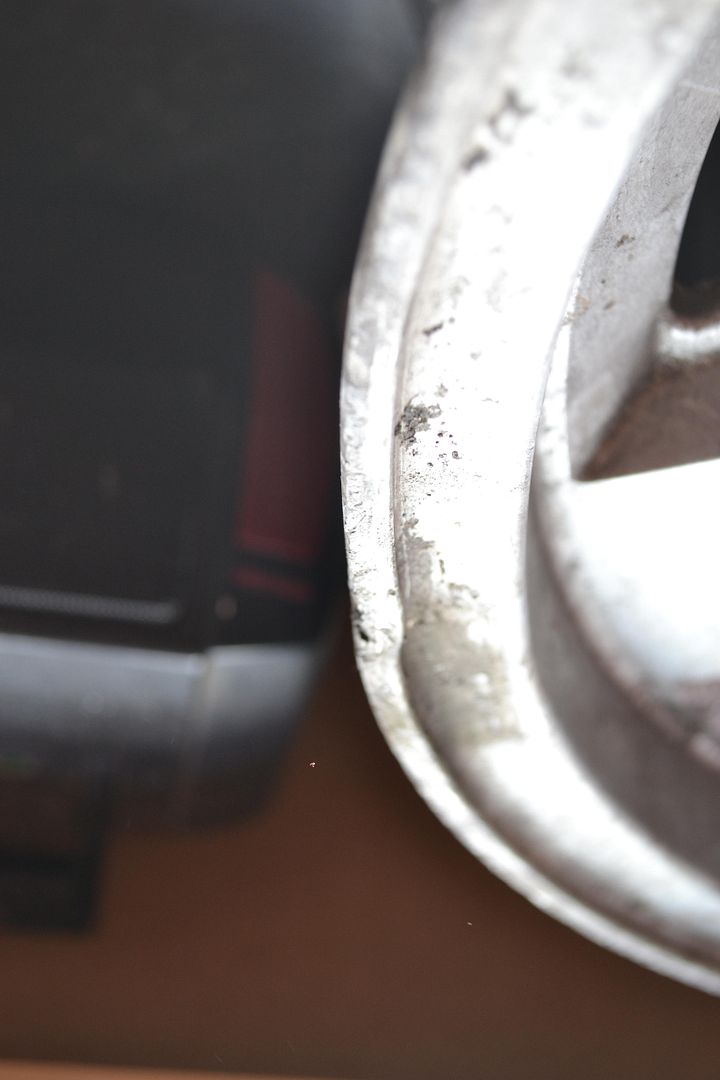
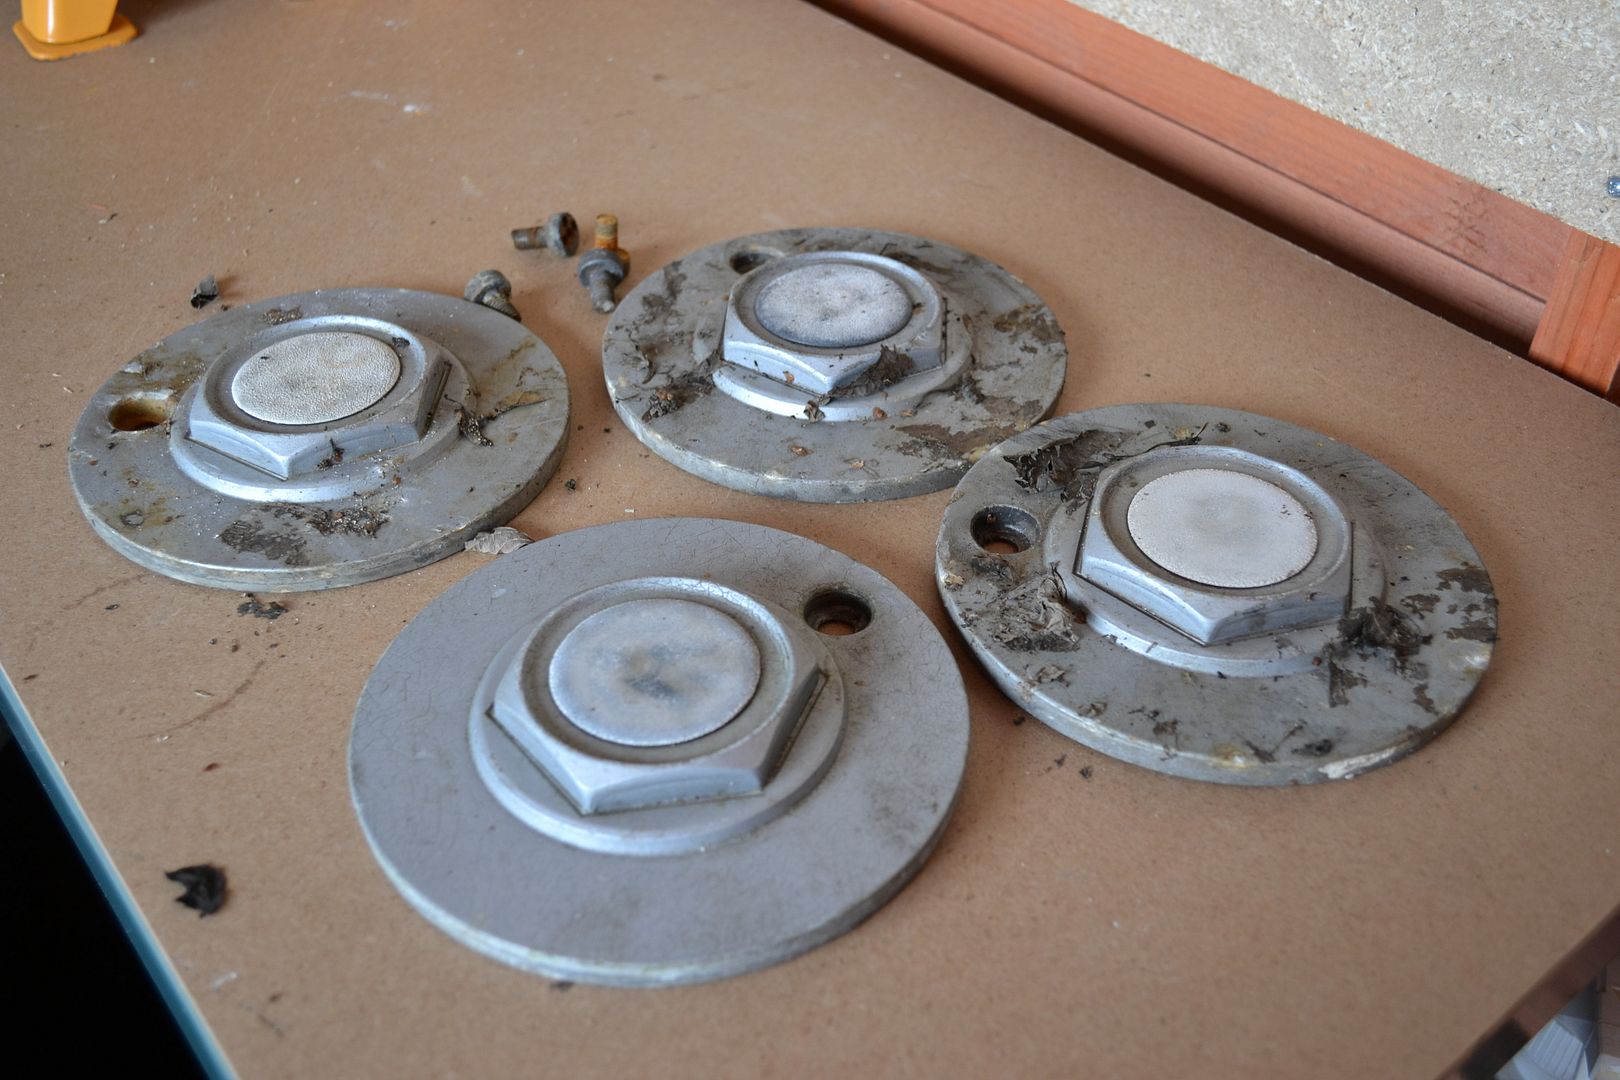
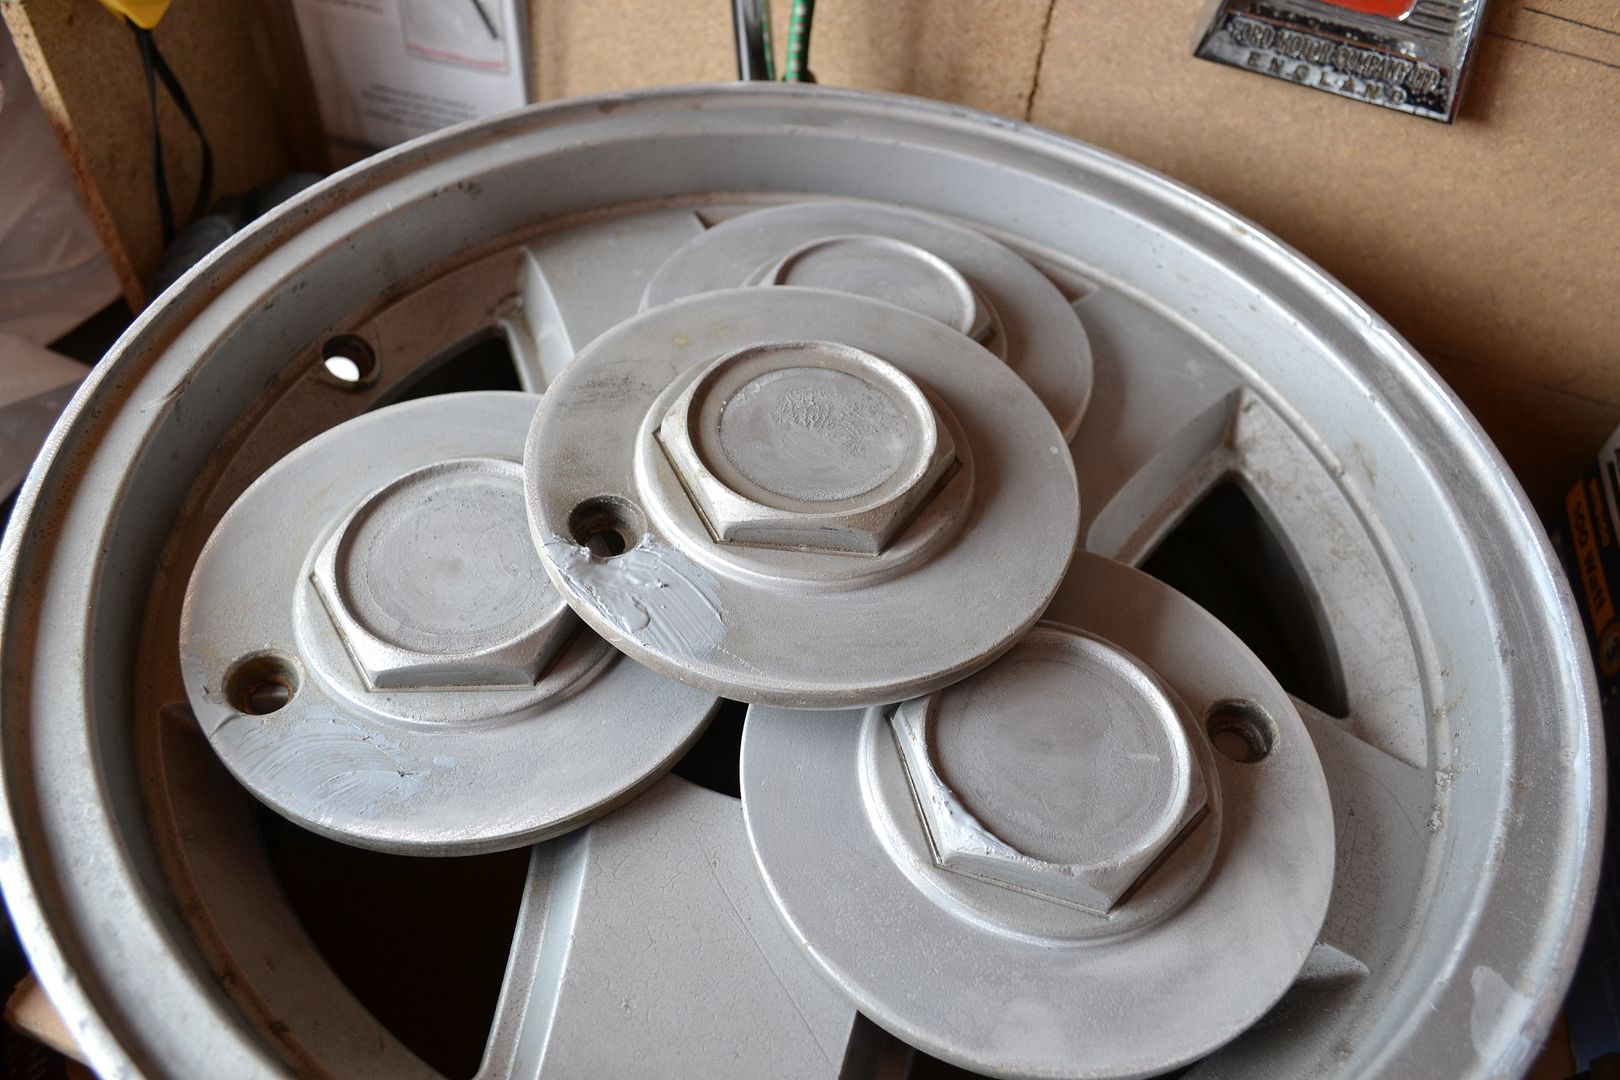
It did some in handy though for getting off the logos on the centre caps :)
Before I broke out the pin filler I had knocking around-
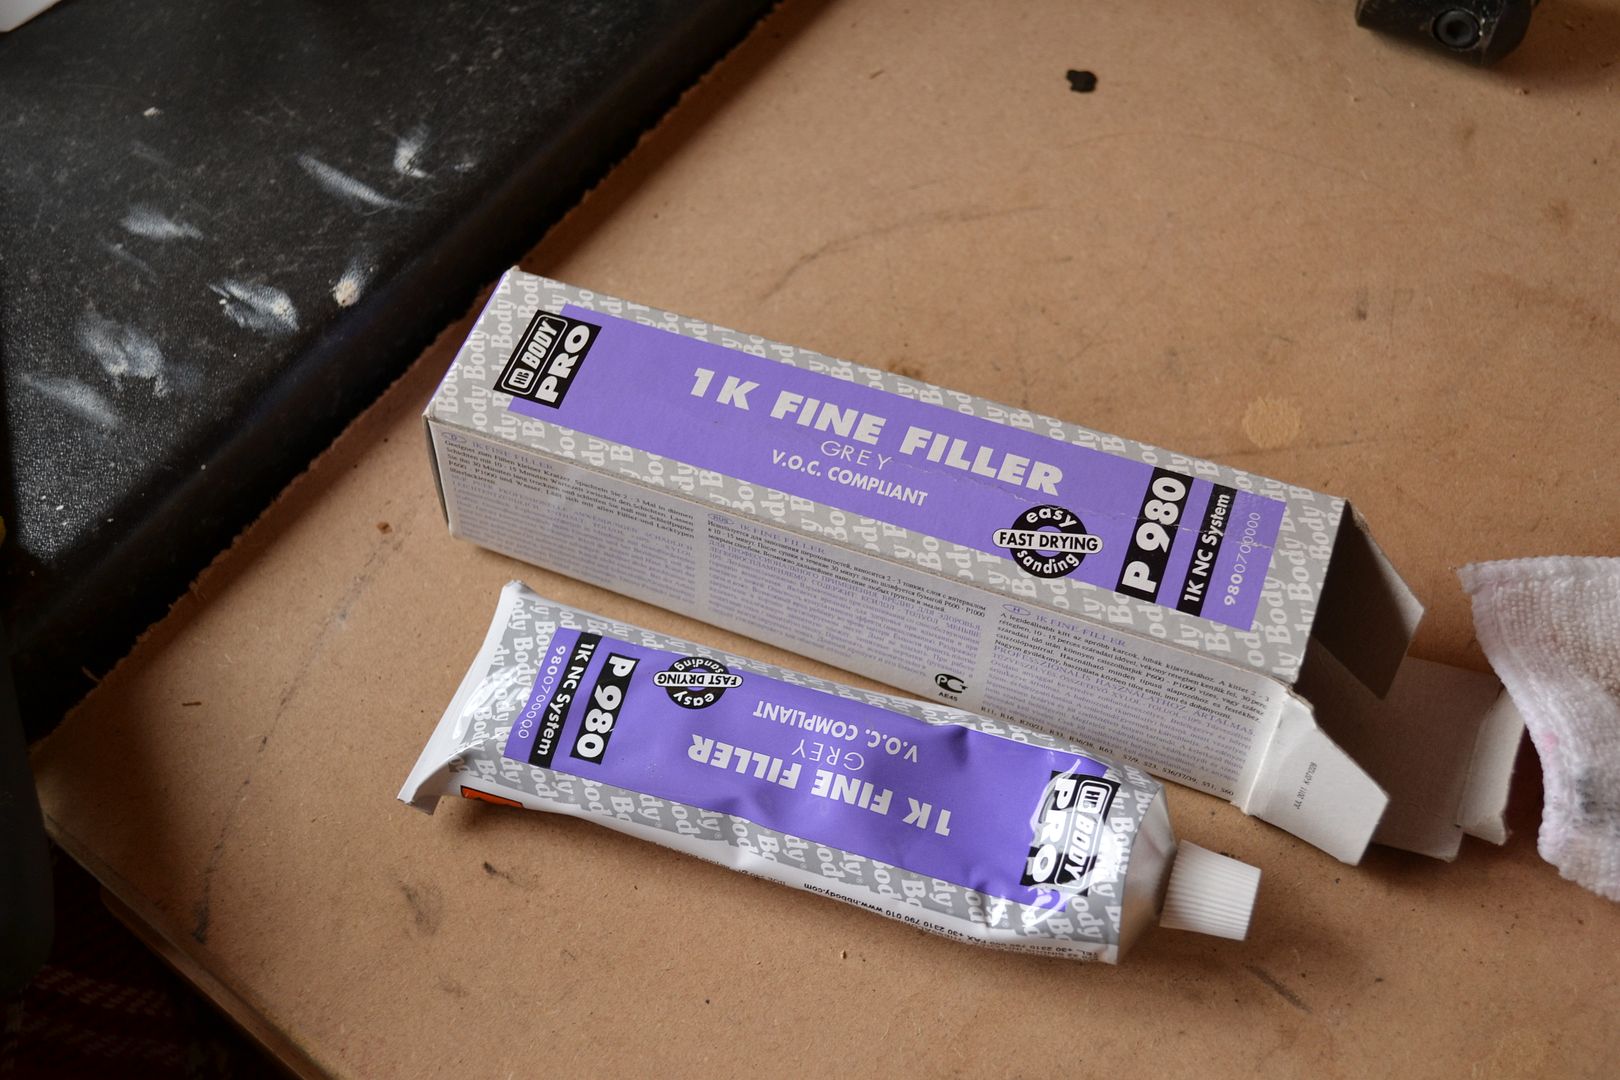
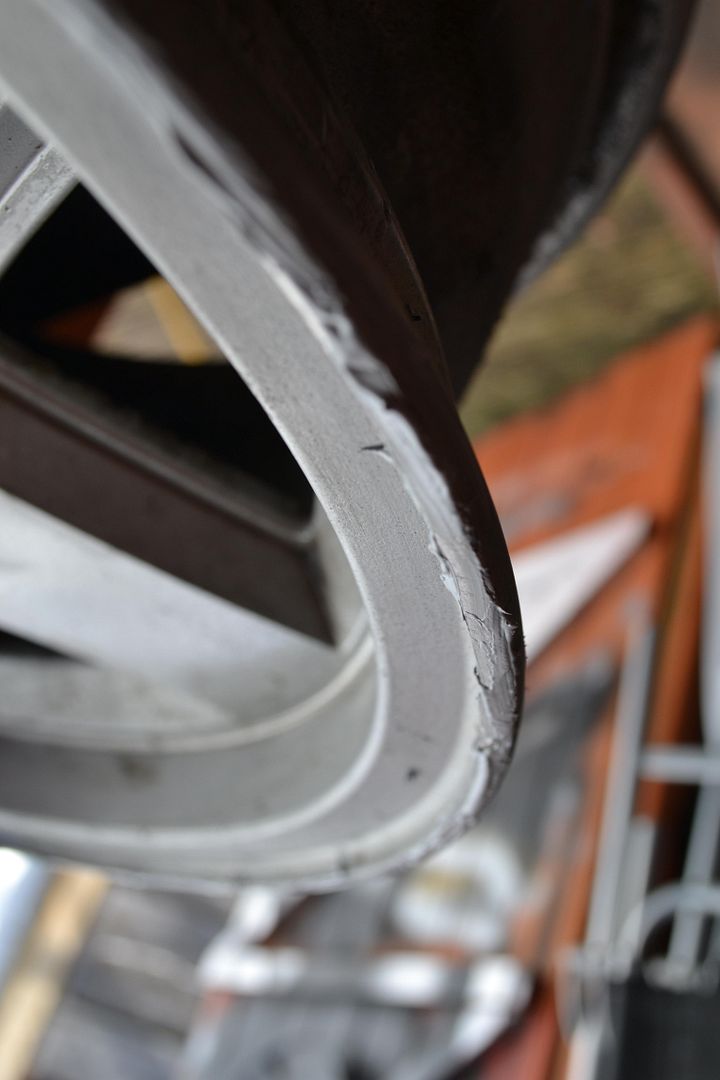
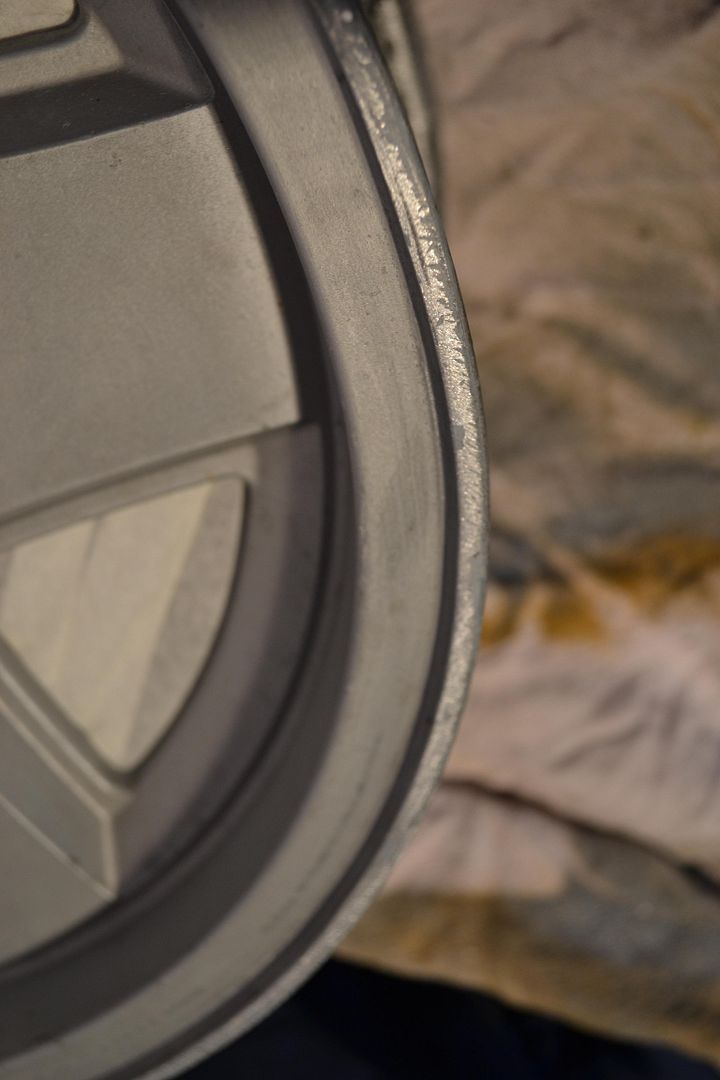
Then 24hrs later they were sanded down again, refilled where needed and given a general all over sand for good measure-
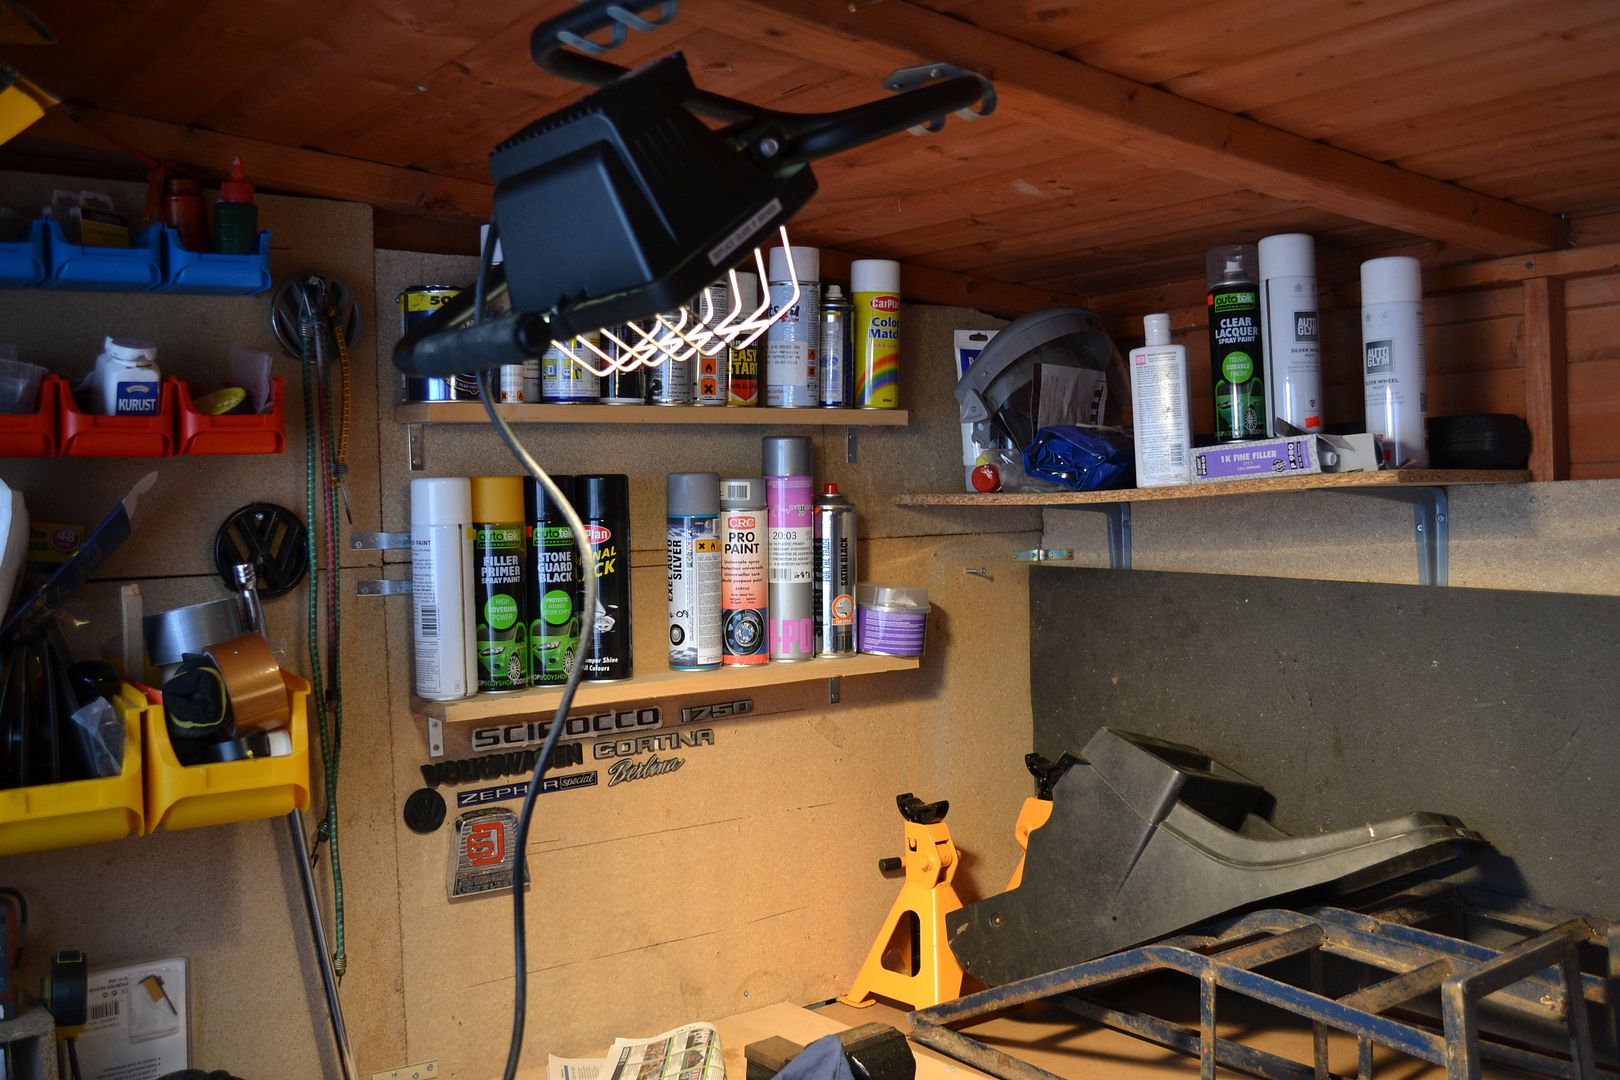
Next was preparing a “painting booth” well the shed floor!!!!
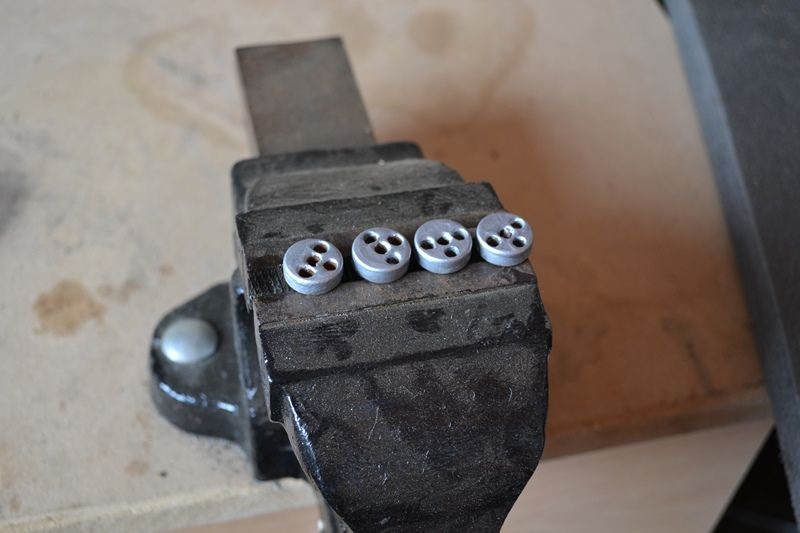
The orange stuff filling the bolt holes was donated by my little one, its actually her playdough, perfect for the job :)
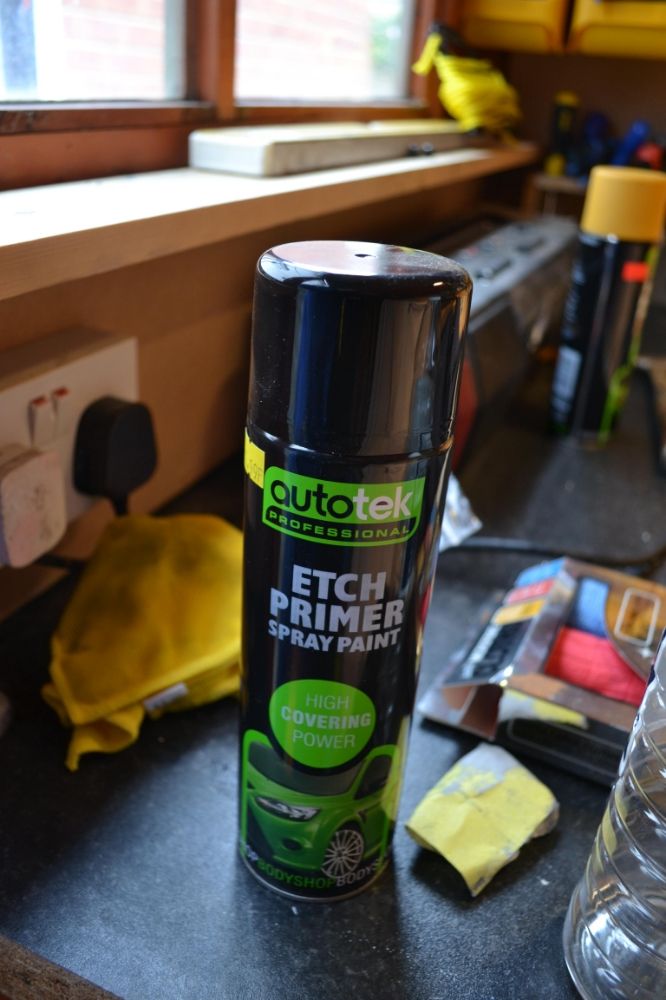
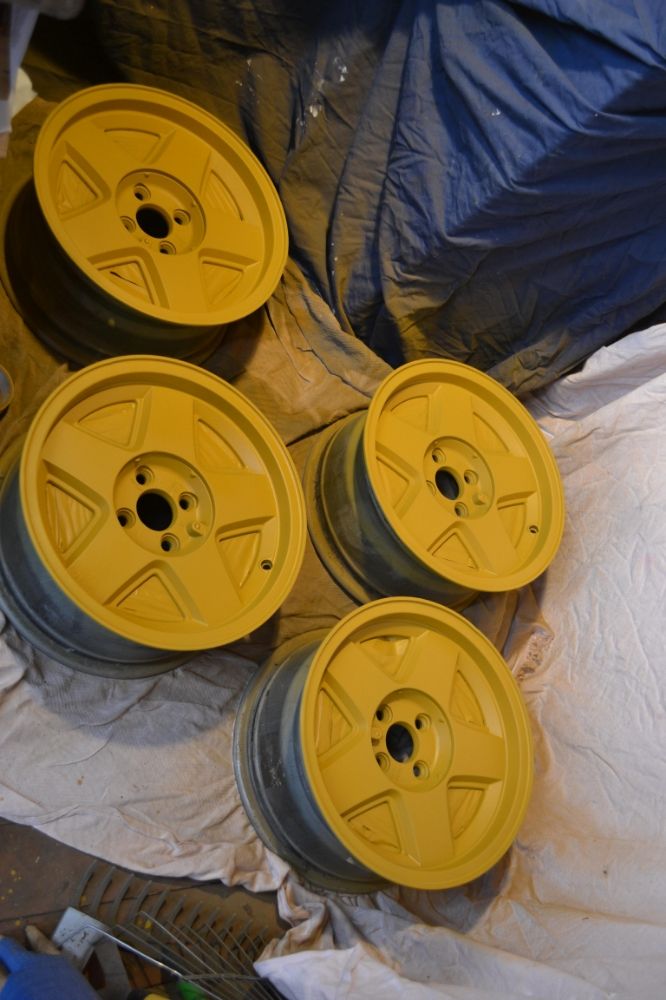
And after a final clean and wide over with meths to clean off any grease I got going with the etch primer, again that I had in the shed-

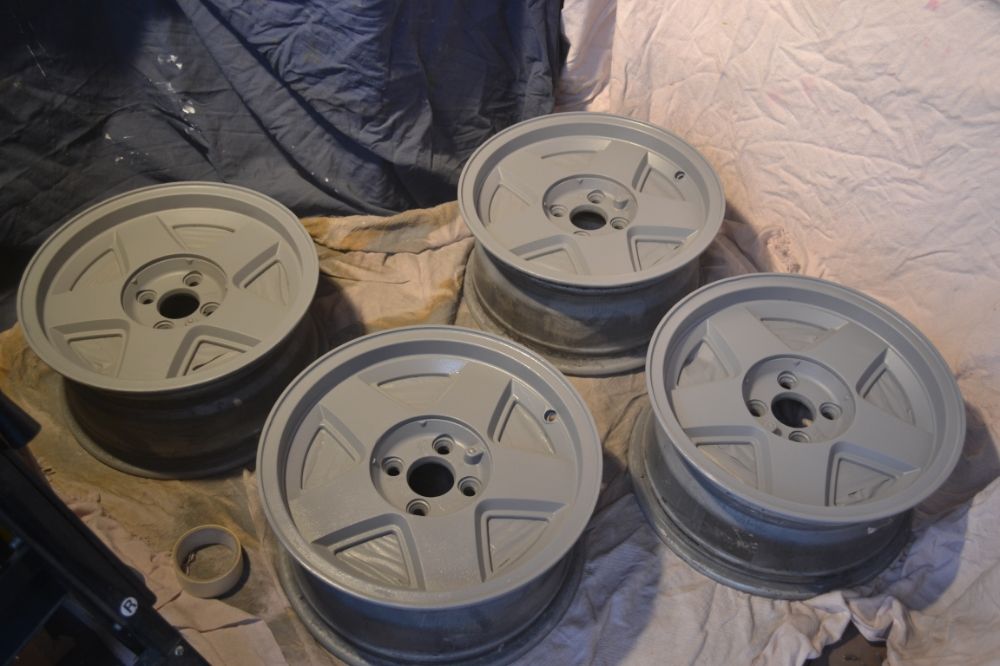
Then it was 4 liberal coats of filler primer, this stuff is lethal and I’m glad I had this one-
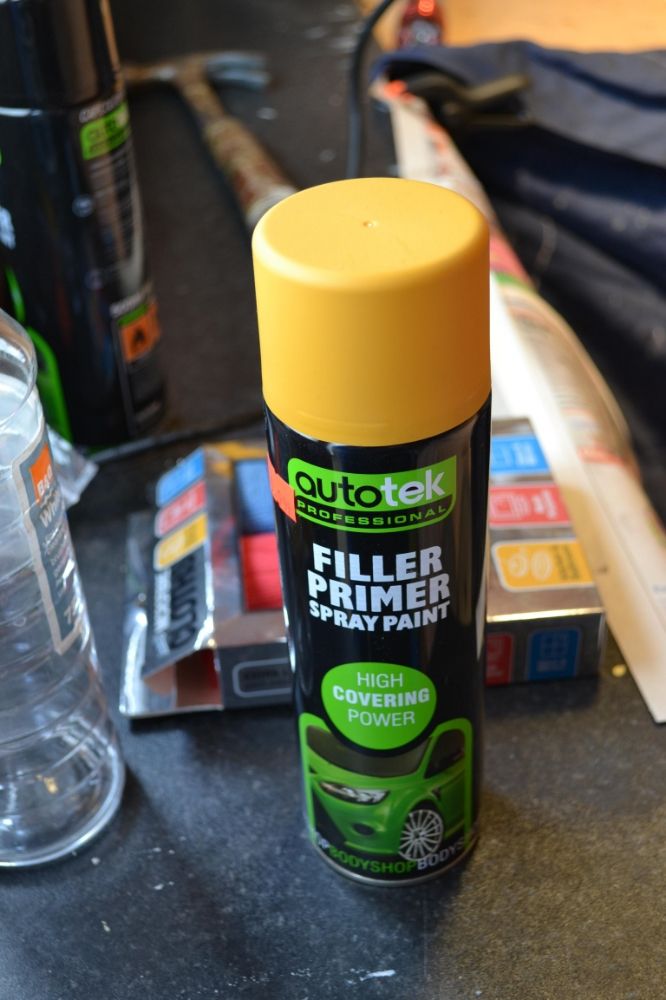

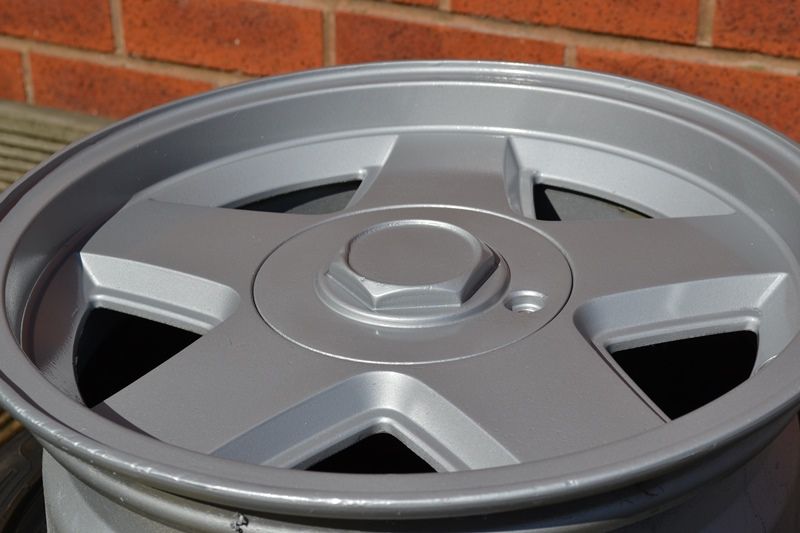
This was left to harden for 24hrs before having a light rub down, and then it was the top coat, 2 layers so far 2 more tonight then lacquer finish-
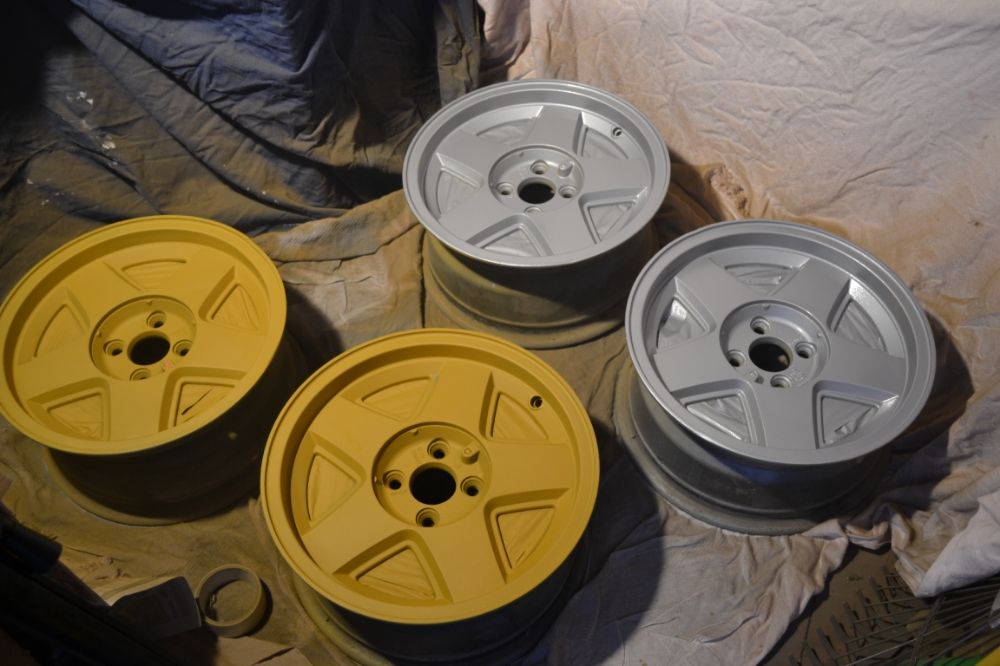

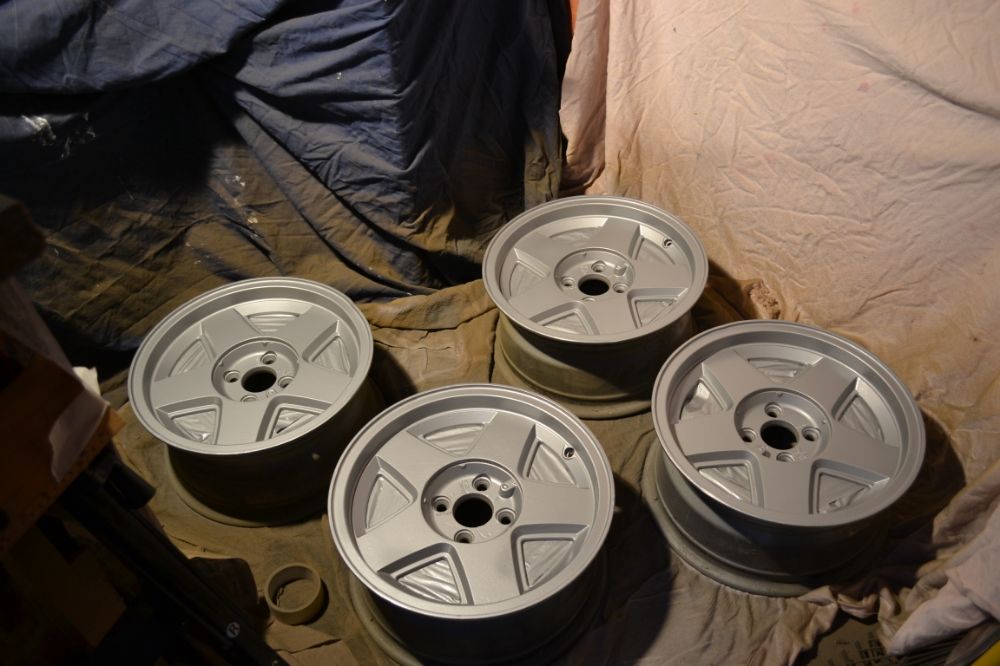
Really pleased so far :)
Re: Eefy's White Scala
Posted: Thu Apr 04, 2013 1:39 pm
by GTXTRA
They look very nice indeed Heath.
An underrated wheel from back in the day.
Re: Eefy's White Scala
Posted: Thu Apr 04, 2013 2:23 pm
by eefy
I've only seen one other set in the last 5 years!!!!! however in the states there everywhere as they were fitted to the Firebird :)
Re: Eefy's White Scala
Posted: Fri Apr 05, 2013 7:12 pm
by Chaps
Good work on the wheel refurb... How many sets of wheels do you have now?? Haha..
They will look good mate.
Re: Eefy's White Scala
Posted: Sat Apr 06, 2013 8:55 pm
by eefy
Just 3 sets mate, the black steelies, the 5 spokes above and some p -slots that I may satin polish next year ;)
Re: Eefy's White Scala
Posted: Tue Apr 09, 2013 8:26 am
by eefy
Re: Eefy's White Scala
Posted: Fri Apr 12, 2013 1:10 am
by rwh1990
Lookin Awesome mate! You have given me some fresh inspiration to start cracking on getting mine all done and show ready!

Got some good Idea's now, Cheers!!!!!
Re: Eefy's White Scala
Posted: Tue Apr 16, 2013 9:24 pm
by G Beats
Do you have a proper spray gun to paint the bumper or did you do it with cans?
eefy wrote:Removing the outer skin was a no no, i just knew I'd end up breaking it lol
lastnight more jobs done, finally fitted the poly hanger for the rear of the exhaust-


i wasnt happy with how low the exhuast was, so adjusted it up a notch, took it for a run and NO BANGING :) success
next job was a replacement clutch pedal rubber-

i also lightly flatted the painted bumper and gave it a damn good t-cutting, then it had a was, just needs fitting to the car before waxing, must admit i'm very happy with it :)


just need to wax it tonight and its ready for the car show, bet the neighbour think I'm mad, its been washed about 4 times this week lol
Re: Eefy's White Scala
Posted: Wed Apr 17, 2013 8:28 am
by eefy
All done with a can :)
Re: Eefy's White Scala
Posted: Wed Apr 17, 2013 4:26 pm
by Nate
a quick word of warning! i wouldn't stack the wheels like that for too long, what with them having fresh paint on them. i did the same thing a few years ago, and the bottom pair of wheels stuck to the board. look good though :) how near to a "stock" wheel colour is that paint? most of the wheel silver i've used in the past had looked nothing like the original finish most alloys get
Re: Eefy's White Scala
Posted: Wed Apr 17, 2013 4:36 pm
by eefy
Its not a board just foam, so hopefully should be okay, left them to dry for 2 days first though just in case.
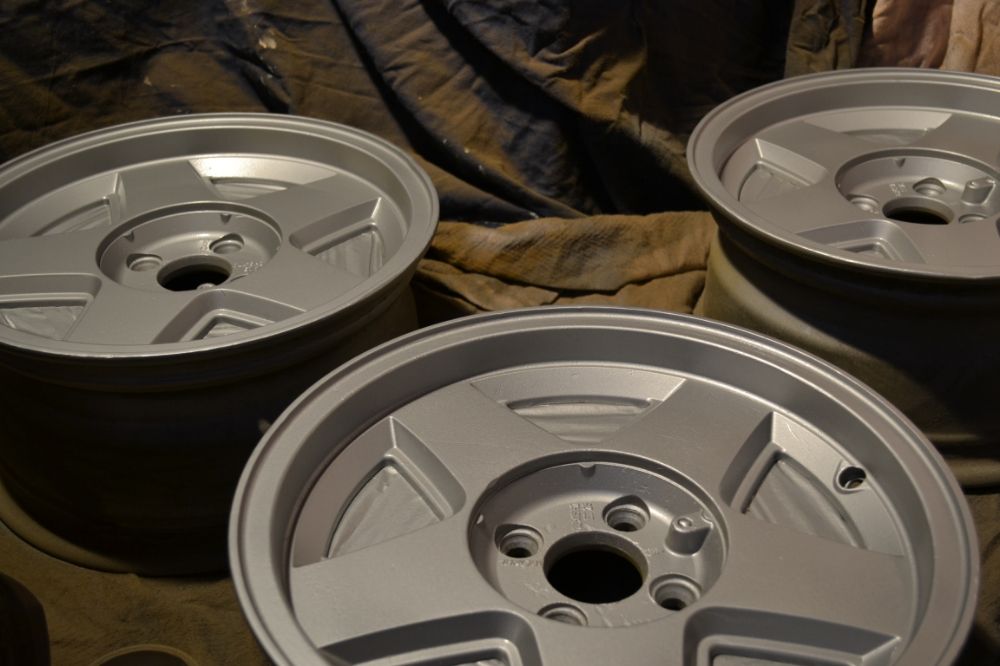
As for silver, its a much brighter lighter one, more modern alloy colour rather than the original duller colour. It was to off set them better against the white body work :)
Re: Eefy's White Scala
Posted: Thu Apr 18, 2013 5:11 pm
by jbo
Wow they look fantastic! It really shows how good things can look without spending hundreds of squids.
Where did you find the poly hangers matey? My exhaust is a custom build and some of the exhaust hangers are slightly larger than the oems. There would be perfect!

Jason
Re: Eefy's White Scala
Posted: Wed Apr 24, 2013 10:37 am
by eefy
Hey Jason, got the hanger off ebay-
http://www.ebay.co.uk/itm/Powerflex-Uni ... 19d4eb55a7
the rest are standard rubber ones that came with the exhaust, this though stops the tail hitting the bodywork!!!
Re: Eefy's White Scala
Posted: Thu May 09, 2013 9:01 pm
by eefy
Well with some nice weather and time on my hands over the weekend, i fixed a problem with the rocco. When I sprayed the front bumper I had some paint flake off along the bottom of the black strip, rather than touch it up with a pen I decided to mask it up and spray it while on the car the day beofre last years national meet!!!!! Big mistake, the paint I used was VW aerosol rather than the mixed up one,as it turns out it ws thicker and I ended up with curtains, and overspray :(
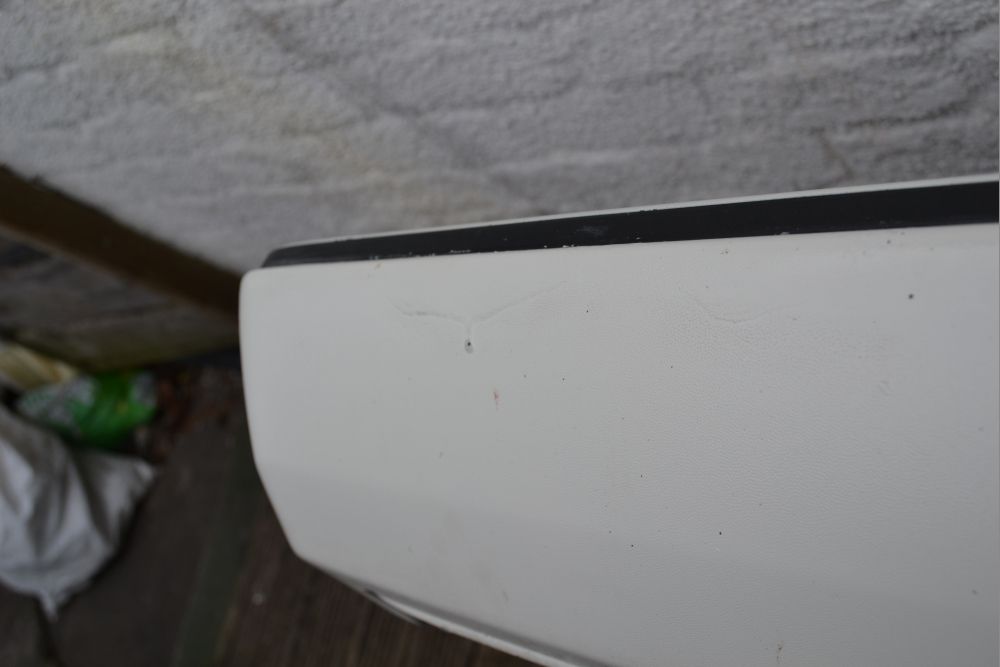
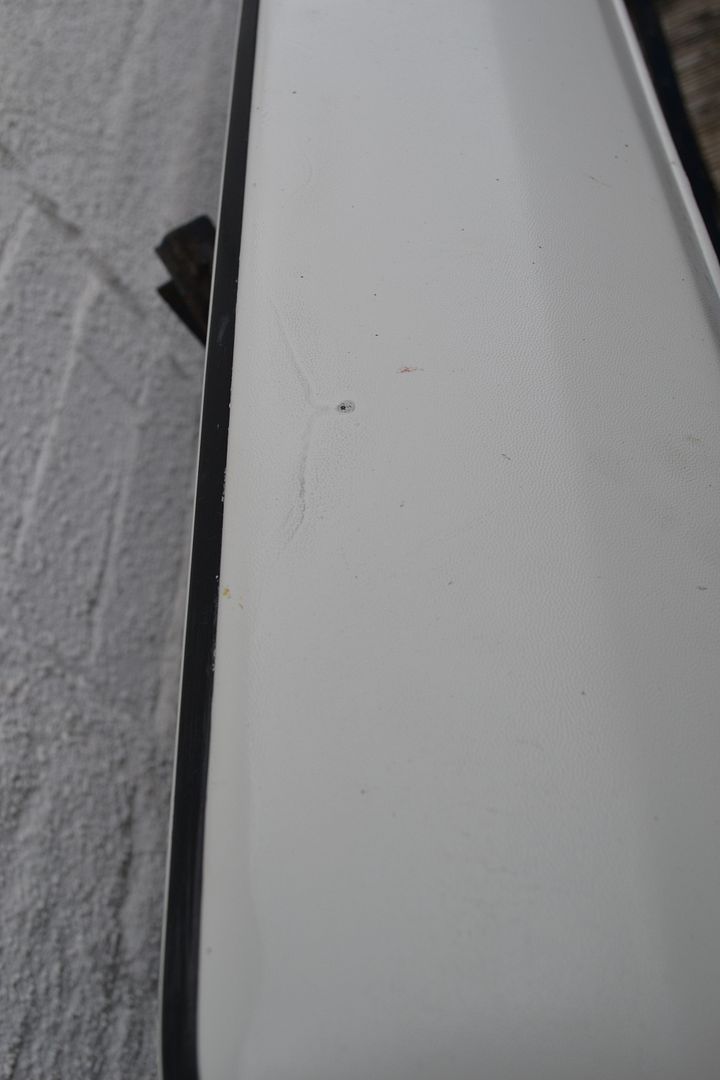
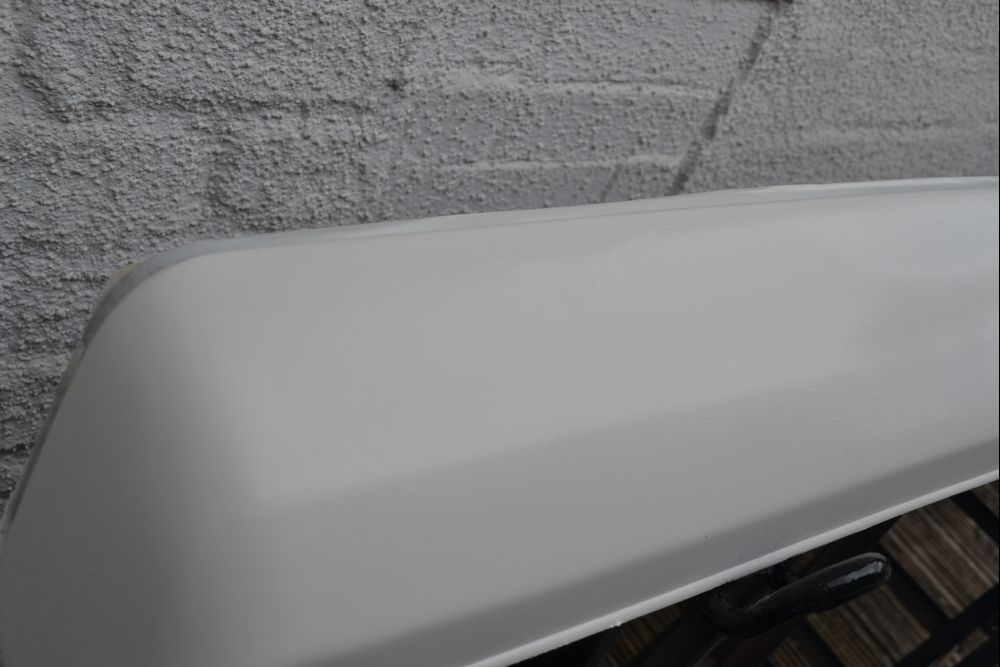
So after a rub down it was some fresh paint :)
And back on, even took the grill off and gave it a lick of satin black to freshen it up-
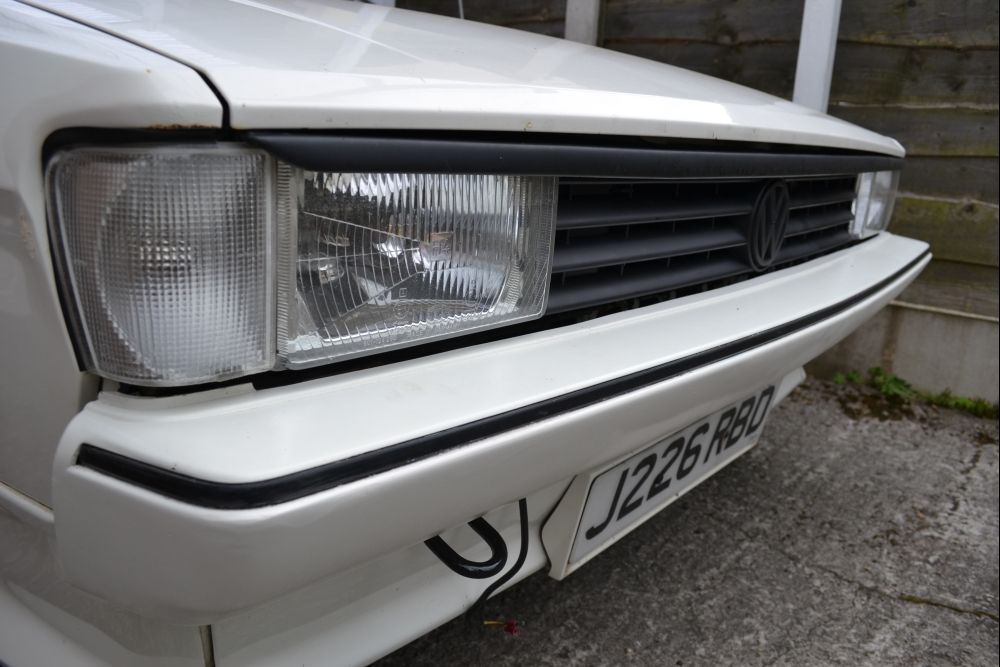
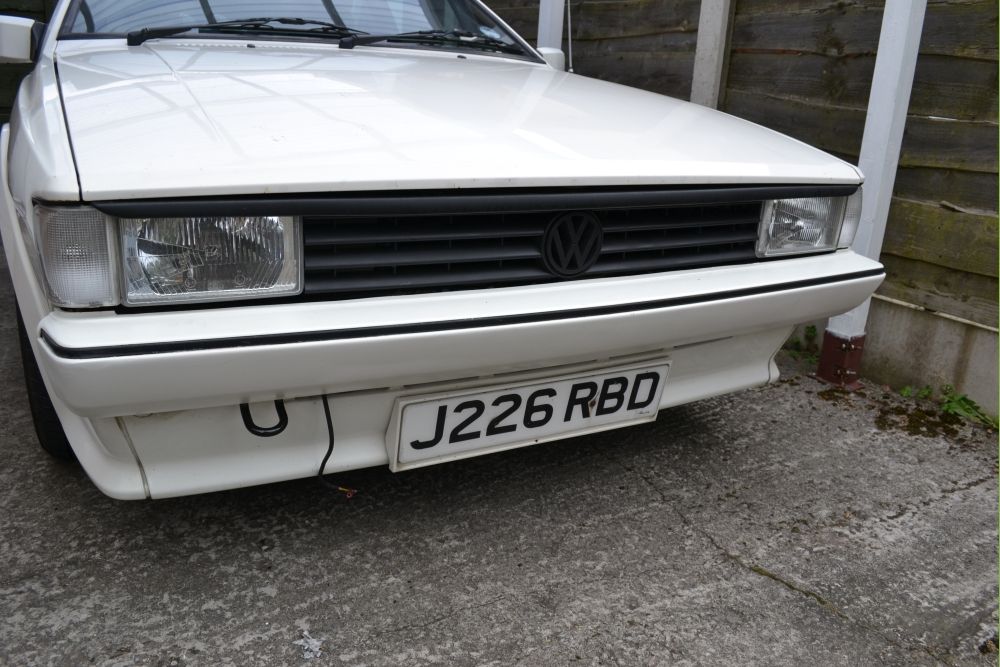
Just needs a t-cut and its done, much better :)
you may also have noticed I removed the micro fog lights, the main reason was one has has a leak and had dulled/yellowed. what a job getting the brackets off!!!!!!! damn you VW for bolting them on before attaching the from of the bumper!!!!
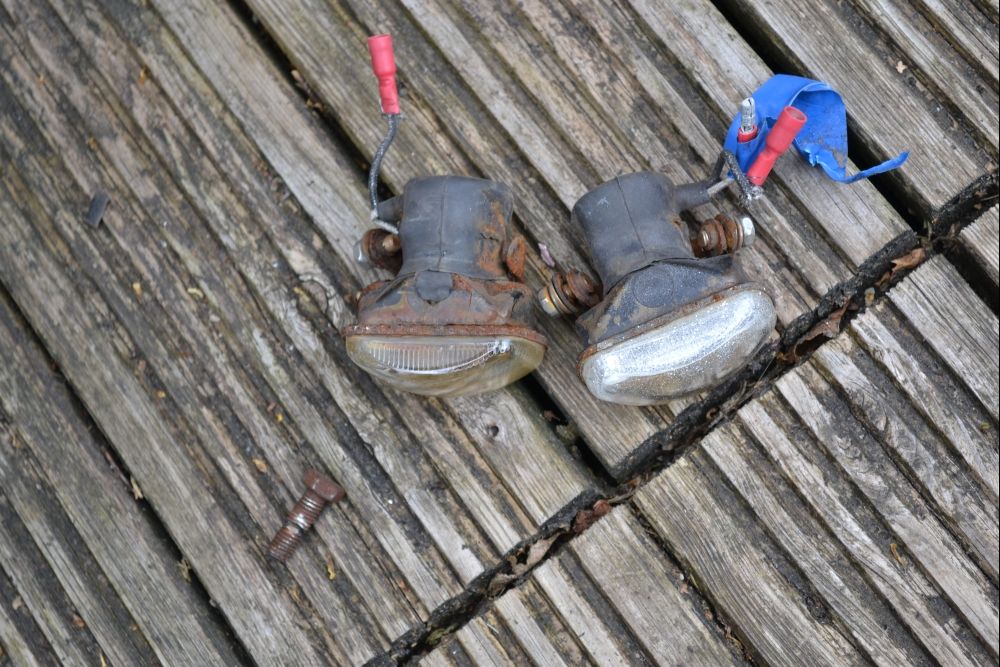
I have a replacement set to go back on this weekend ;)