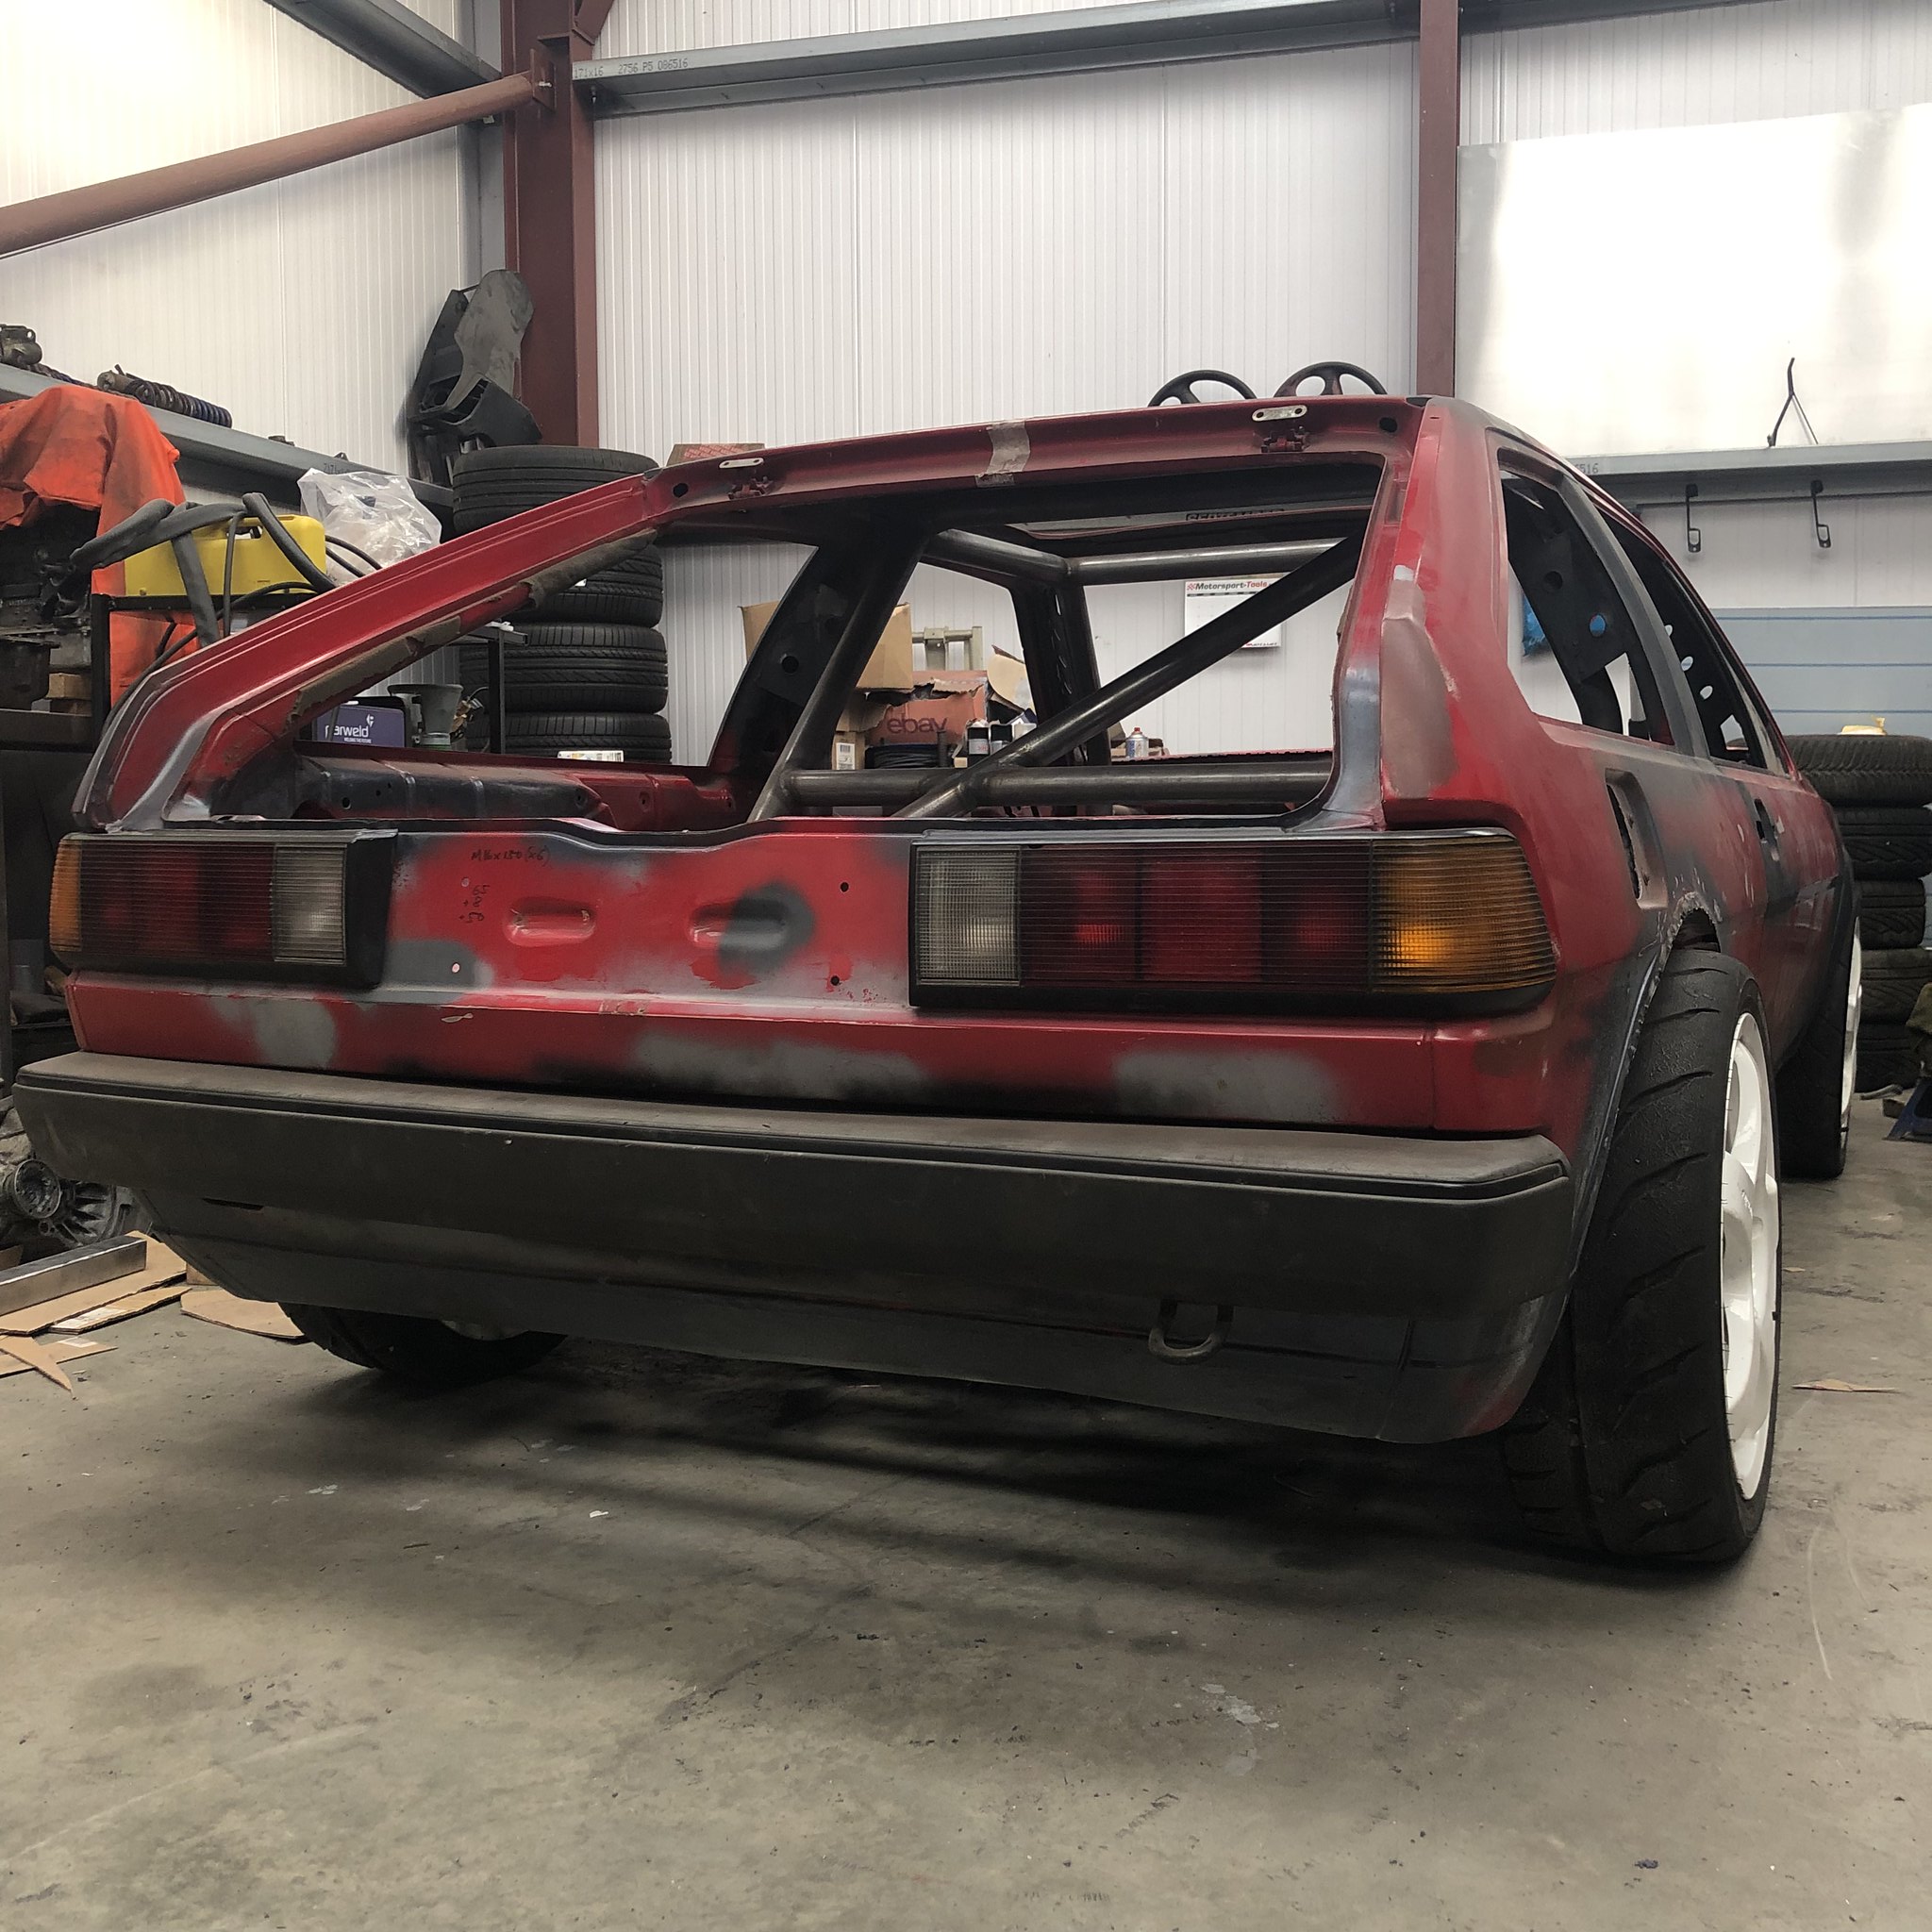
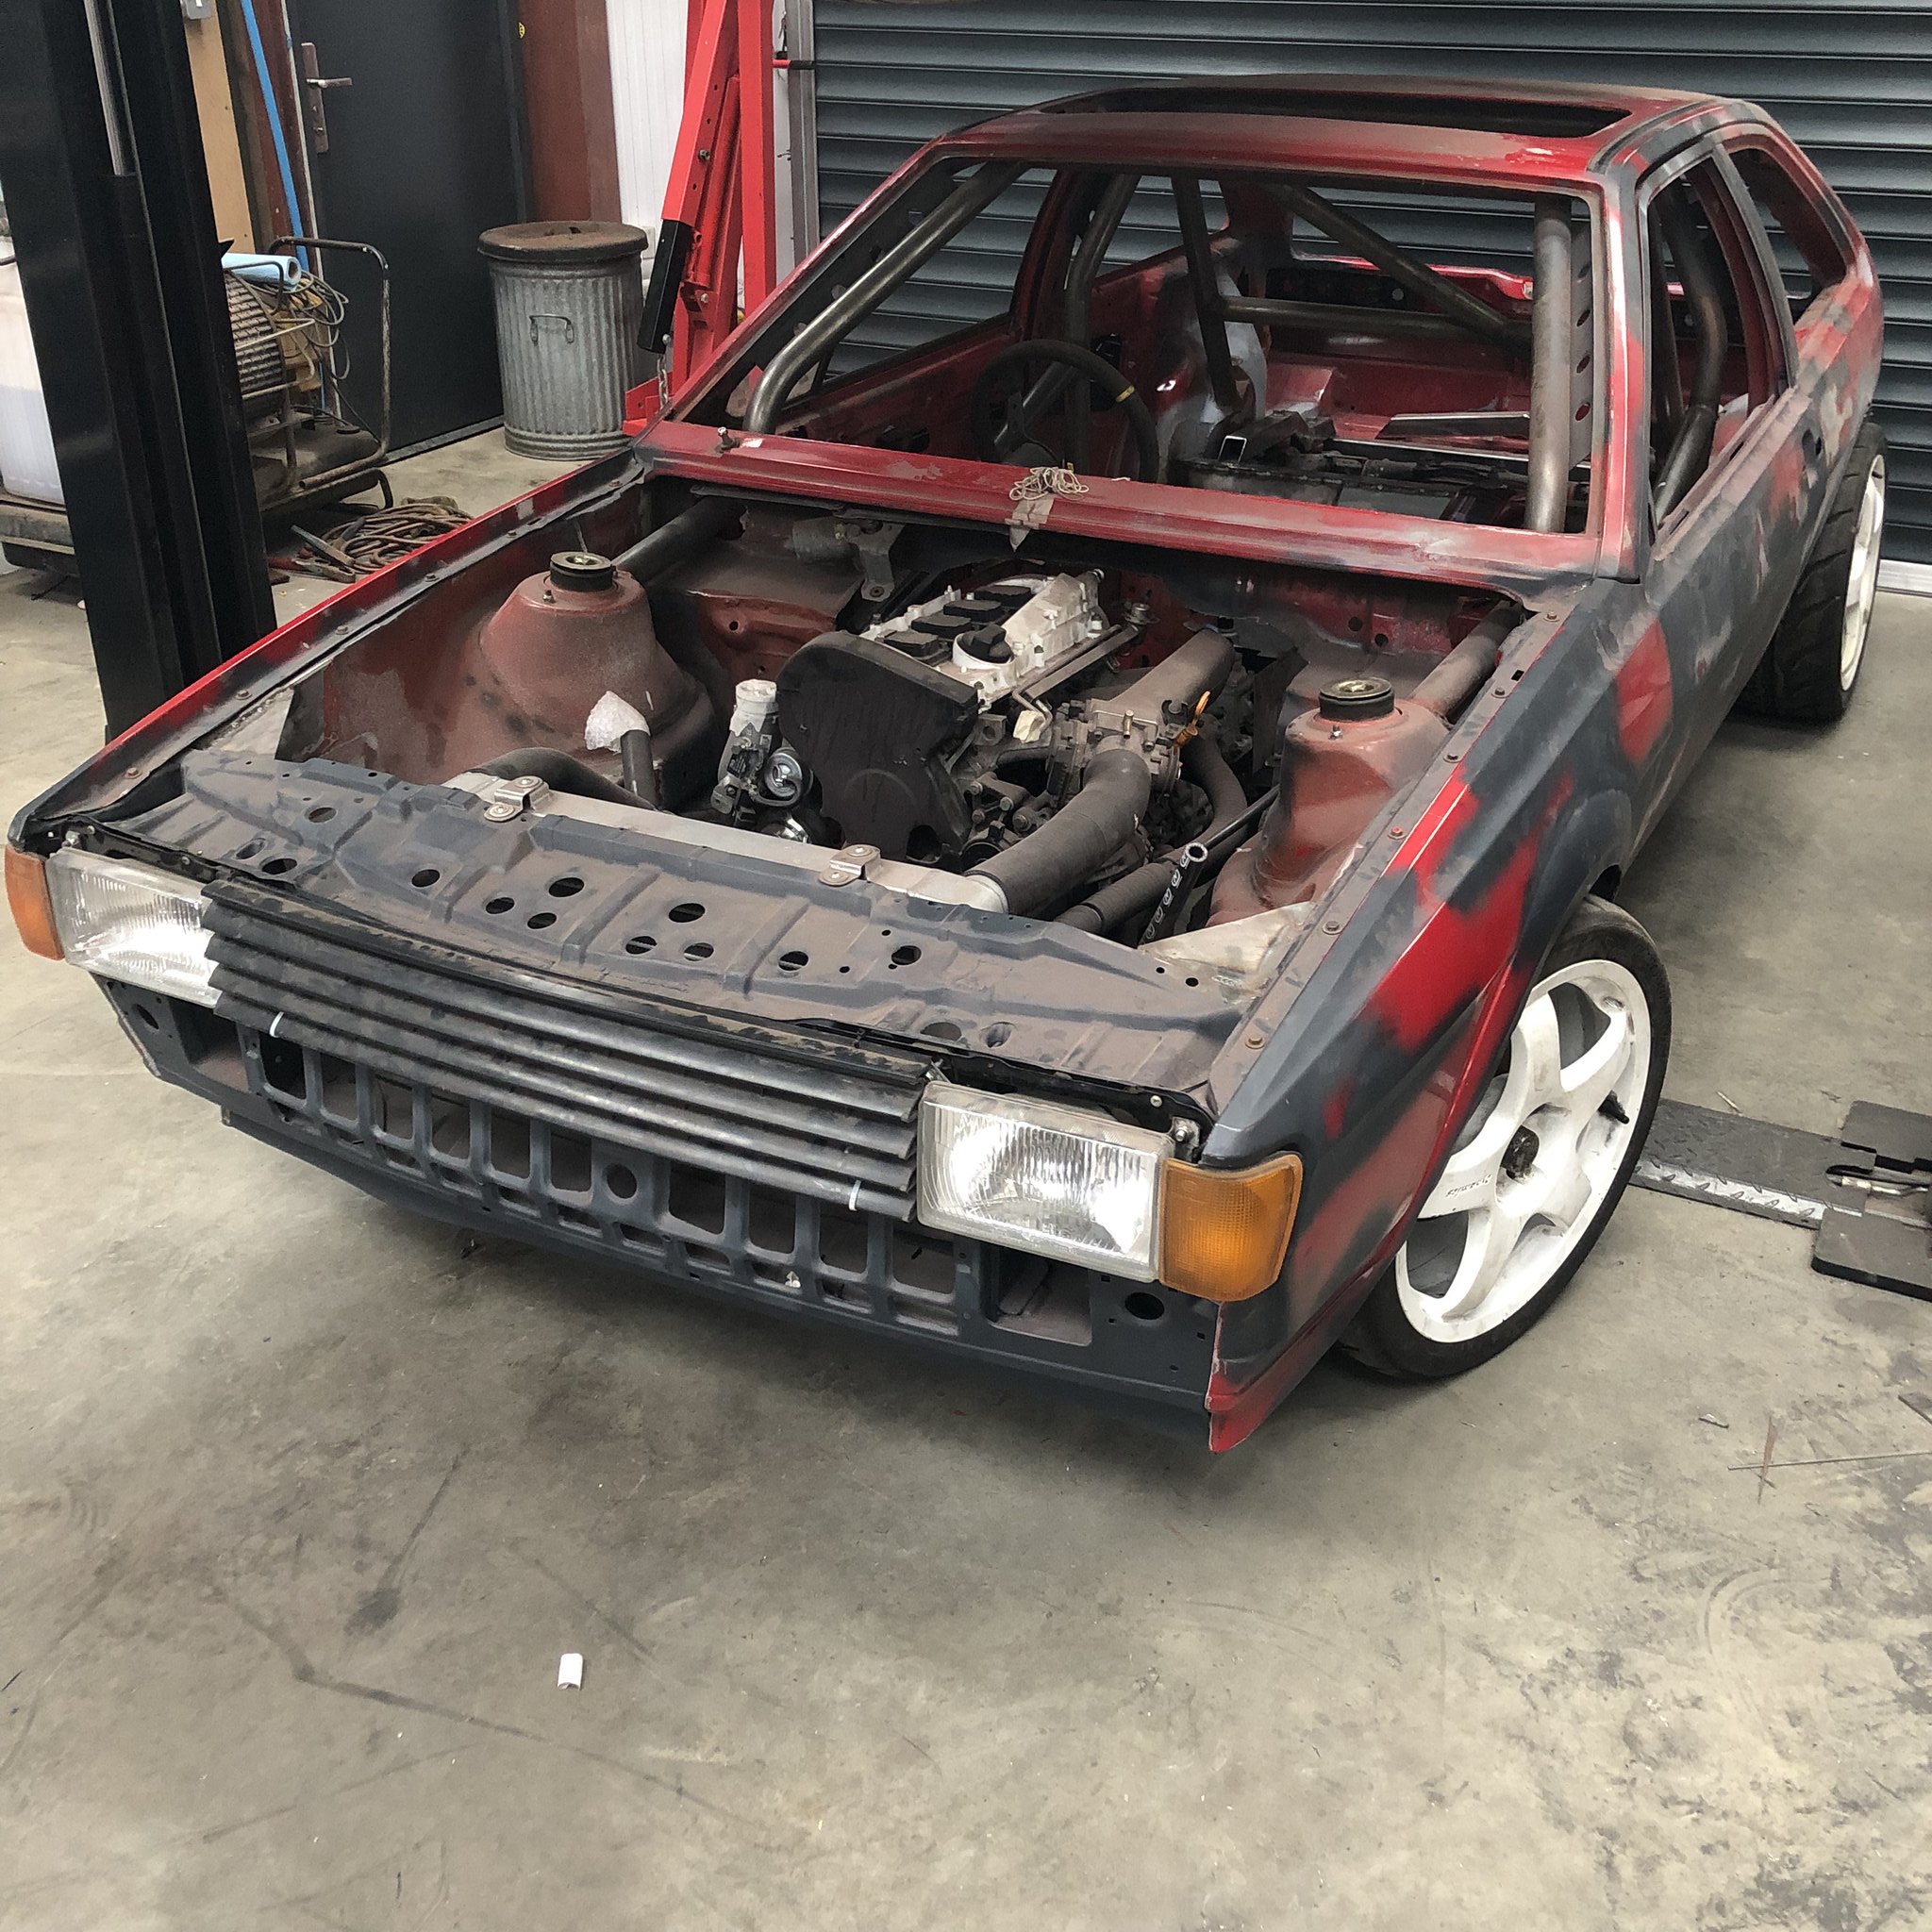
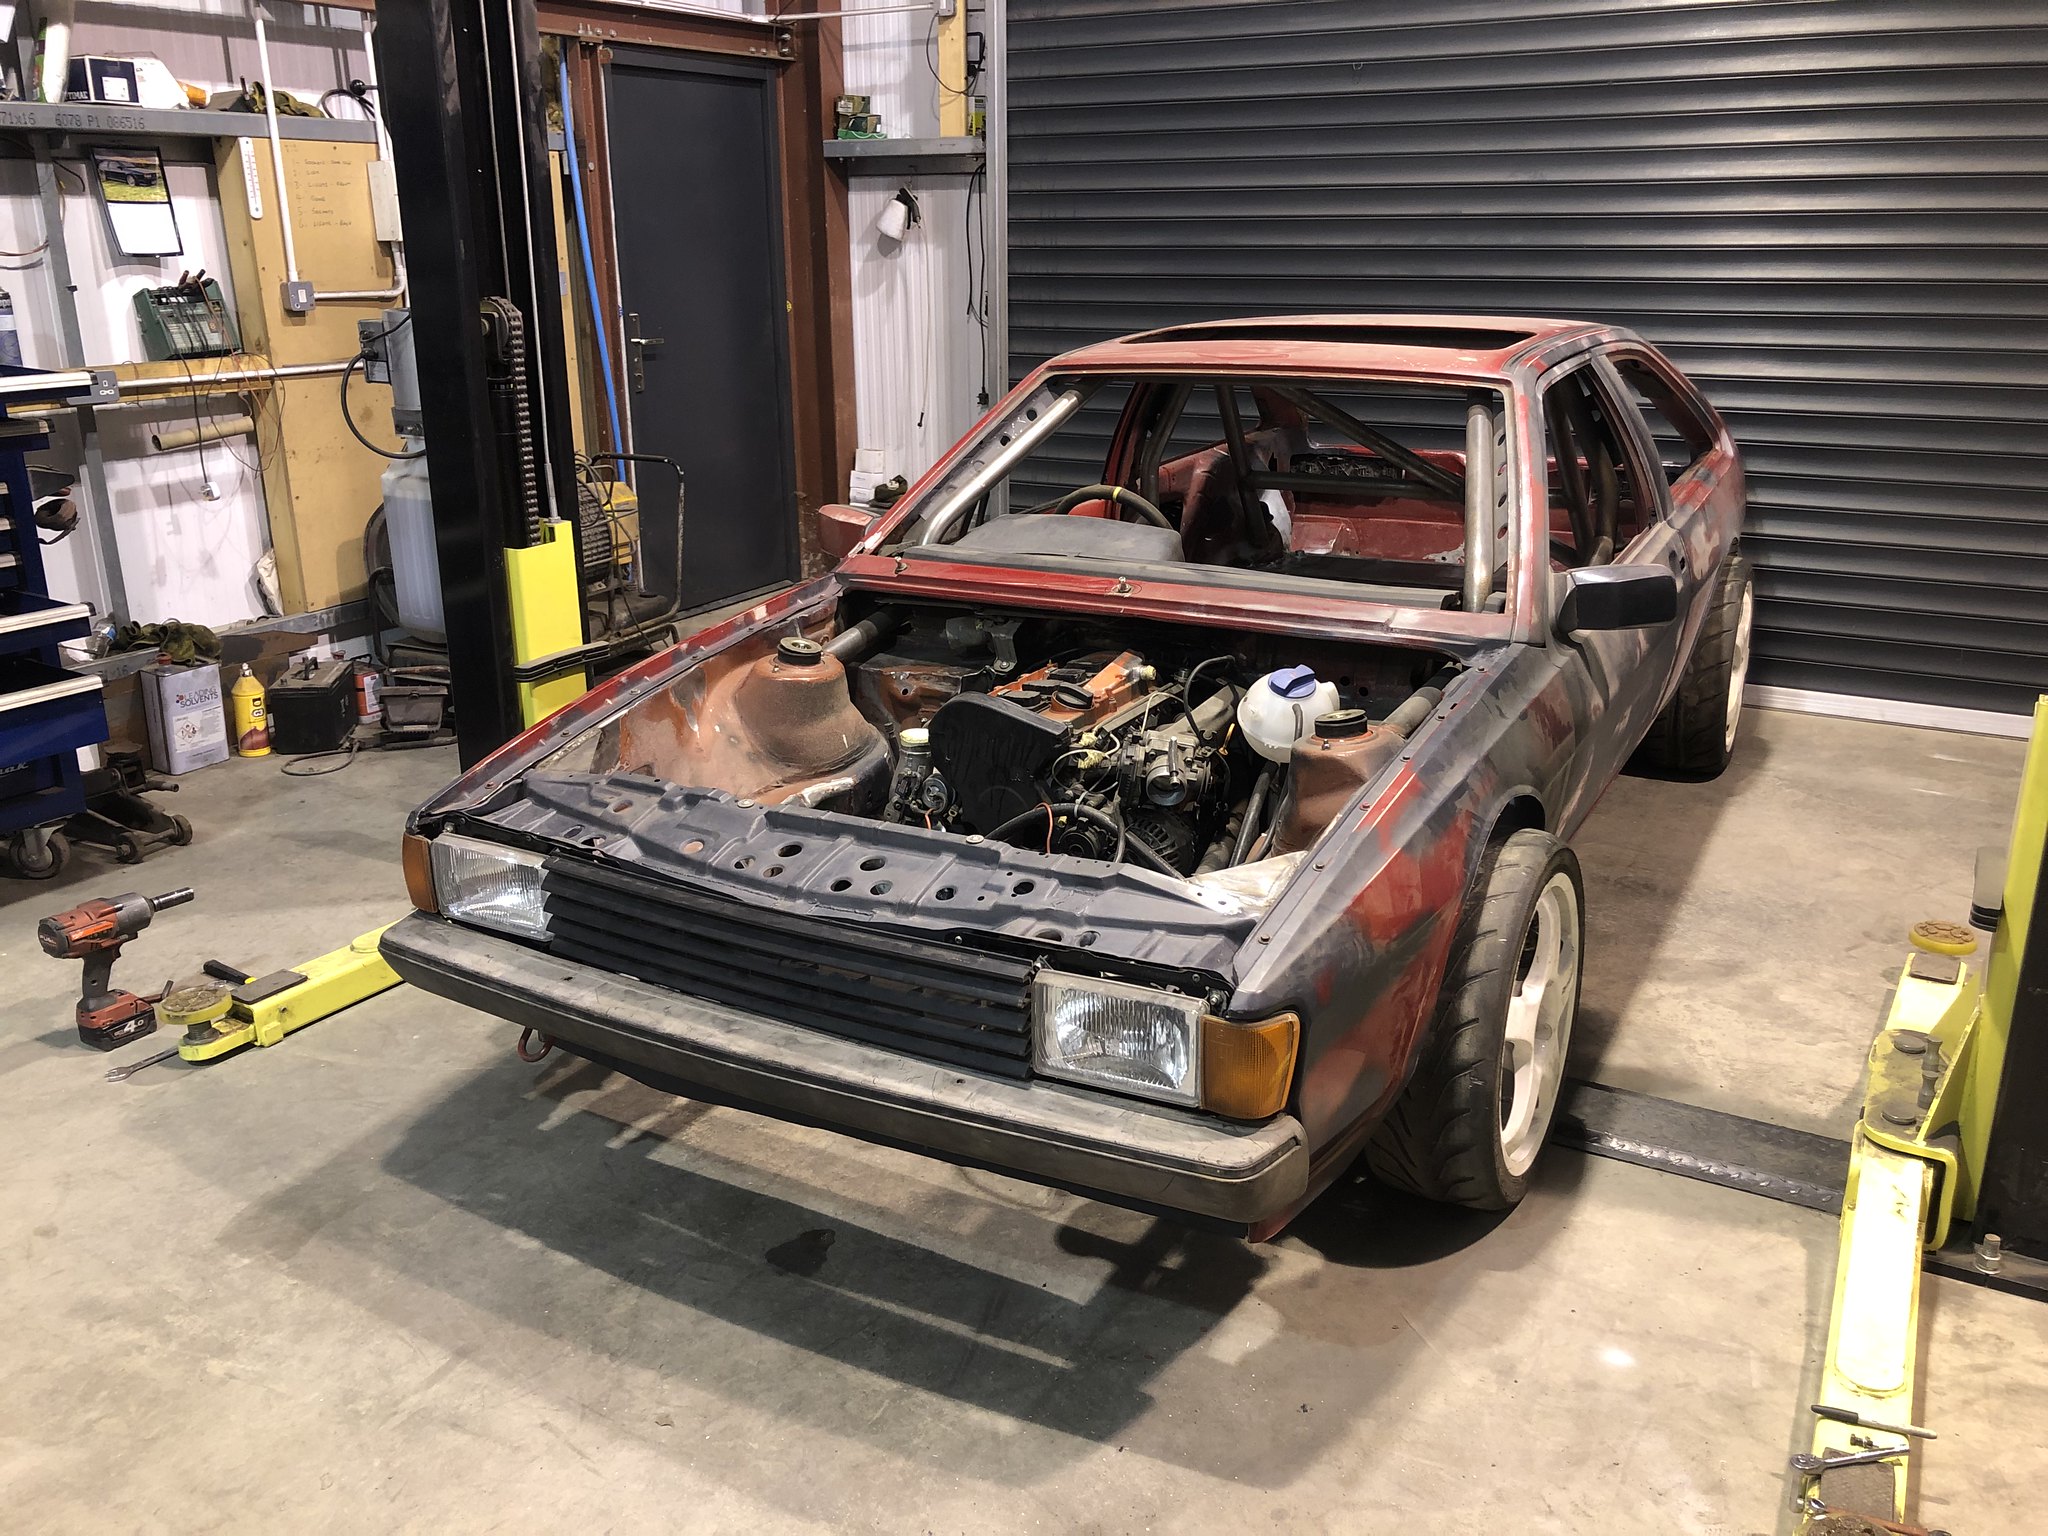
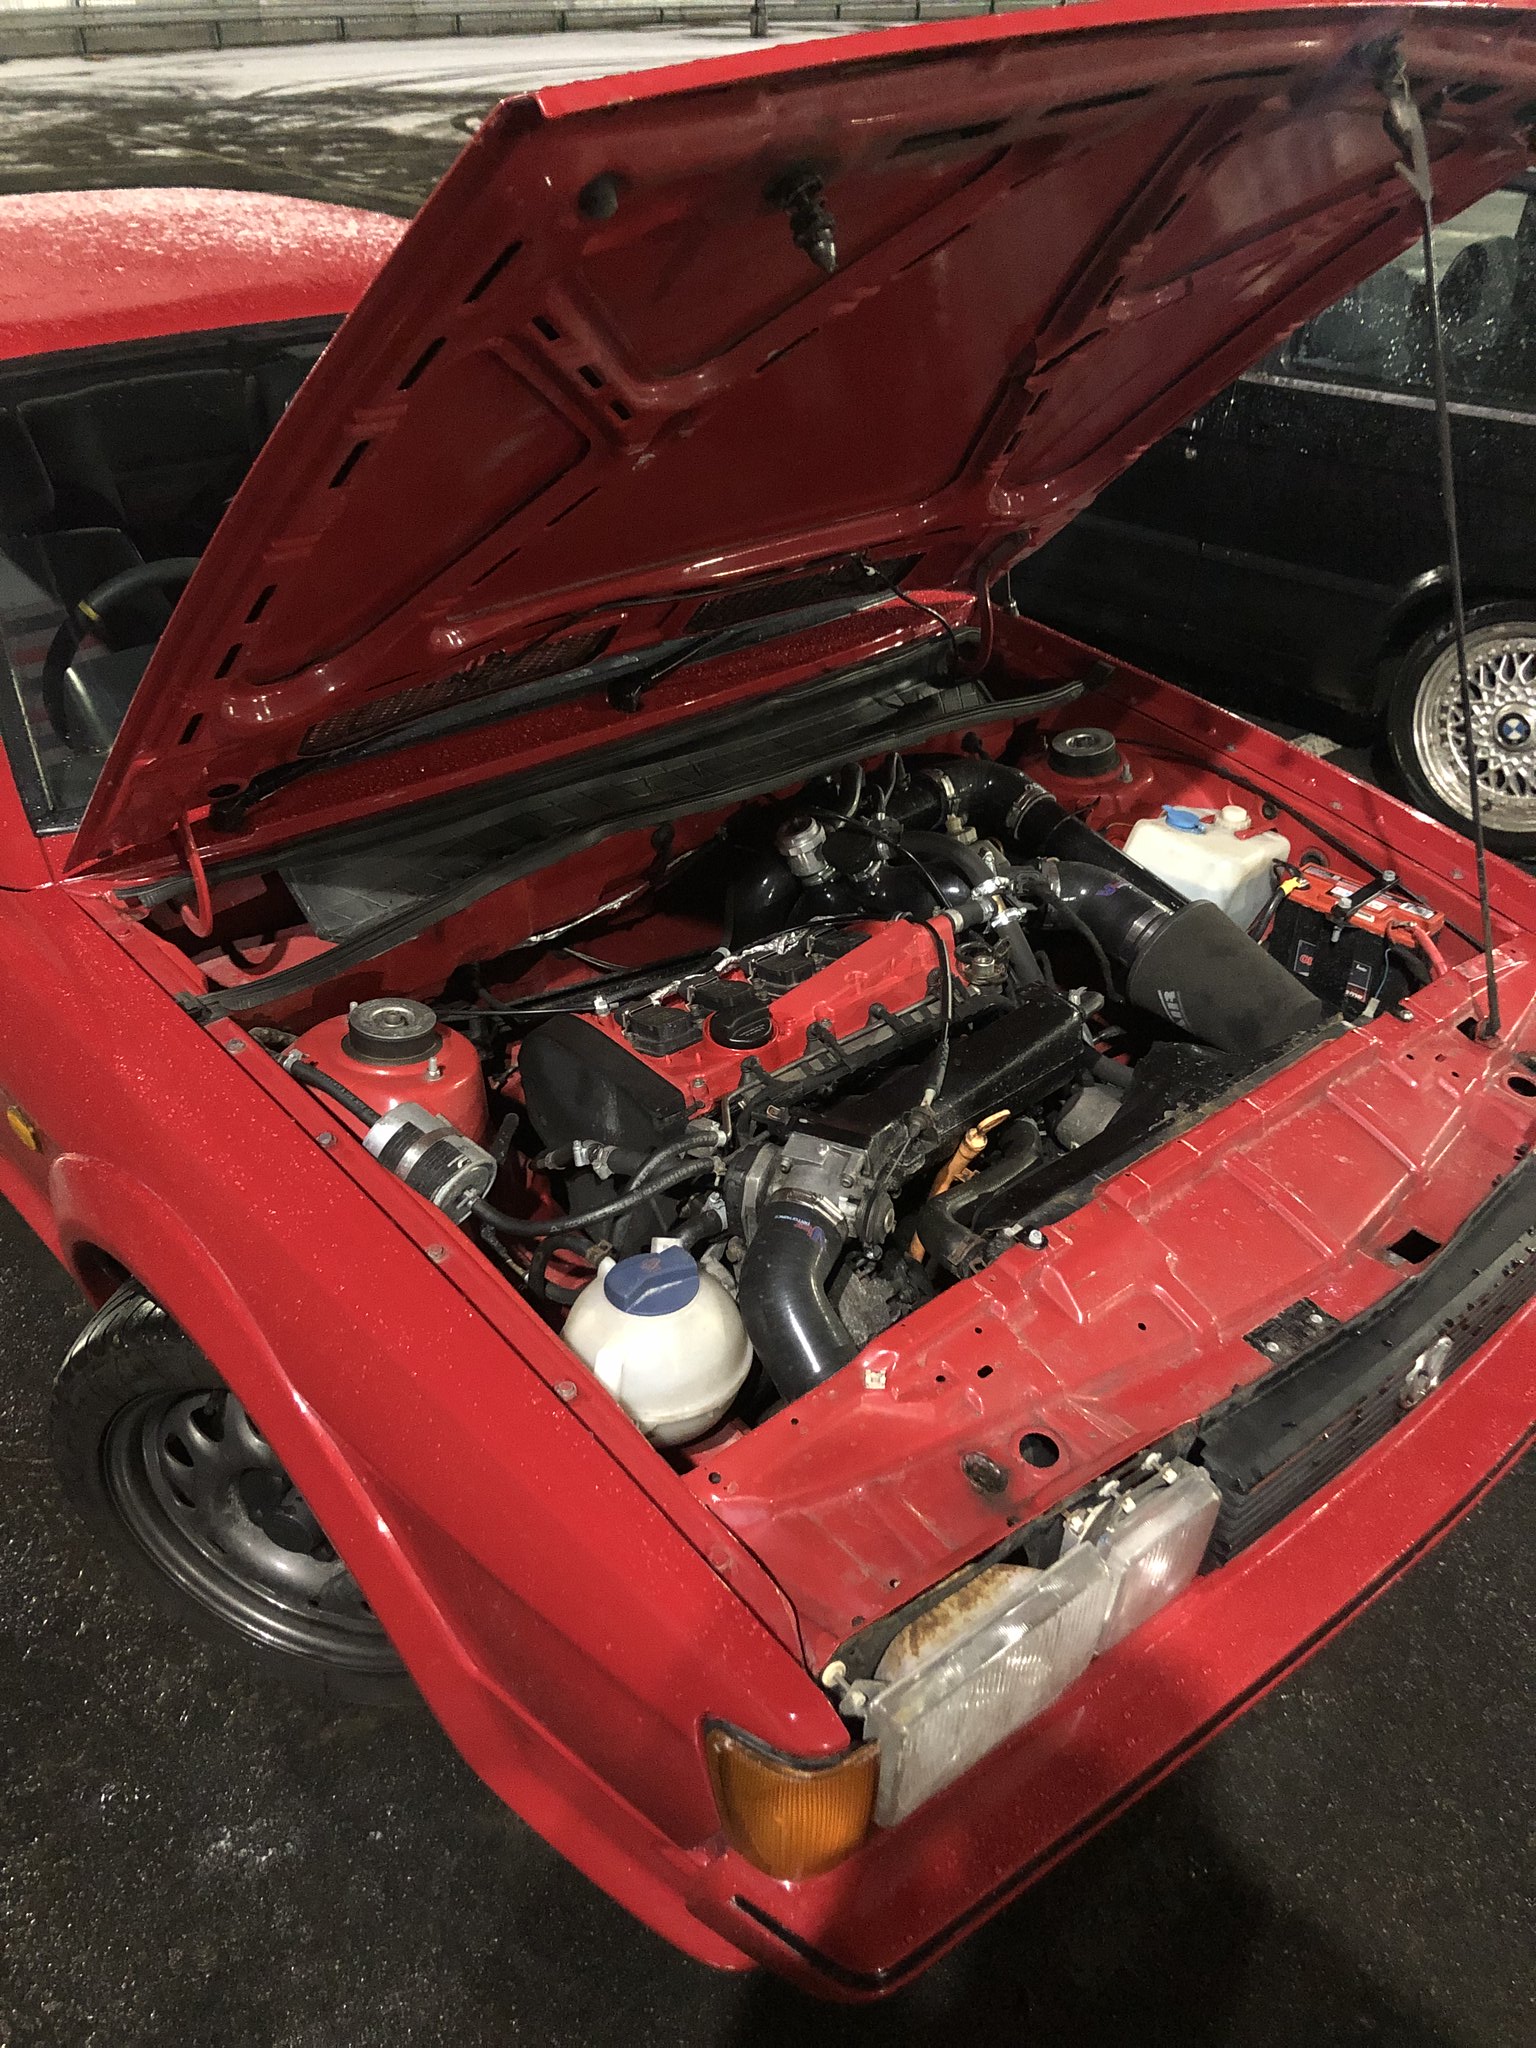
Mk2 RWD 1.8T

Scirocco Register members projects
Forum rules
Section for all vehicle and related projects. Please keep responses pertinent to thread.
mk2daz
Posts: 123
Joined: Thu Dec 29, 2016 3:39 pm
fill in the right answer: 15

Re: Mk2 RWD 1.8T

Post by mk2daz »

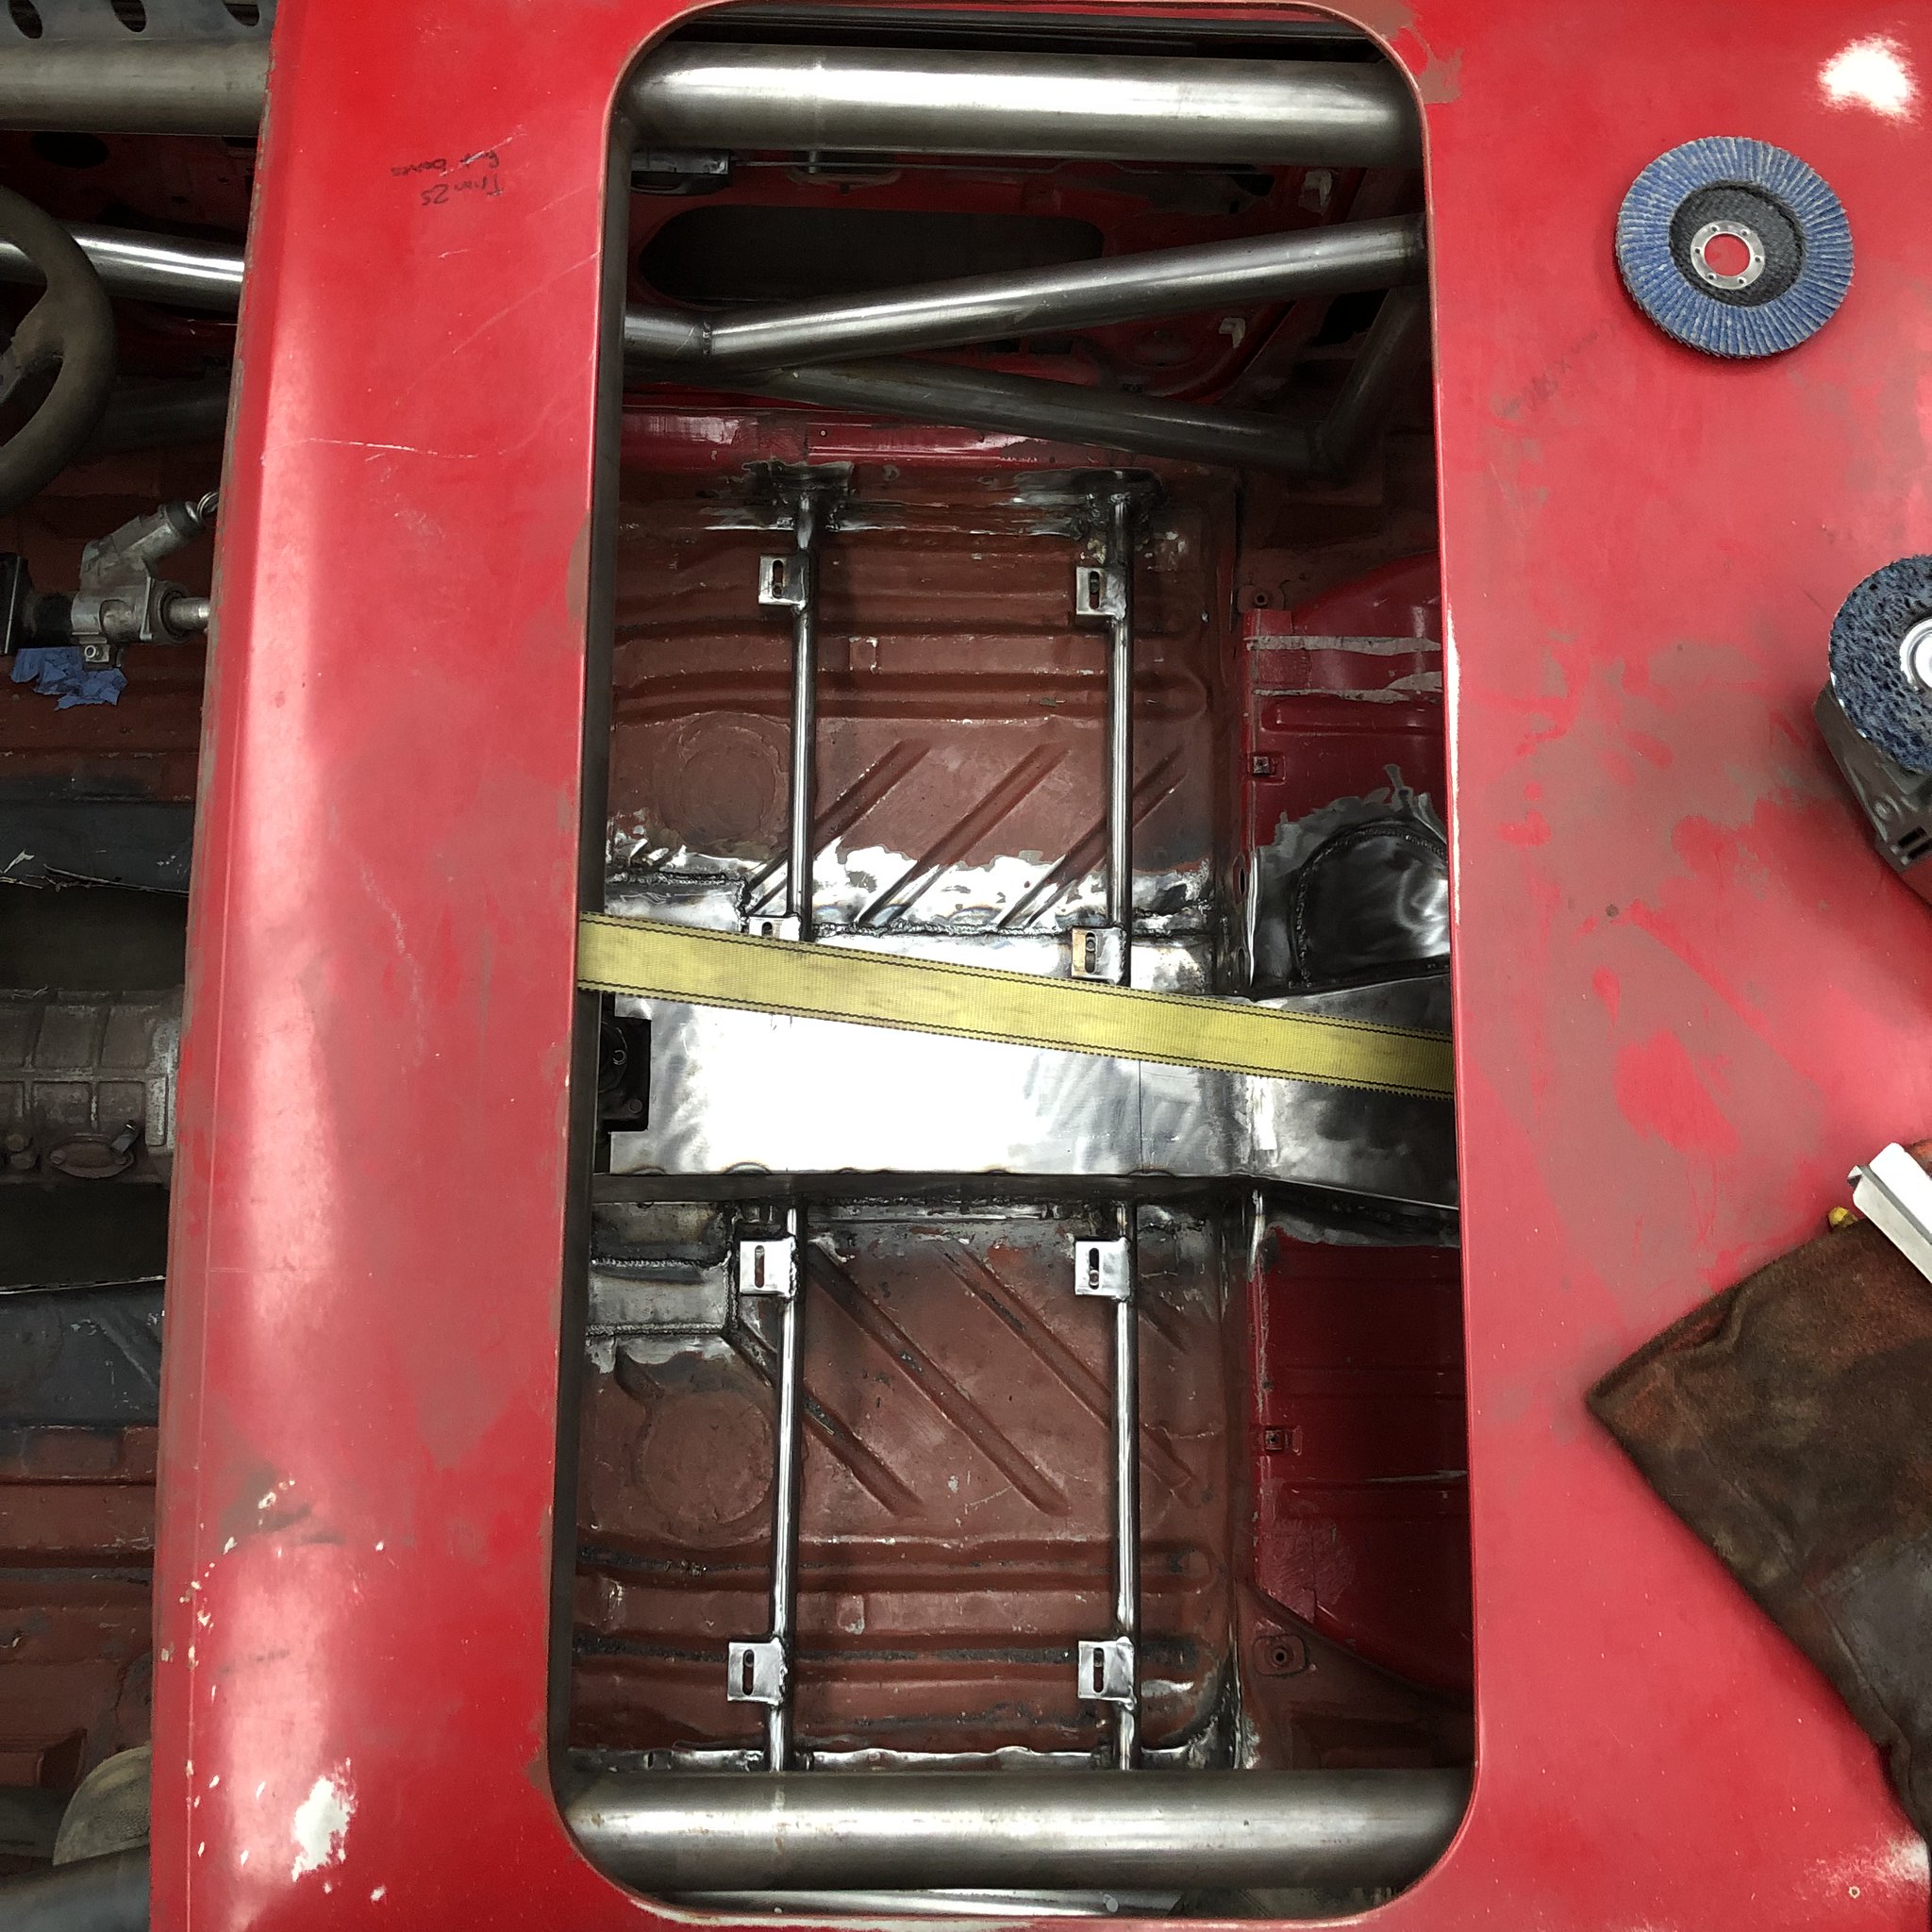
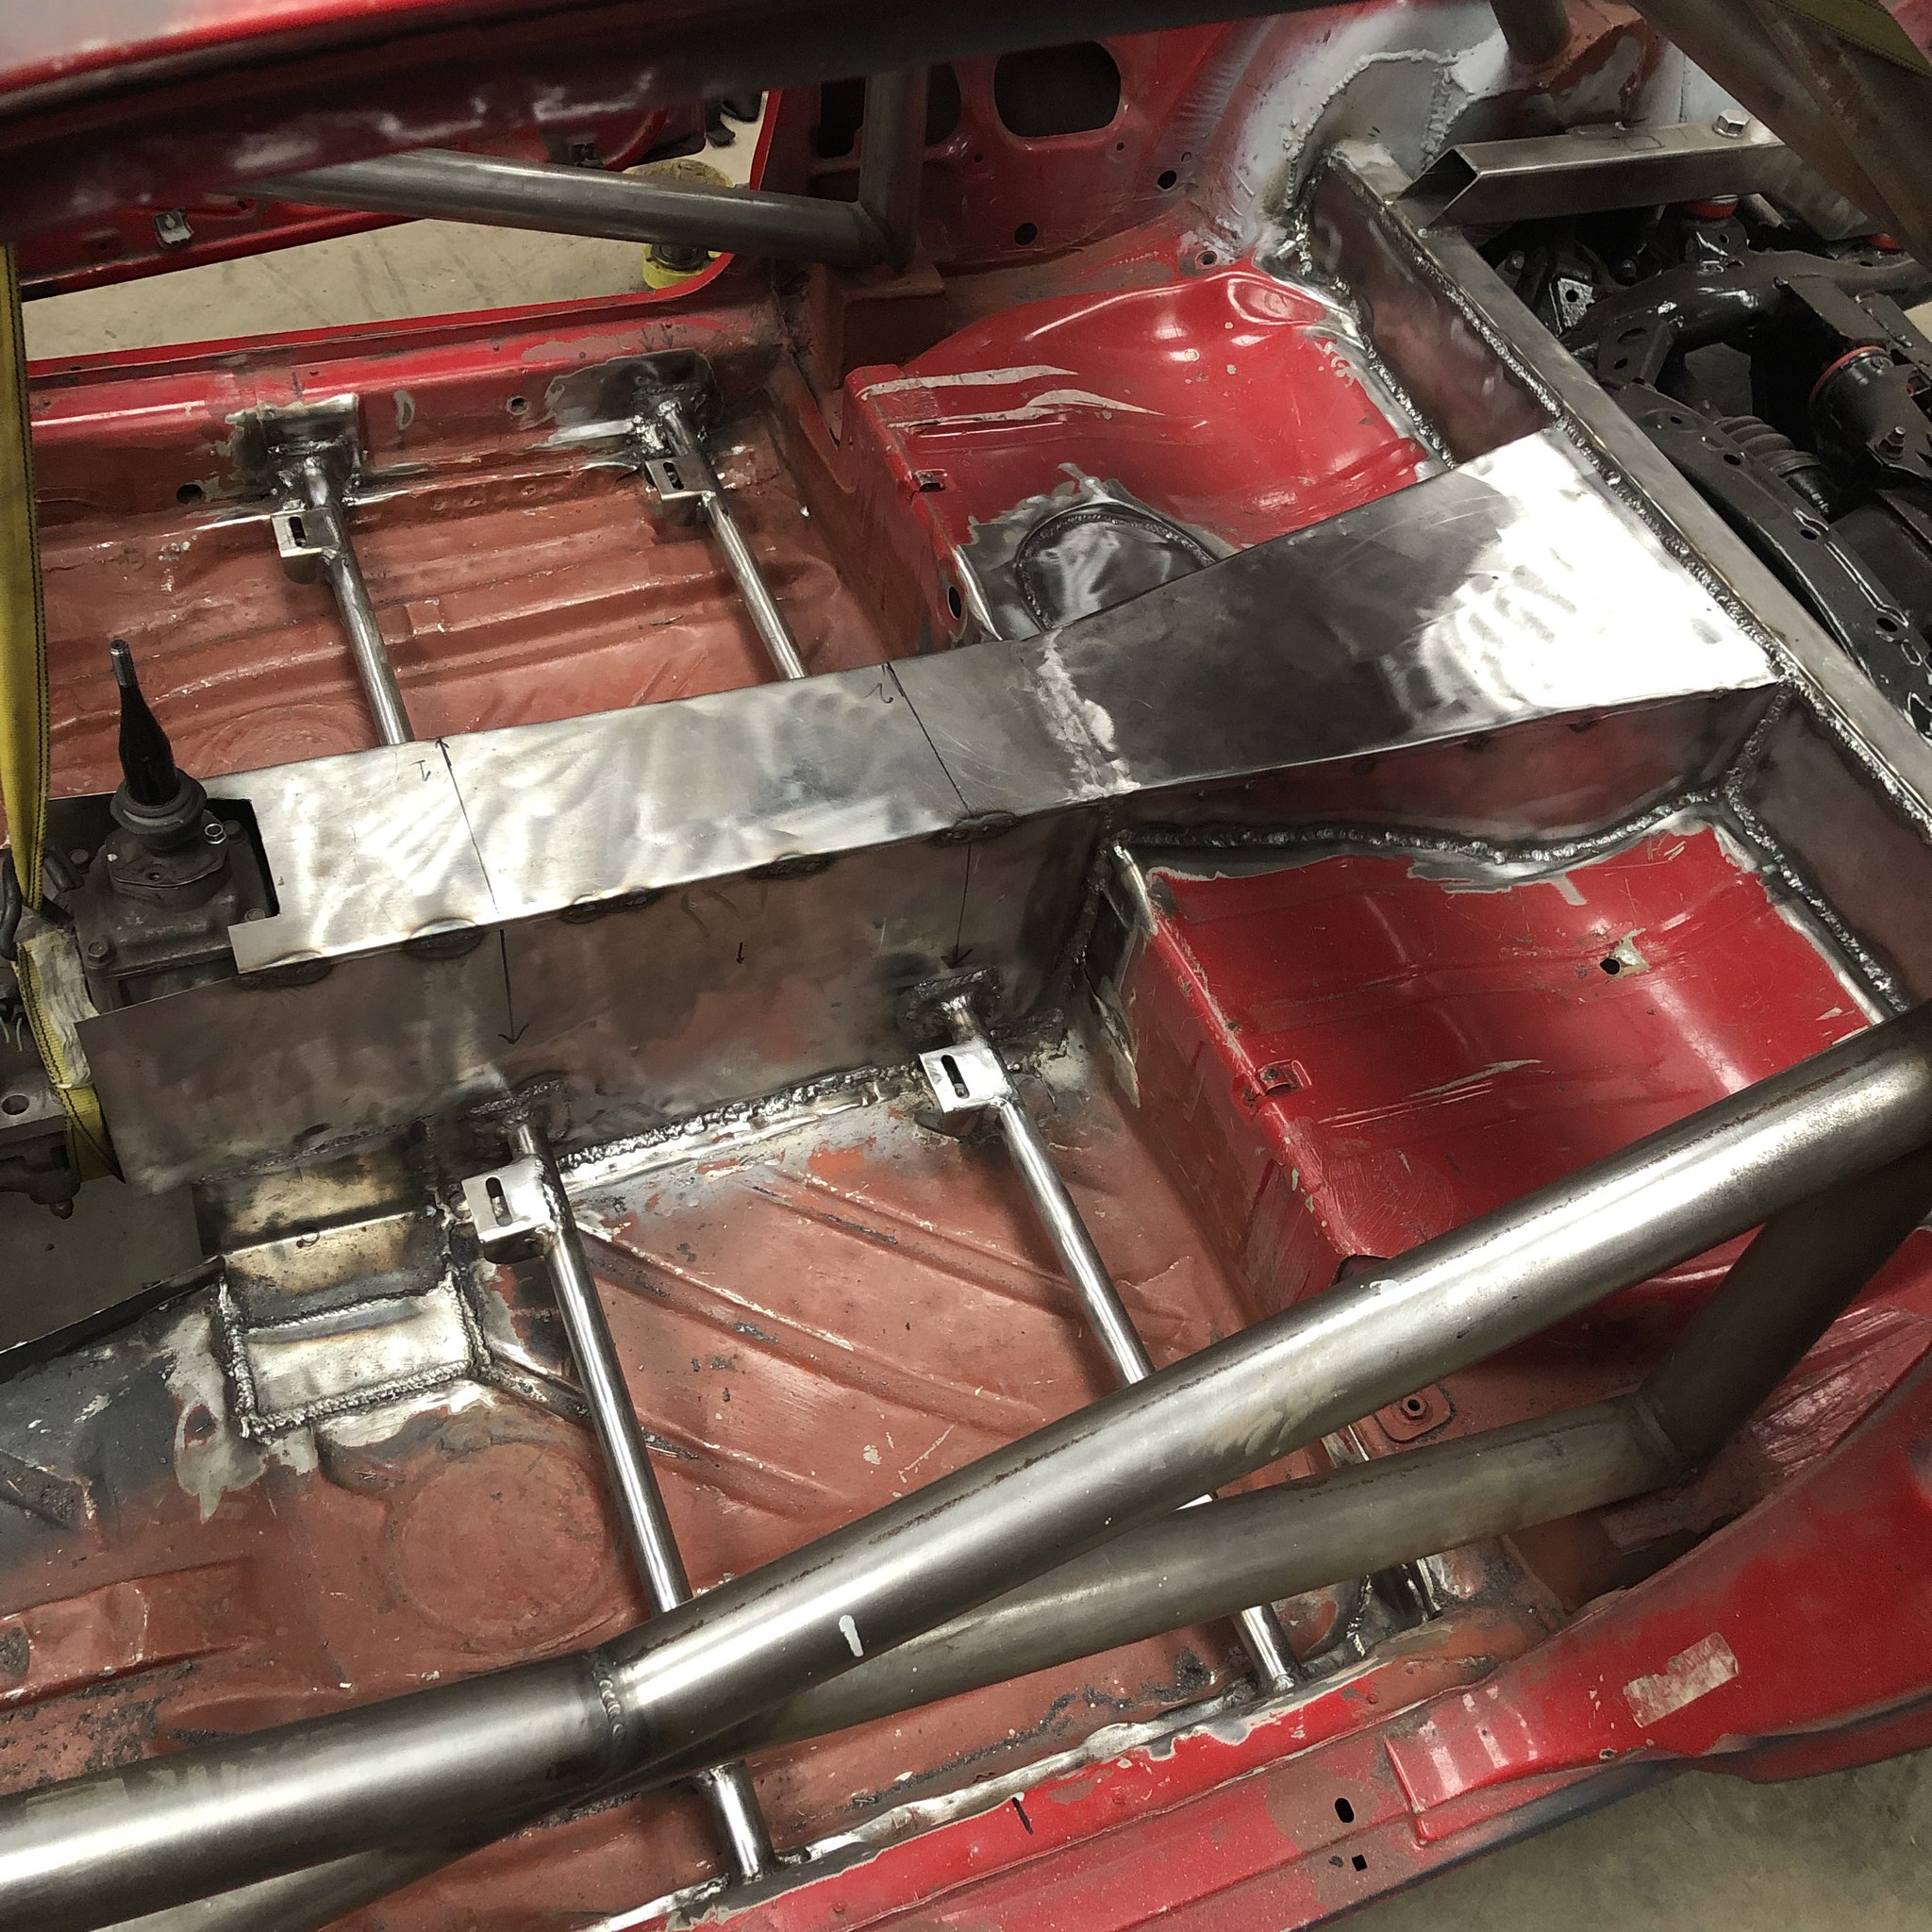
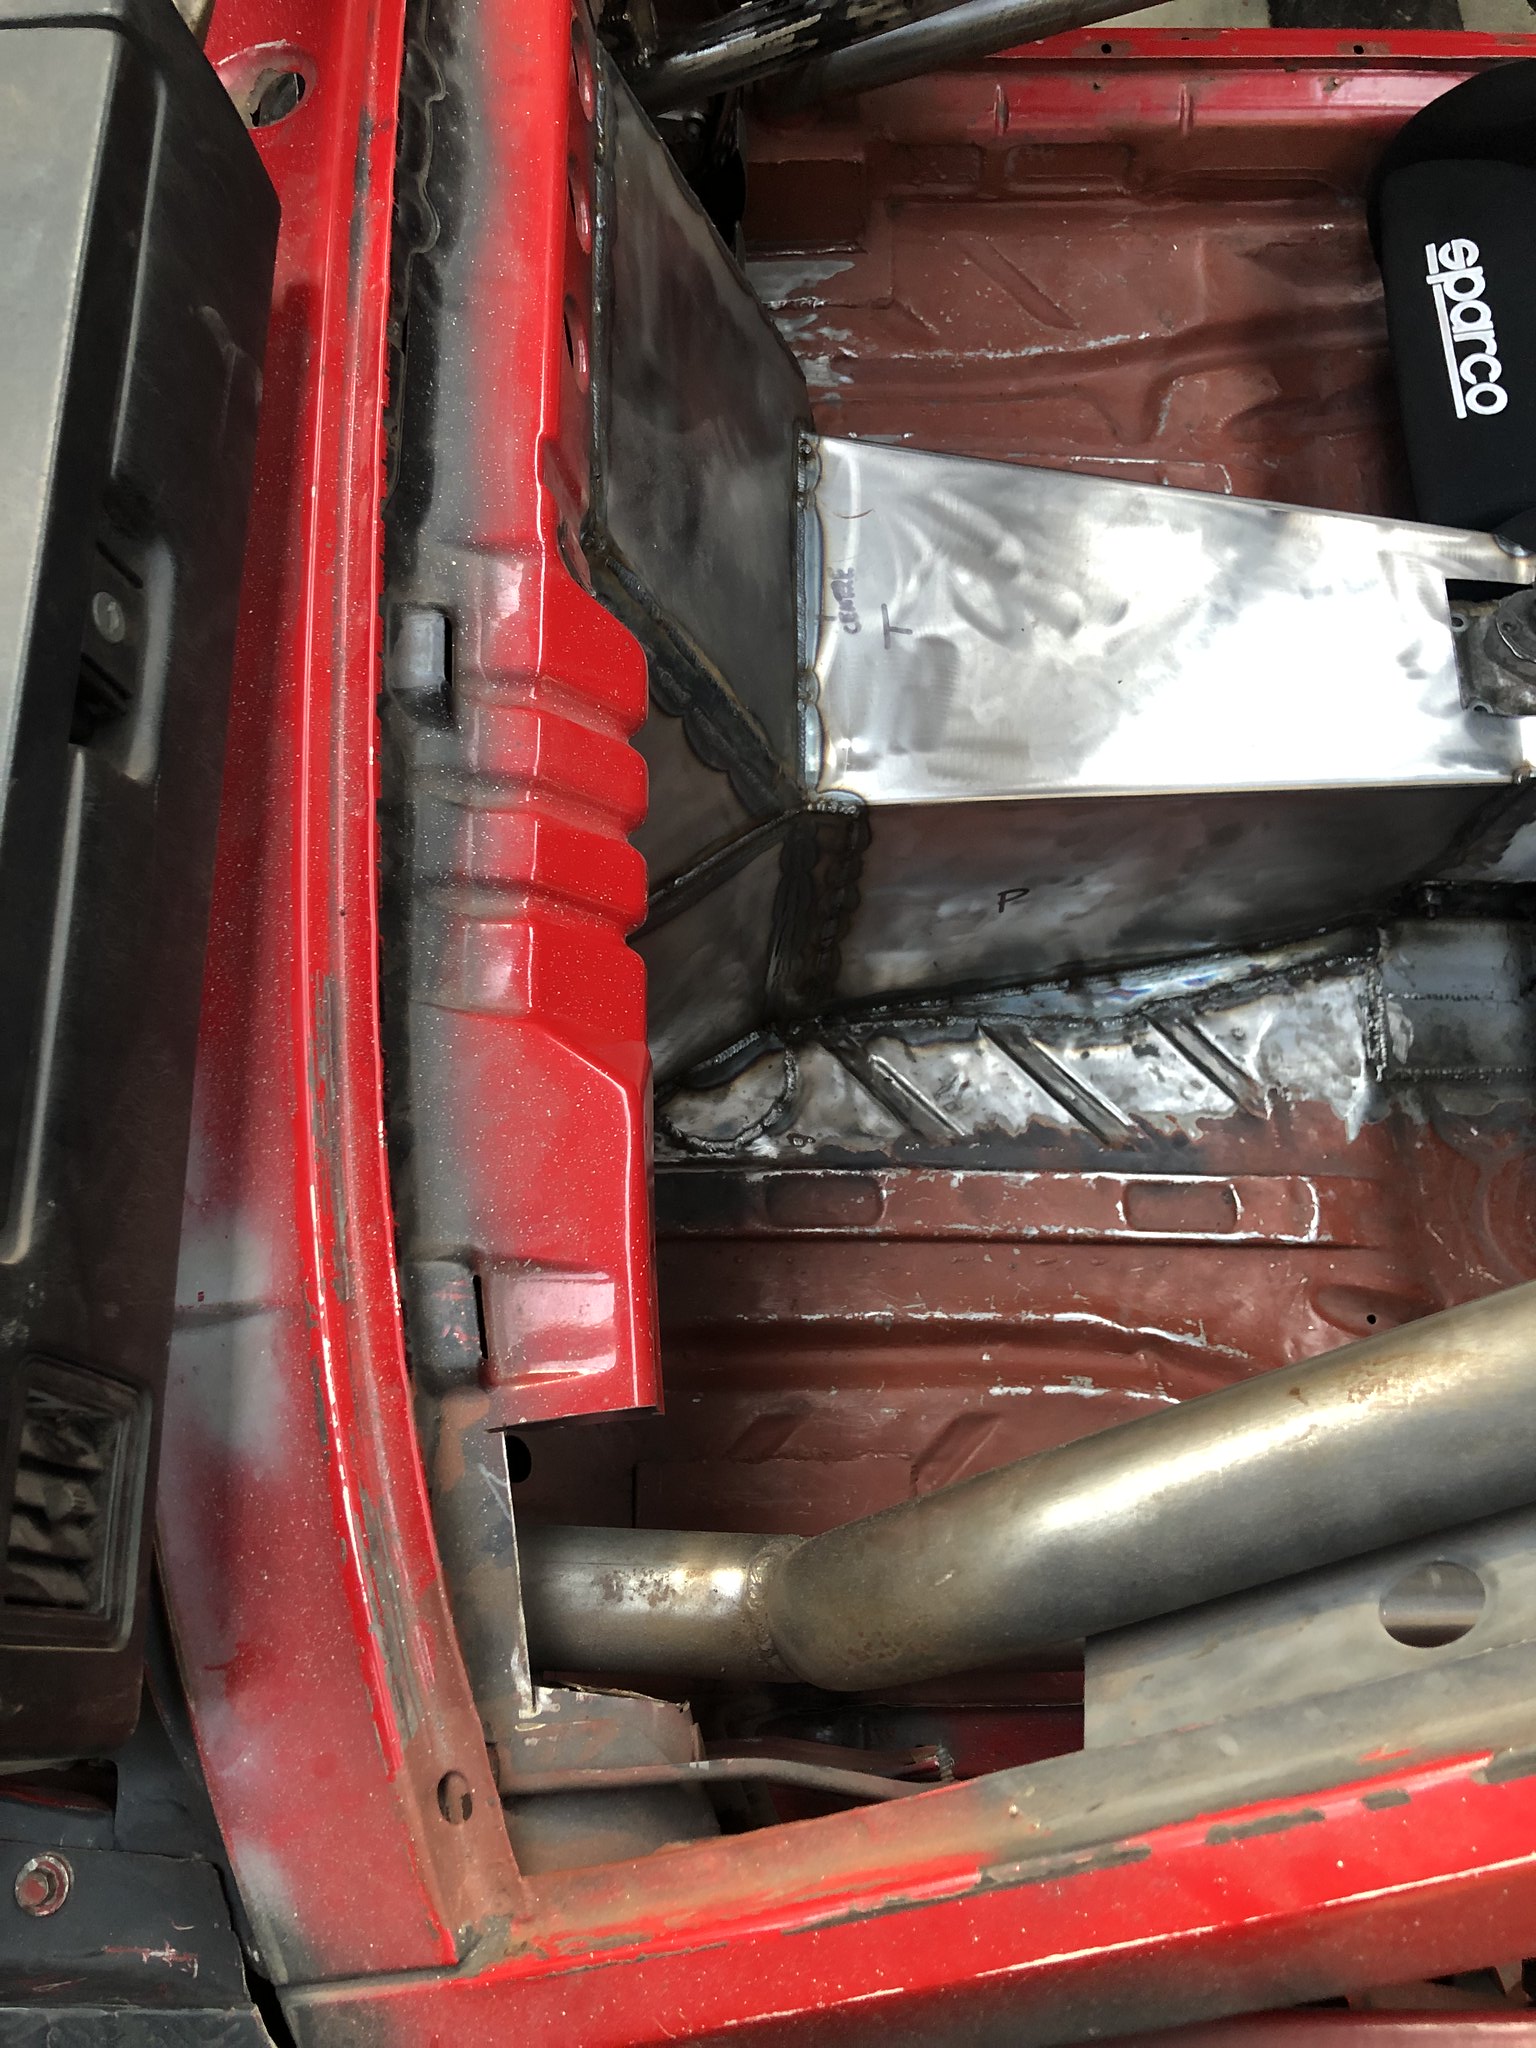
Started to build up the floor again in the middle portion of the car to regain some strength and also in order to suspend the gearbox under its own weight.

Image

Image


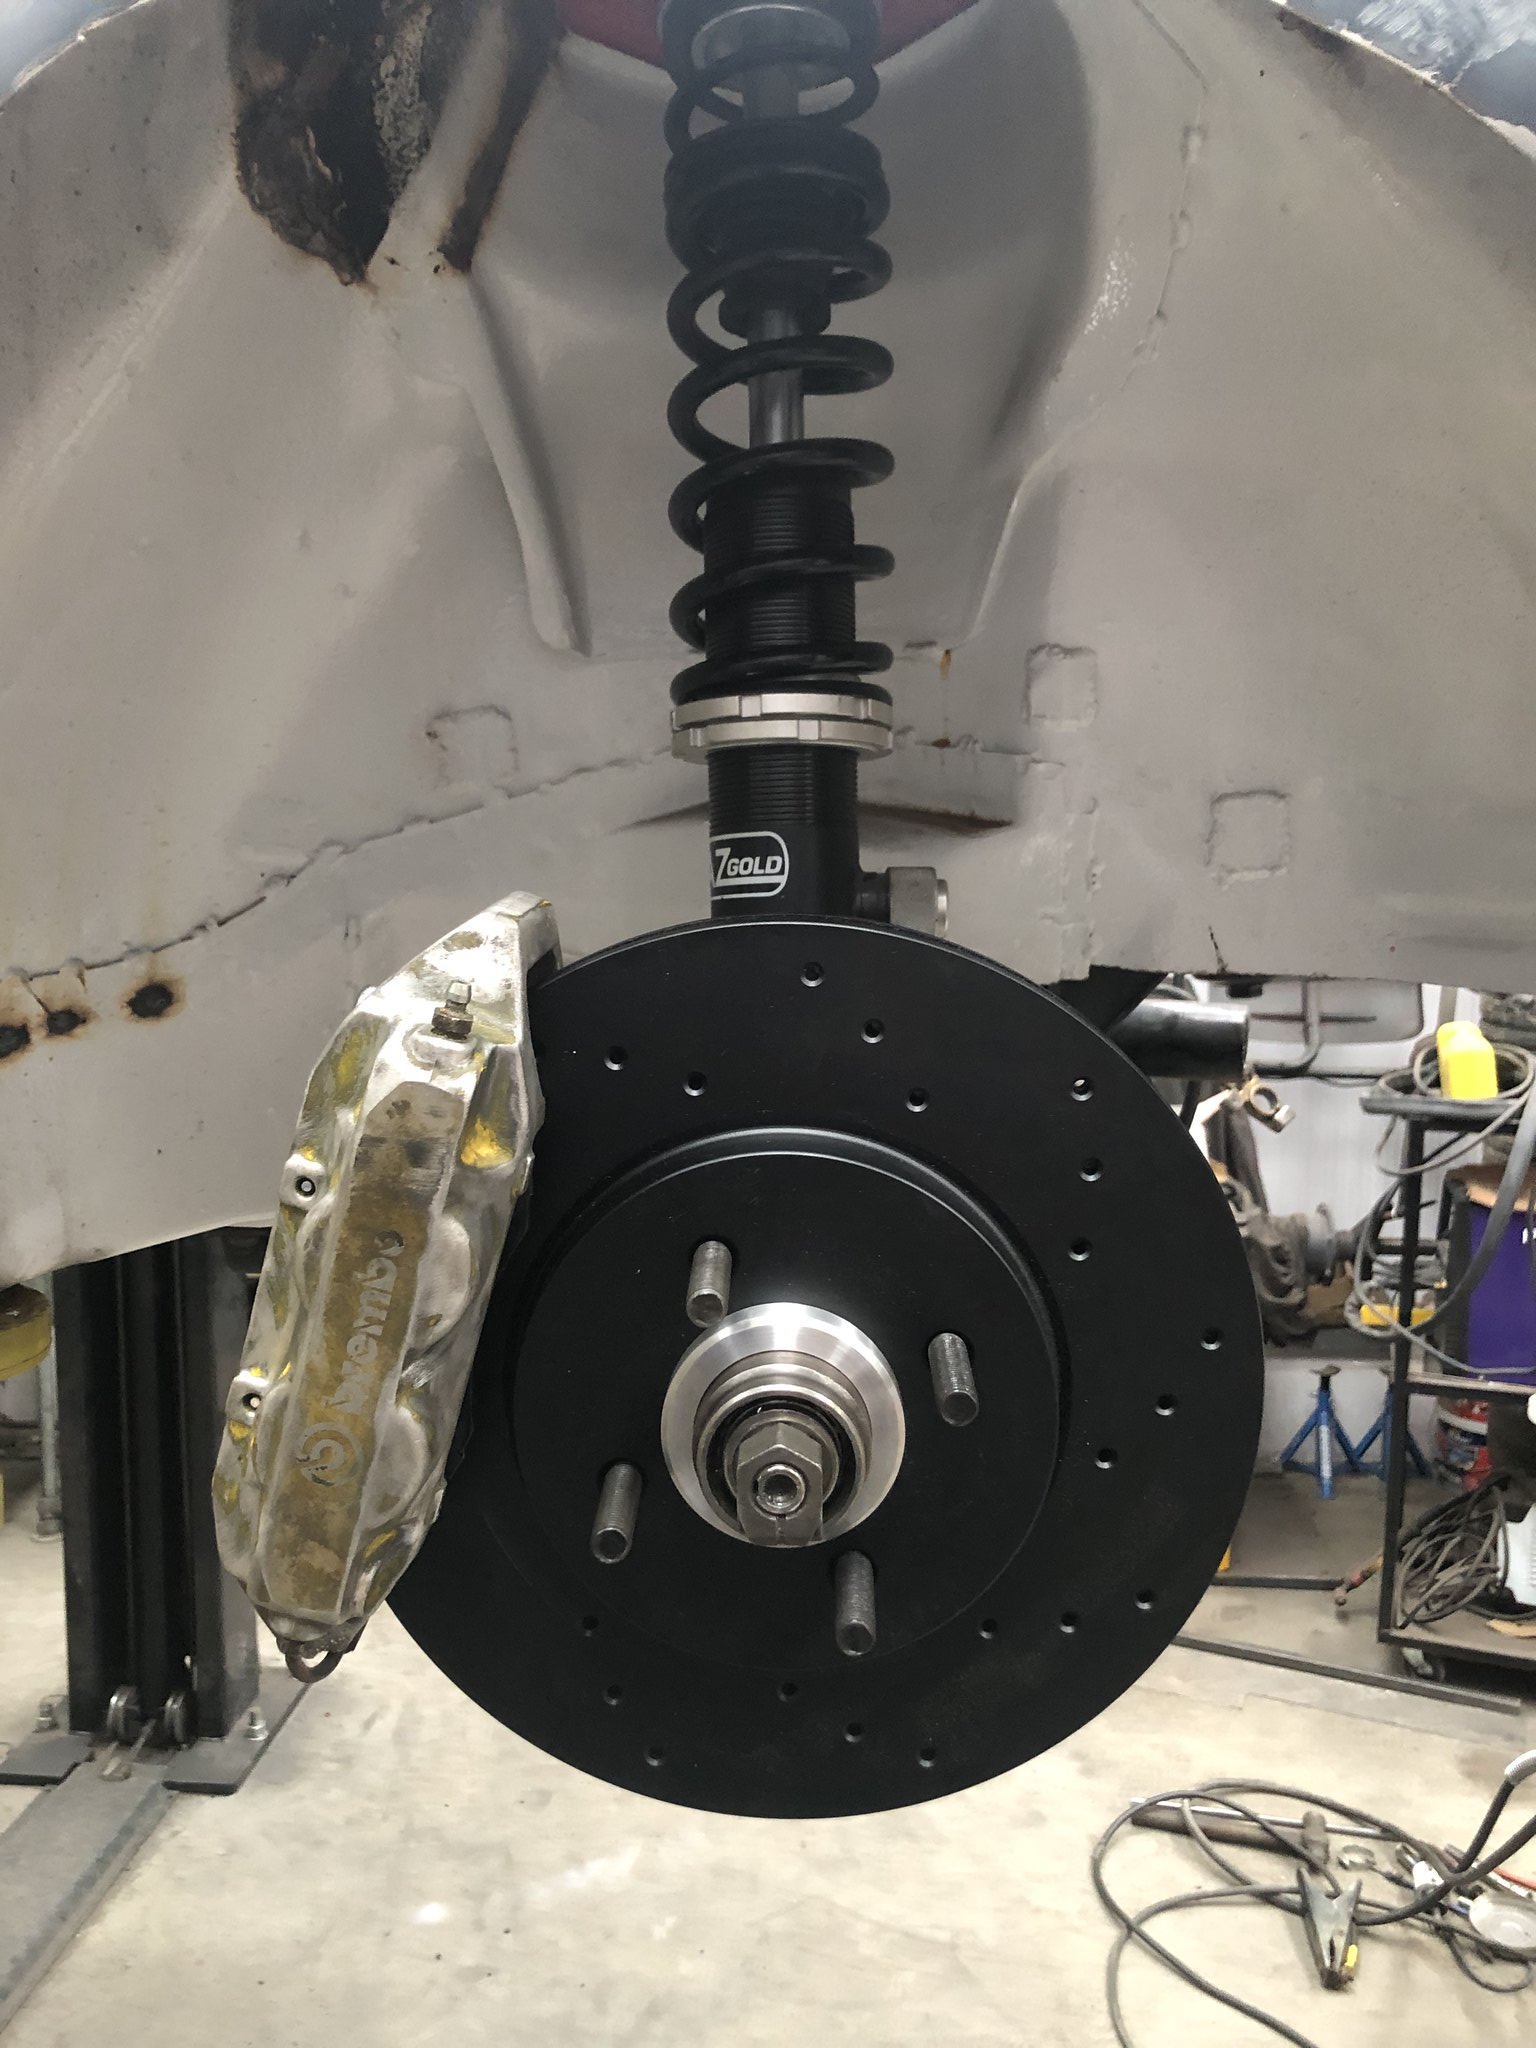
Bolted up some porsche 924 discs up the front so i could get some 4x10⁸ wheels on for now and was able to drop the car on the ground again for the first time in a while. Also chucked the front end on!

Image

Image

Image

Image

Rolling with a full RWD drivetrain (minus the propshaft!)

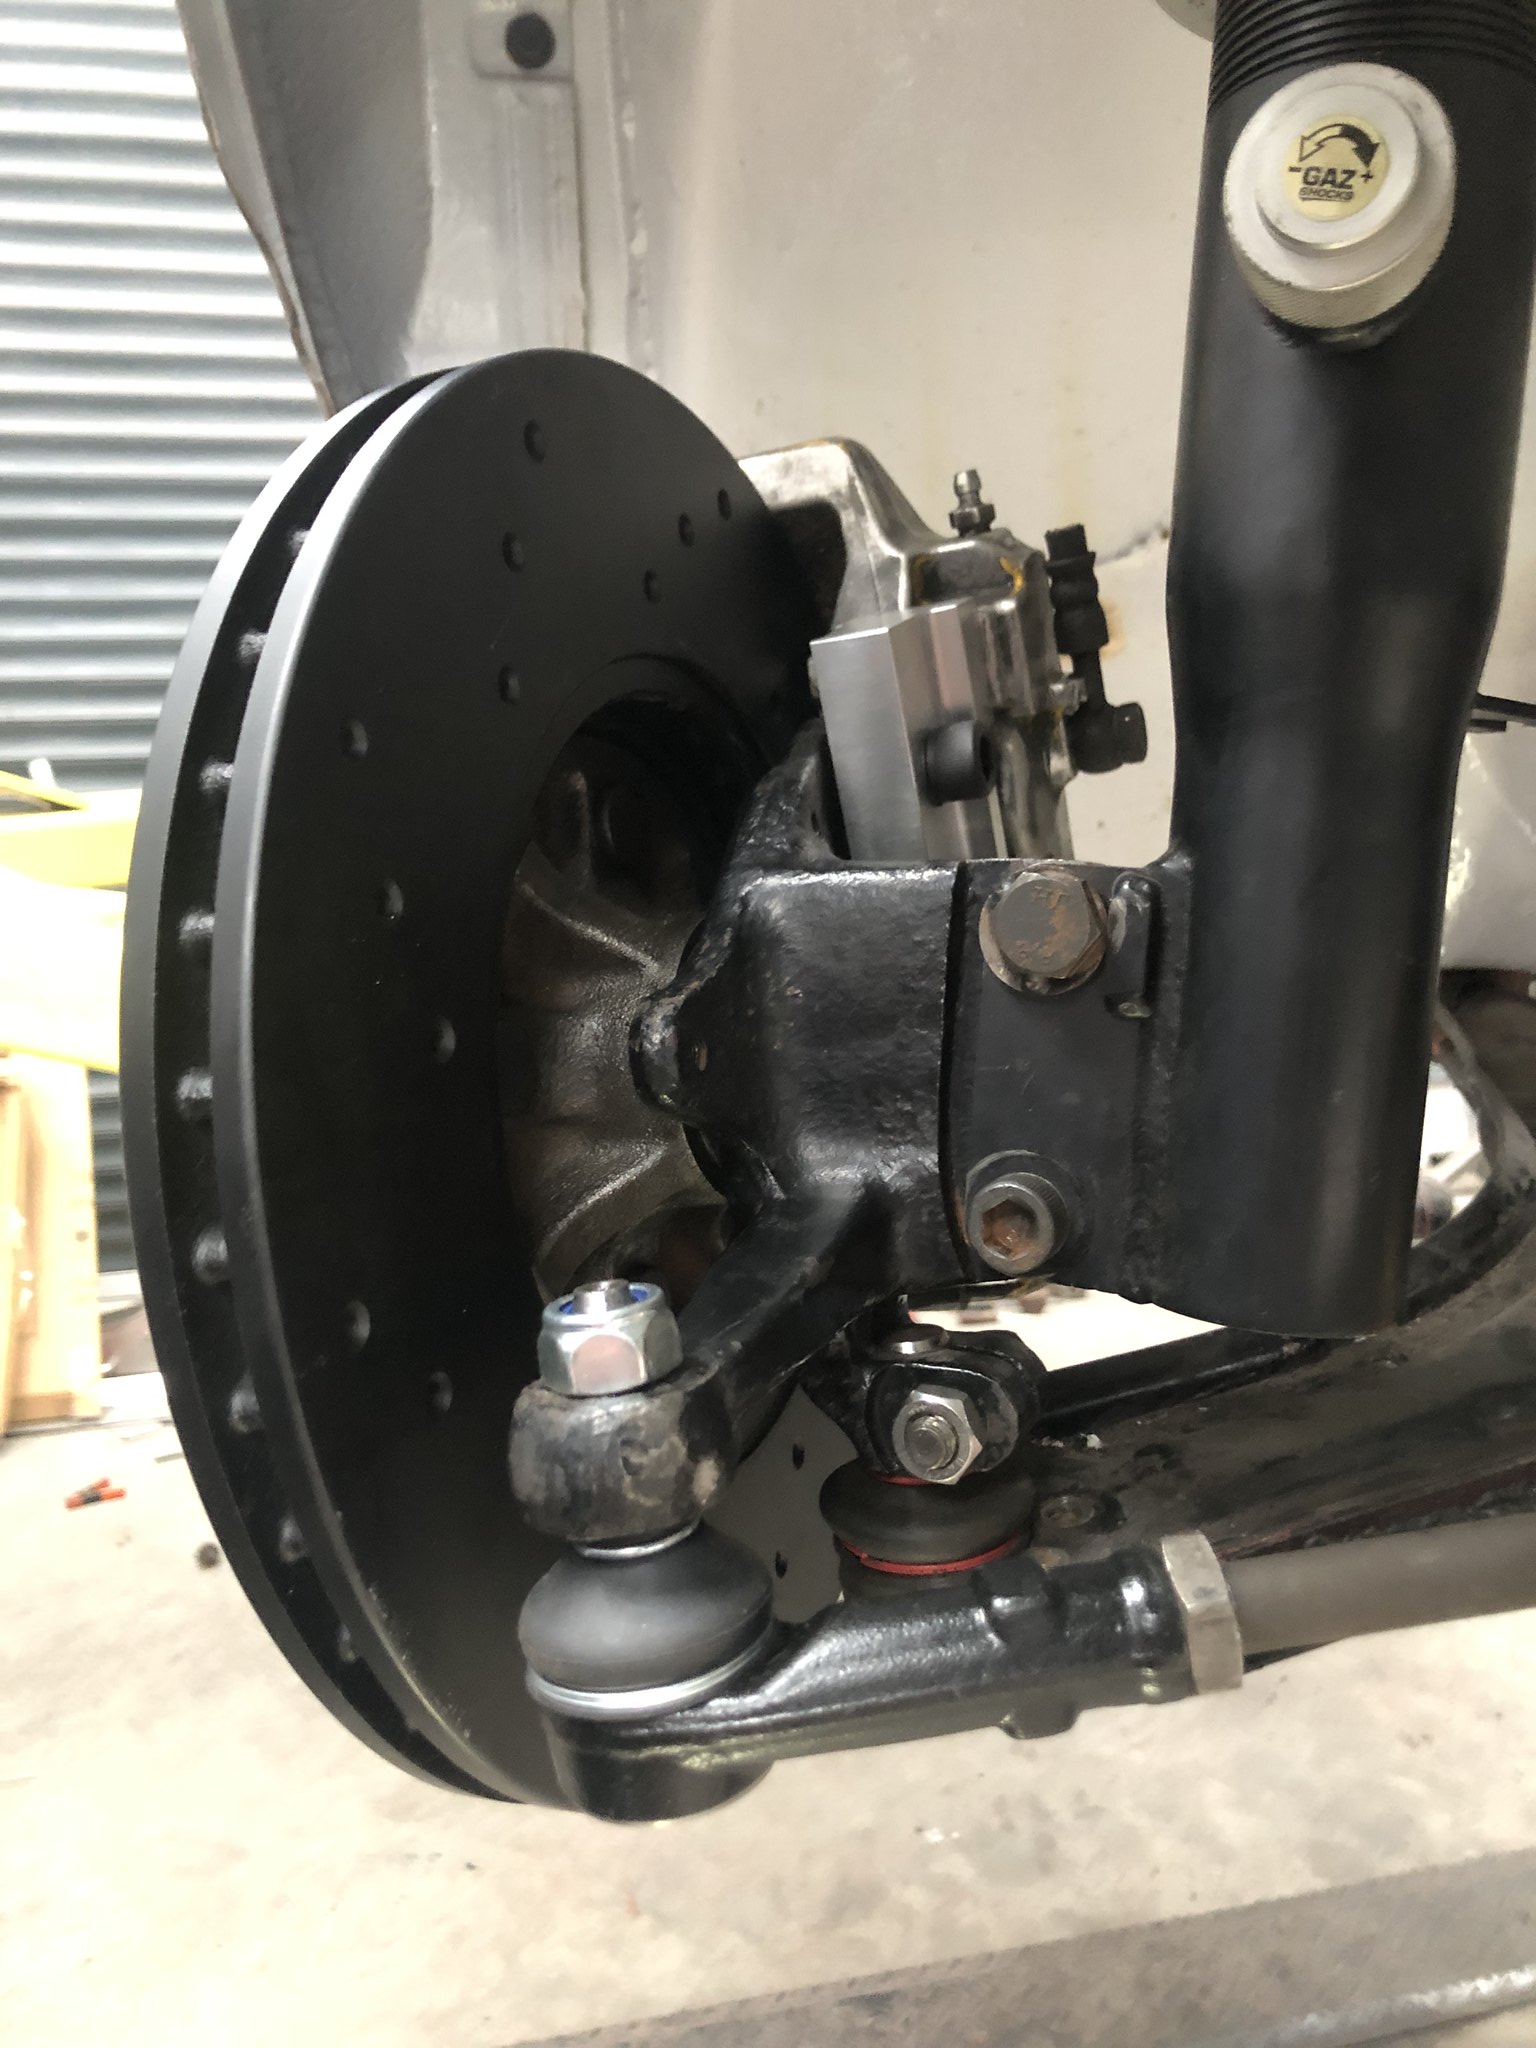
The rear sits pretty nice and has plenty of adjustment in the suspension arms but the front requires some fairly heavy camber adjustments, will poke a bit more with some proper brakes etc fitted but i'm gonna need to look into extending the wishbones and/or modifying the strut top with some adjustable top mounts i think.


Here is youtube episode 2

https://www.youtube.com/watch?v=p4hHInvlaG0


RussGLAuto
Posts: 357
Joined: Sat Jul 14, 2018 11:51 pm
fill in the right answer: 15
Location: Bourne

Re: Mk2 RWD 1.8T

Post by RussGLAuto »

Epic mate! Well done...


Daily Driver - 2017 Volvo XC90 T8 Twin Engine - Polestar - Arctic White
Weekend Wagon - 51k 1982 Mk2 Scirocco 1.6 GL Auto - Diamond Silver
Other Half's Wagon - 2018 Mk7.5 Golf GT TSi Auto - White
Daughters Curb Scraper - 2016 Fiat 500 1.2 - White
mk2daz
Posts: 123
Joined: Thu Dec 29, 2016 3:39 pm
fill in the right answer: 15

Re: Mk2 RWD 1.8T

Post by mk2daz »

Long delayed update!

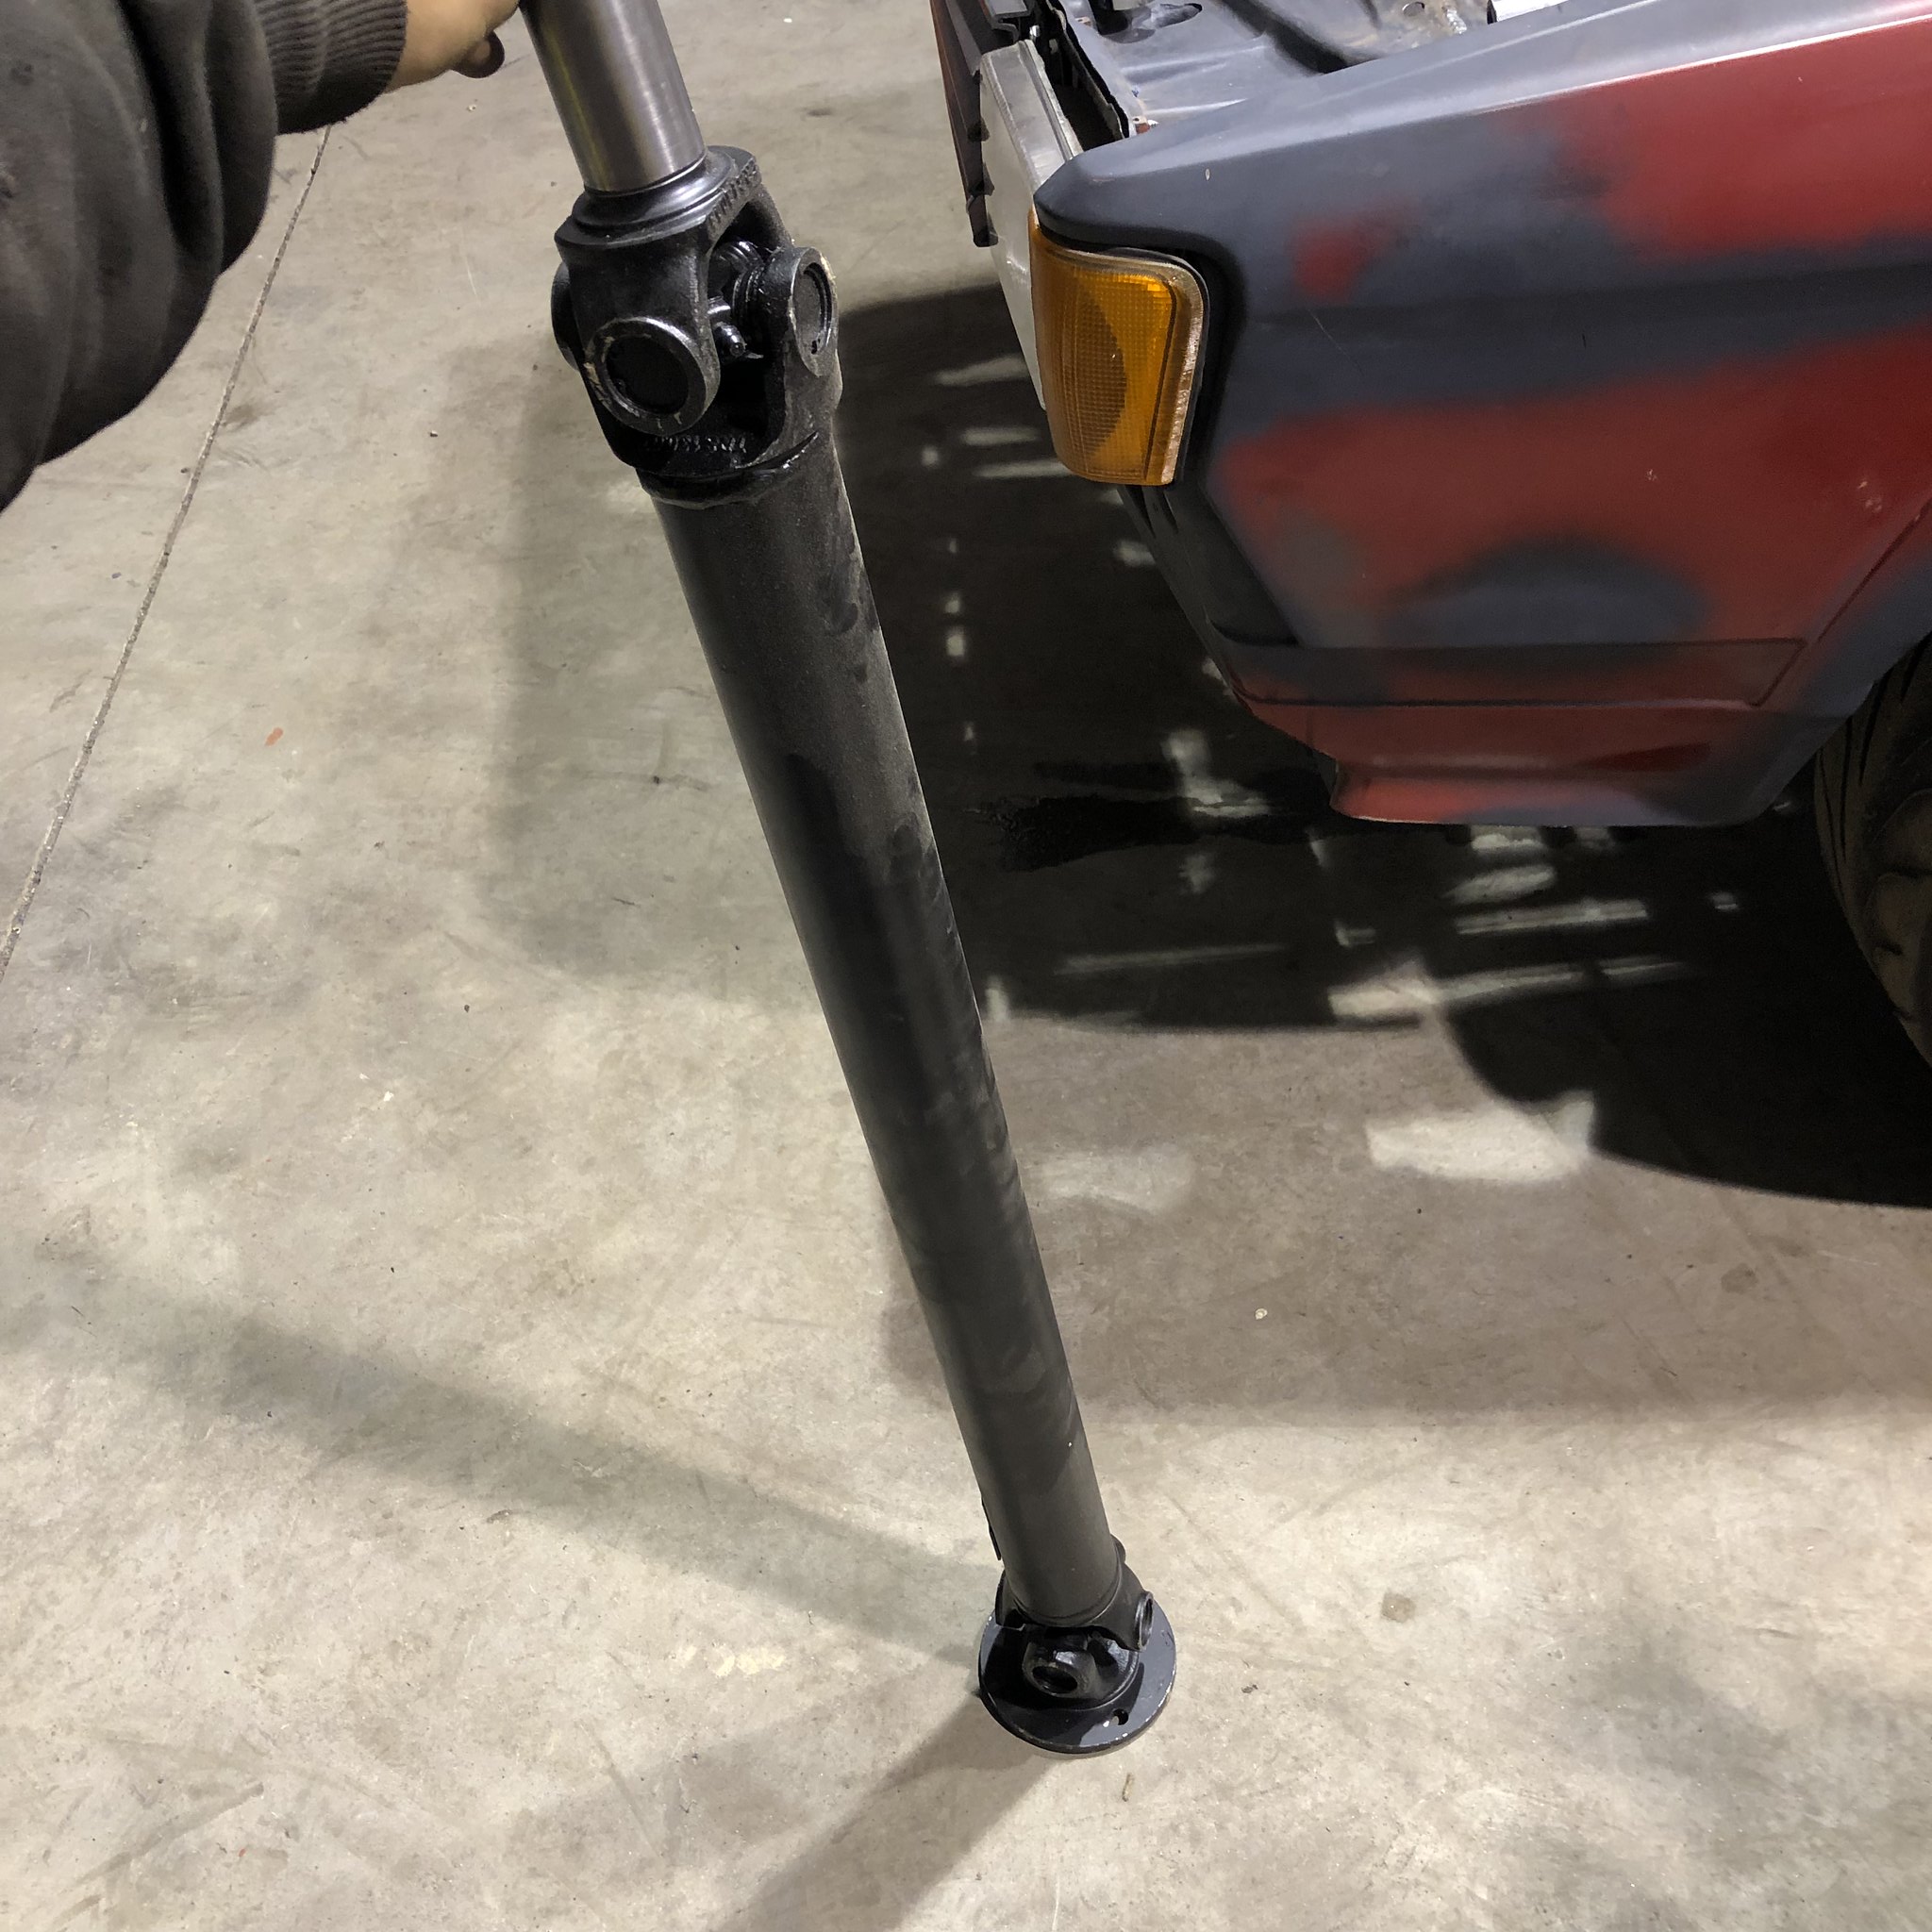
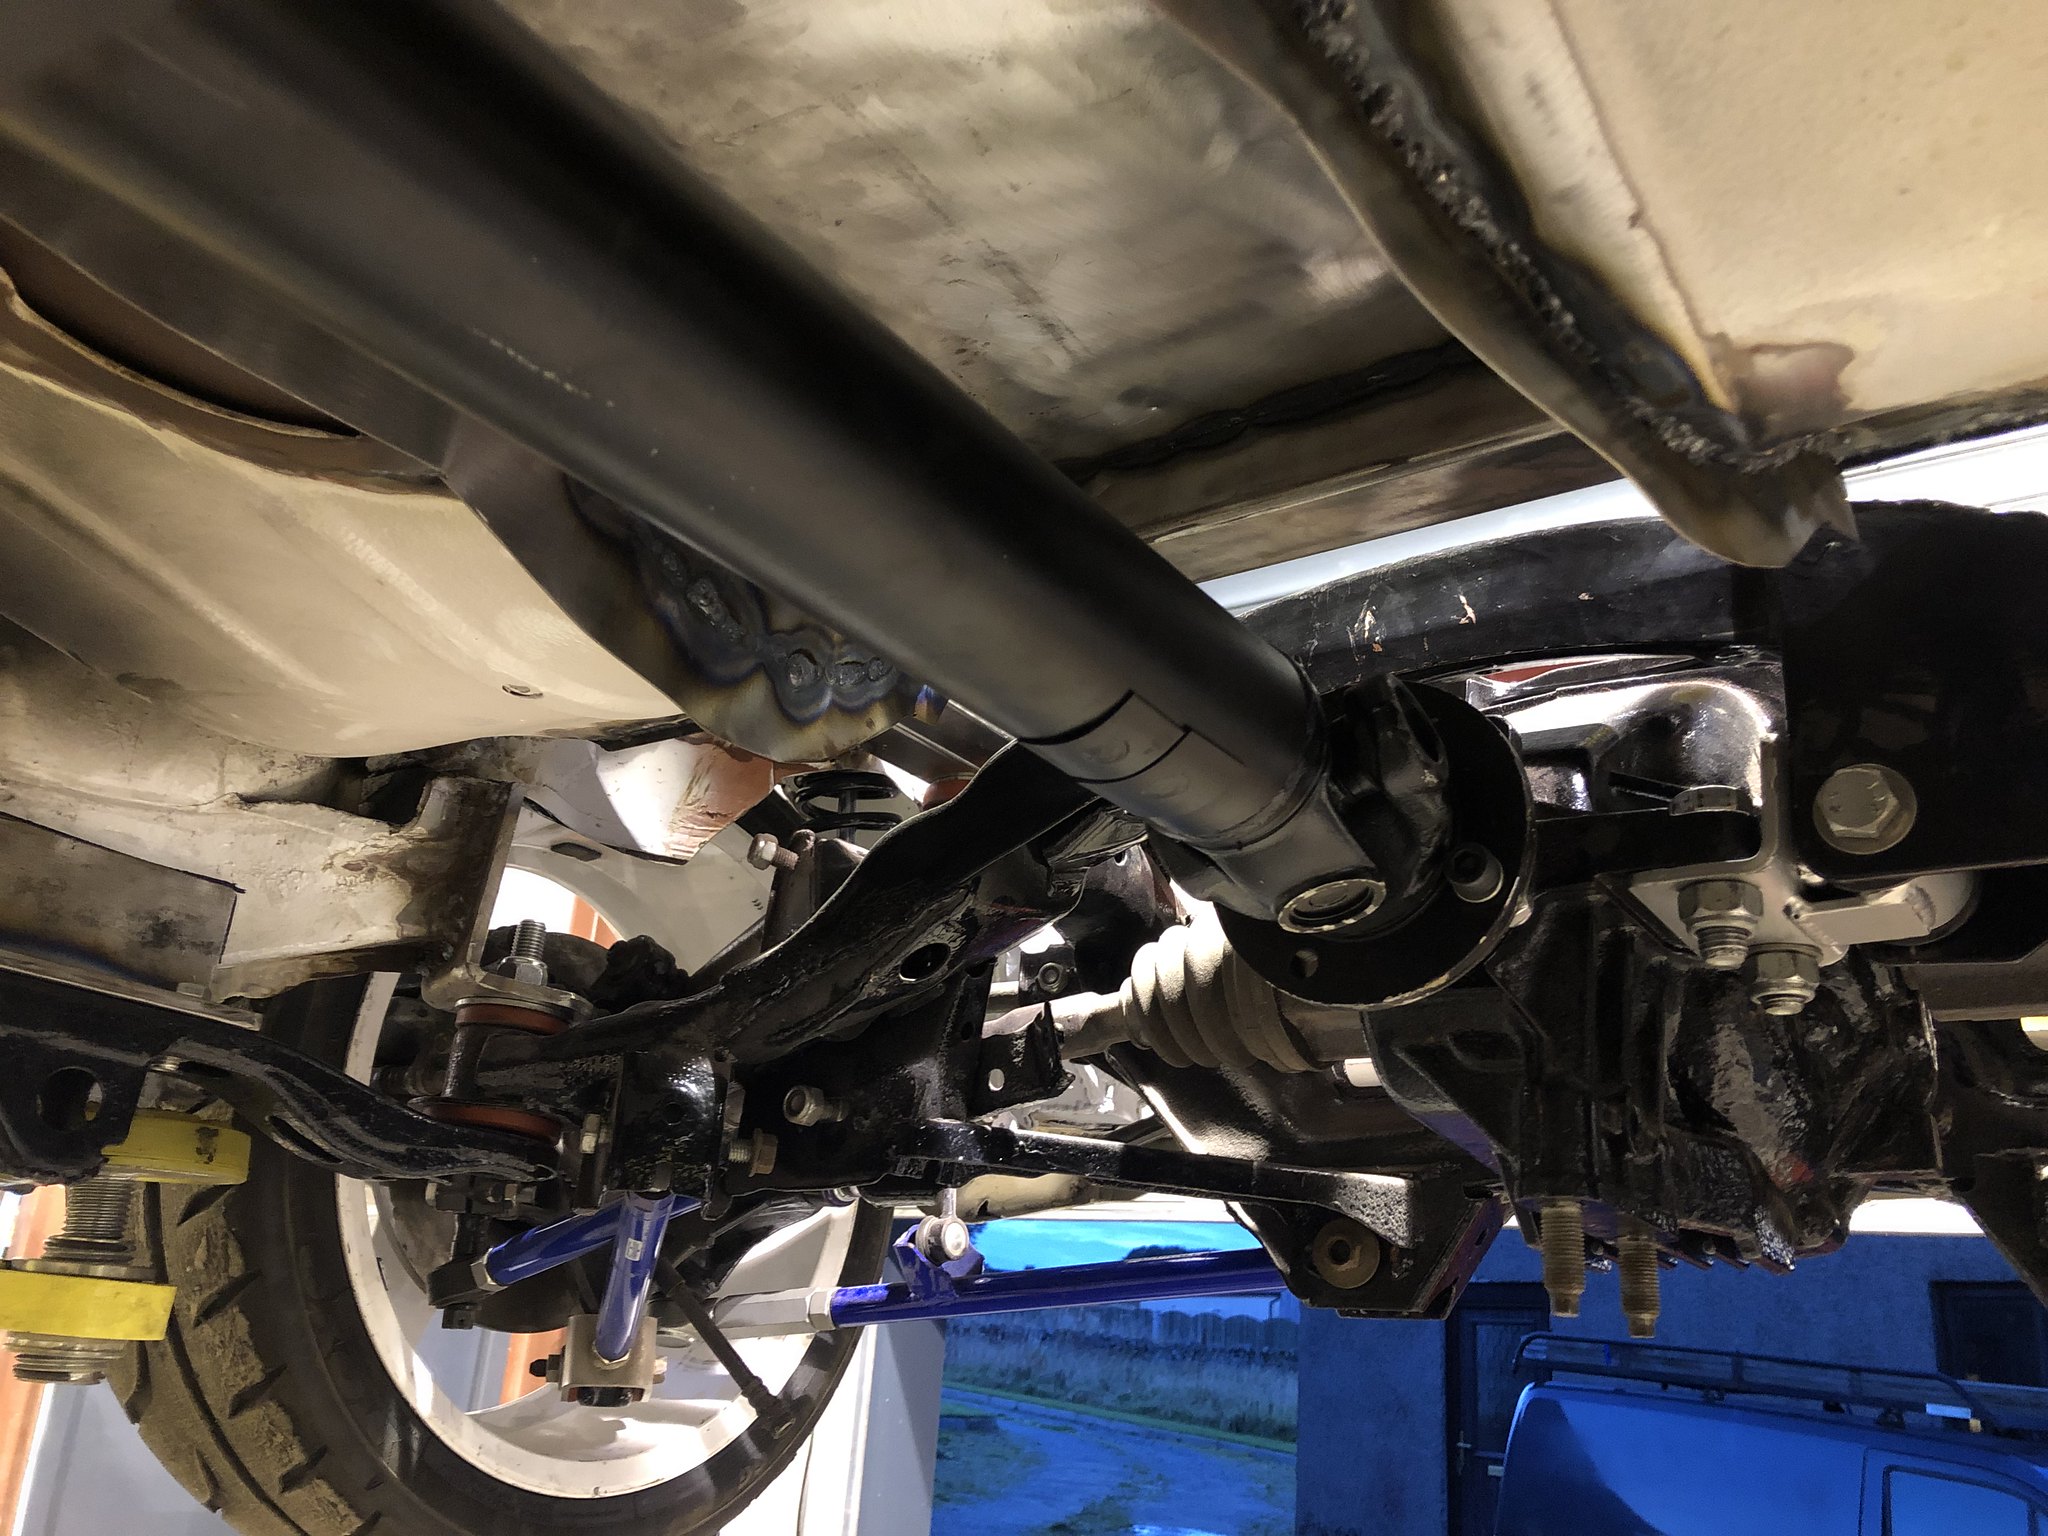
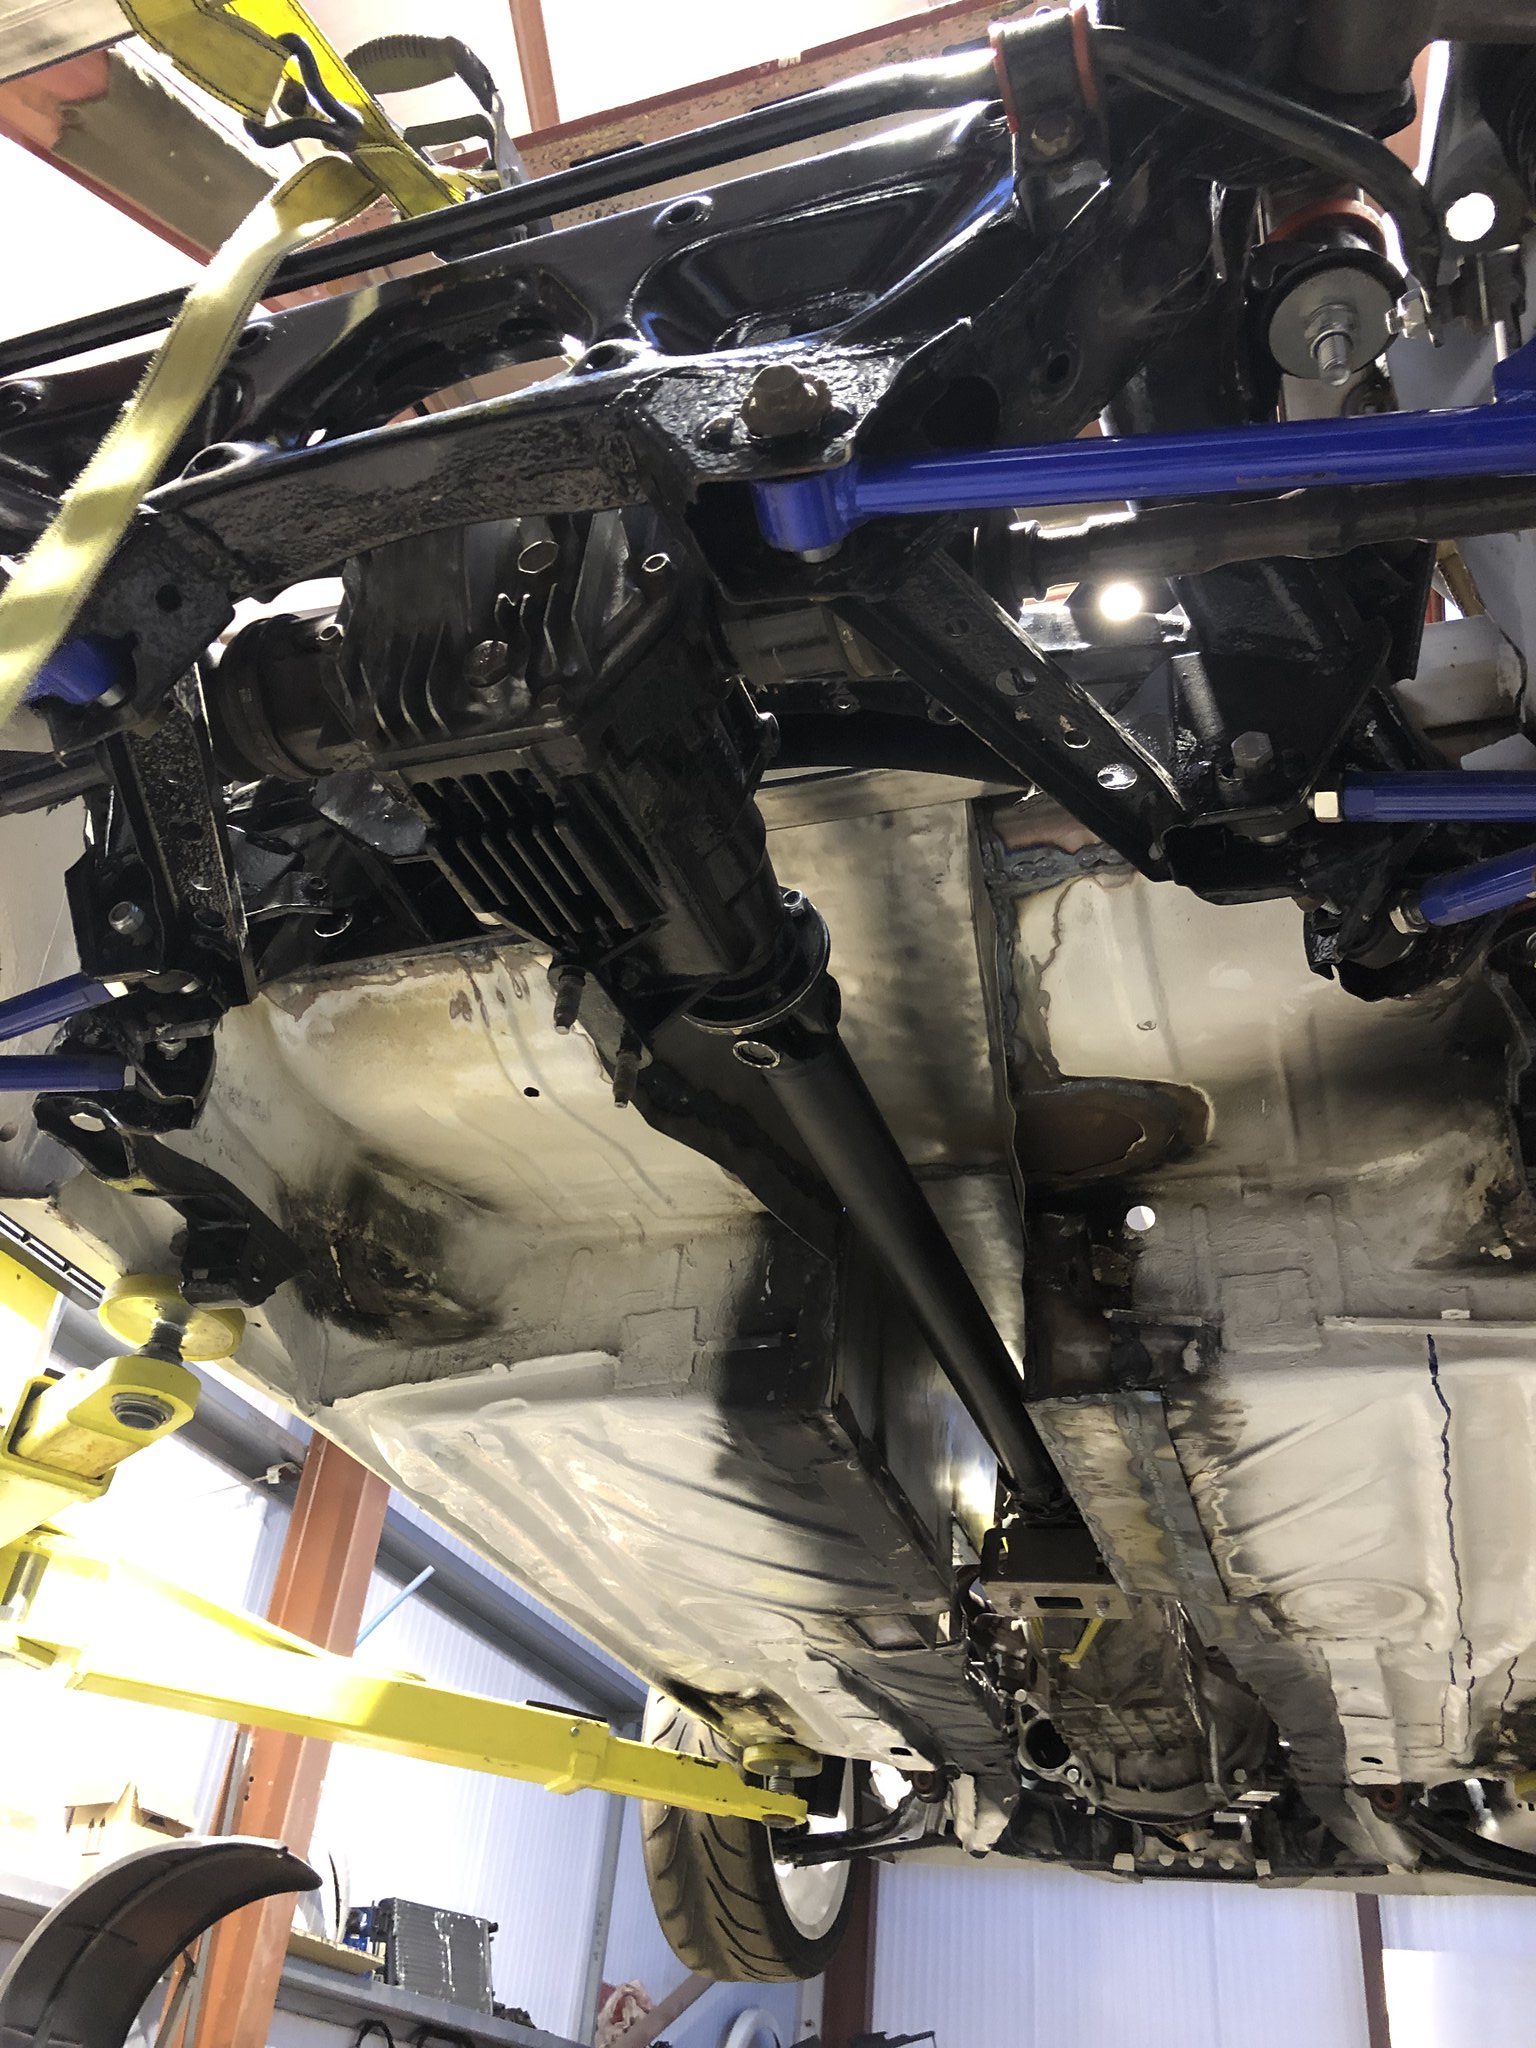
Measured up for a custom propshaft and had BAR propshafts in wales make it up for me, great turnaround, 2.5" heavy duty tubing, genuine spicer HD rally UJ's, balanced and ready to go

Fits superb - now officially rolling with a full RWD drivetrain!

Image


Image


Image

Image

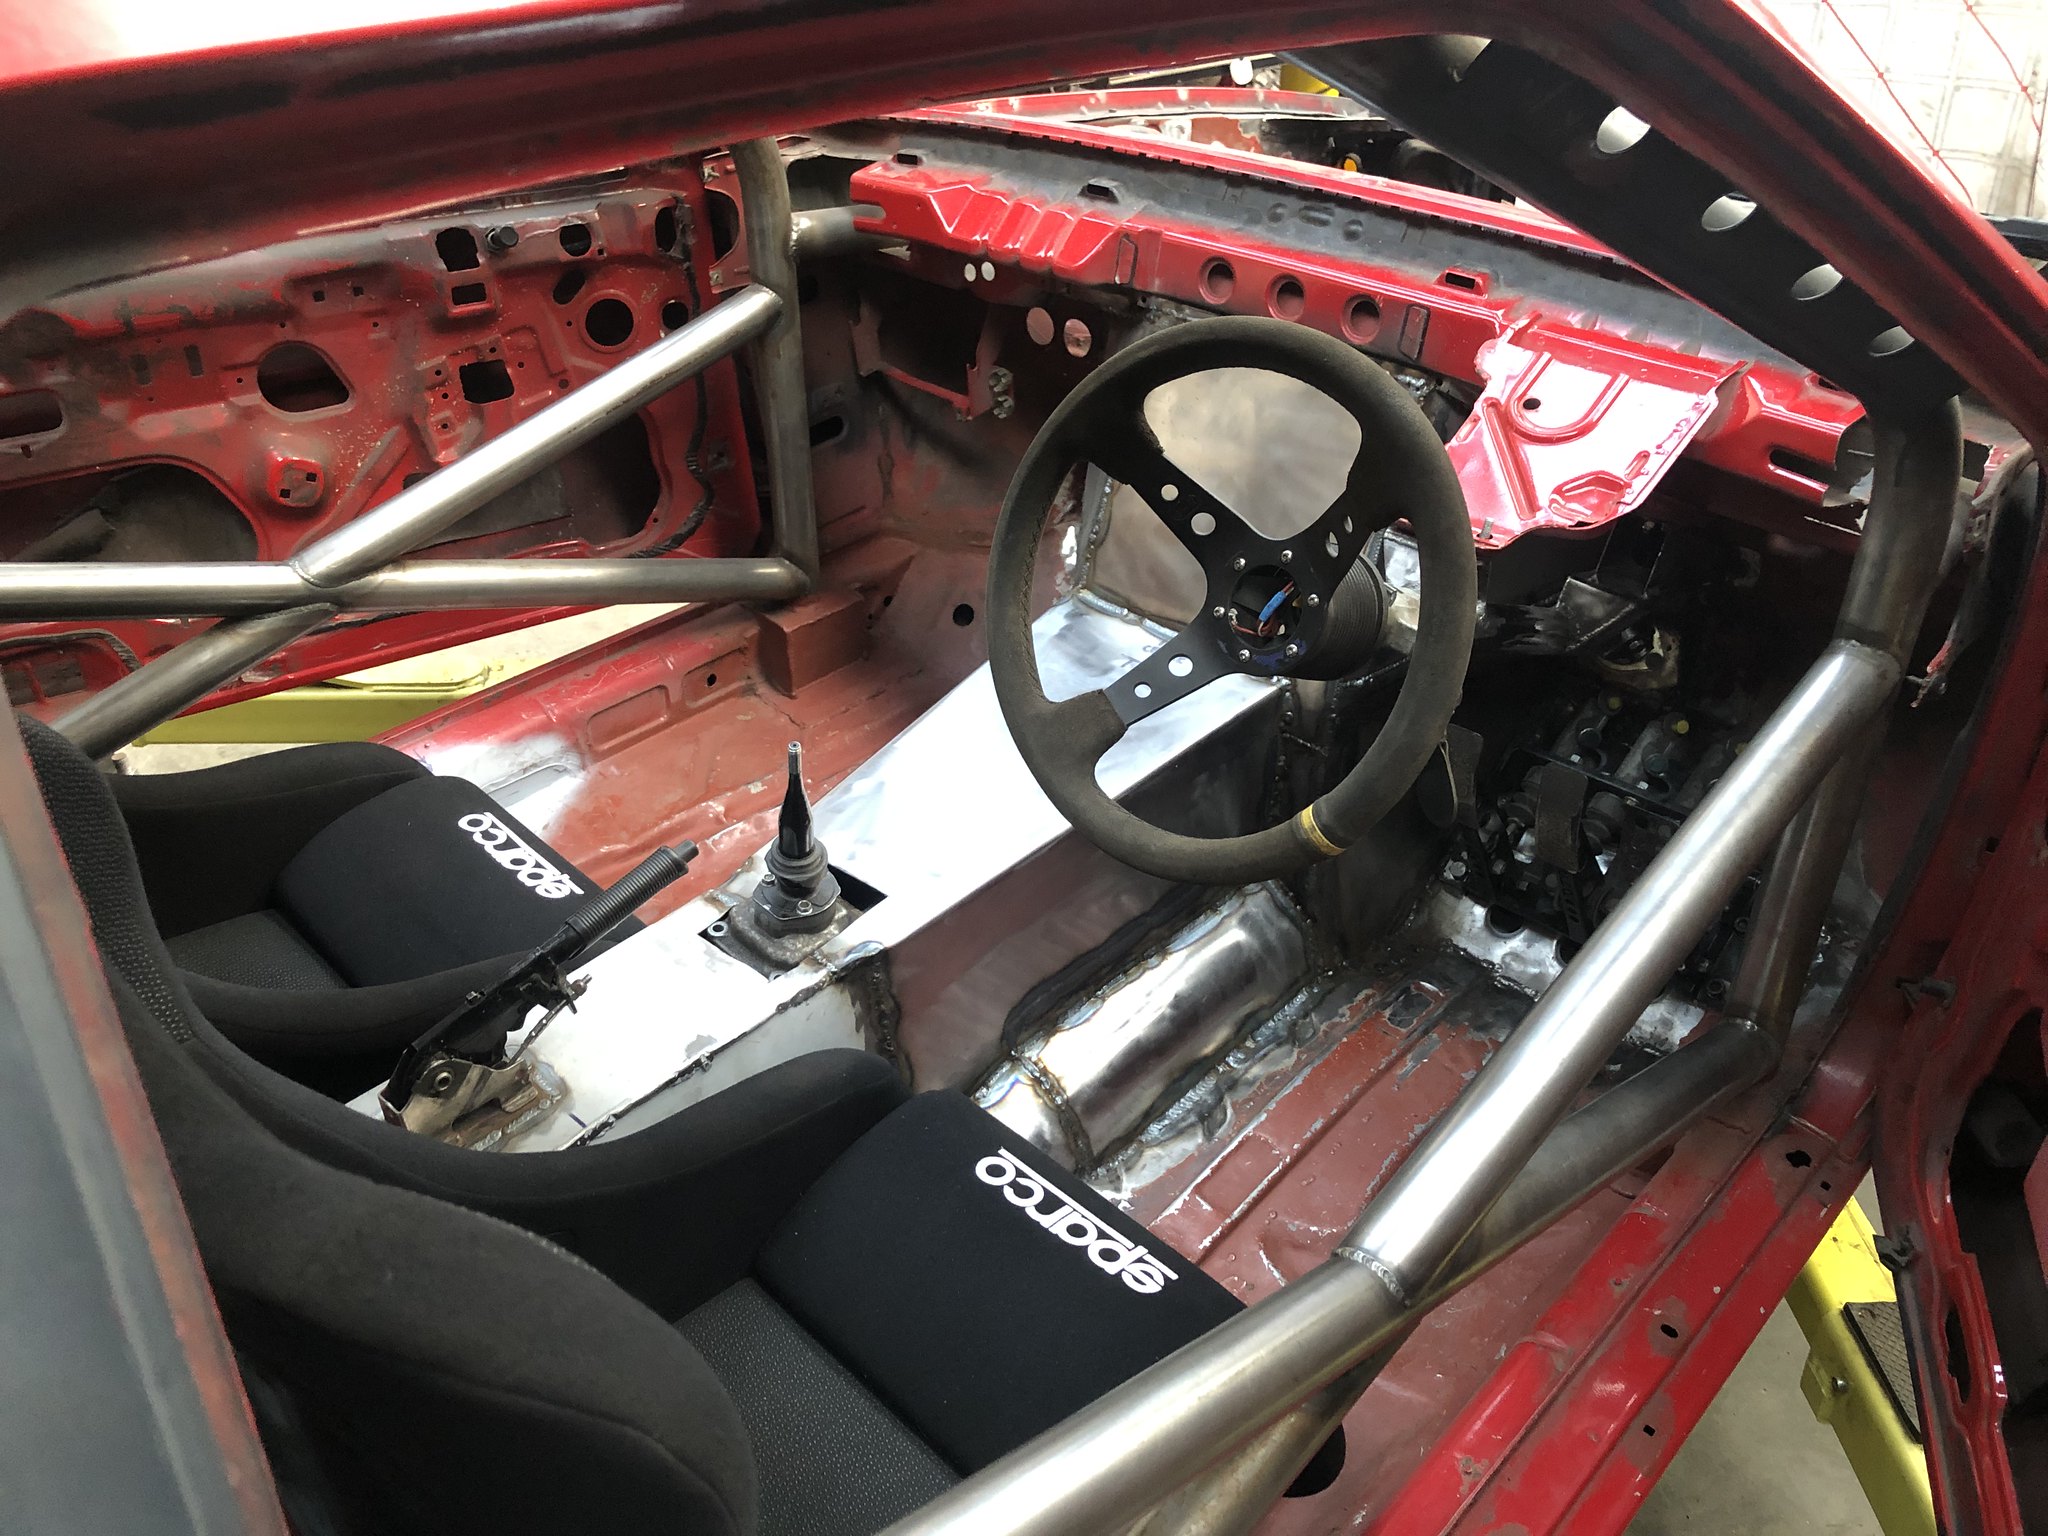
Got my bucket seat rails mounted and fully welded in, total total c**t to do, seats needed to be exactly right as i only have a couple mm clearance to the cage and tunnel, not the easiest to access to weld either, so im chuffed these are done.


Image

Image

Image

Image

Image

Image

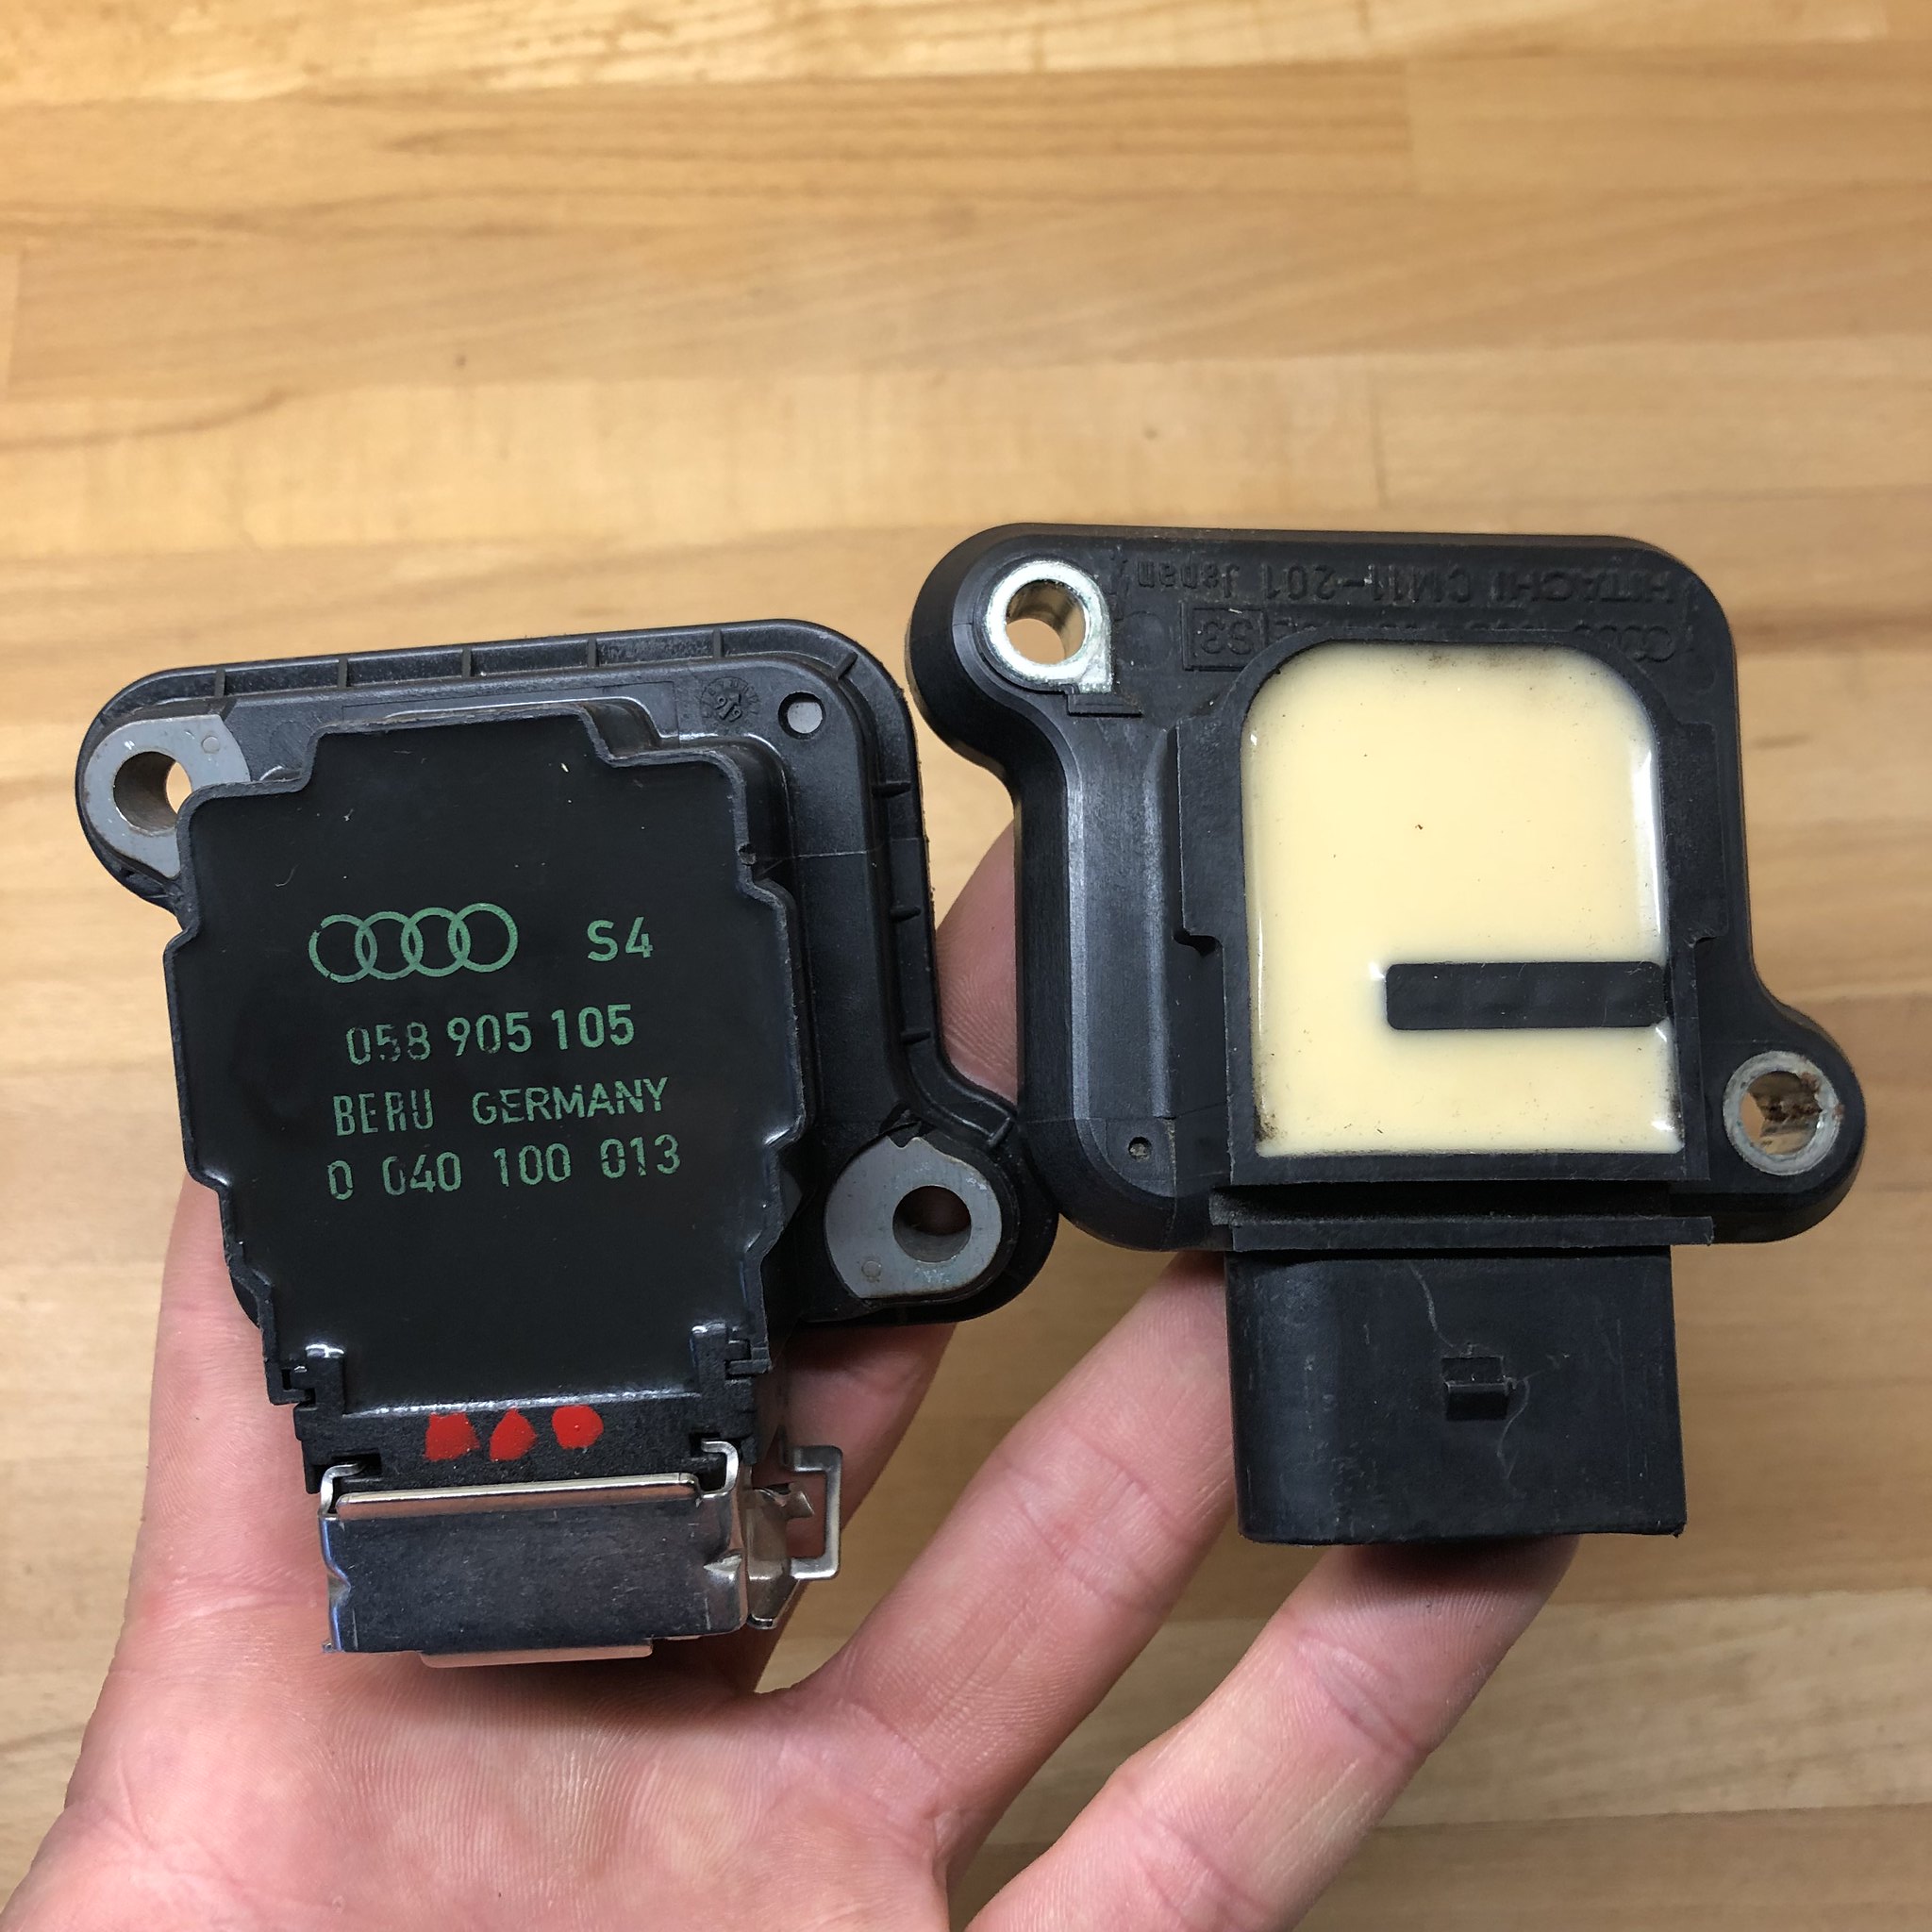
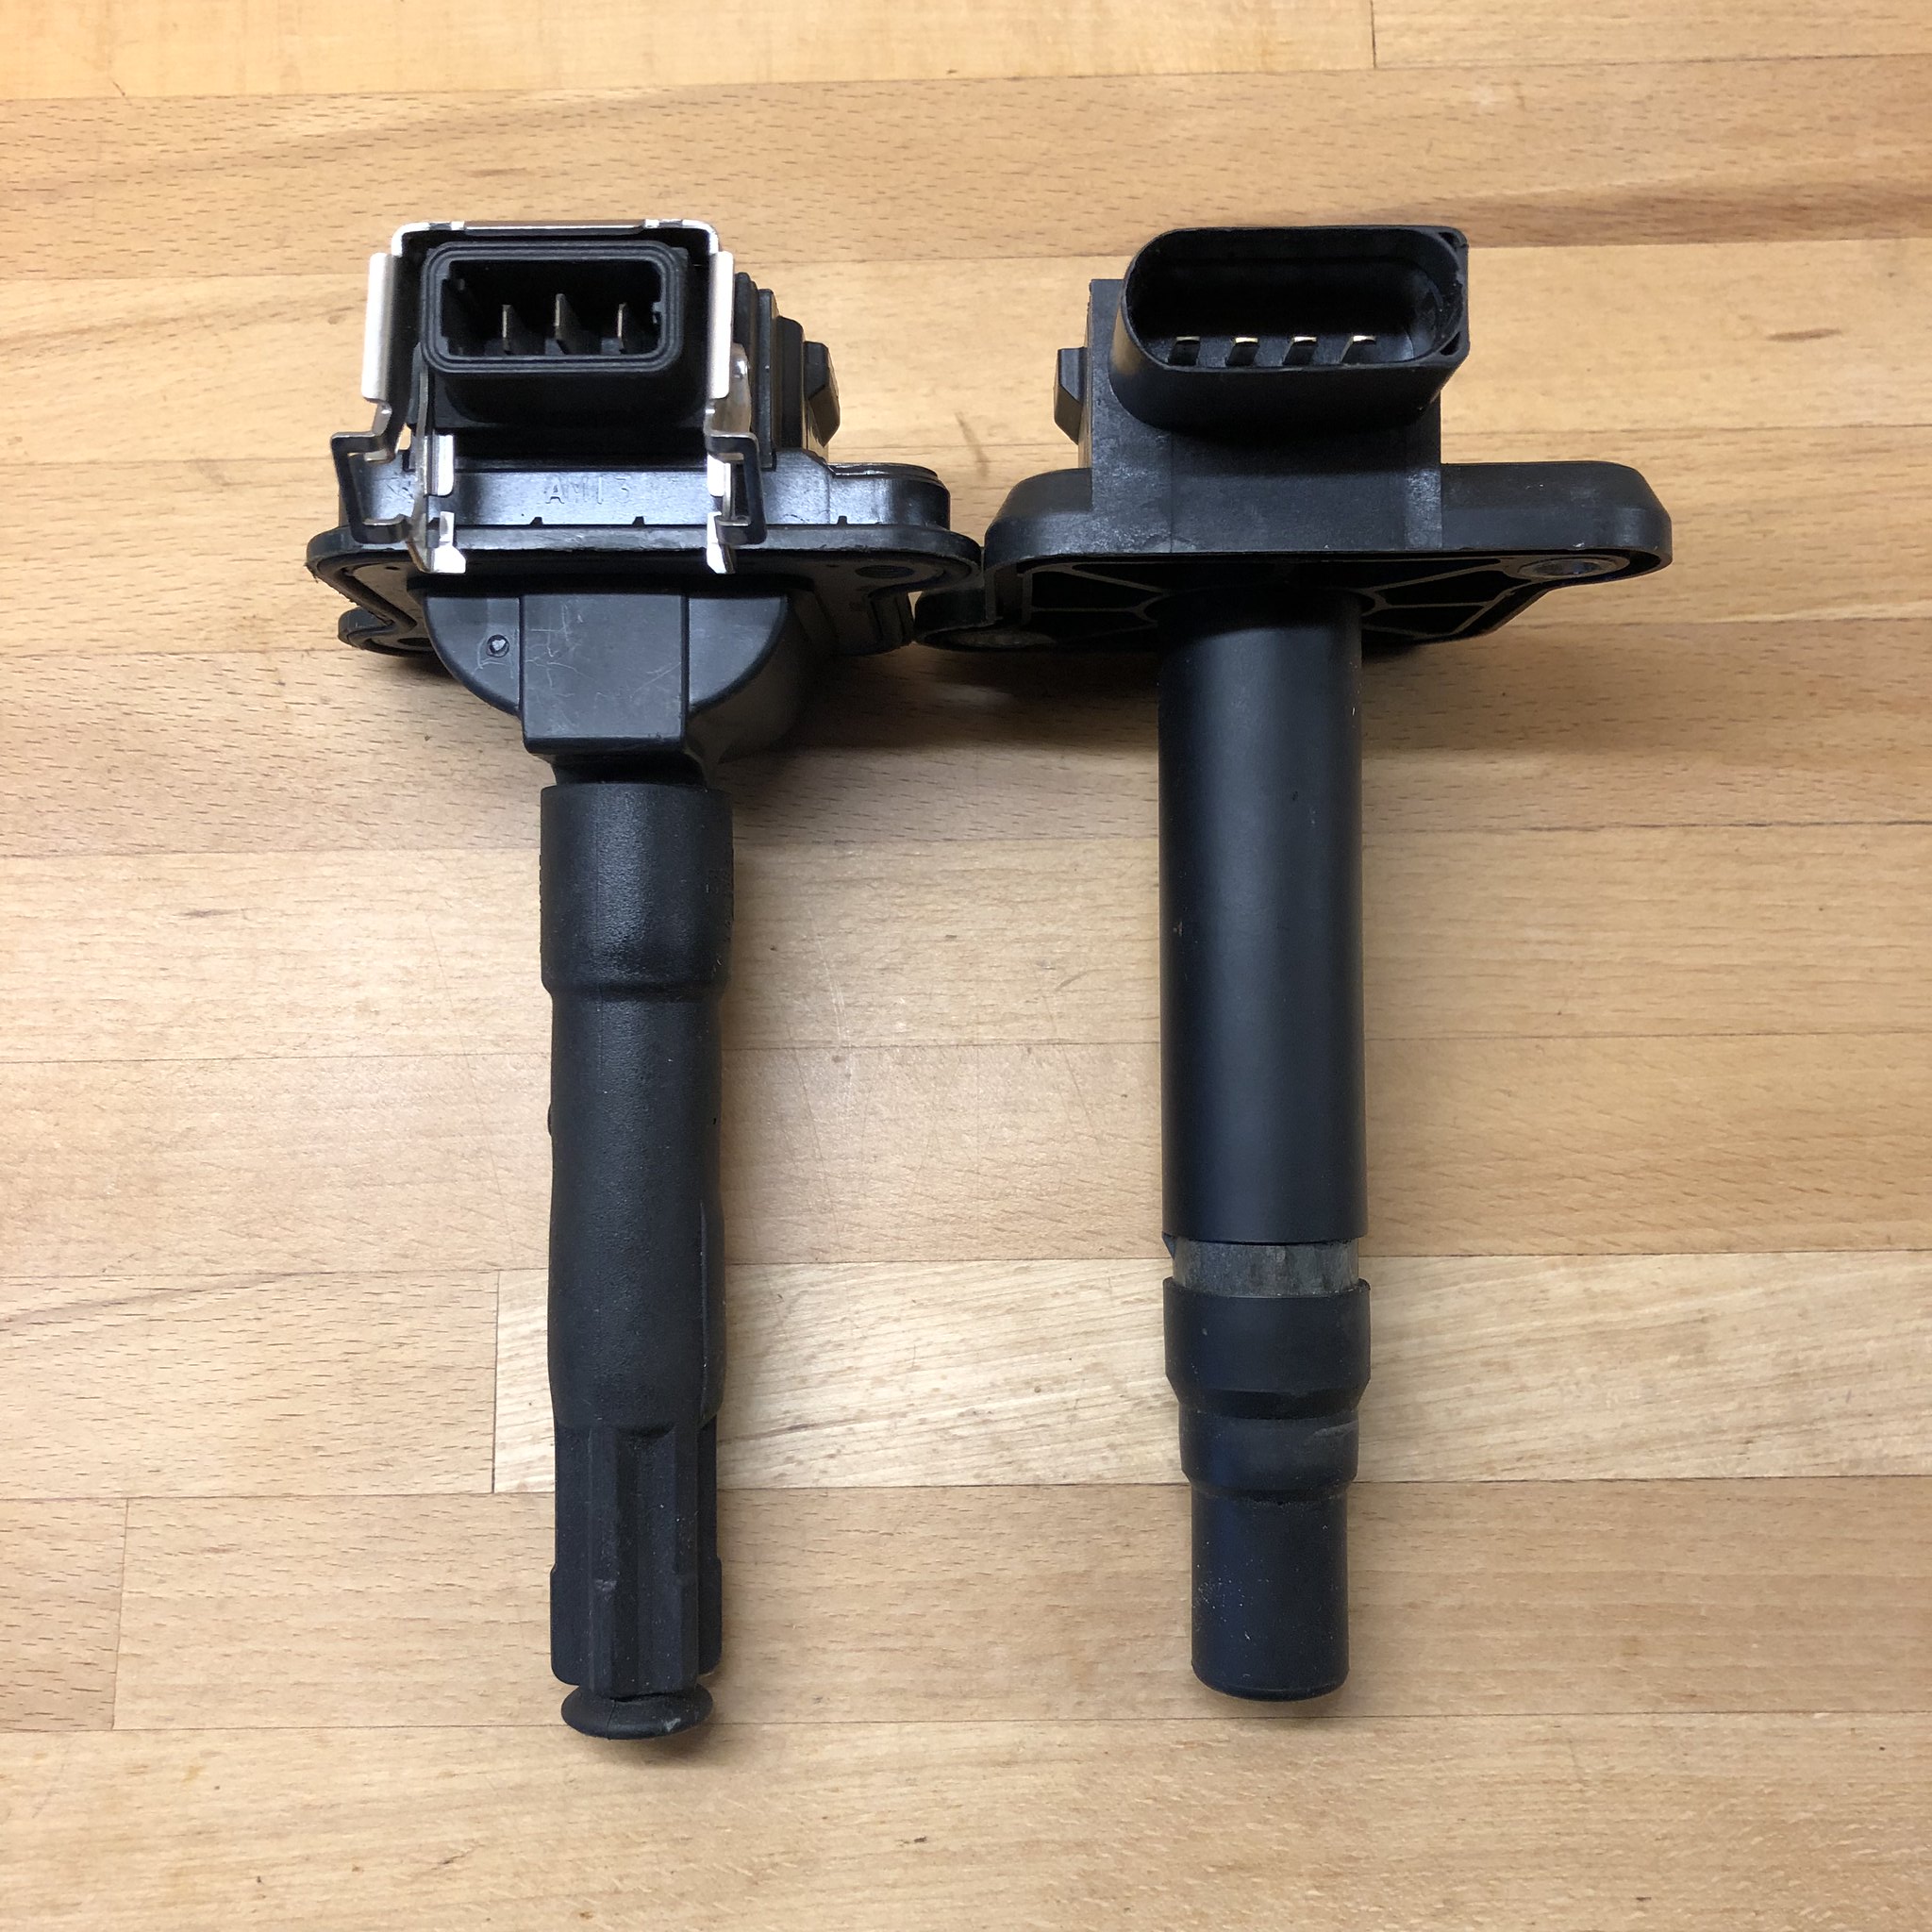
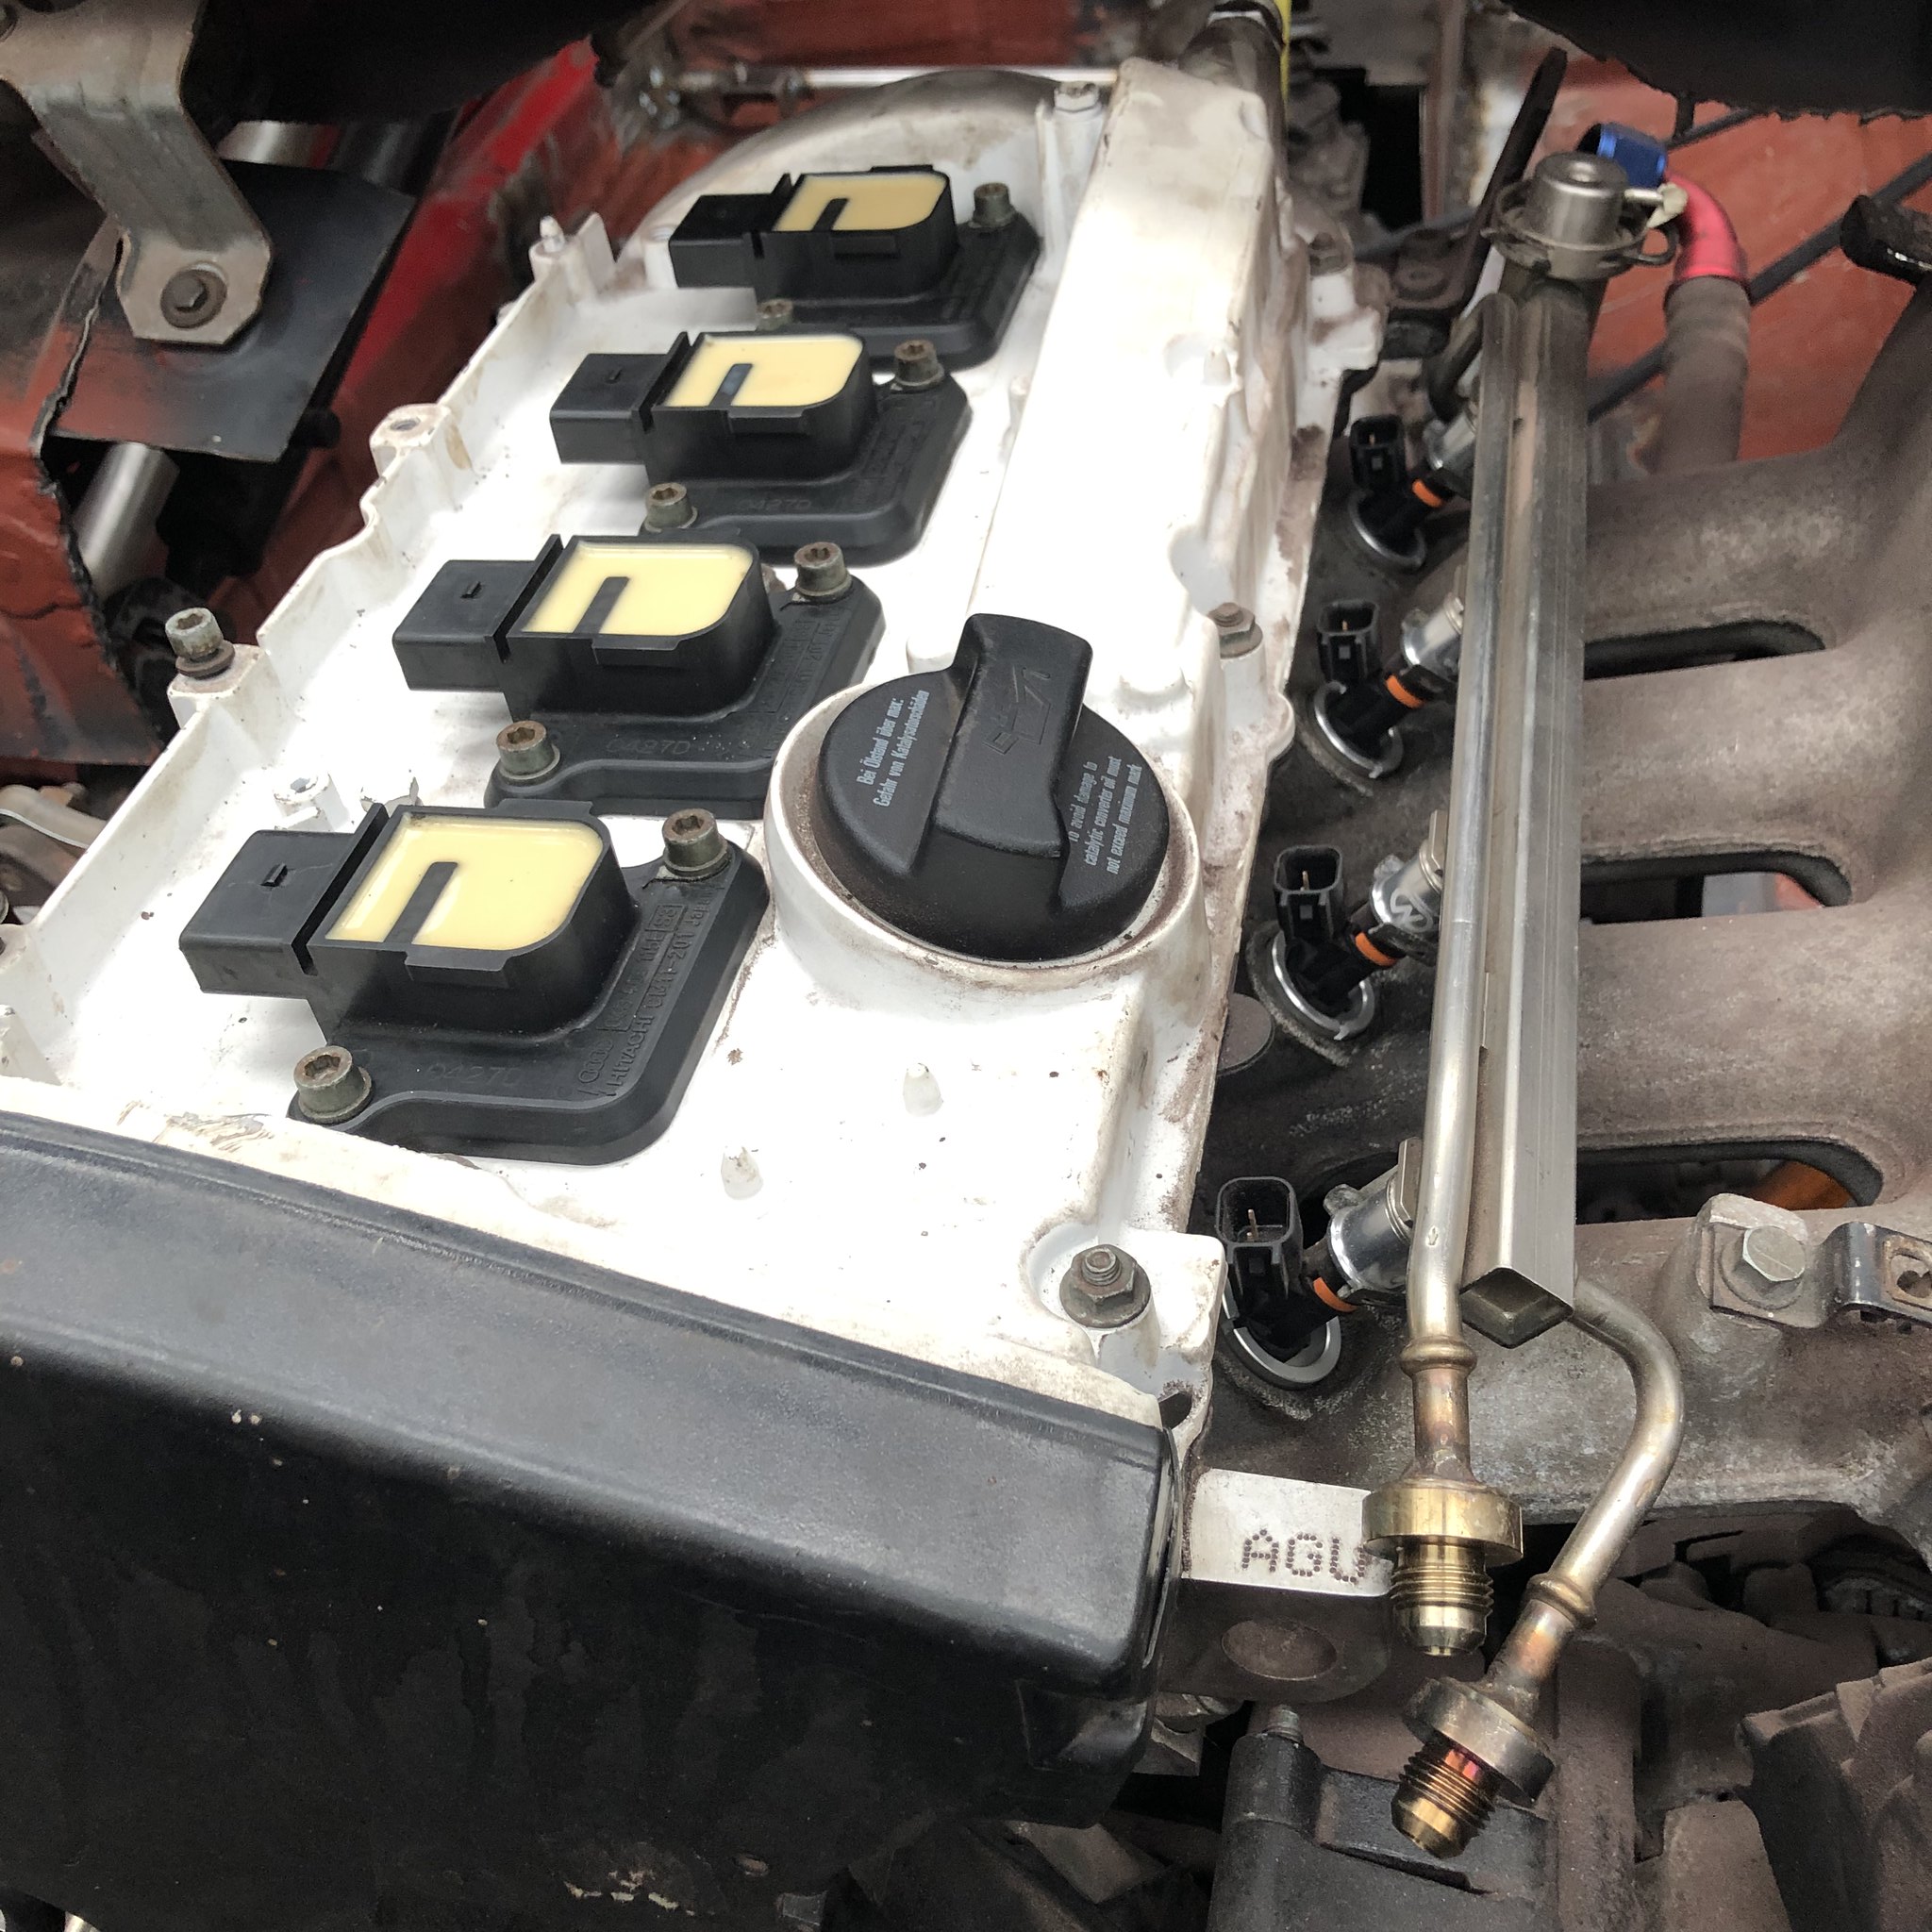
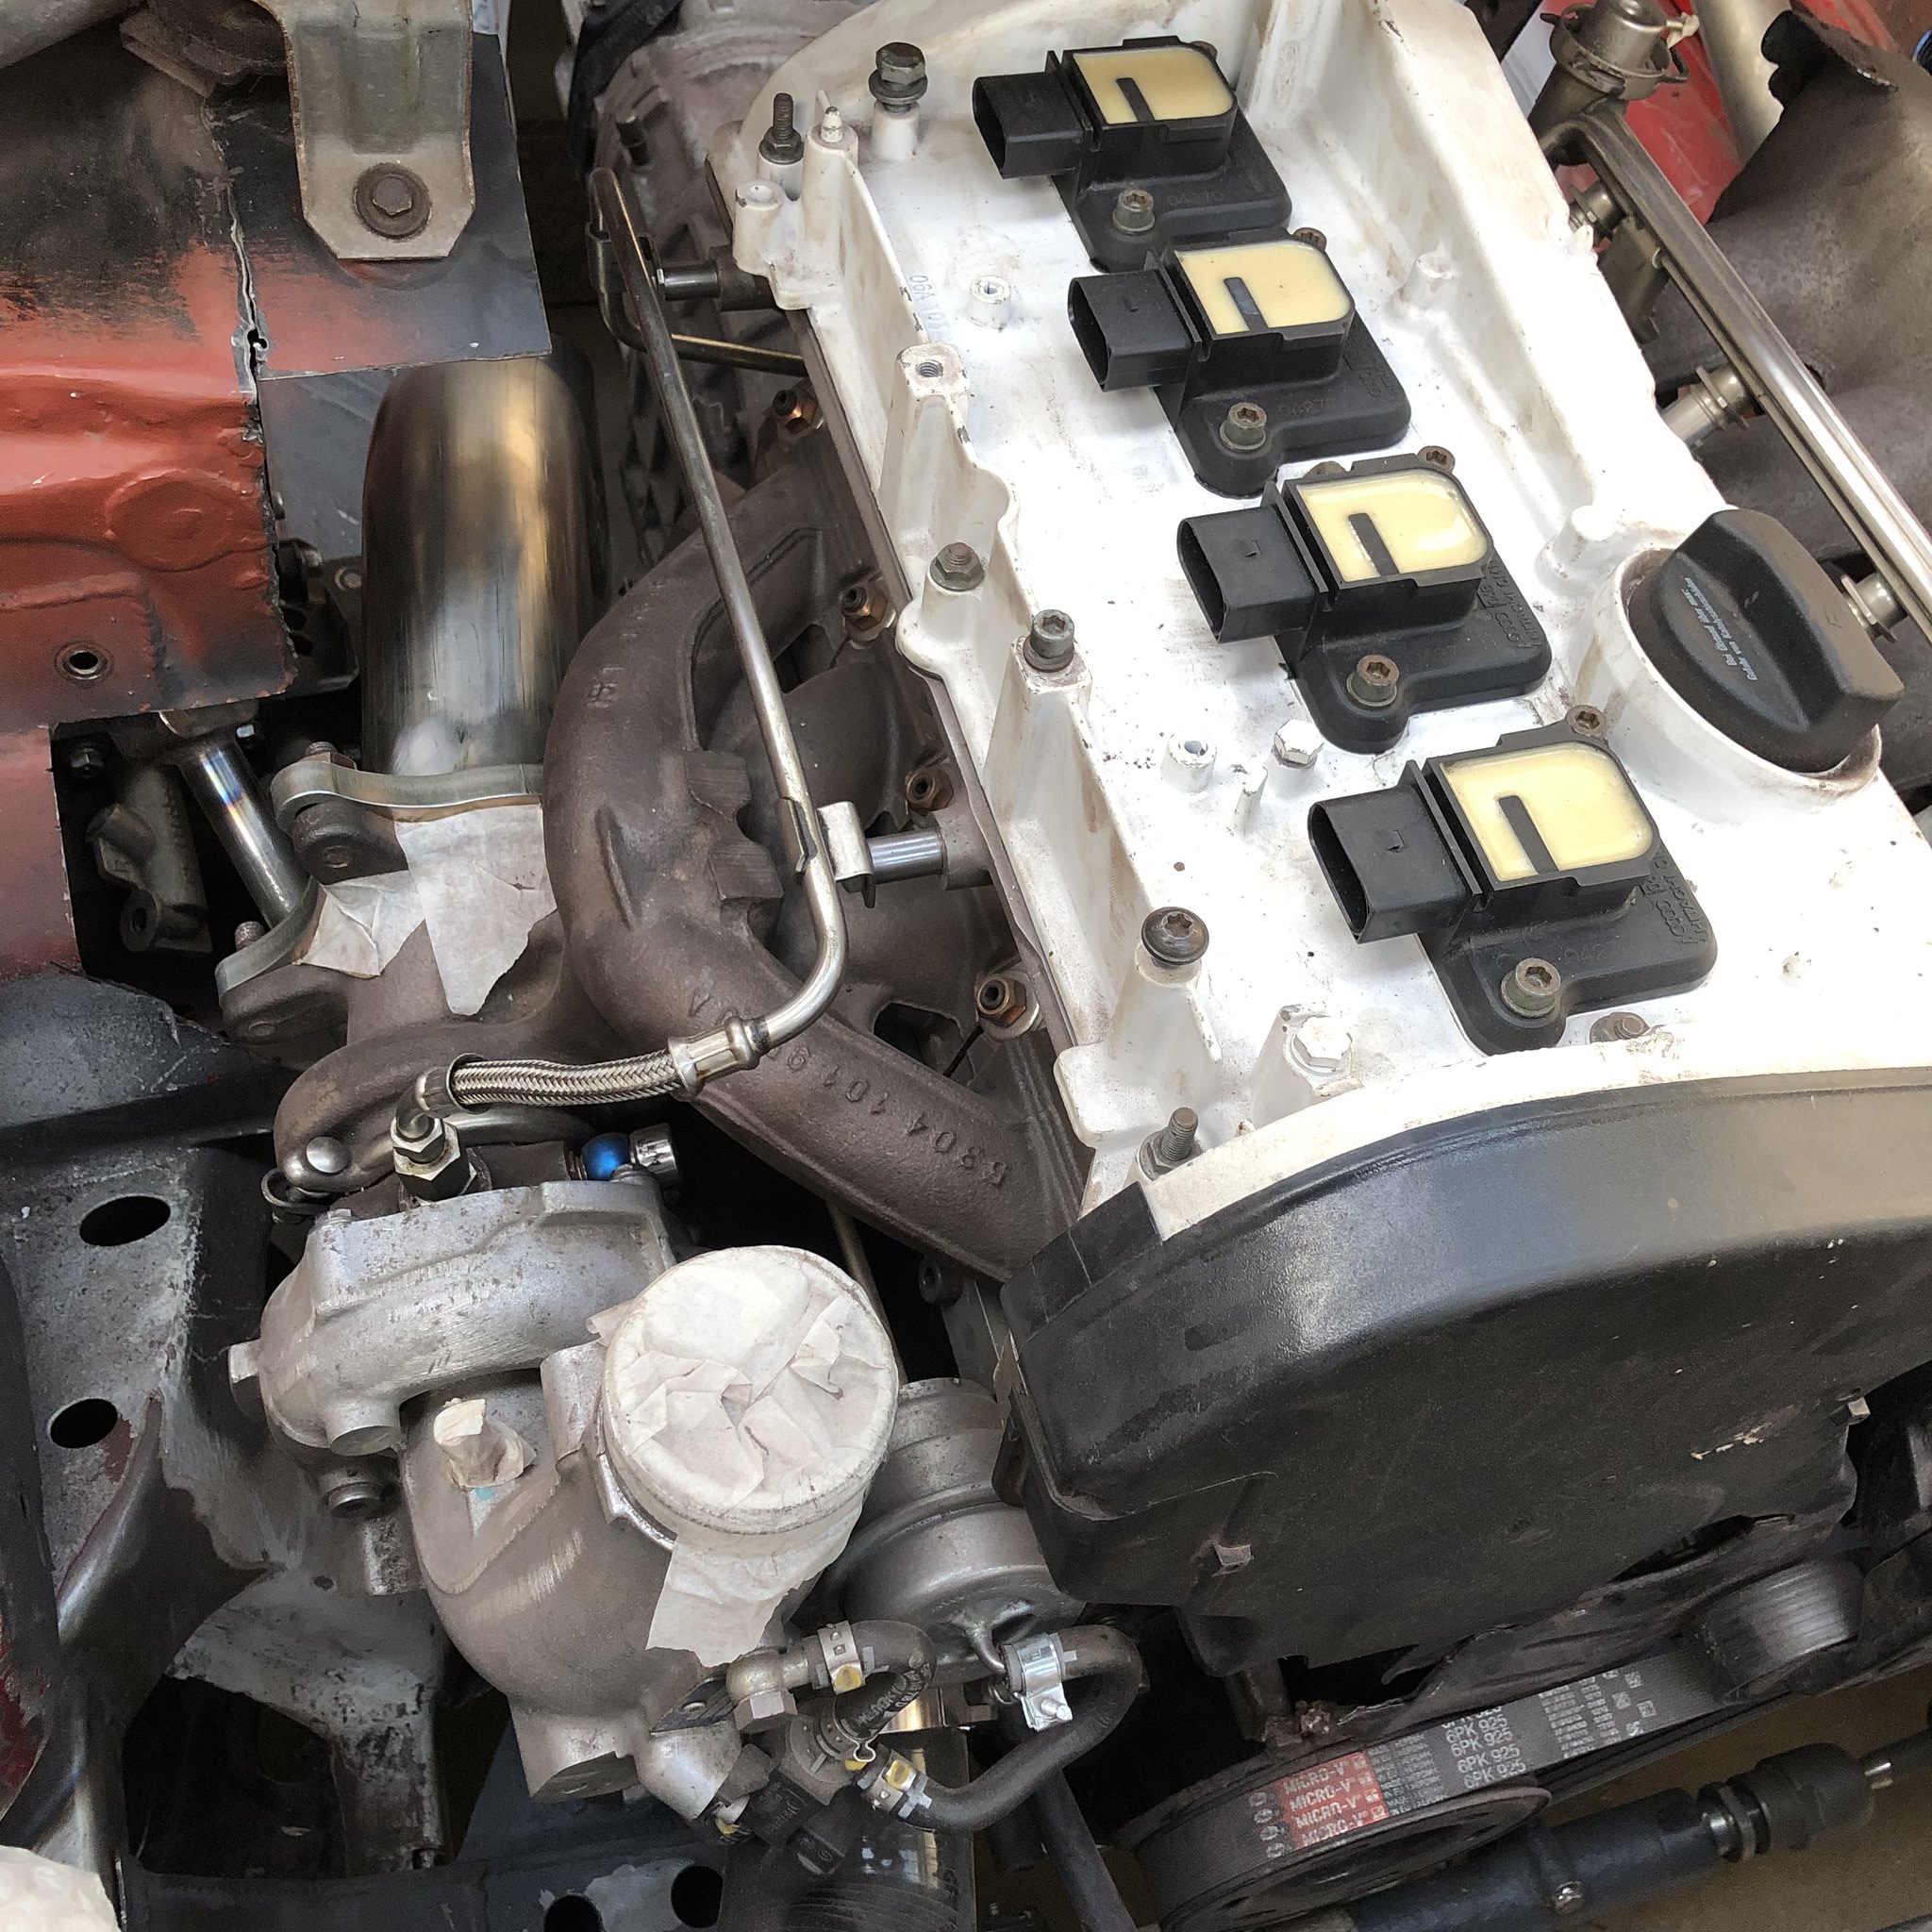
Picked up some 4 pin hitachi coilpacks so when I come to make up the loom I can delete the ignition amplifier which tends to be the weak point of the AGU ignition system.

Image

Image

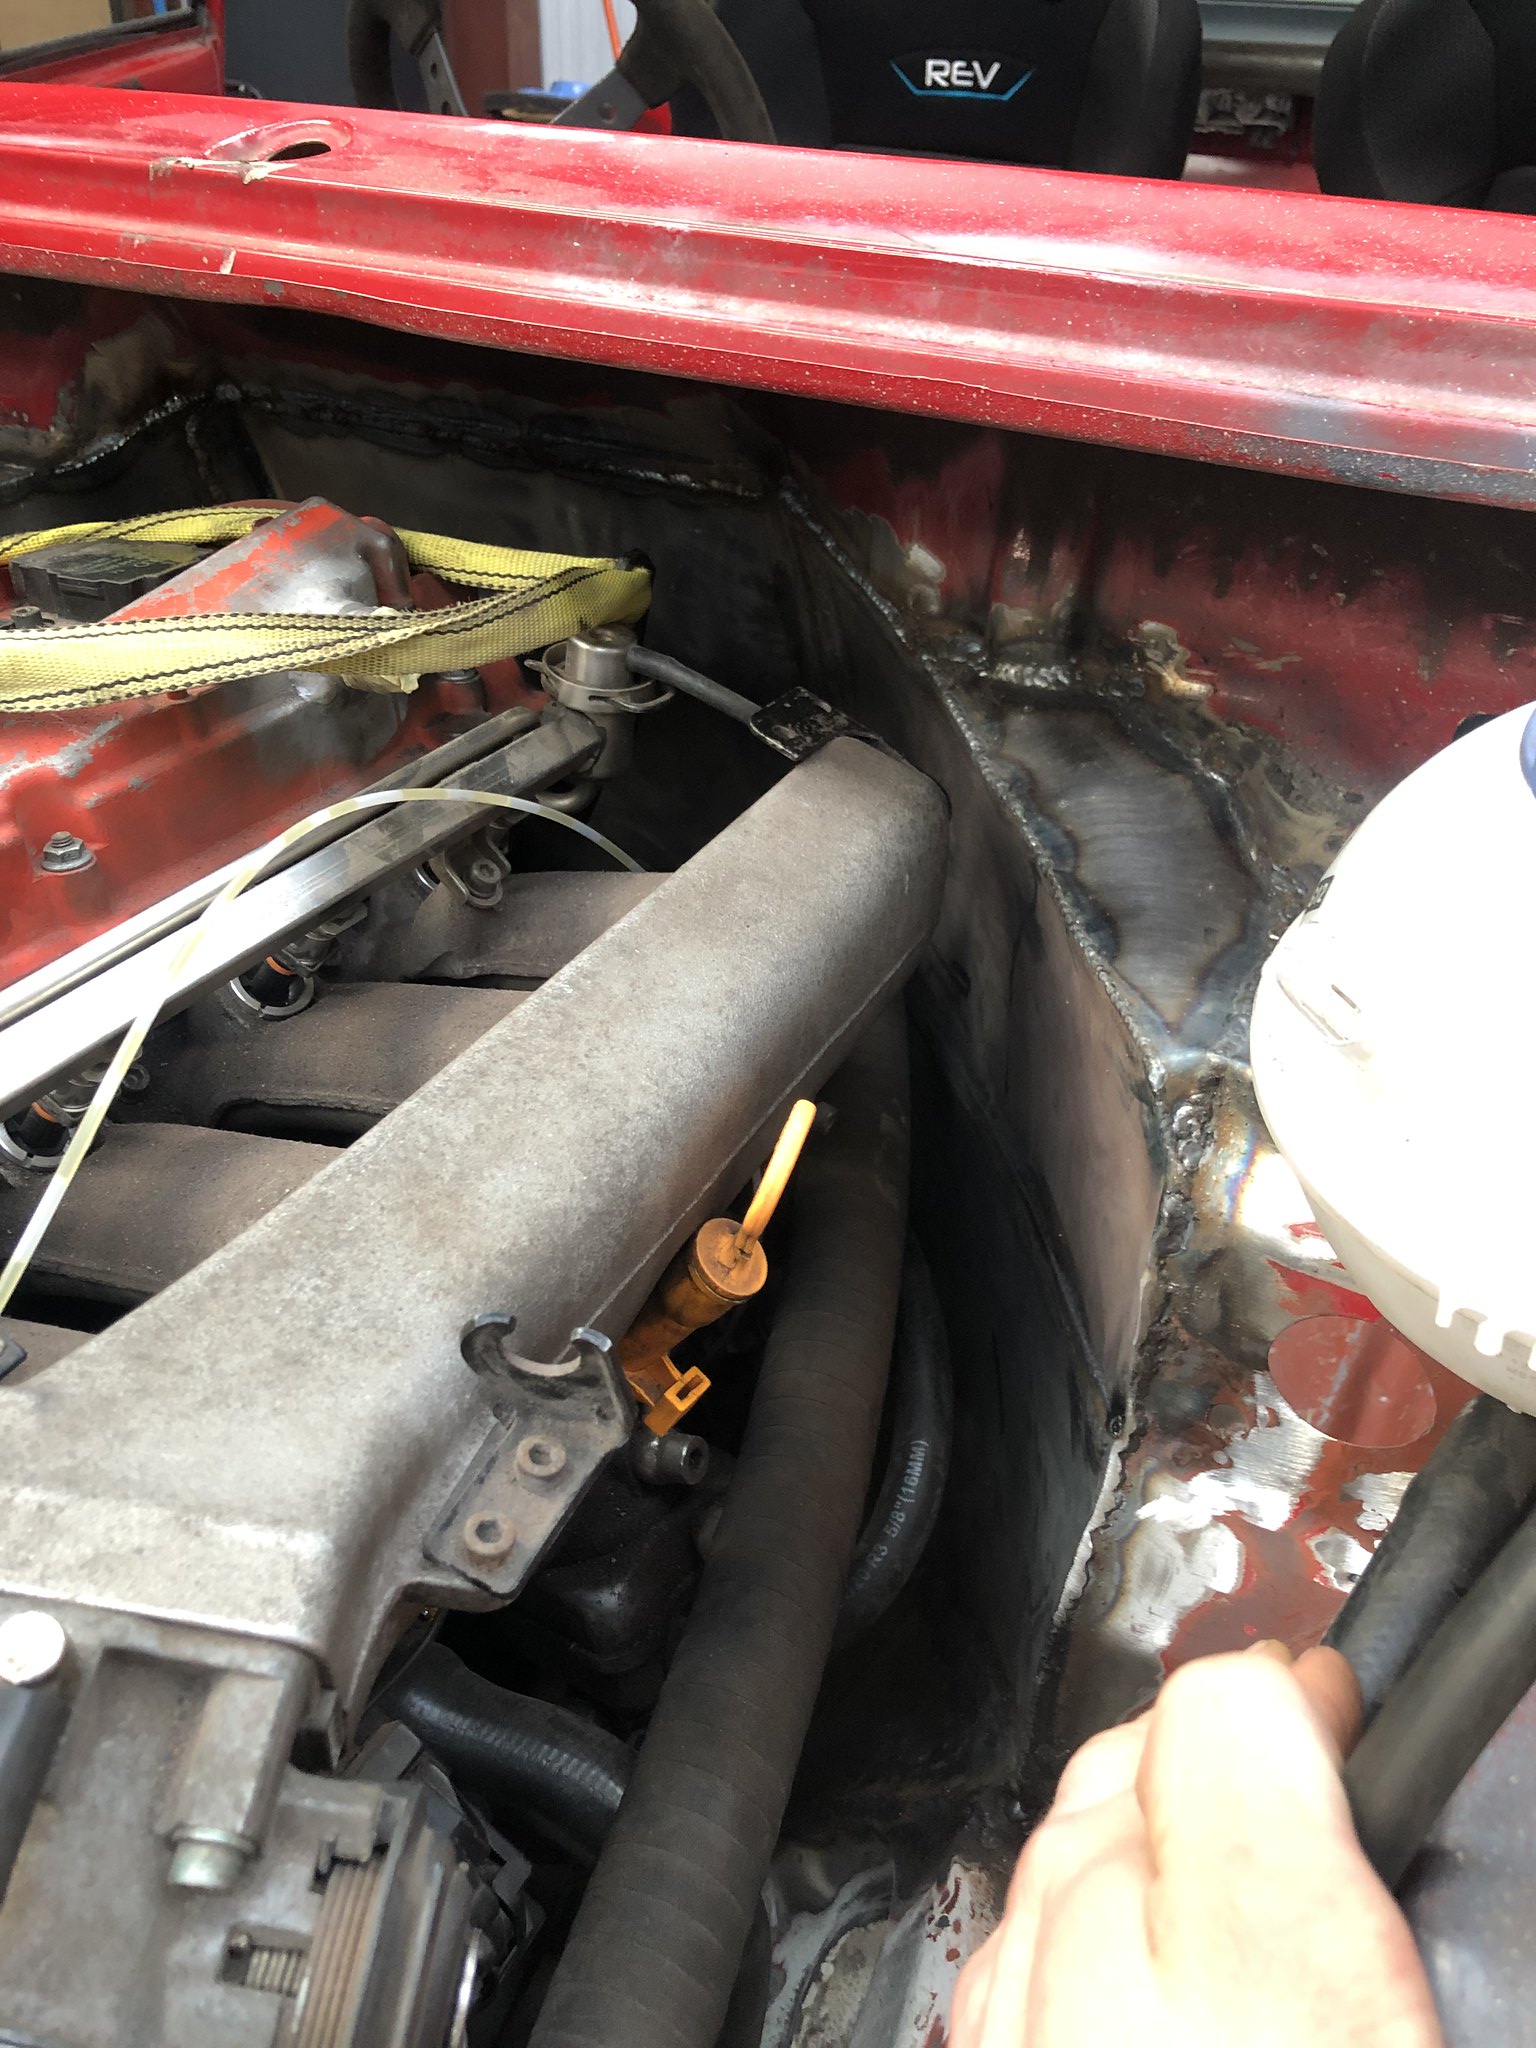
Before when the car was running FWD i was using a BAM inlet manifold and fuel rail with brand new EV14 bosch 550cc injectors, with the car being RWD now i need to use the AGU inlet manifold which isn't suitable for EV14 injectors, luckily creation motorsports make these little injector spacers and adapters so that I can run my Bosch 550s on the AGU big port mani. Looks like there shouldn't be any issues but will have to wait and see.

So now running 4 bar FPR, 550cc injectors and tig welded rail for AN fittings, should be plenty for fuelling everything the KO4-064 demands!

Image


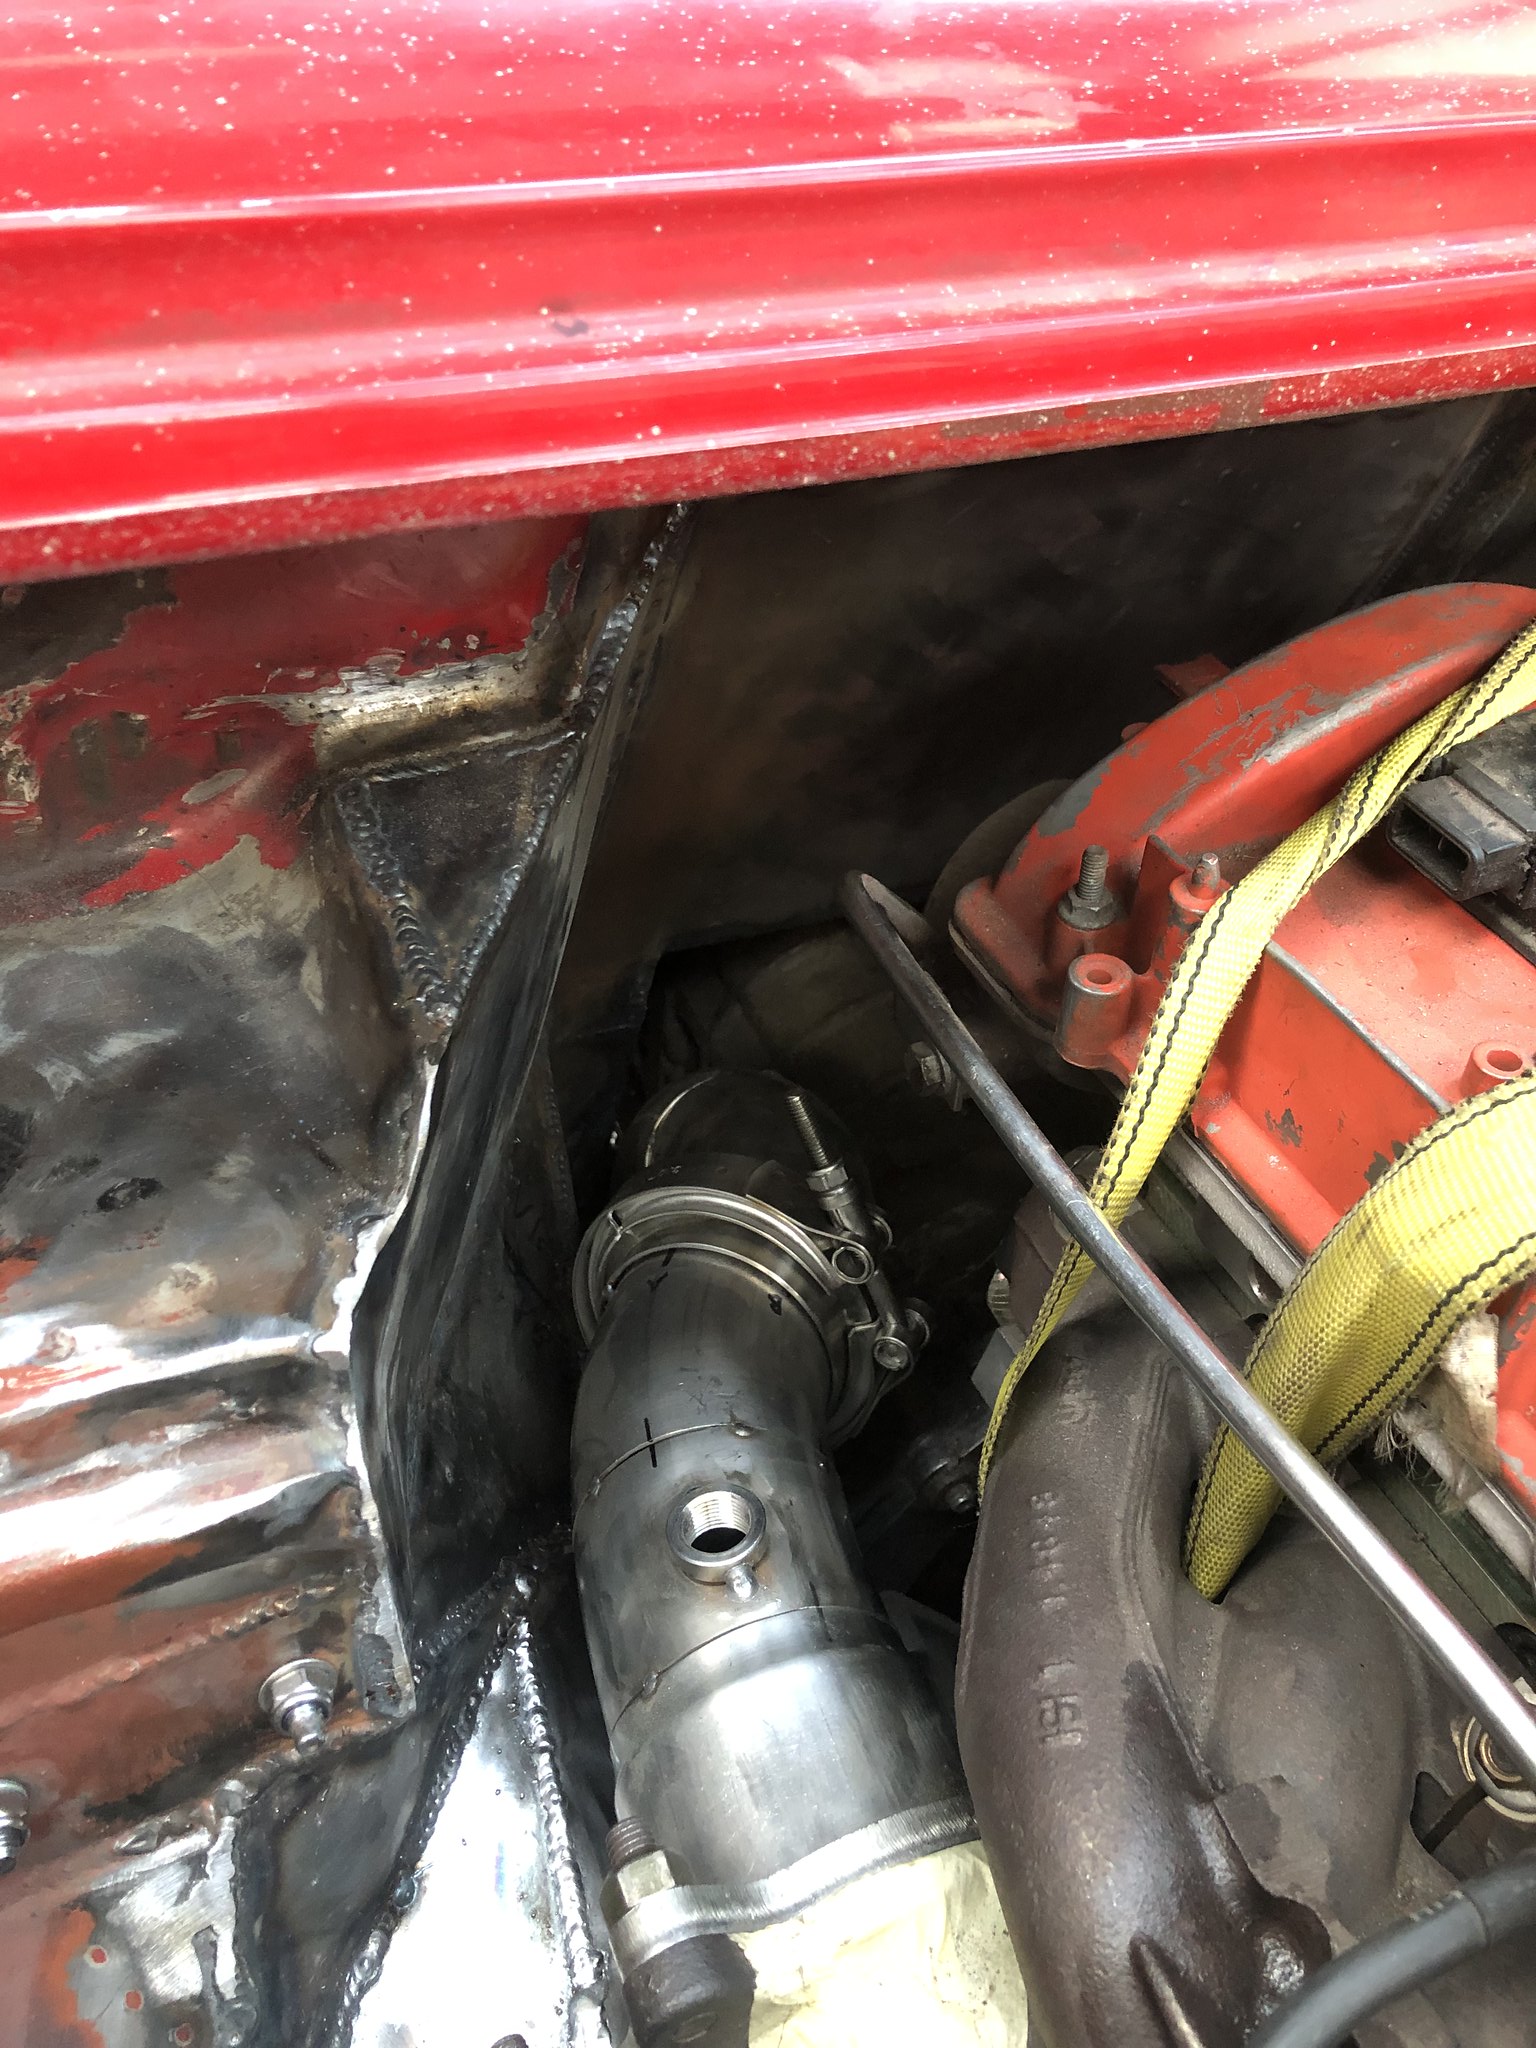
Turbo oil feed line from a longitudinal 1.8T is a good fit, and I've started to tack together a downpipe, going to try and make the exhaust myself, 3" from turbo all the way back.

Image

Its going to be tight as hell but its do-able for sure.

Will run alongside the gearbox then dip under the propshaft all the way to the back of the car.

Image

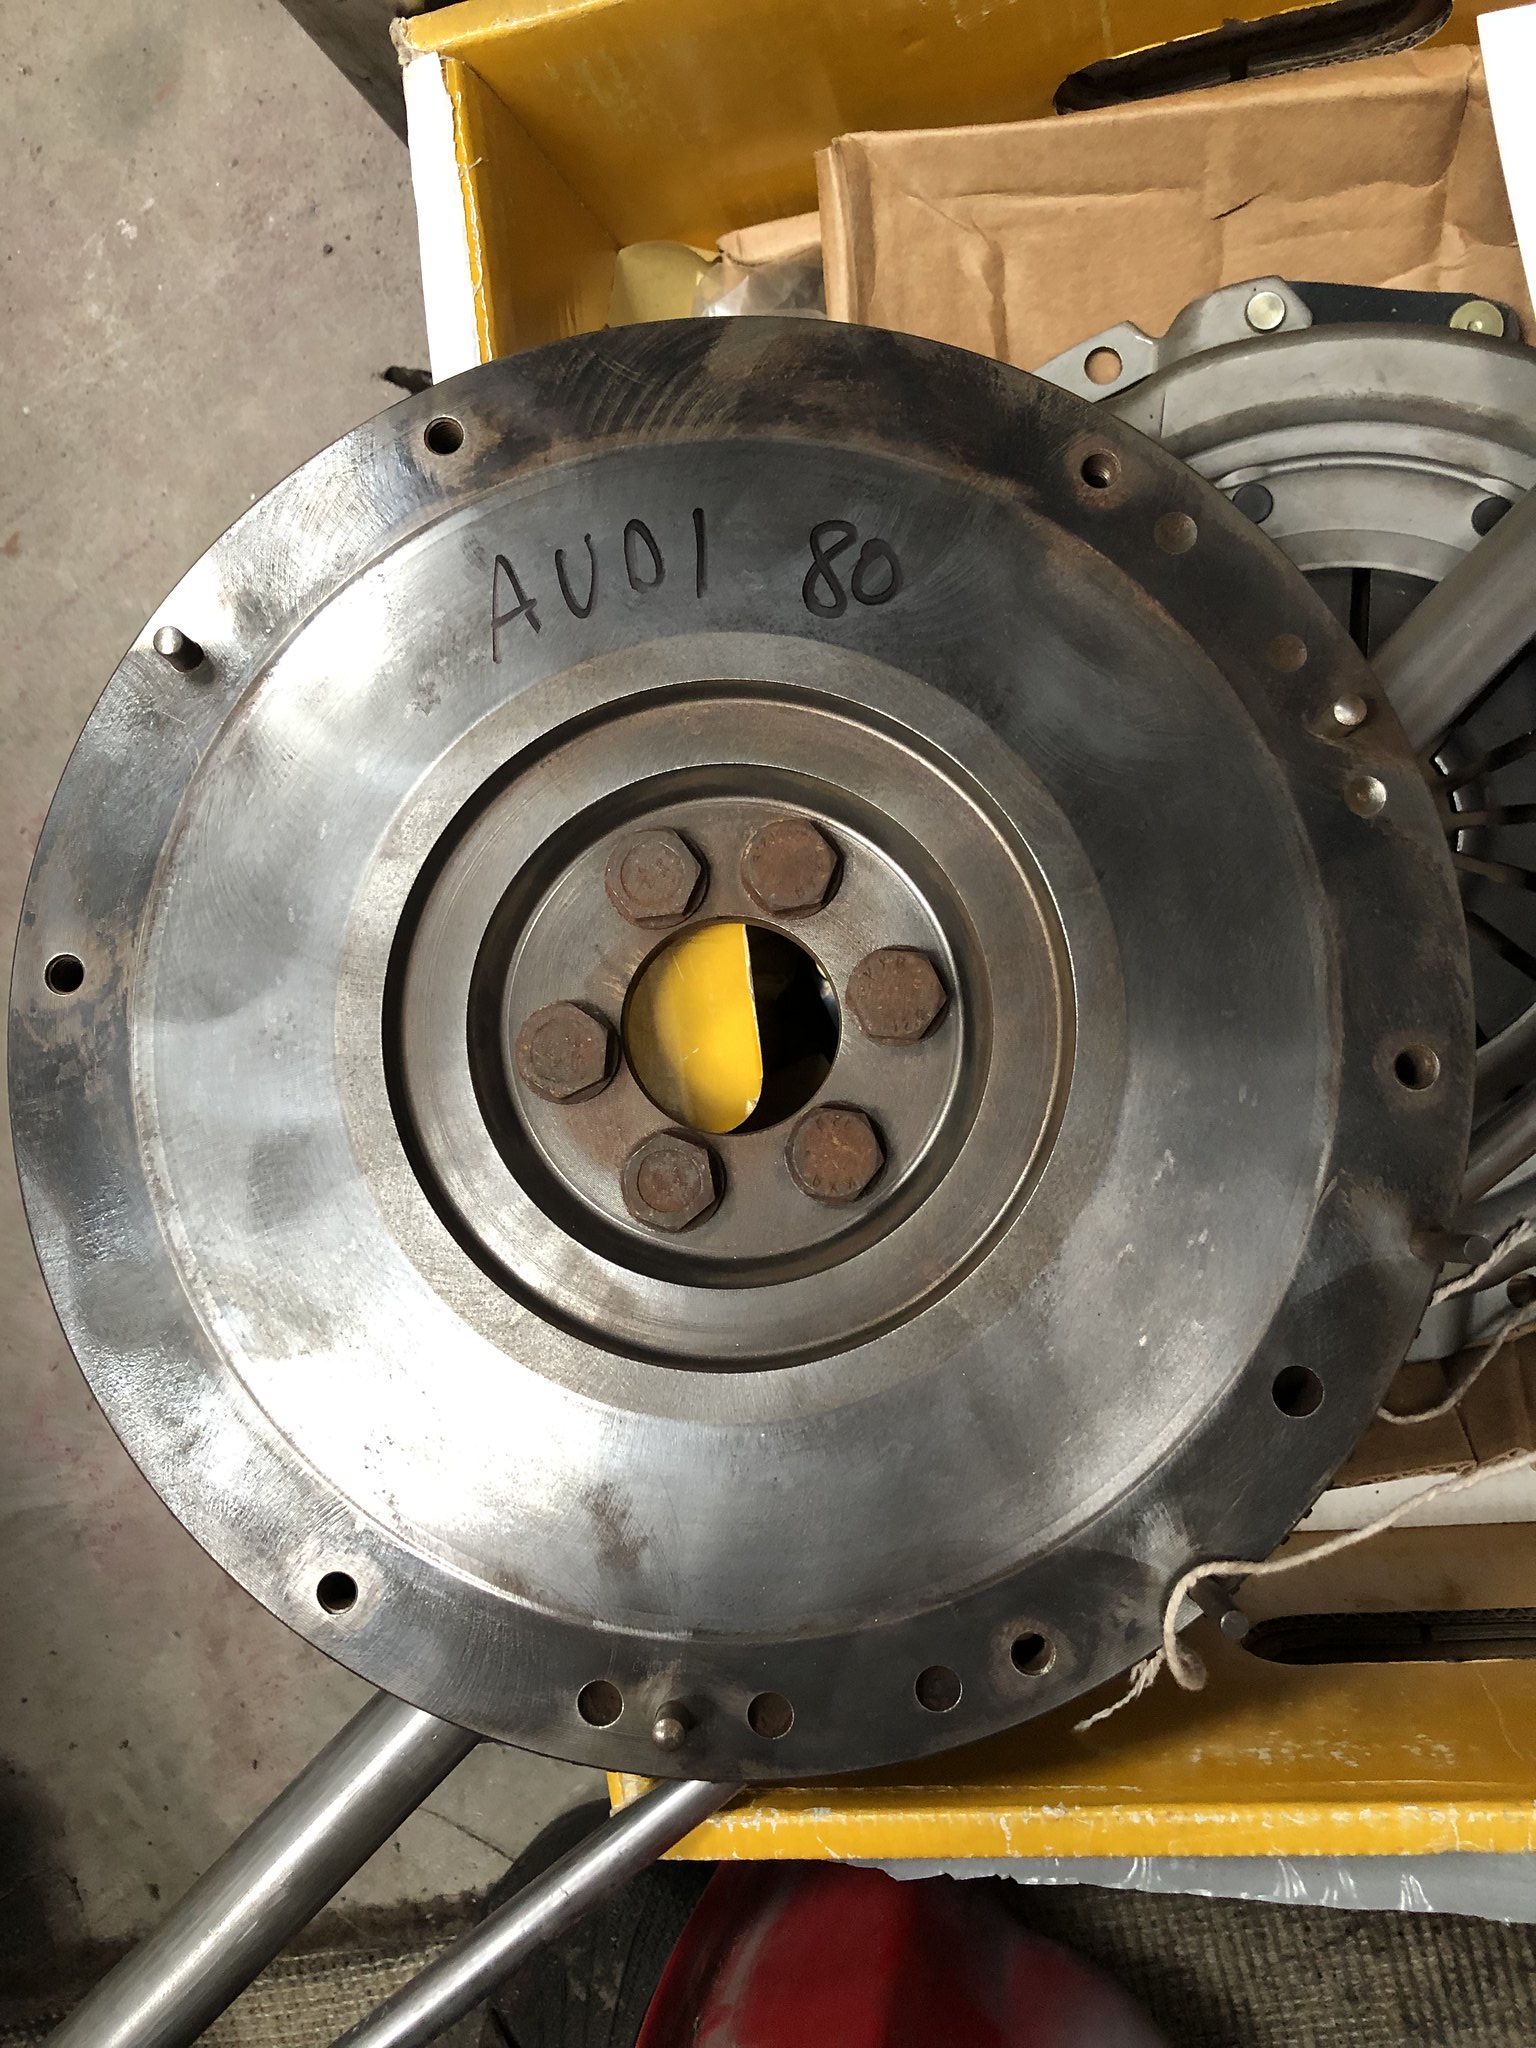
Theres currently a b6 1.8t solid mass flywheel on the engine, in order to get the thing started up initially and check i have drive to the rear wheels i will use a b6 1.8t pressure plate and an old ford pinto friction disc as the rx8 input shaft is identical to that of the pinto/type 9 gearbox input shaft, the b6 1.8t stuff is only 228mm so what i have done is bought an audi 80 solid flywheel, these can be machined out to take a 240mm setup. I've been in touch with CG motorsports to have a custom clutch kit made up to handle all the power and torque i can throw at it, but this will come later on. Just want to hear it running and check i have drive for now.

Image


Been making up some little temporary wishbone extension plates to sort out the front camber situation, this is only to determine how much wishbone extension is required, i wont be running these plates all the time.

I still need to cut the arches on the wings too as they rub as it is

Image


Cut up my sump in order to modify it for my engine being vertically mounted, got rid of the oil level sensor hole too.

Made up this plate from 3mm alloy plate and will have an M14 bung welded in too for the drain plug. Will keep the original drain plug there too and just run two magnetic plugs. twice as more likely to pick up any shit in the oil that way!

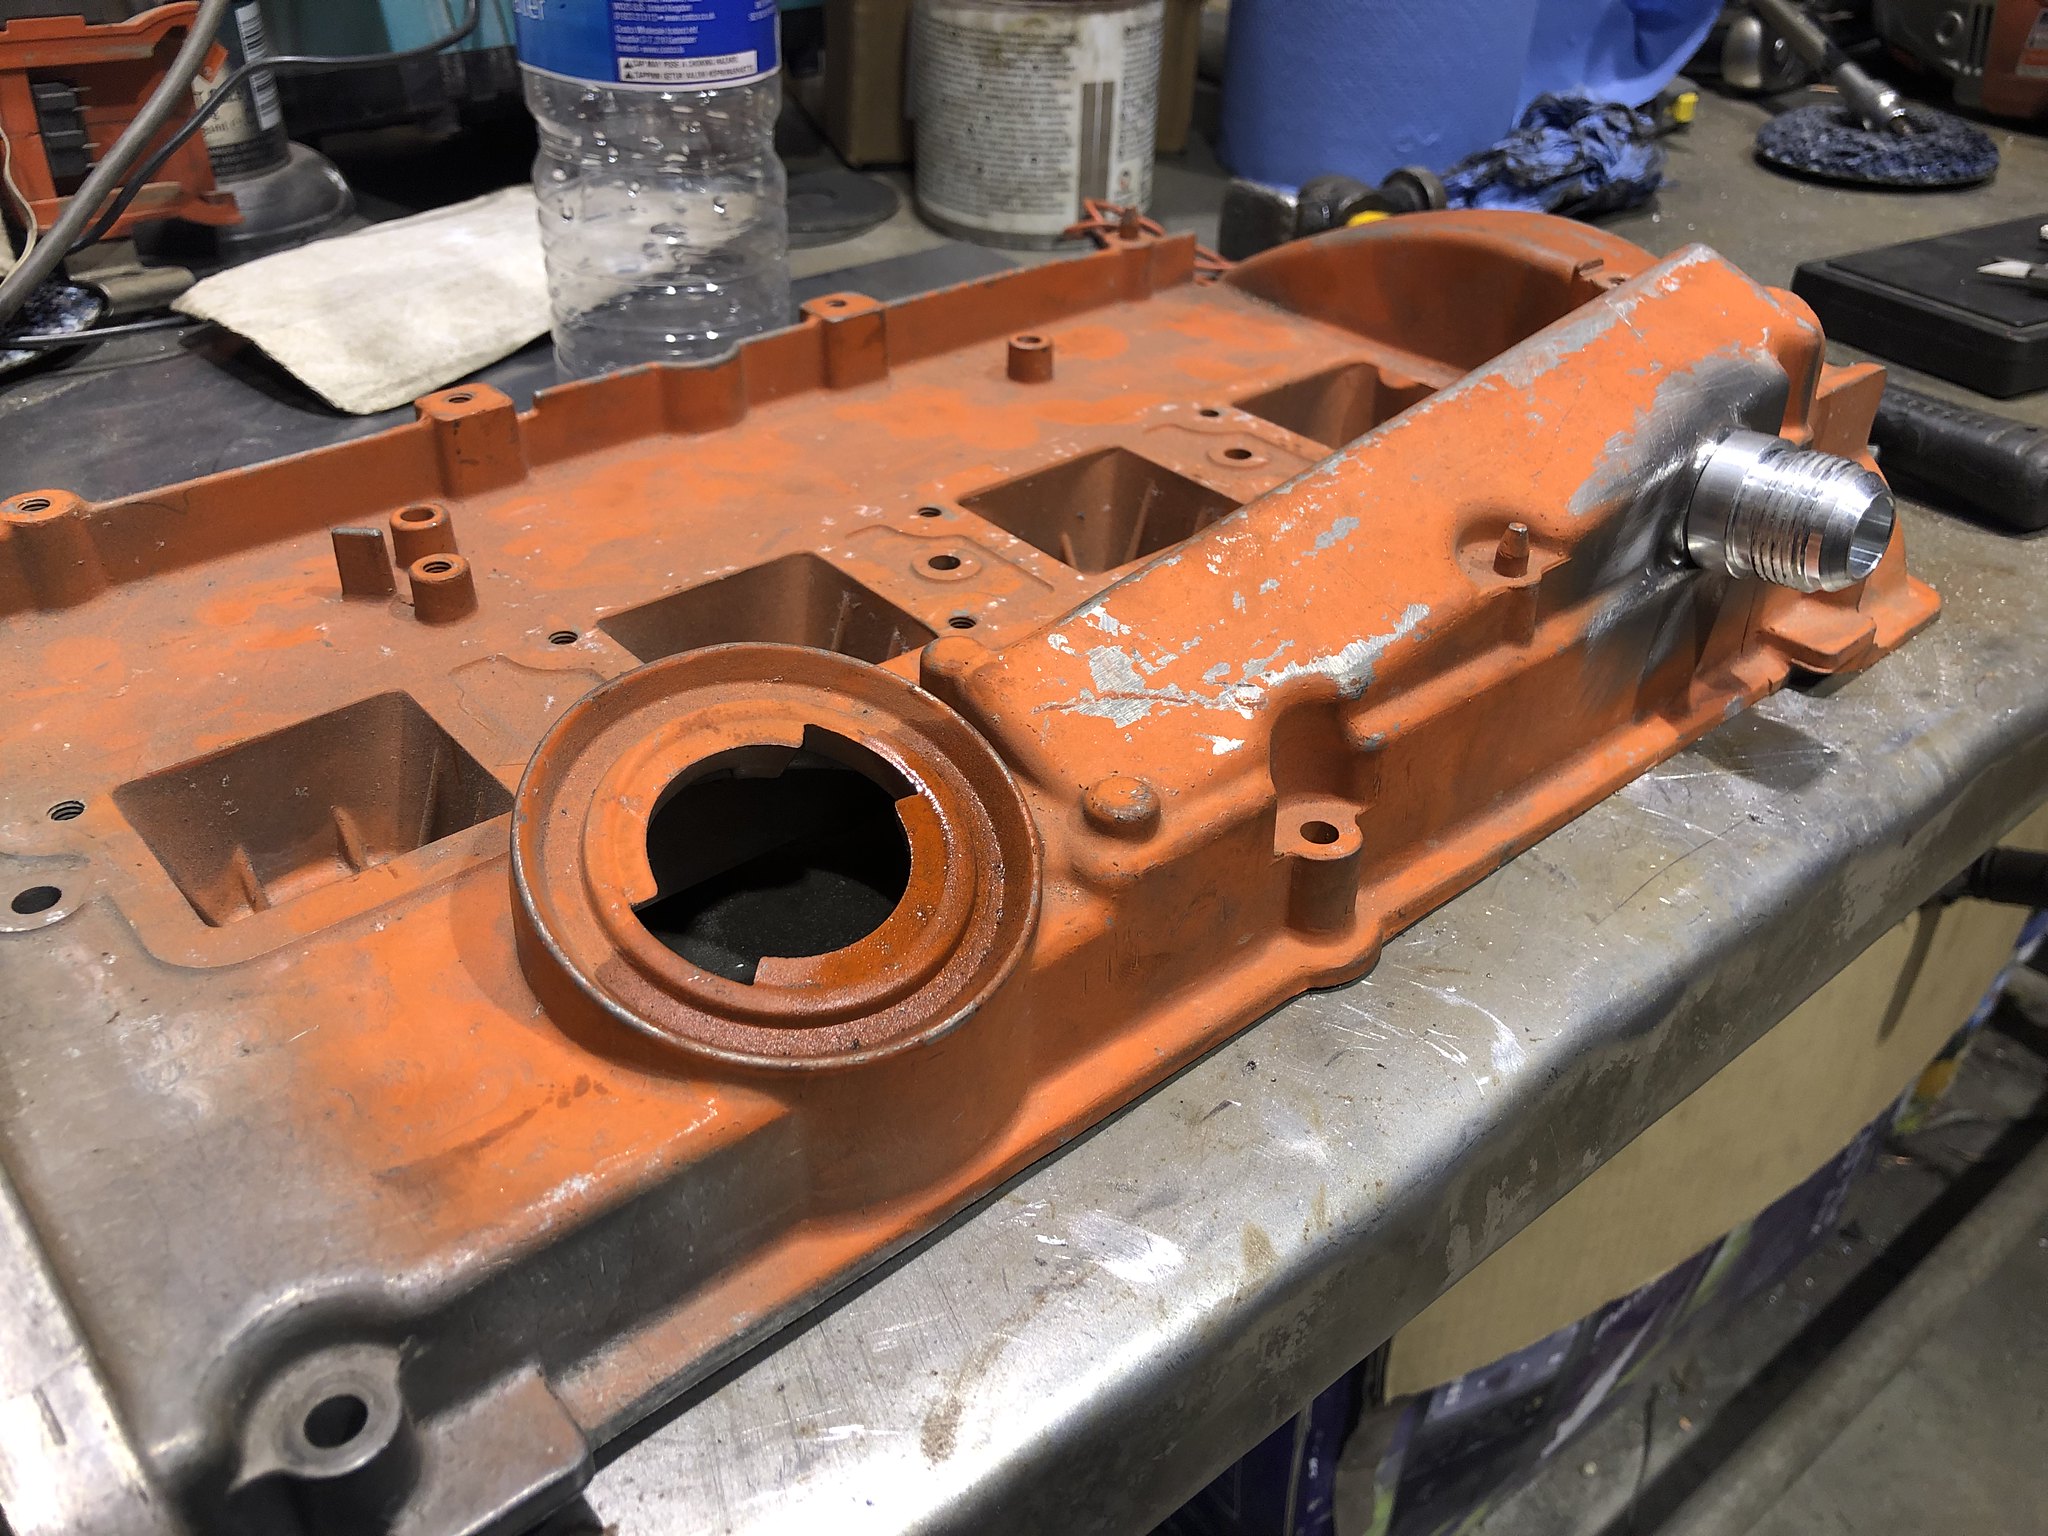
Also have a spare rocker cover from a B6 1.8t, these do not have the breather on the end so i have drilled and relocated the breather to suit my needs and make things more accessible, will have this AN-12 fitting welded on for the catch can piping.

Lastly the oil pickup pipe will also be welded to accommodate for the vertically mounted engine, similar to the sump, it is currently 15 degrees out.

My TIG skills are not quite there yet so I think I'll have someone else do this!

Image

Image

Image


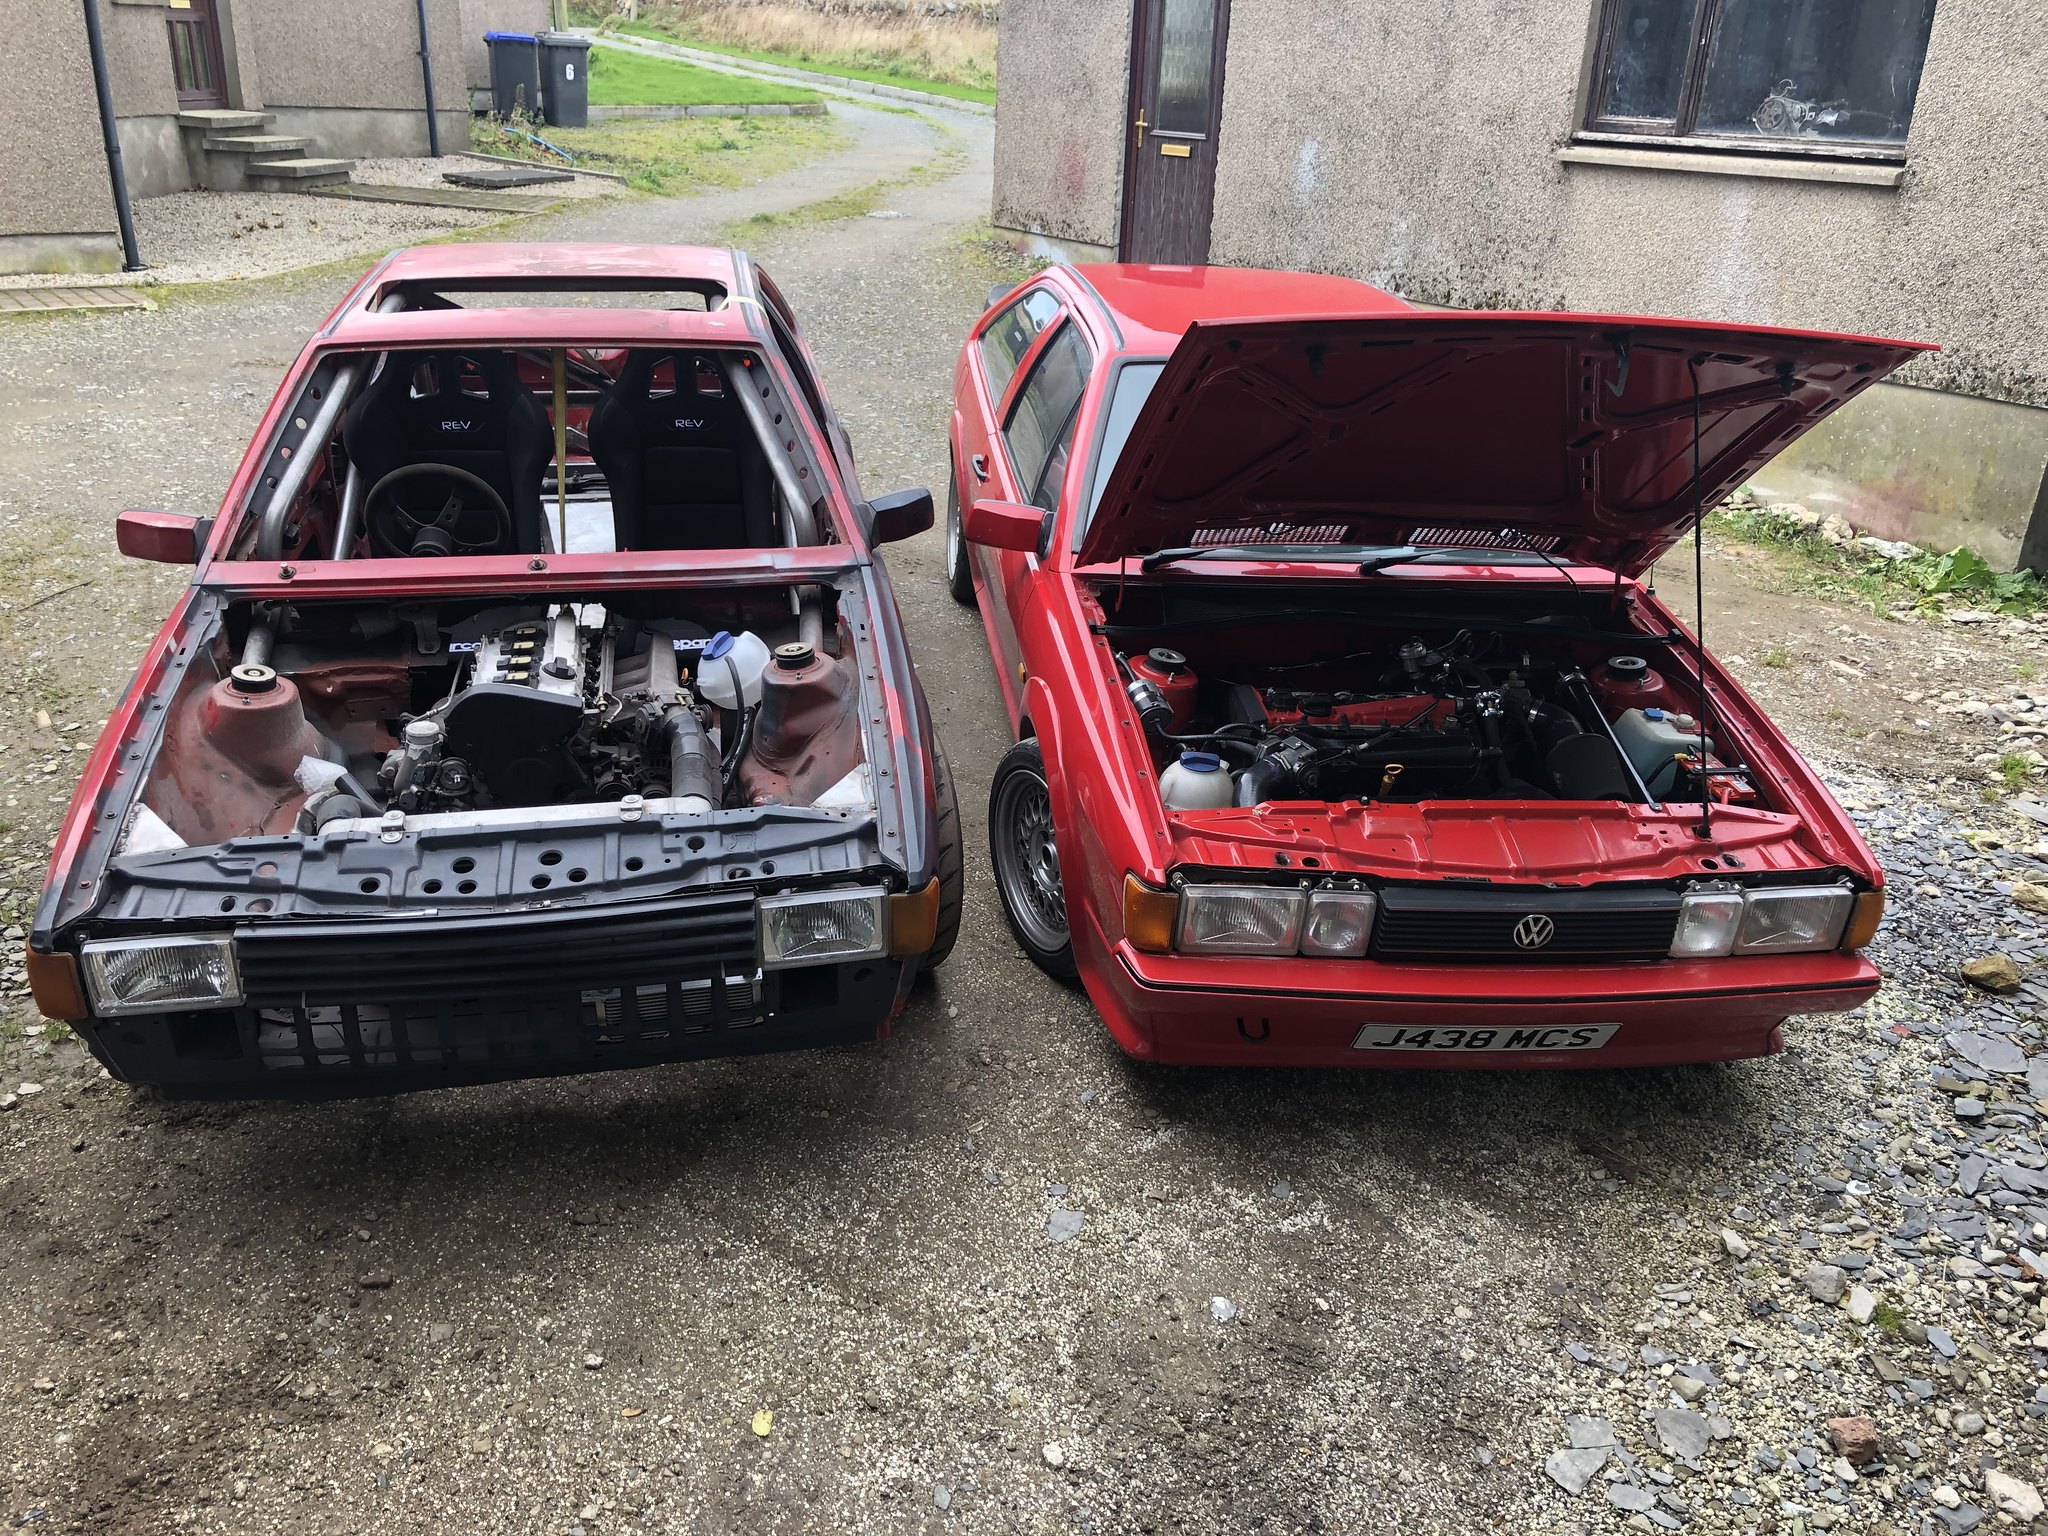
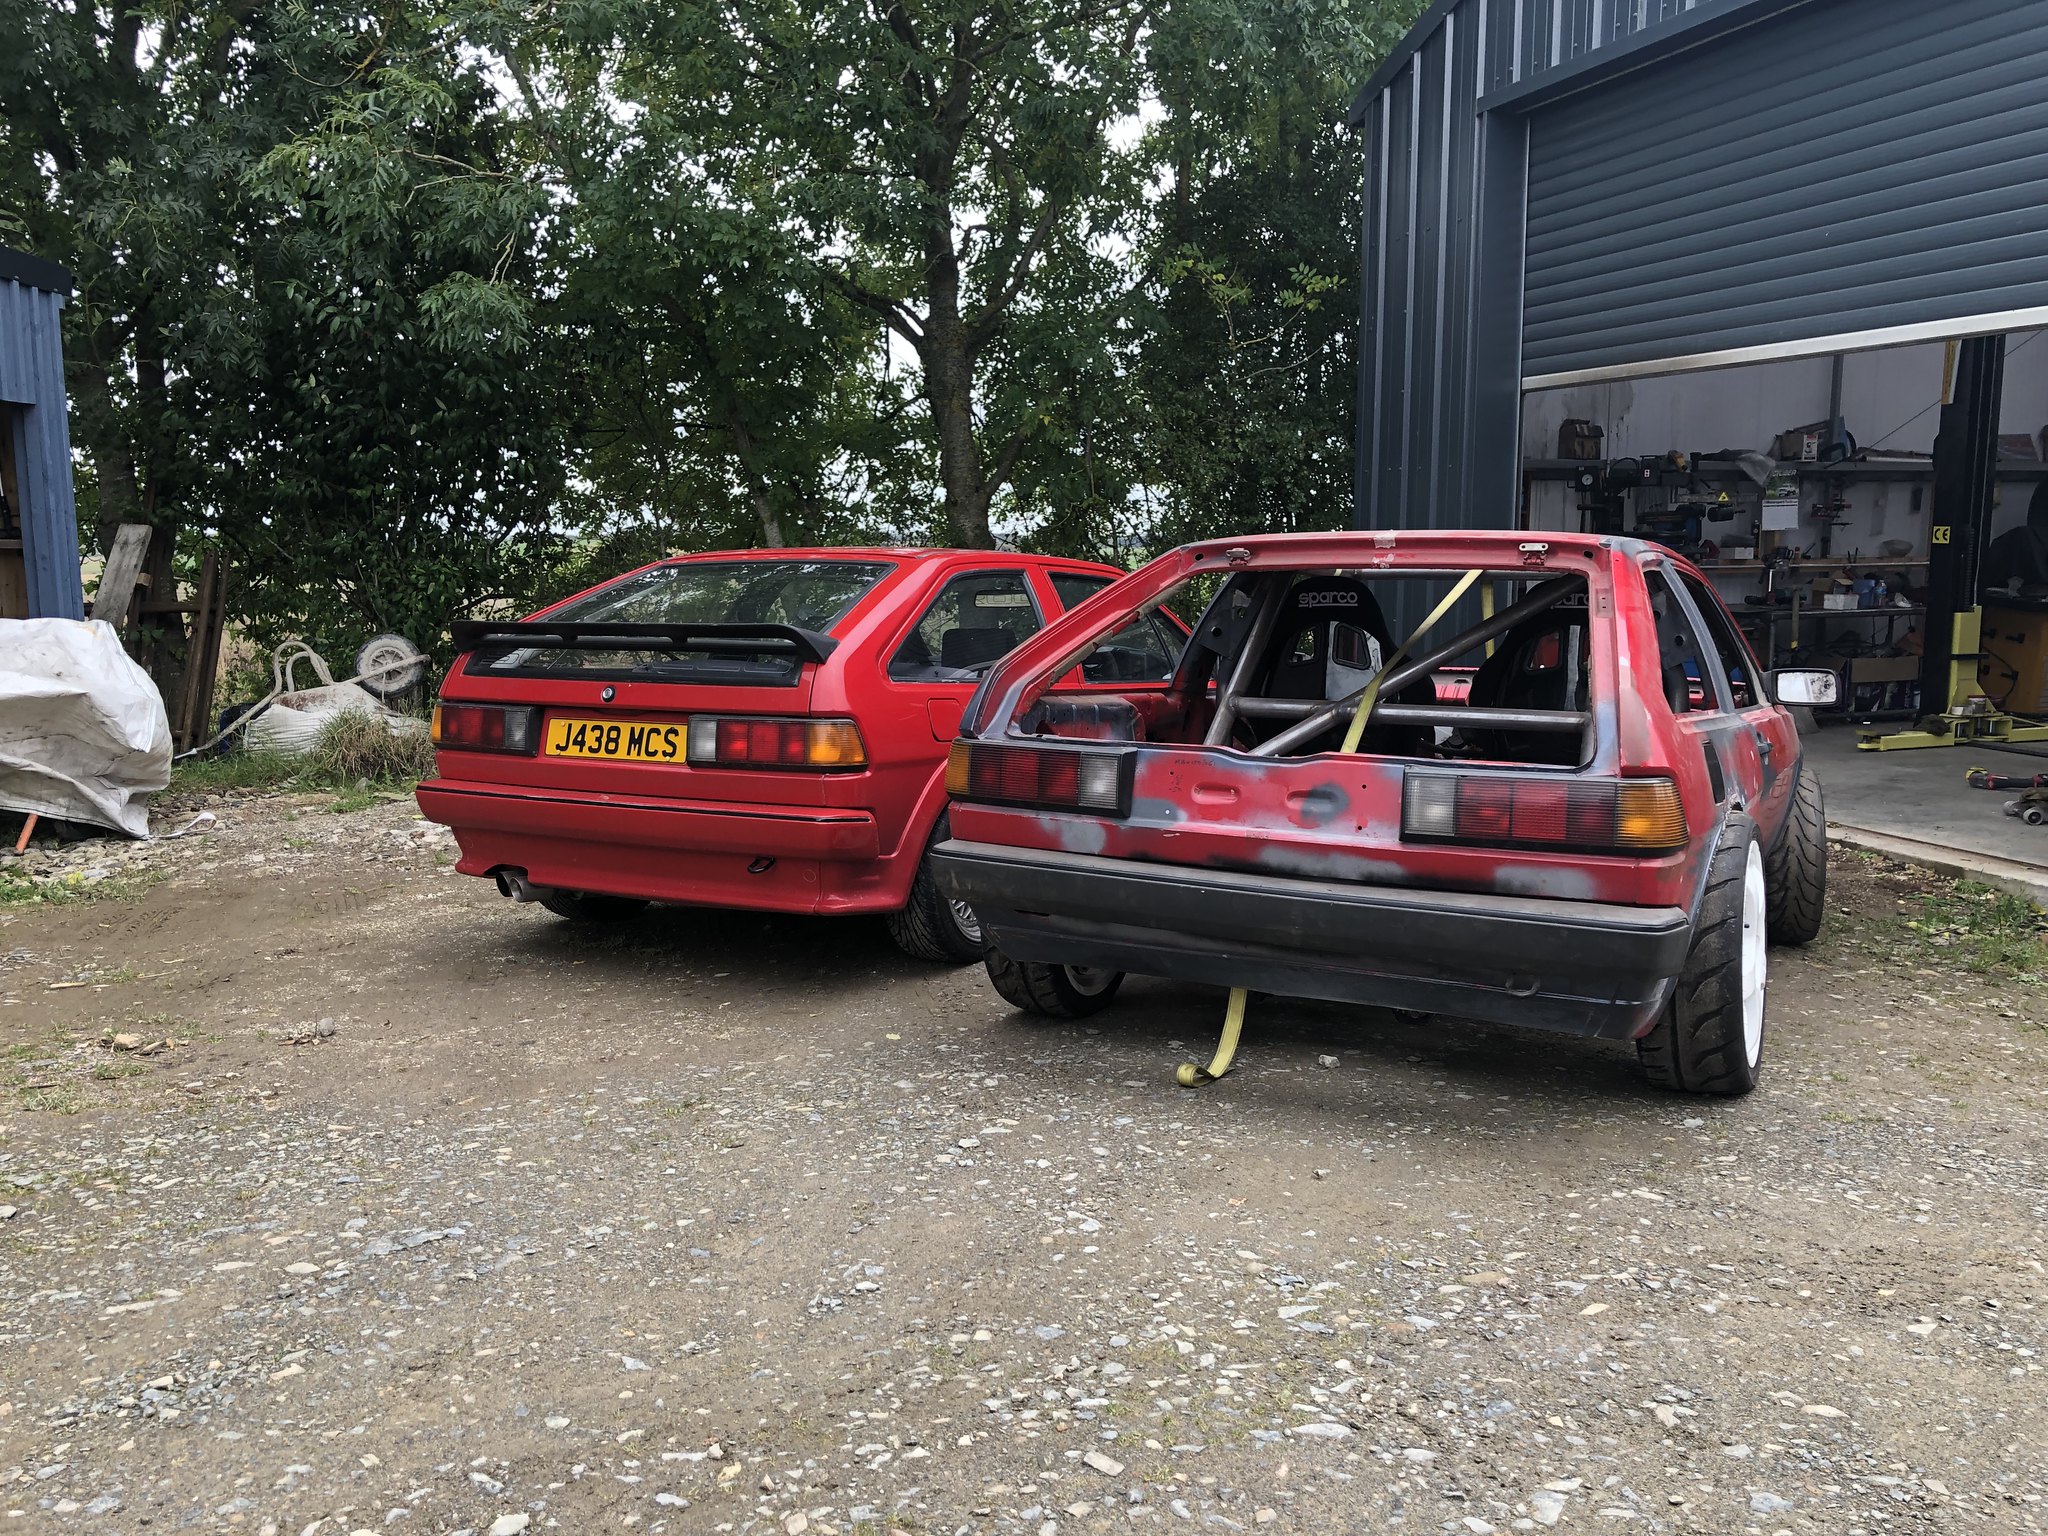
Finally, rolled it outside to blow some dust off it and to get a pic alongside the daily hack

Two mk2 scirocco AGU 1.8Ts, but at the same time two very different cars! haha


Image

Image


Heres a link to the latest video

https://youtu.be/m6OZy3h2L9Q

Any subs/likes etc appreciated

Thanks for reading :)


mk2daz
Posts: 123
Joined: Thu Dec 29, 2016 3:39 pm
fill in the right answer: 15

Re: Mk2 RWD 1.8T

Post by mk2daz »

Quick update on state of play...

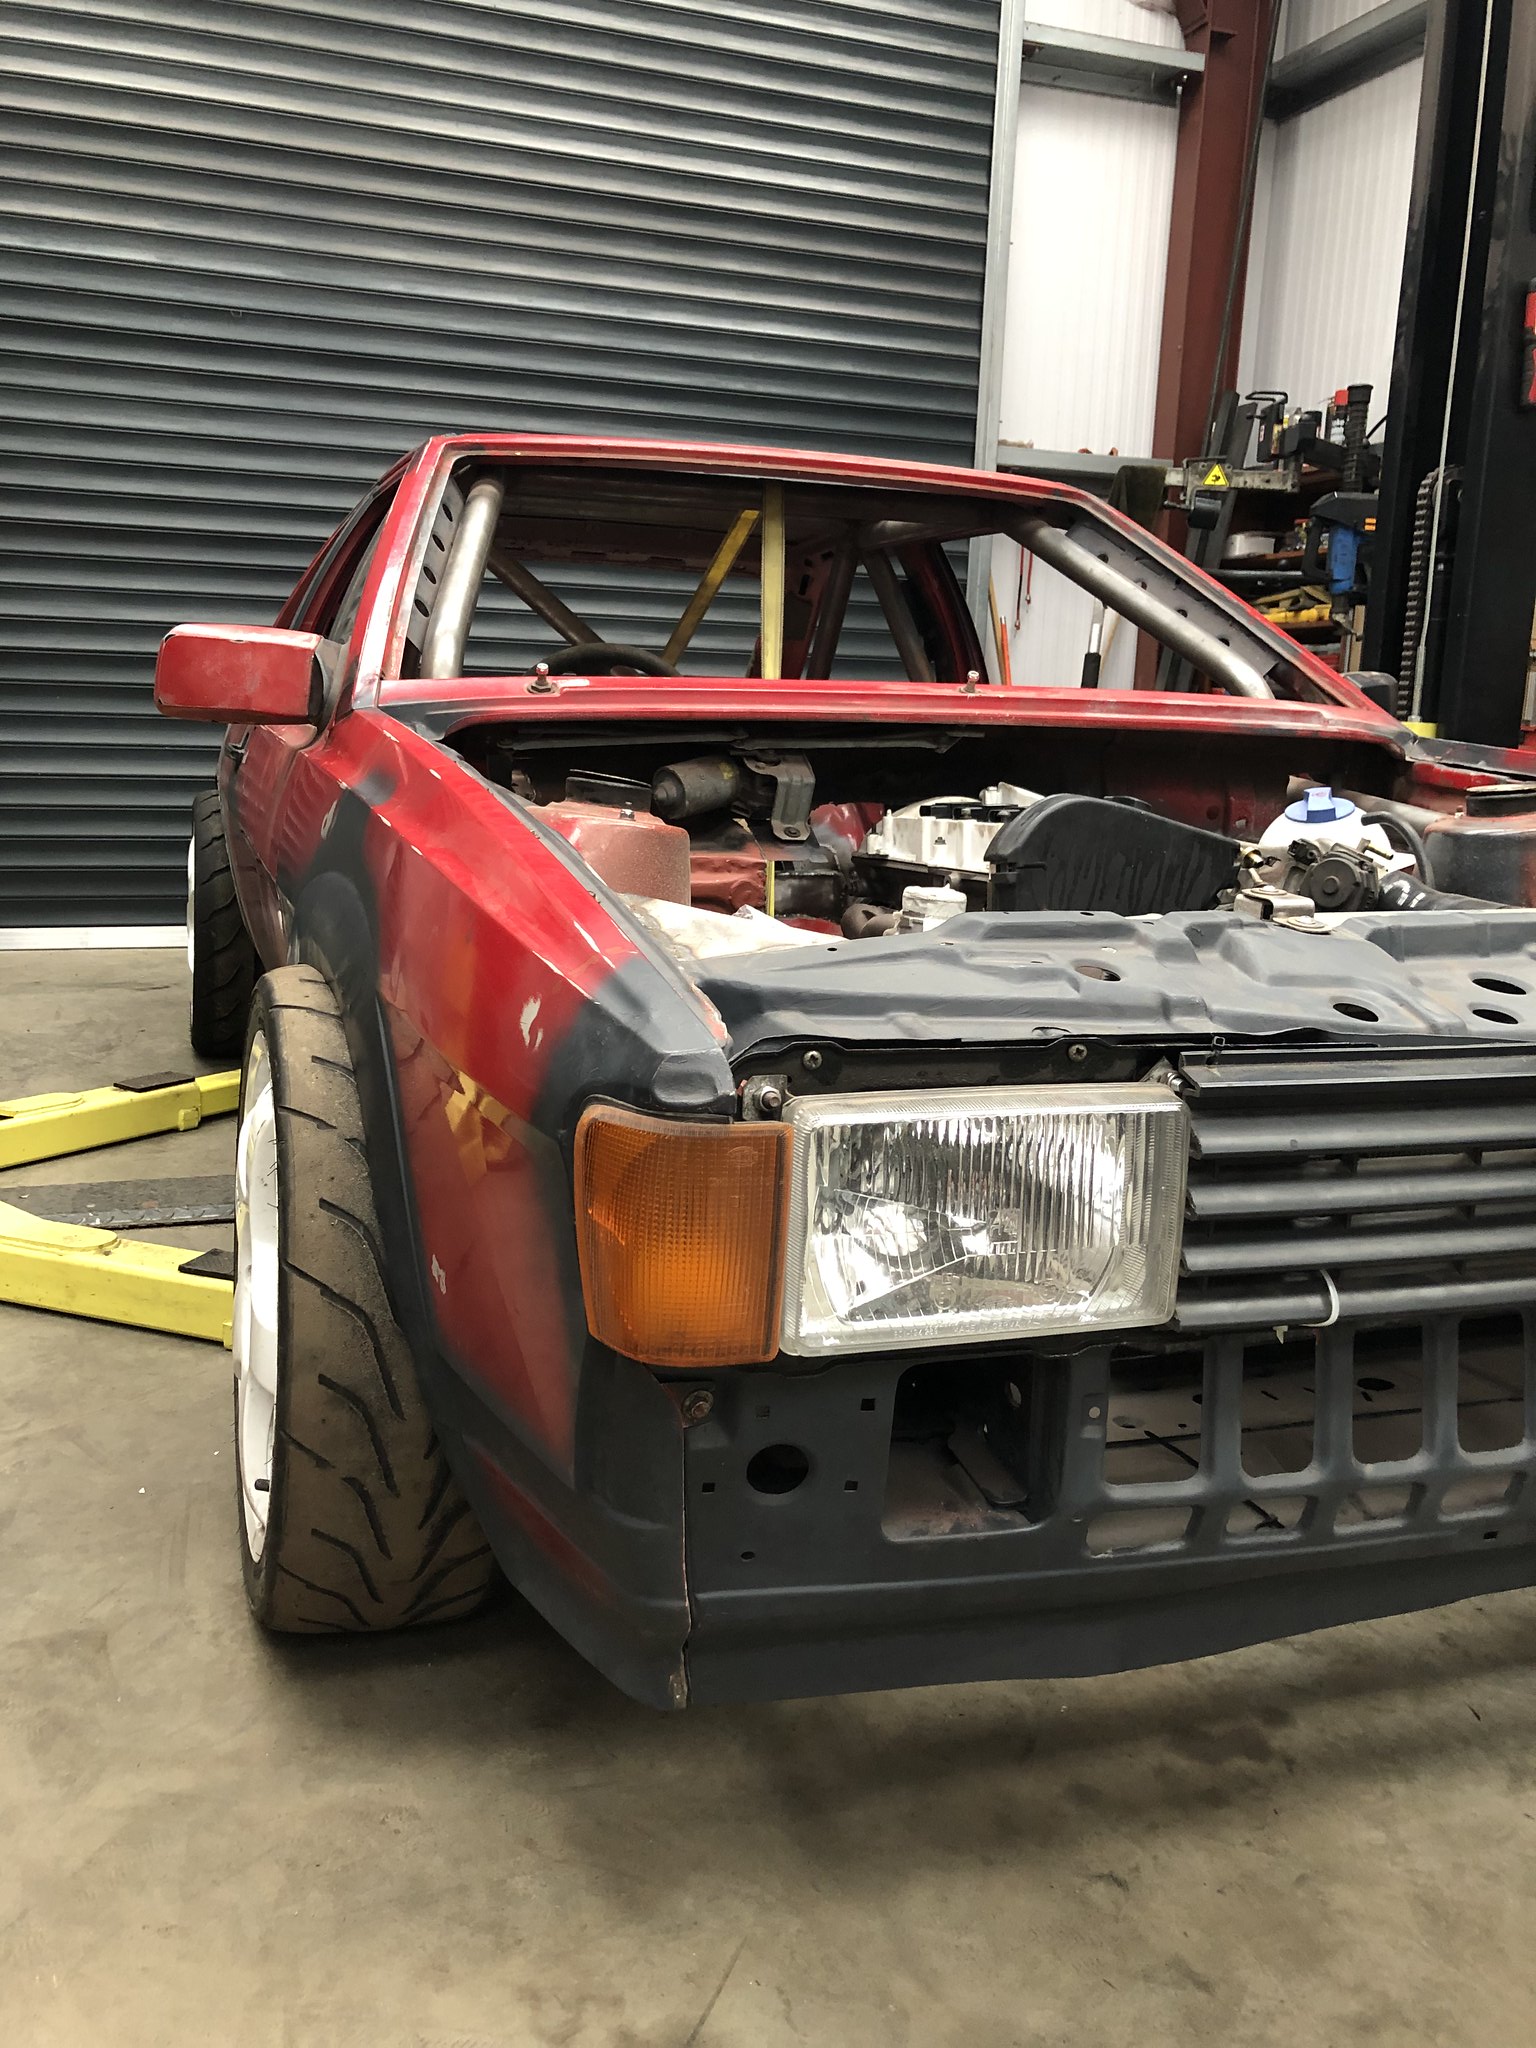
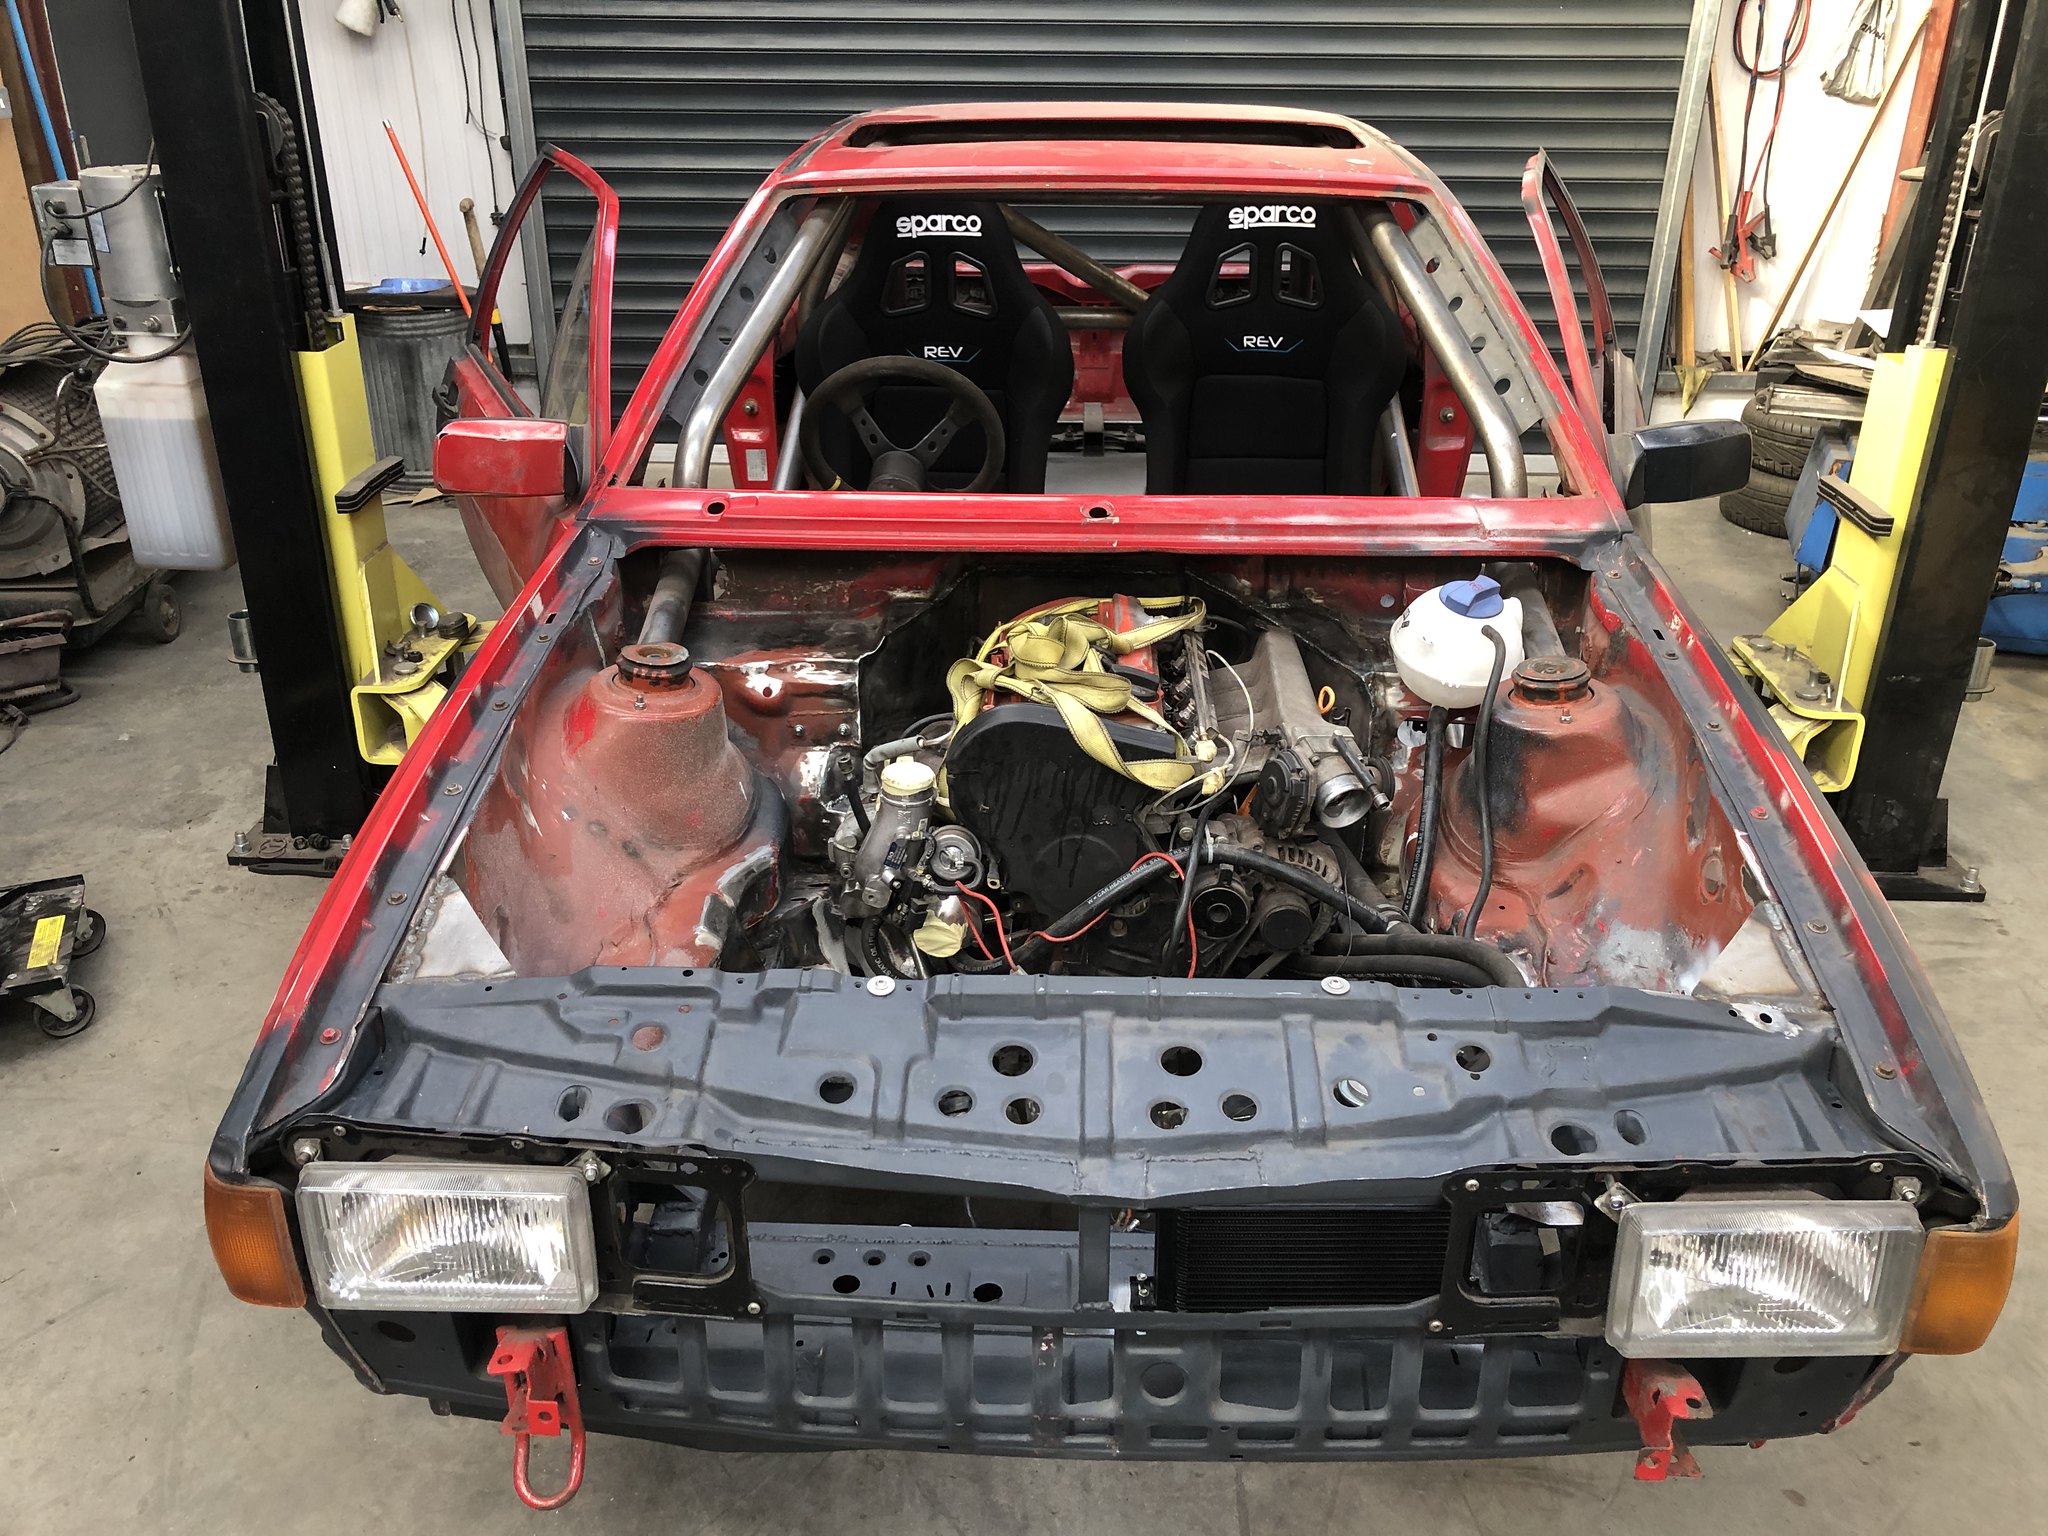
This is probably the most its ever looked liked a car again! front end fitted up and seats etc all in, starting to take shape.

Image


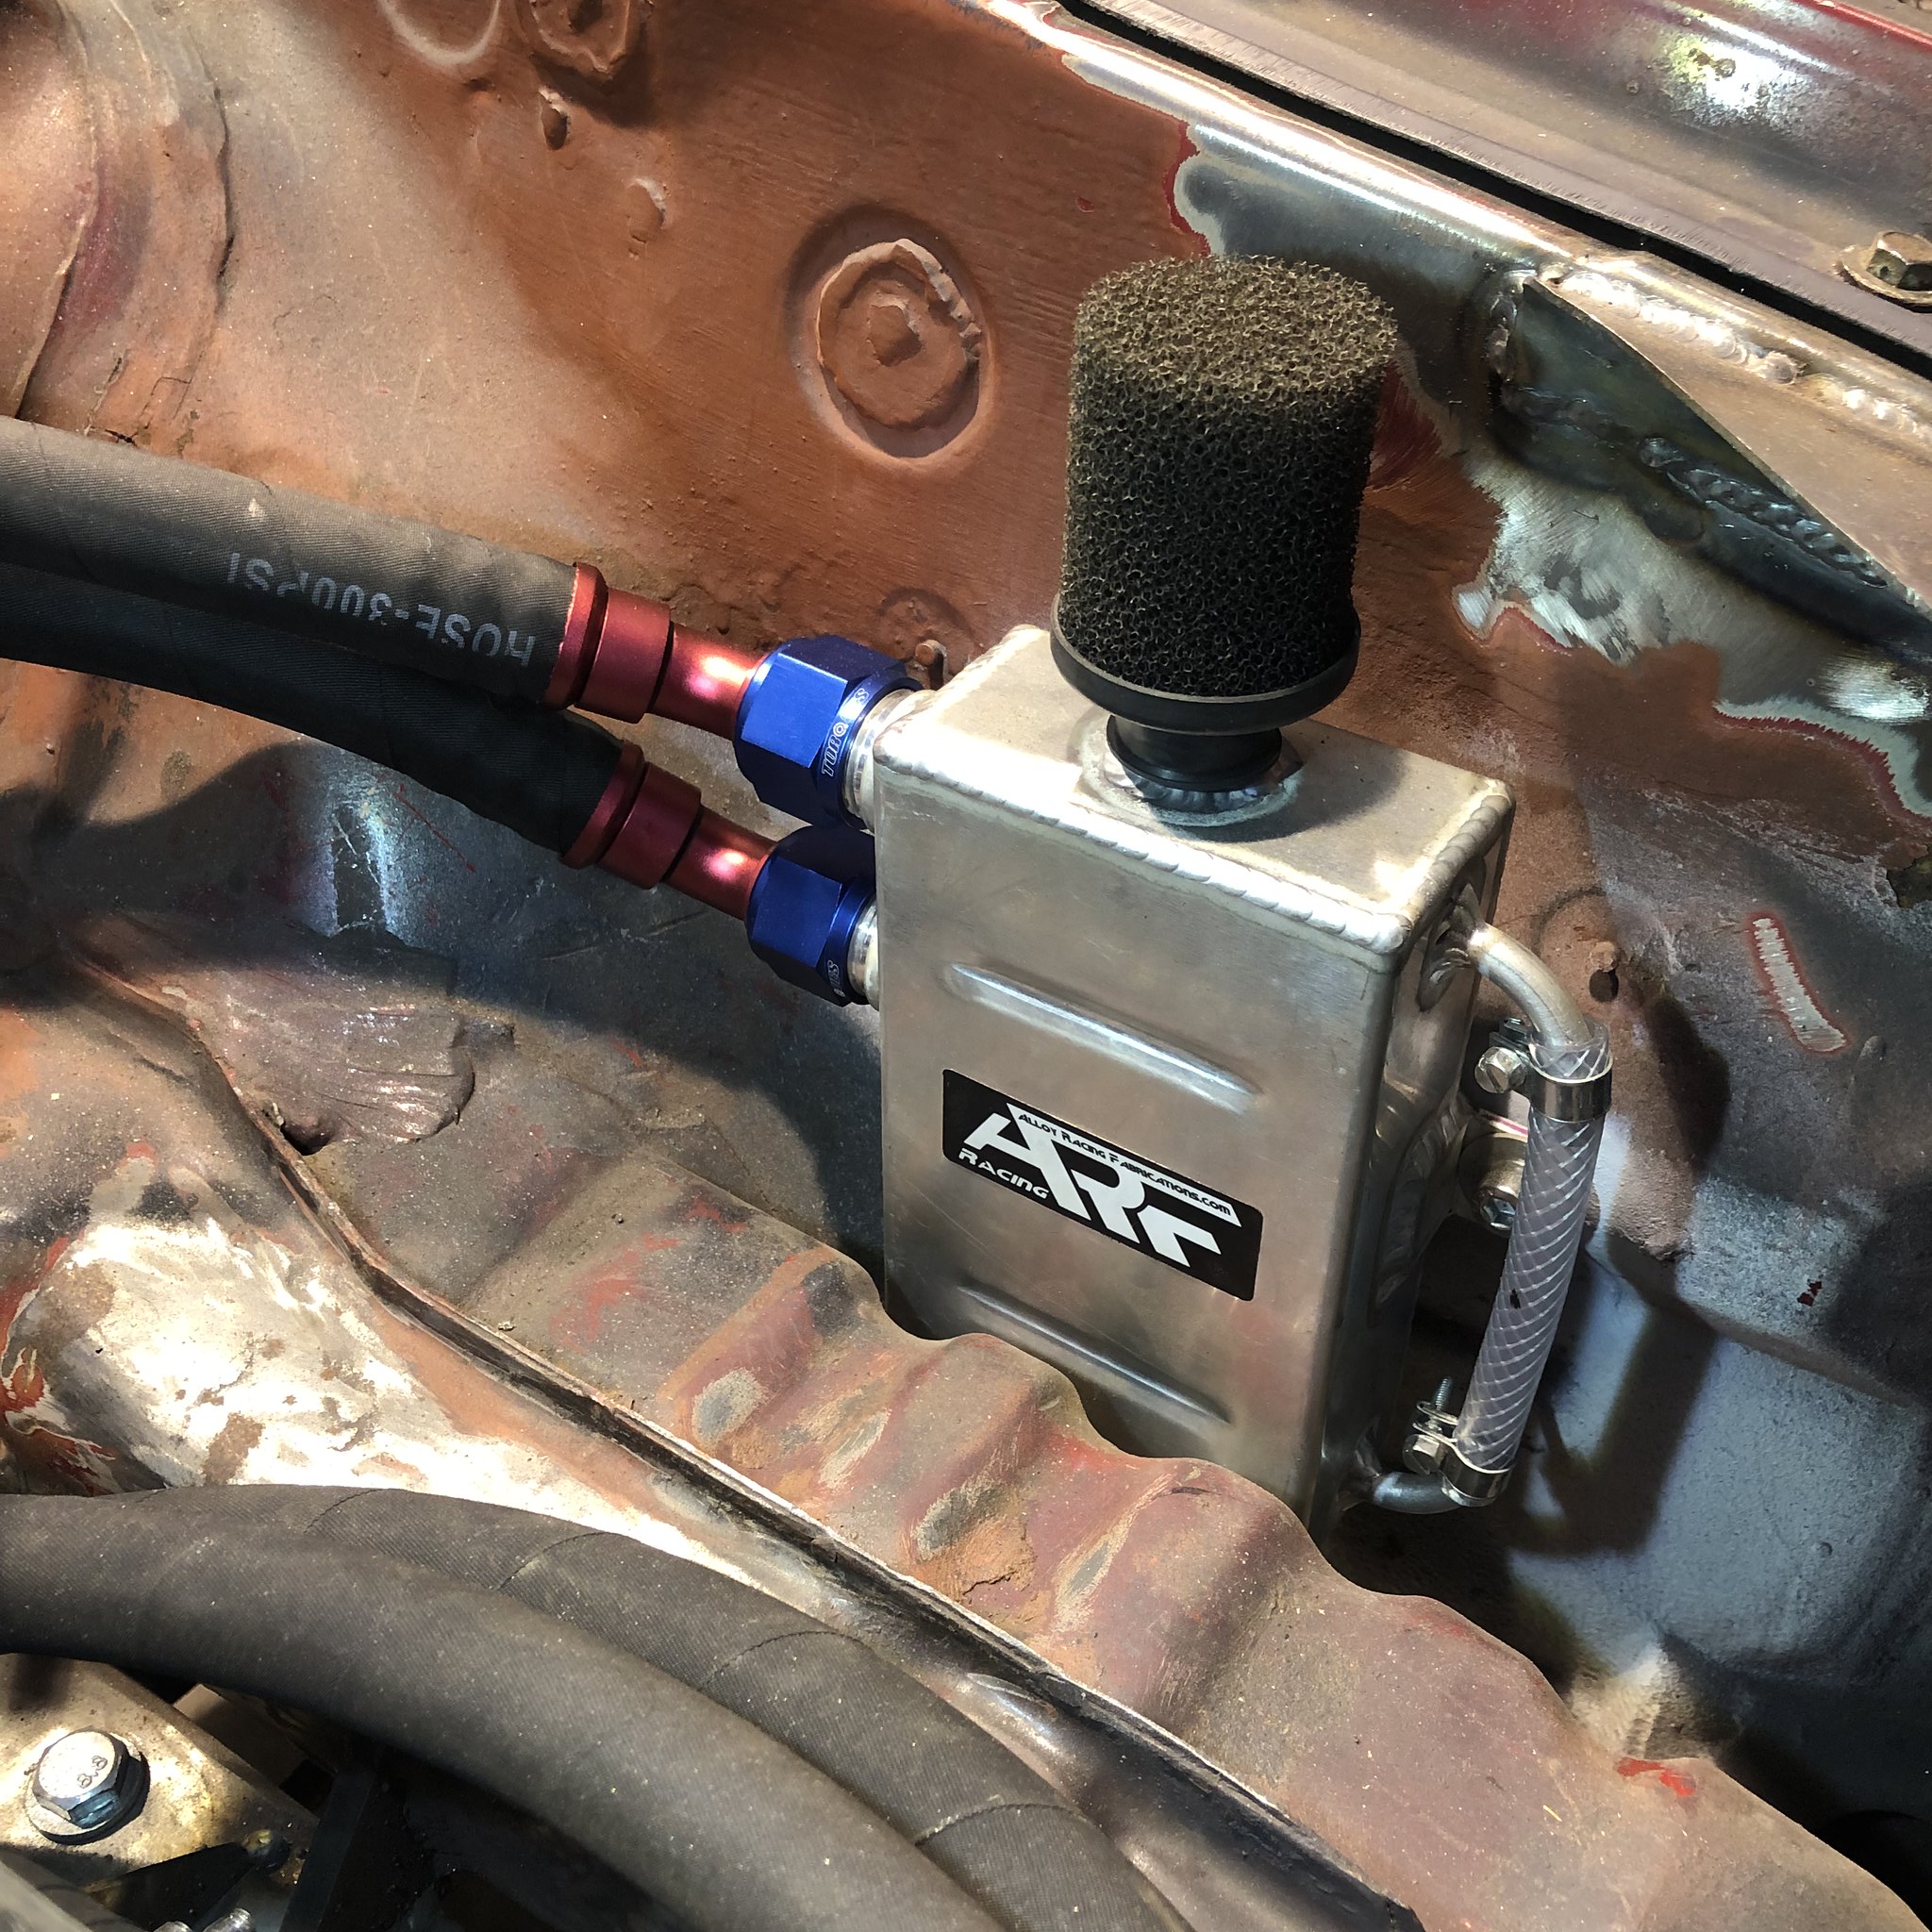
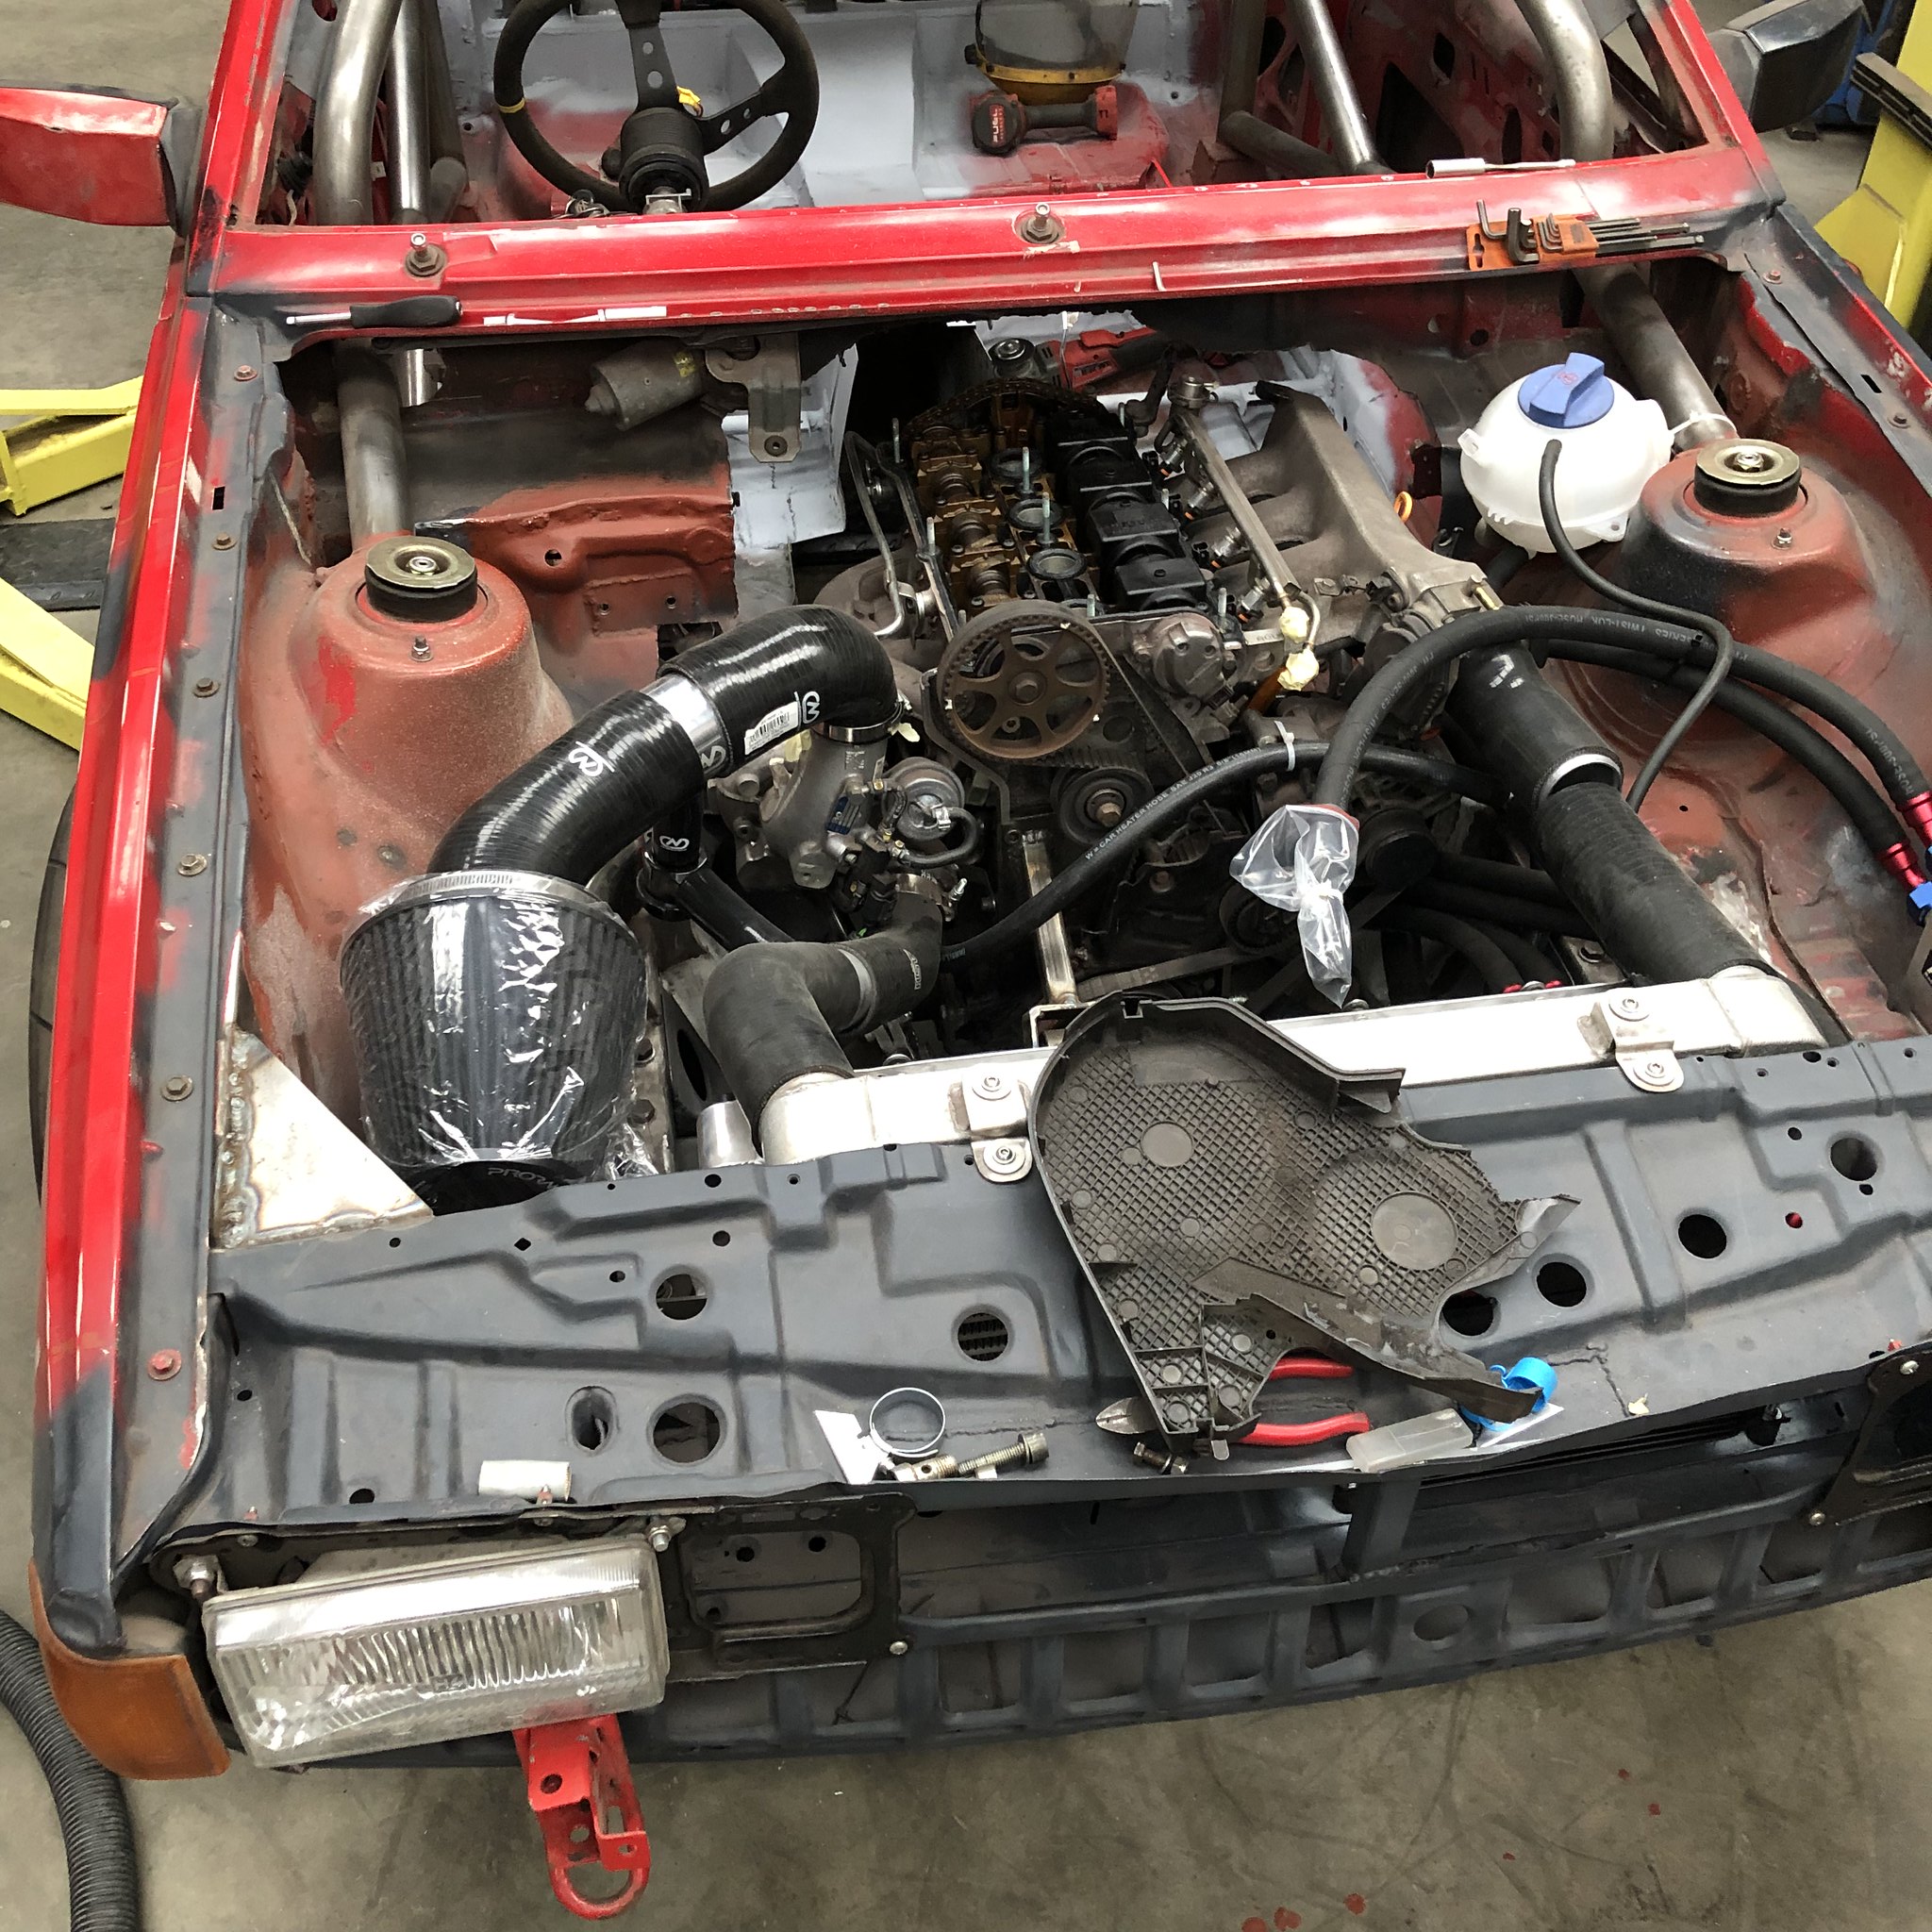
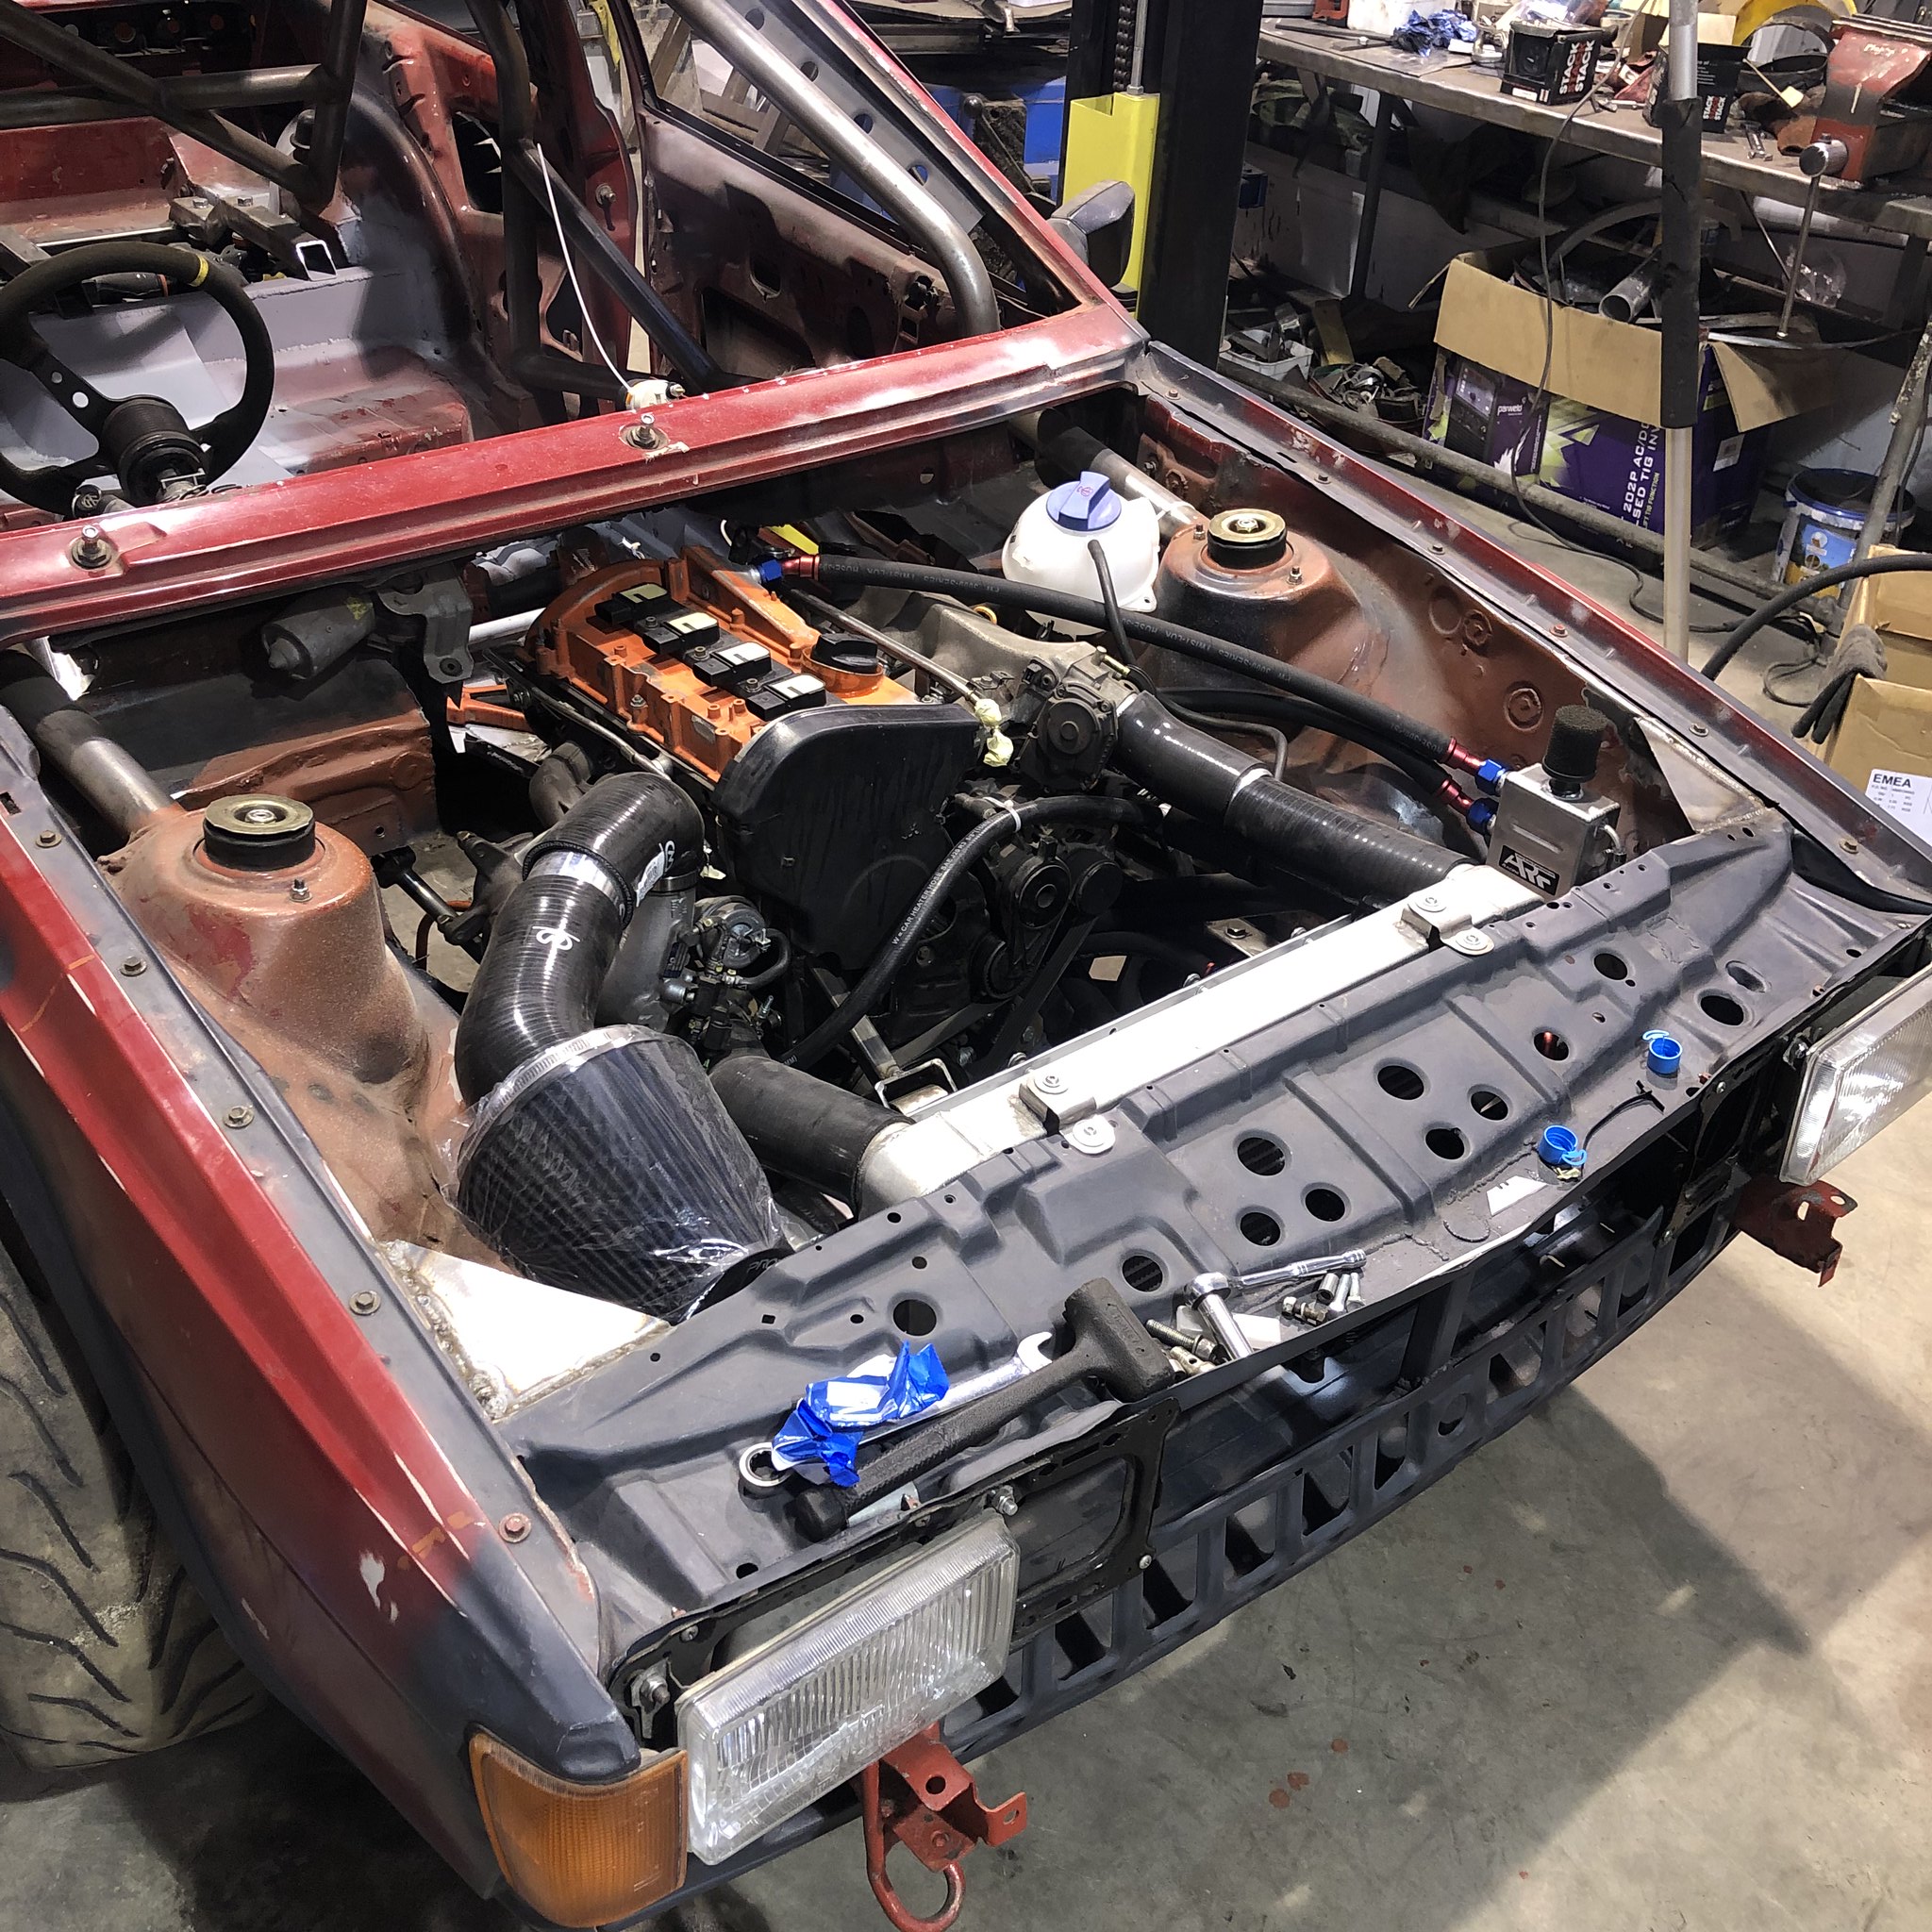
Been focusing on the engine bay side of things, modified sump and pickup pipe are now done and on the car running two magnetic drain plugs for the sump, B6 A4 rocker cover has AN-12 take off for catch can system, massive pro-ram cone filter plumbed up with 90mm -> 60mm pipework with DV relocating into the FMIC pipework, running an ARF baffled catch can mounted to the inner wing, starting to come together nicely!
Image

Image

Image

Image

Image

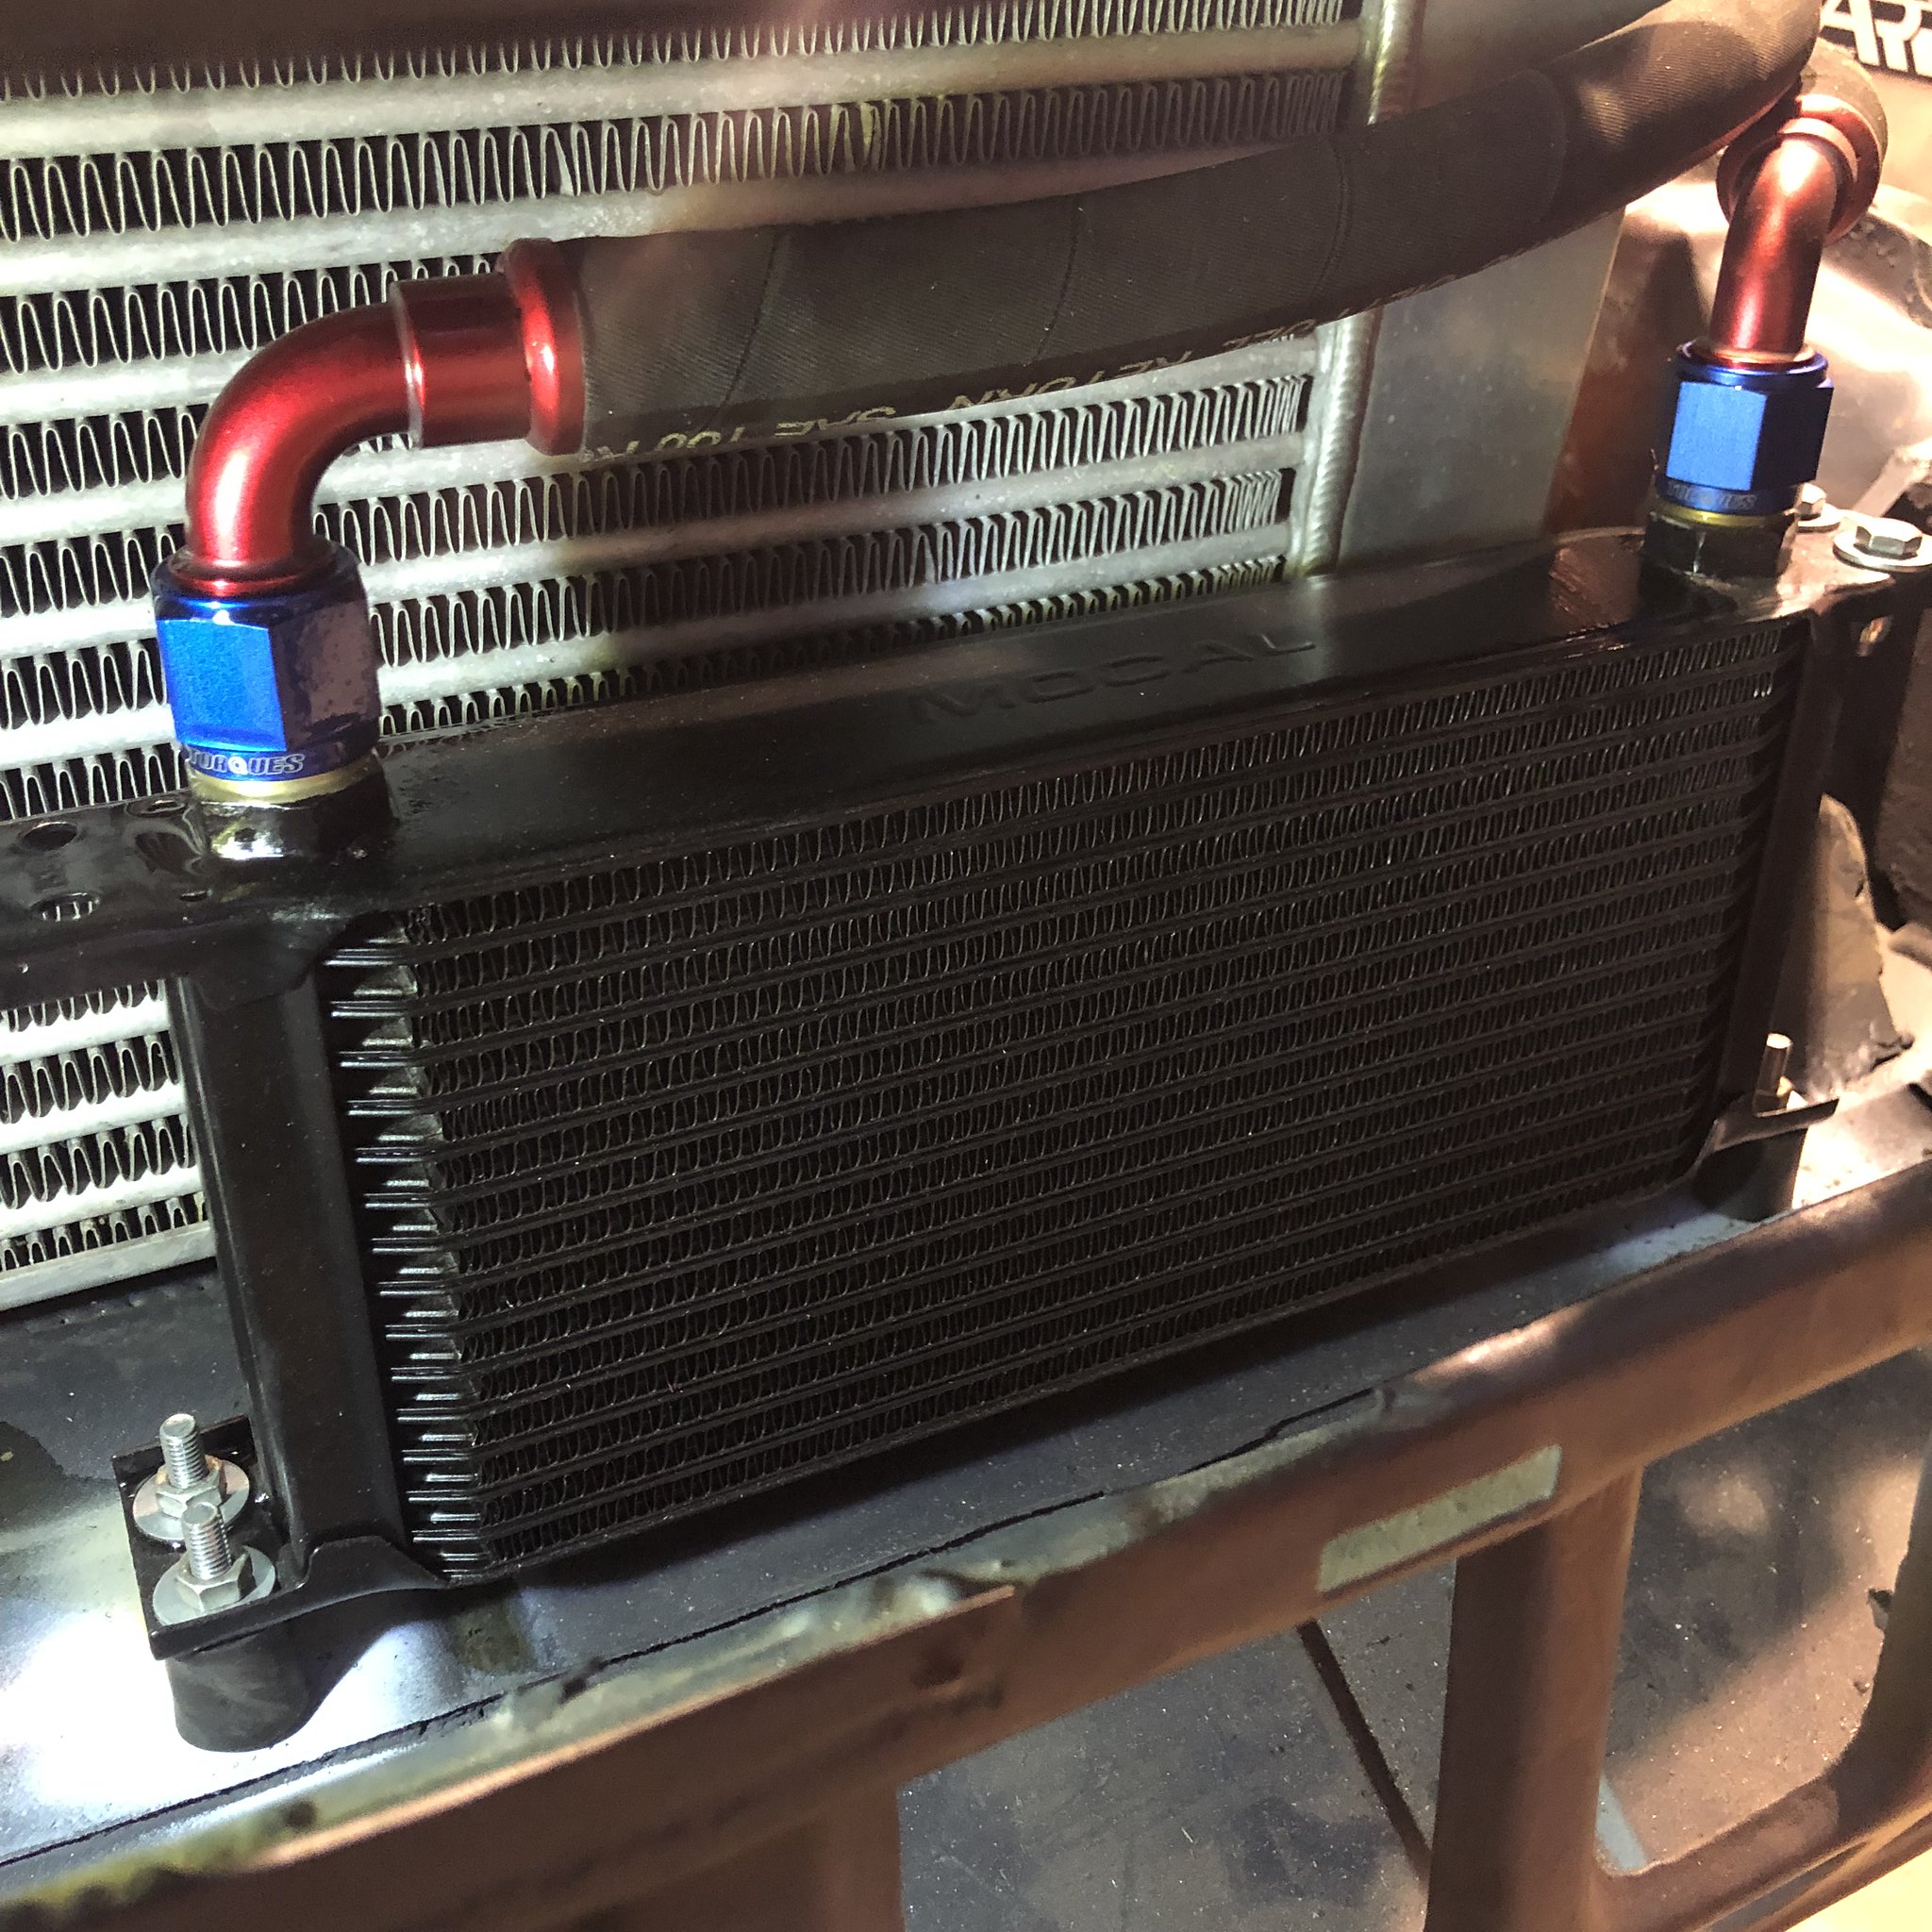
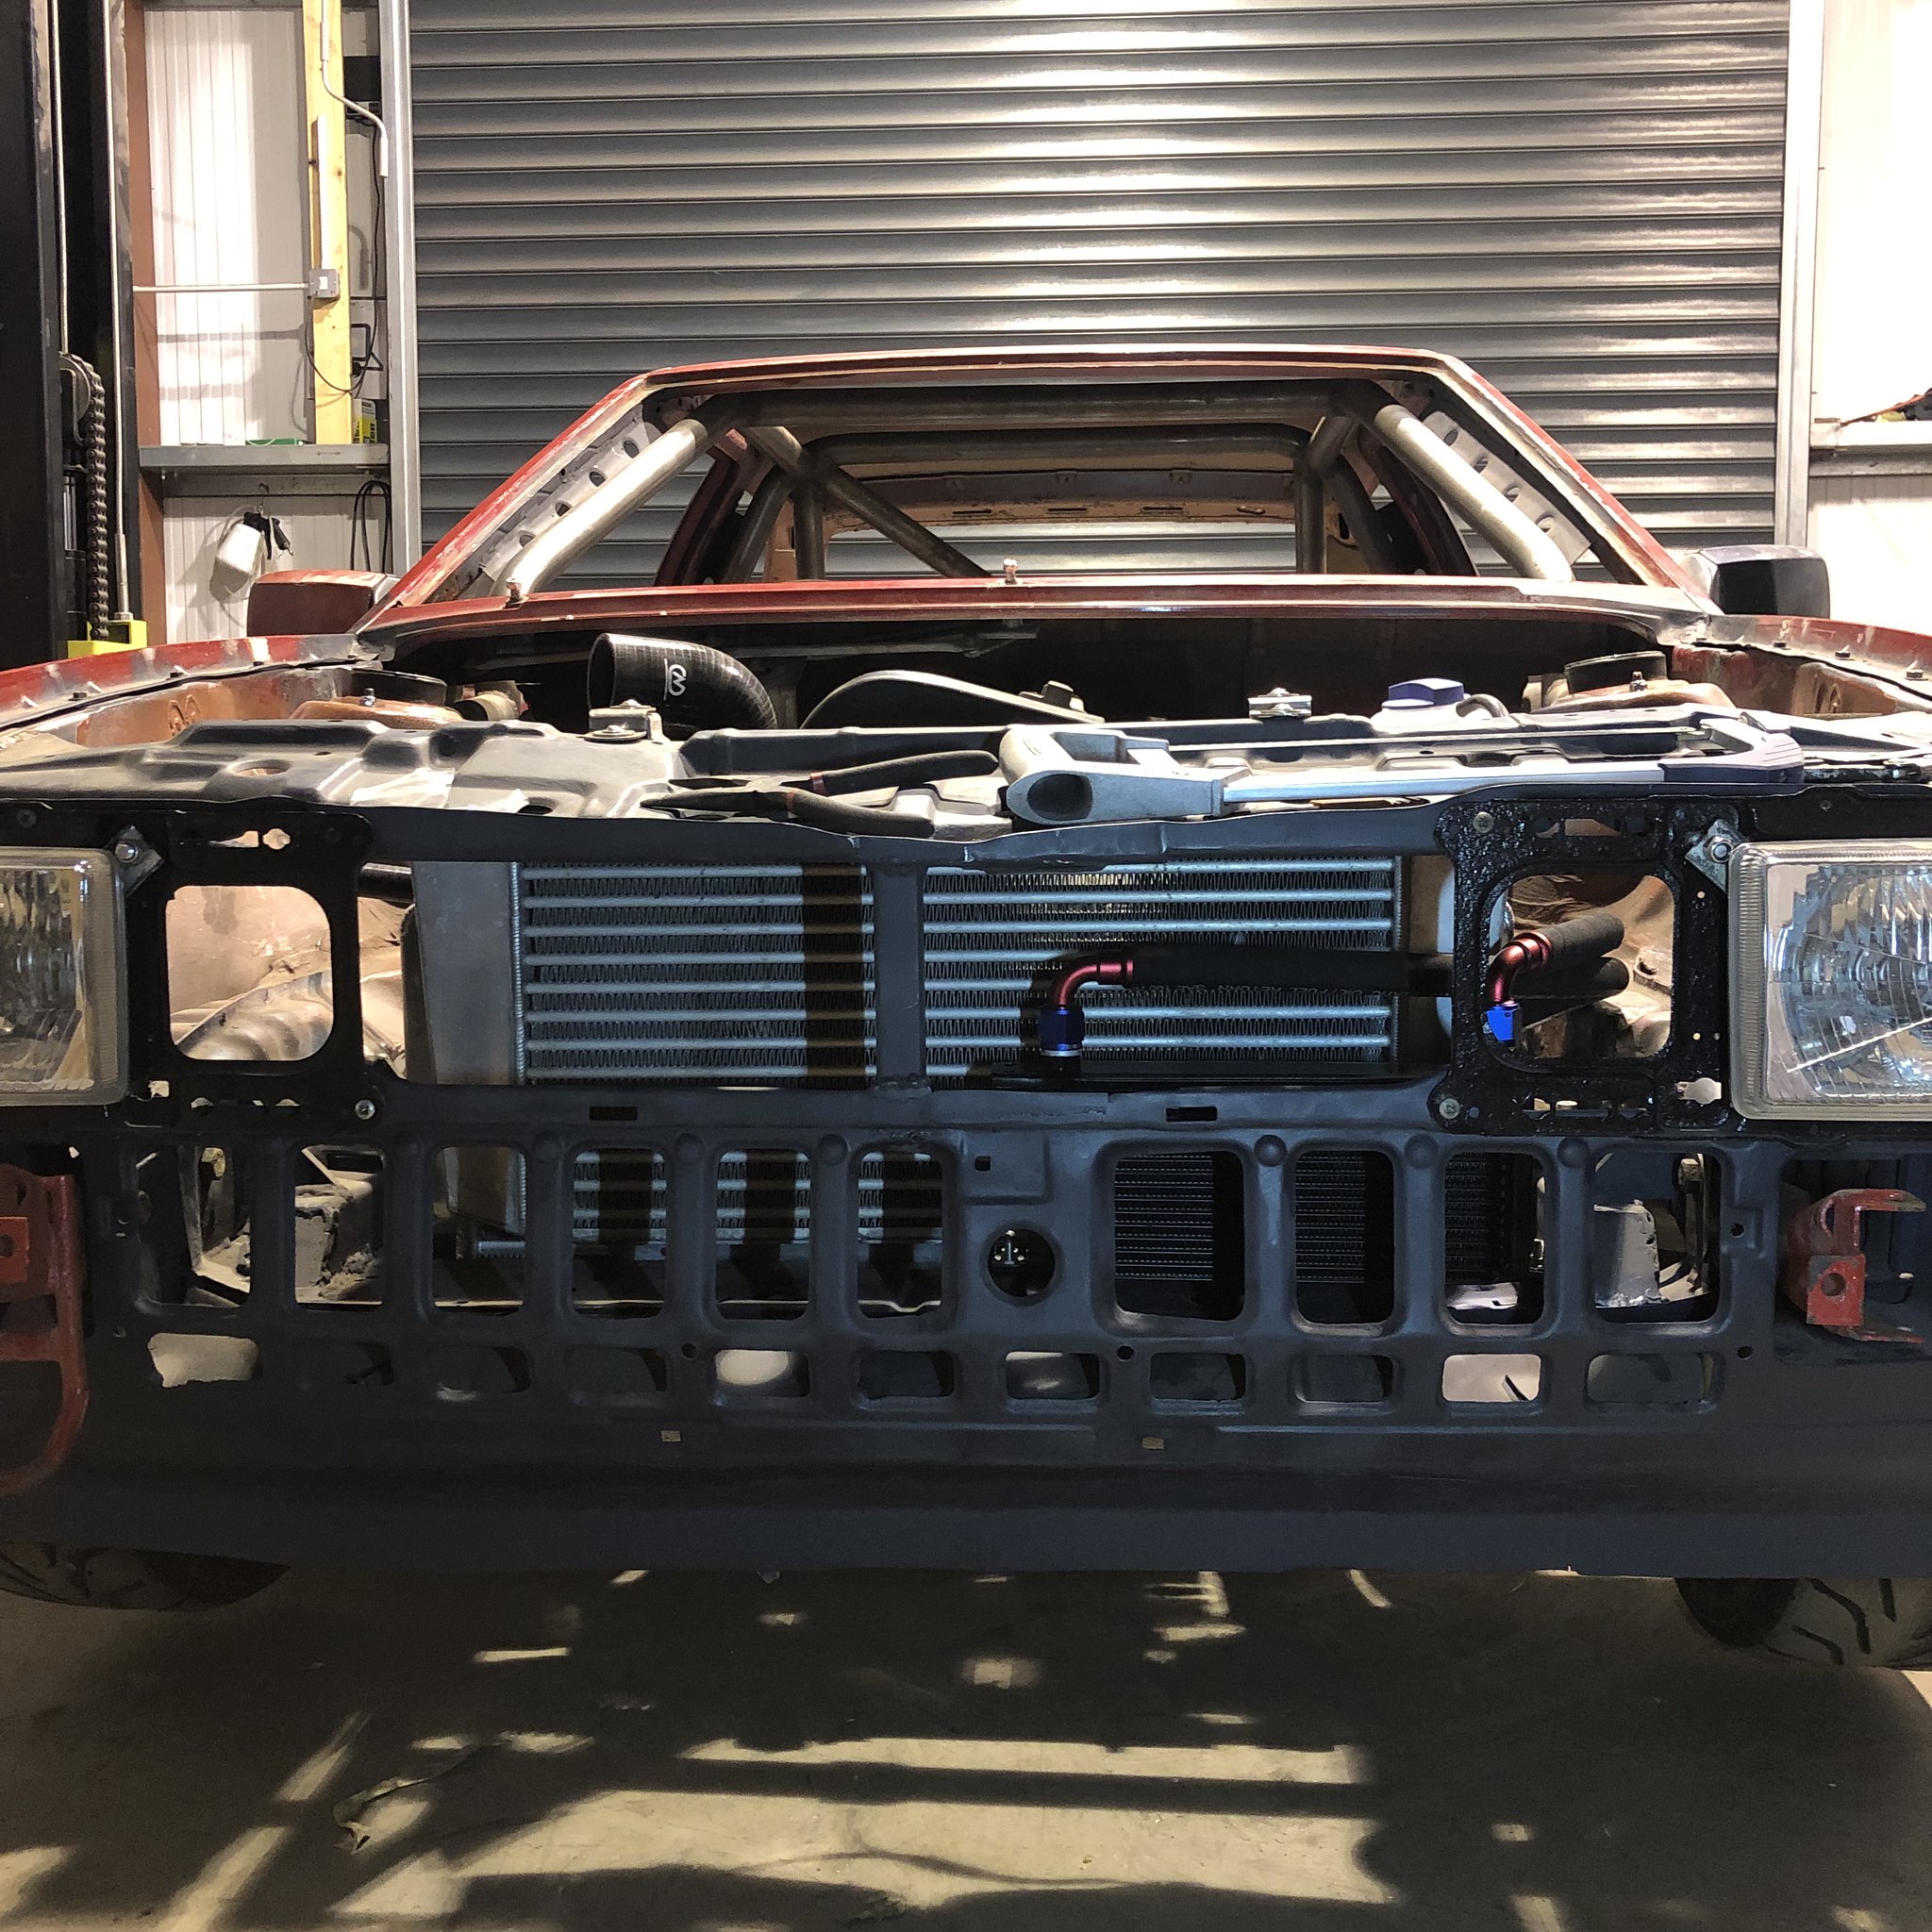
16 row AN10 Mocal oil cooler mounted up front
Image

Image

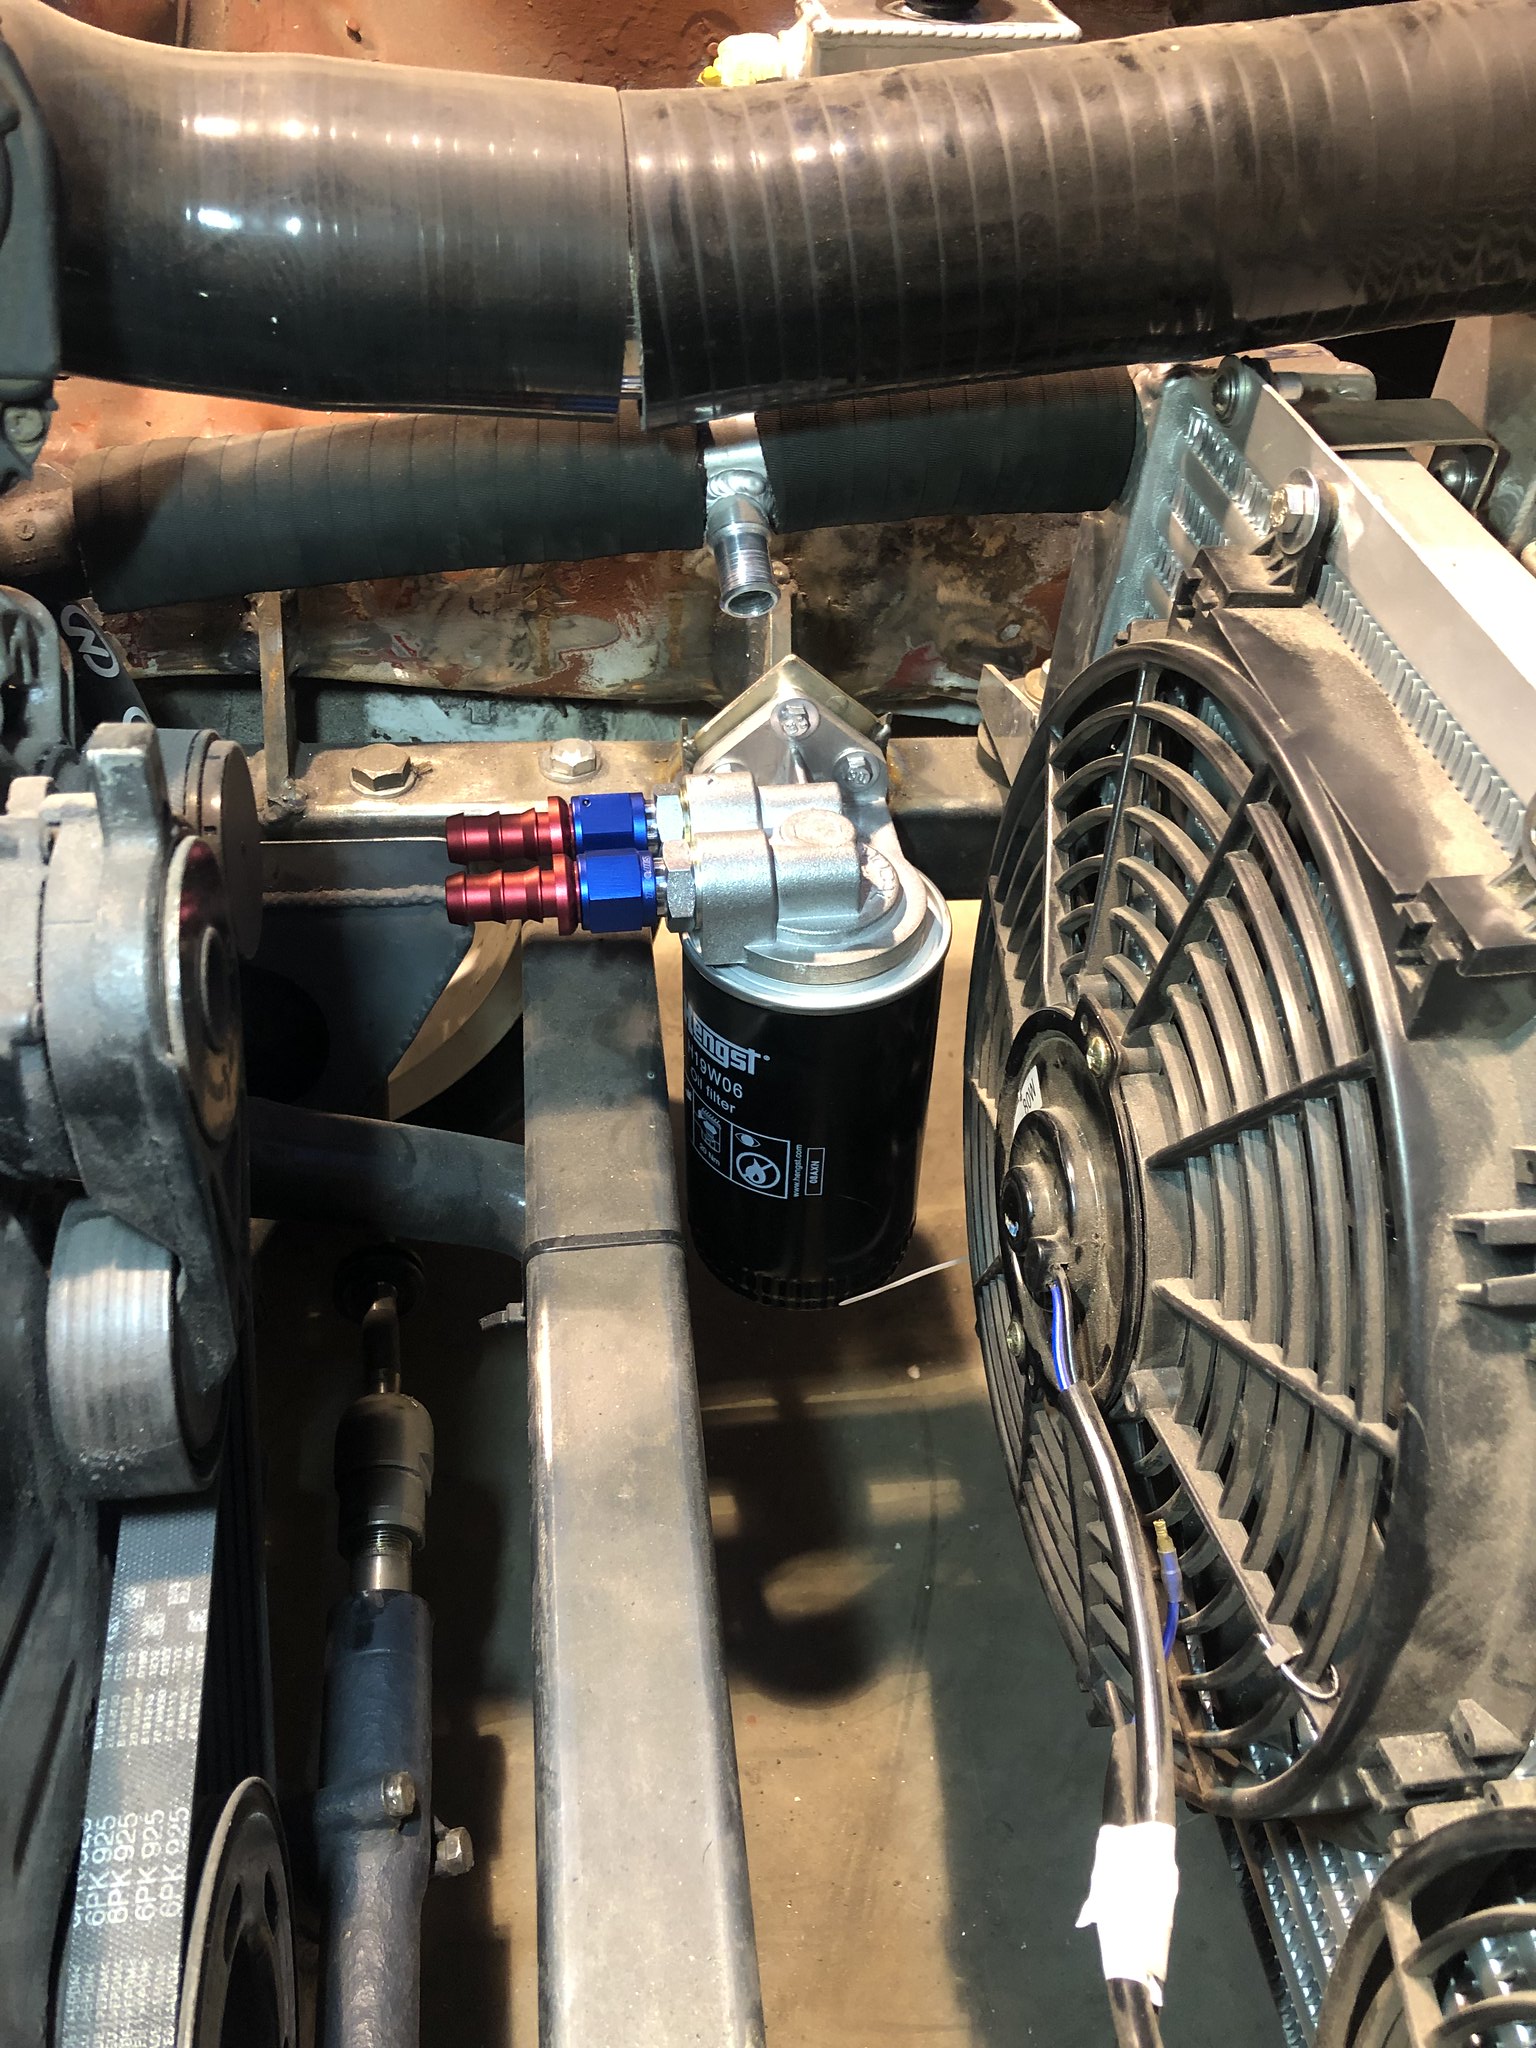
Mocal oil cooler thermostat sandwich plate and mocal relocation plate with a 1/8 NPT take off for oil temp gauge (got my pressure gauge hooked up for now for first start up) for remote oil filter

Image

Allows me to run this beast of an oil filter, T4 2.5 diesel van, massive!! Also very very easy to access for future oil changes.

Image

Image

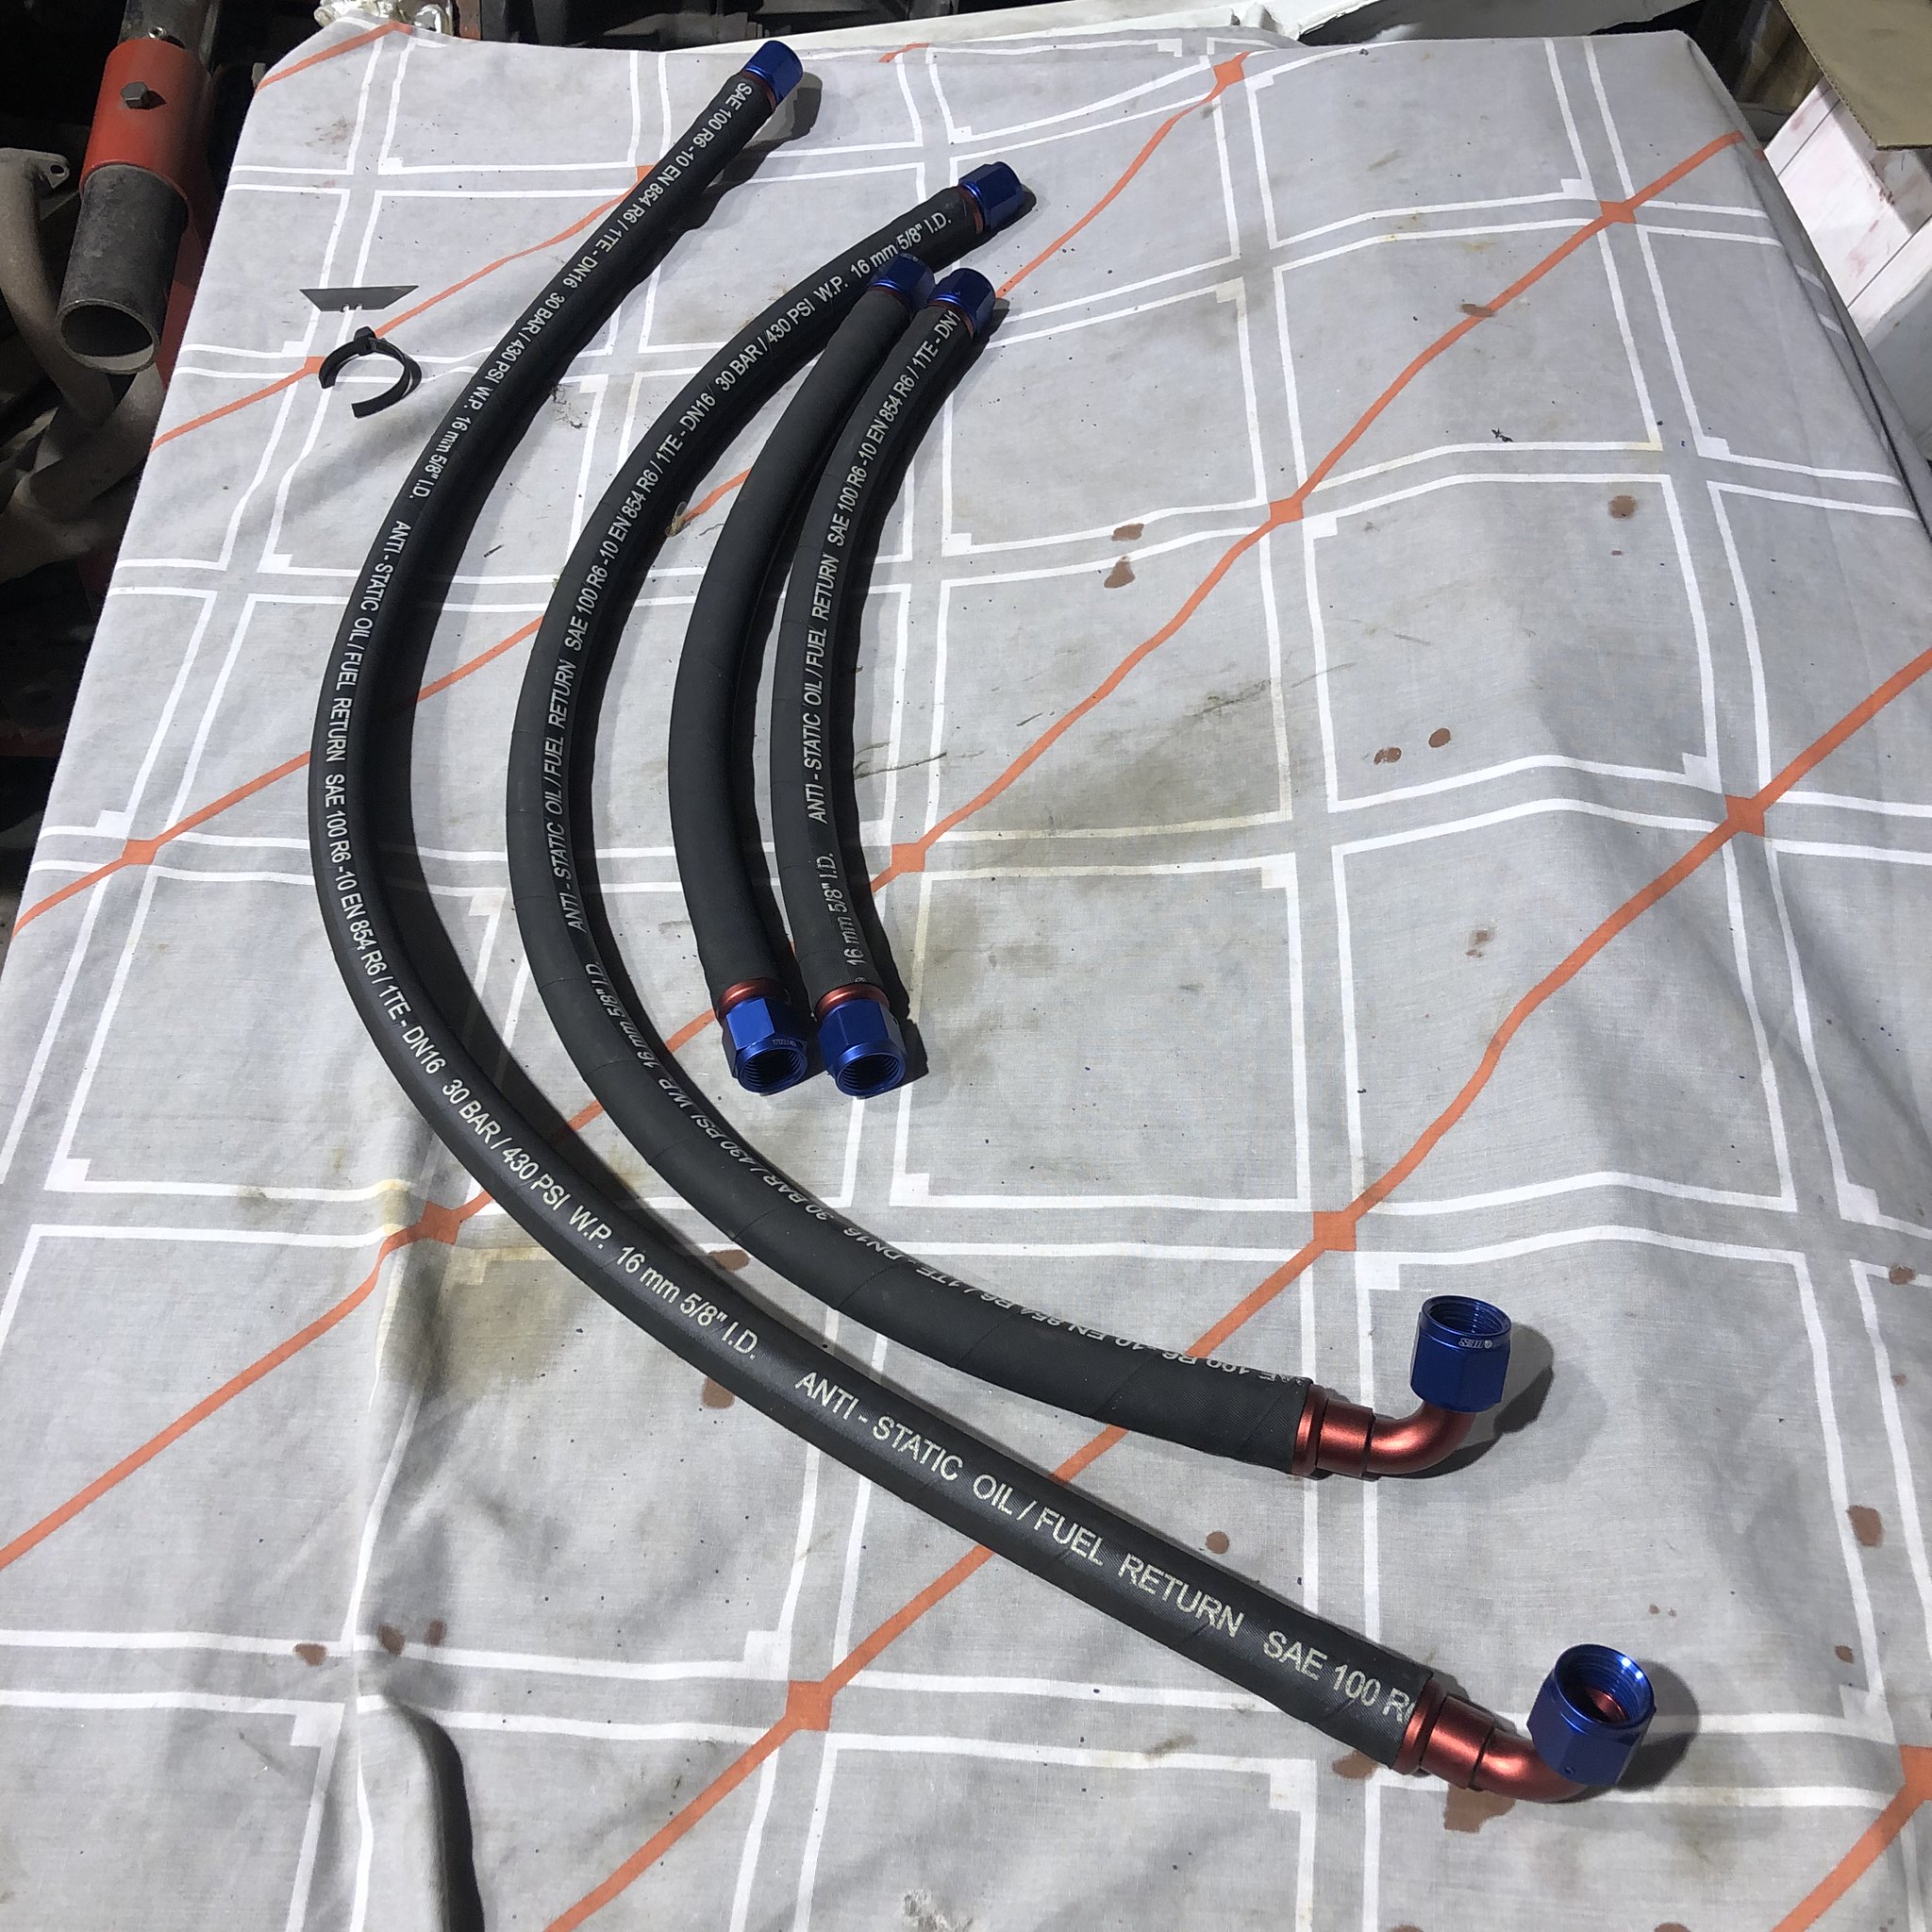
Pipework for the oil system, all AN10 push on style fittings with oil rated hose
Image


This brings the total oil capacity to just over 6L give or take, despite having to remove a bit from the sump, very happy with that!


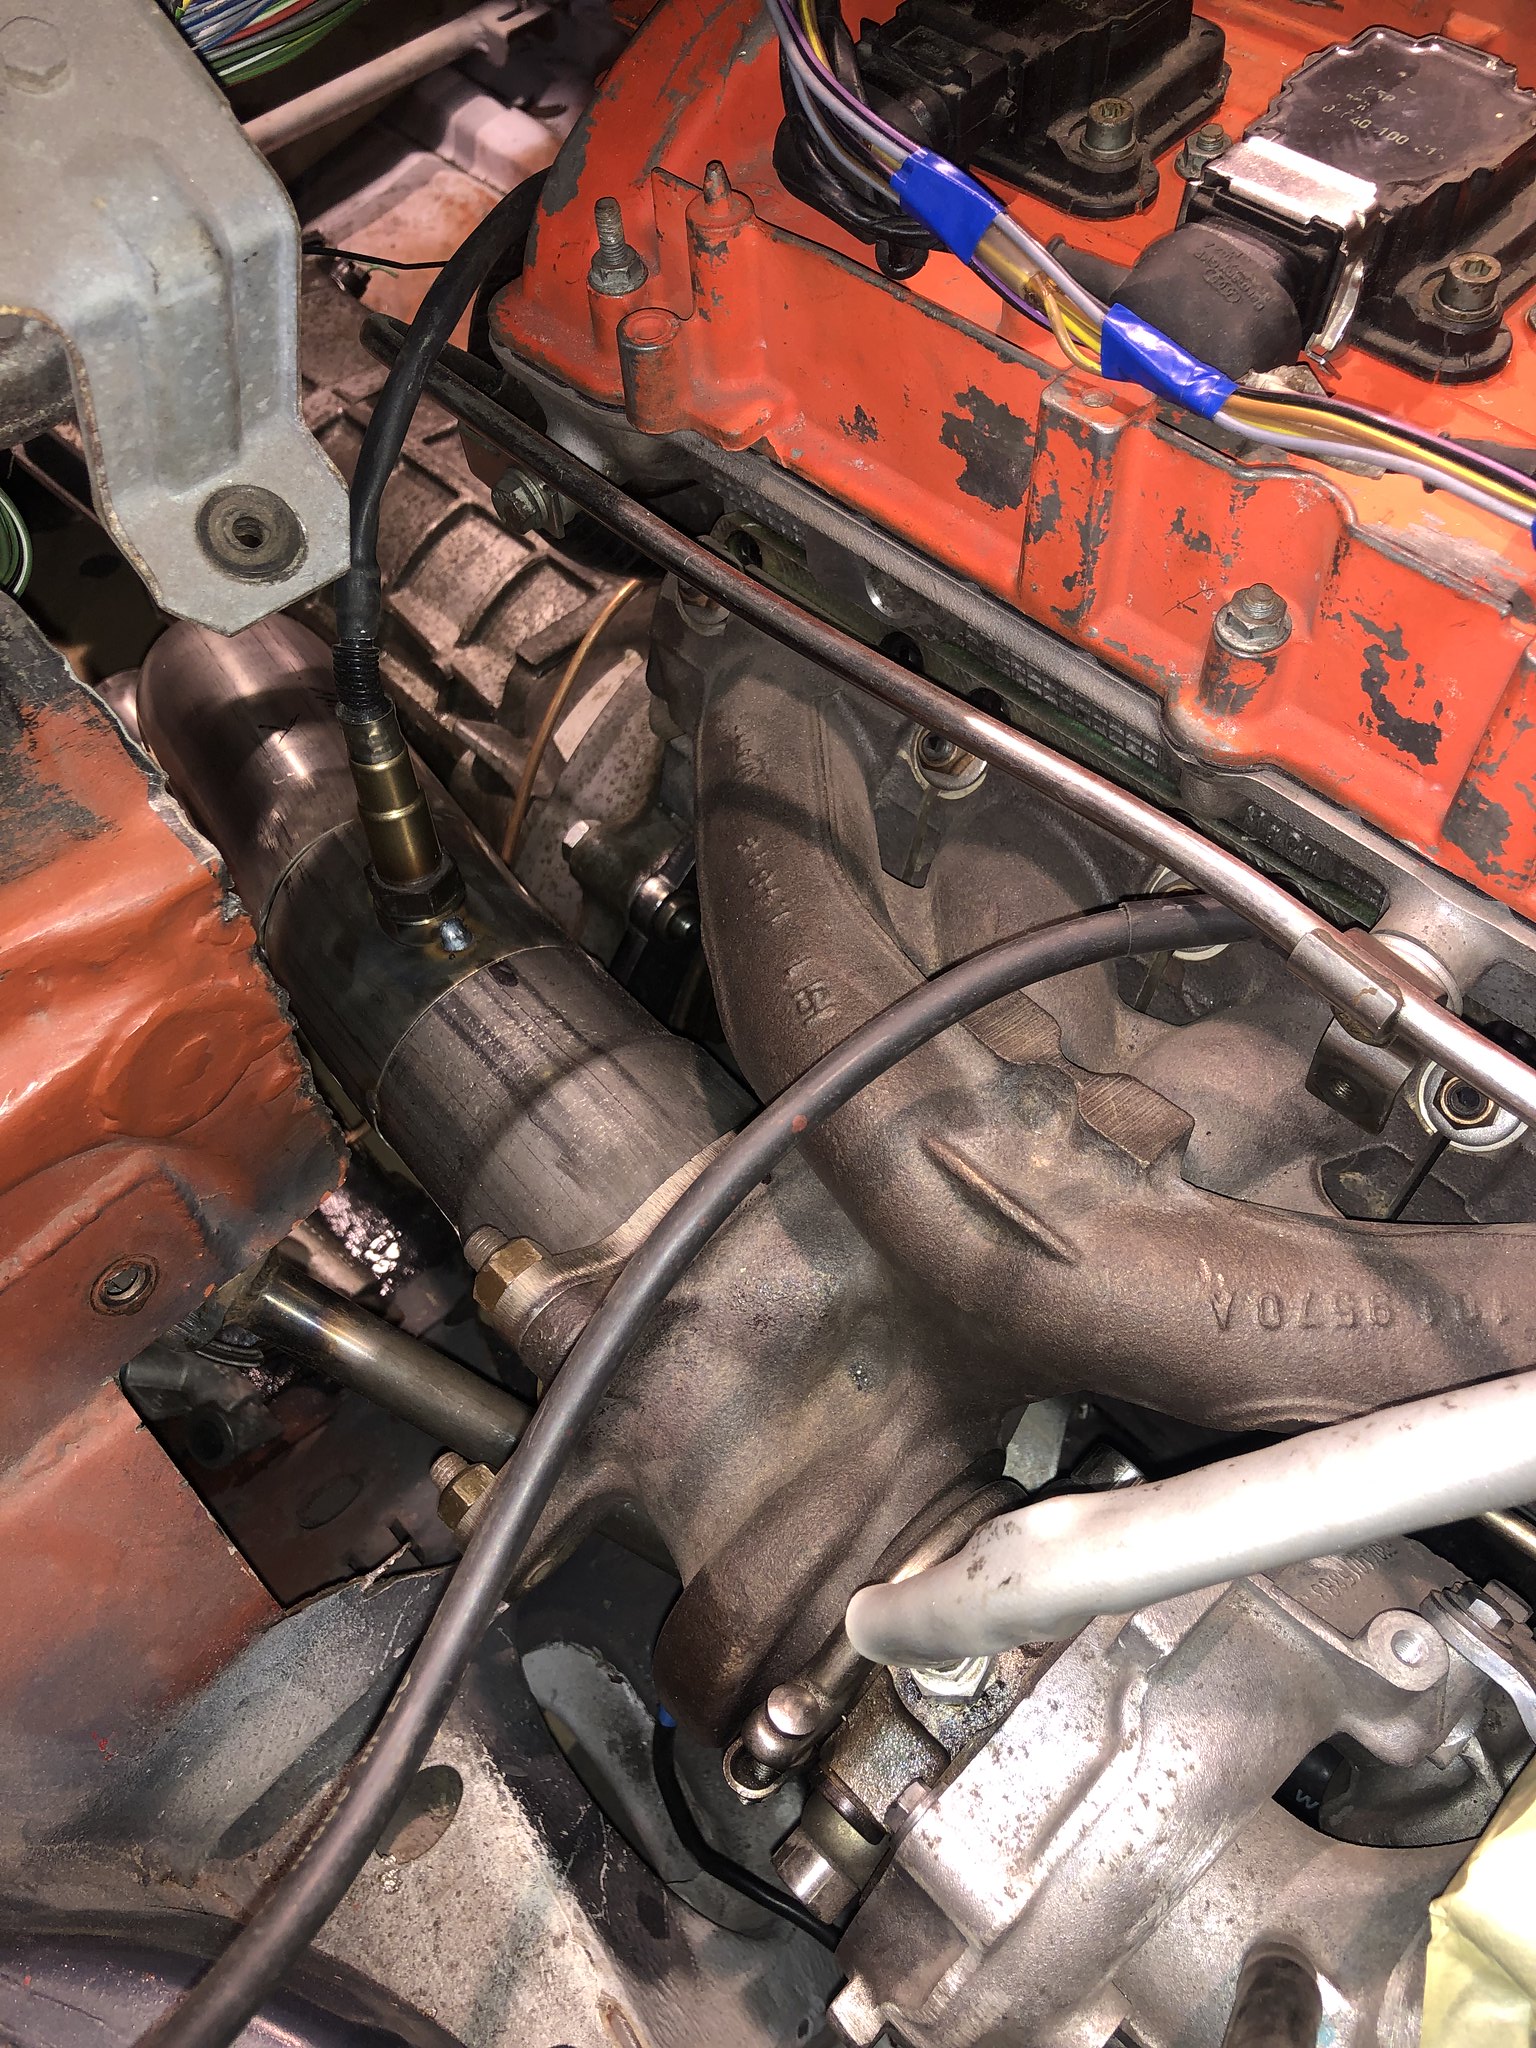
Downpipe version 2 tacked together, this is going to need to change slightly again, more on that in the next update!

Image

Image

Image

It basically needs to run tighter to the gearbox especially at the bellhousing section to make for some more space around the pedalbox area.

Now, sussing out the flywheel, starter, clutch, spigot bearing etc!

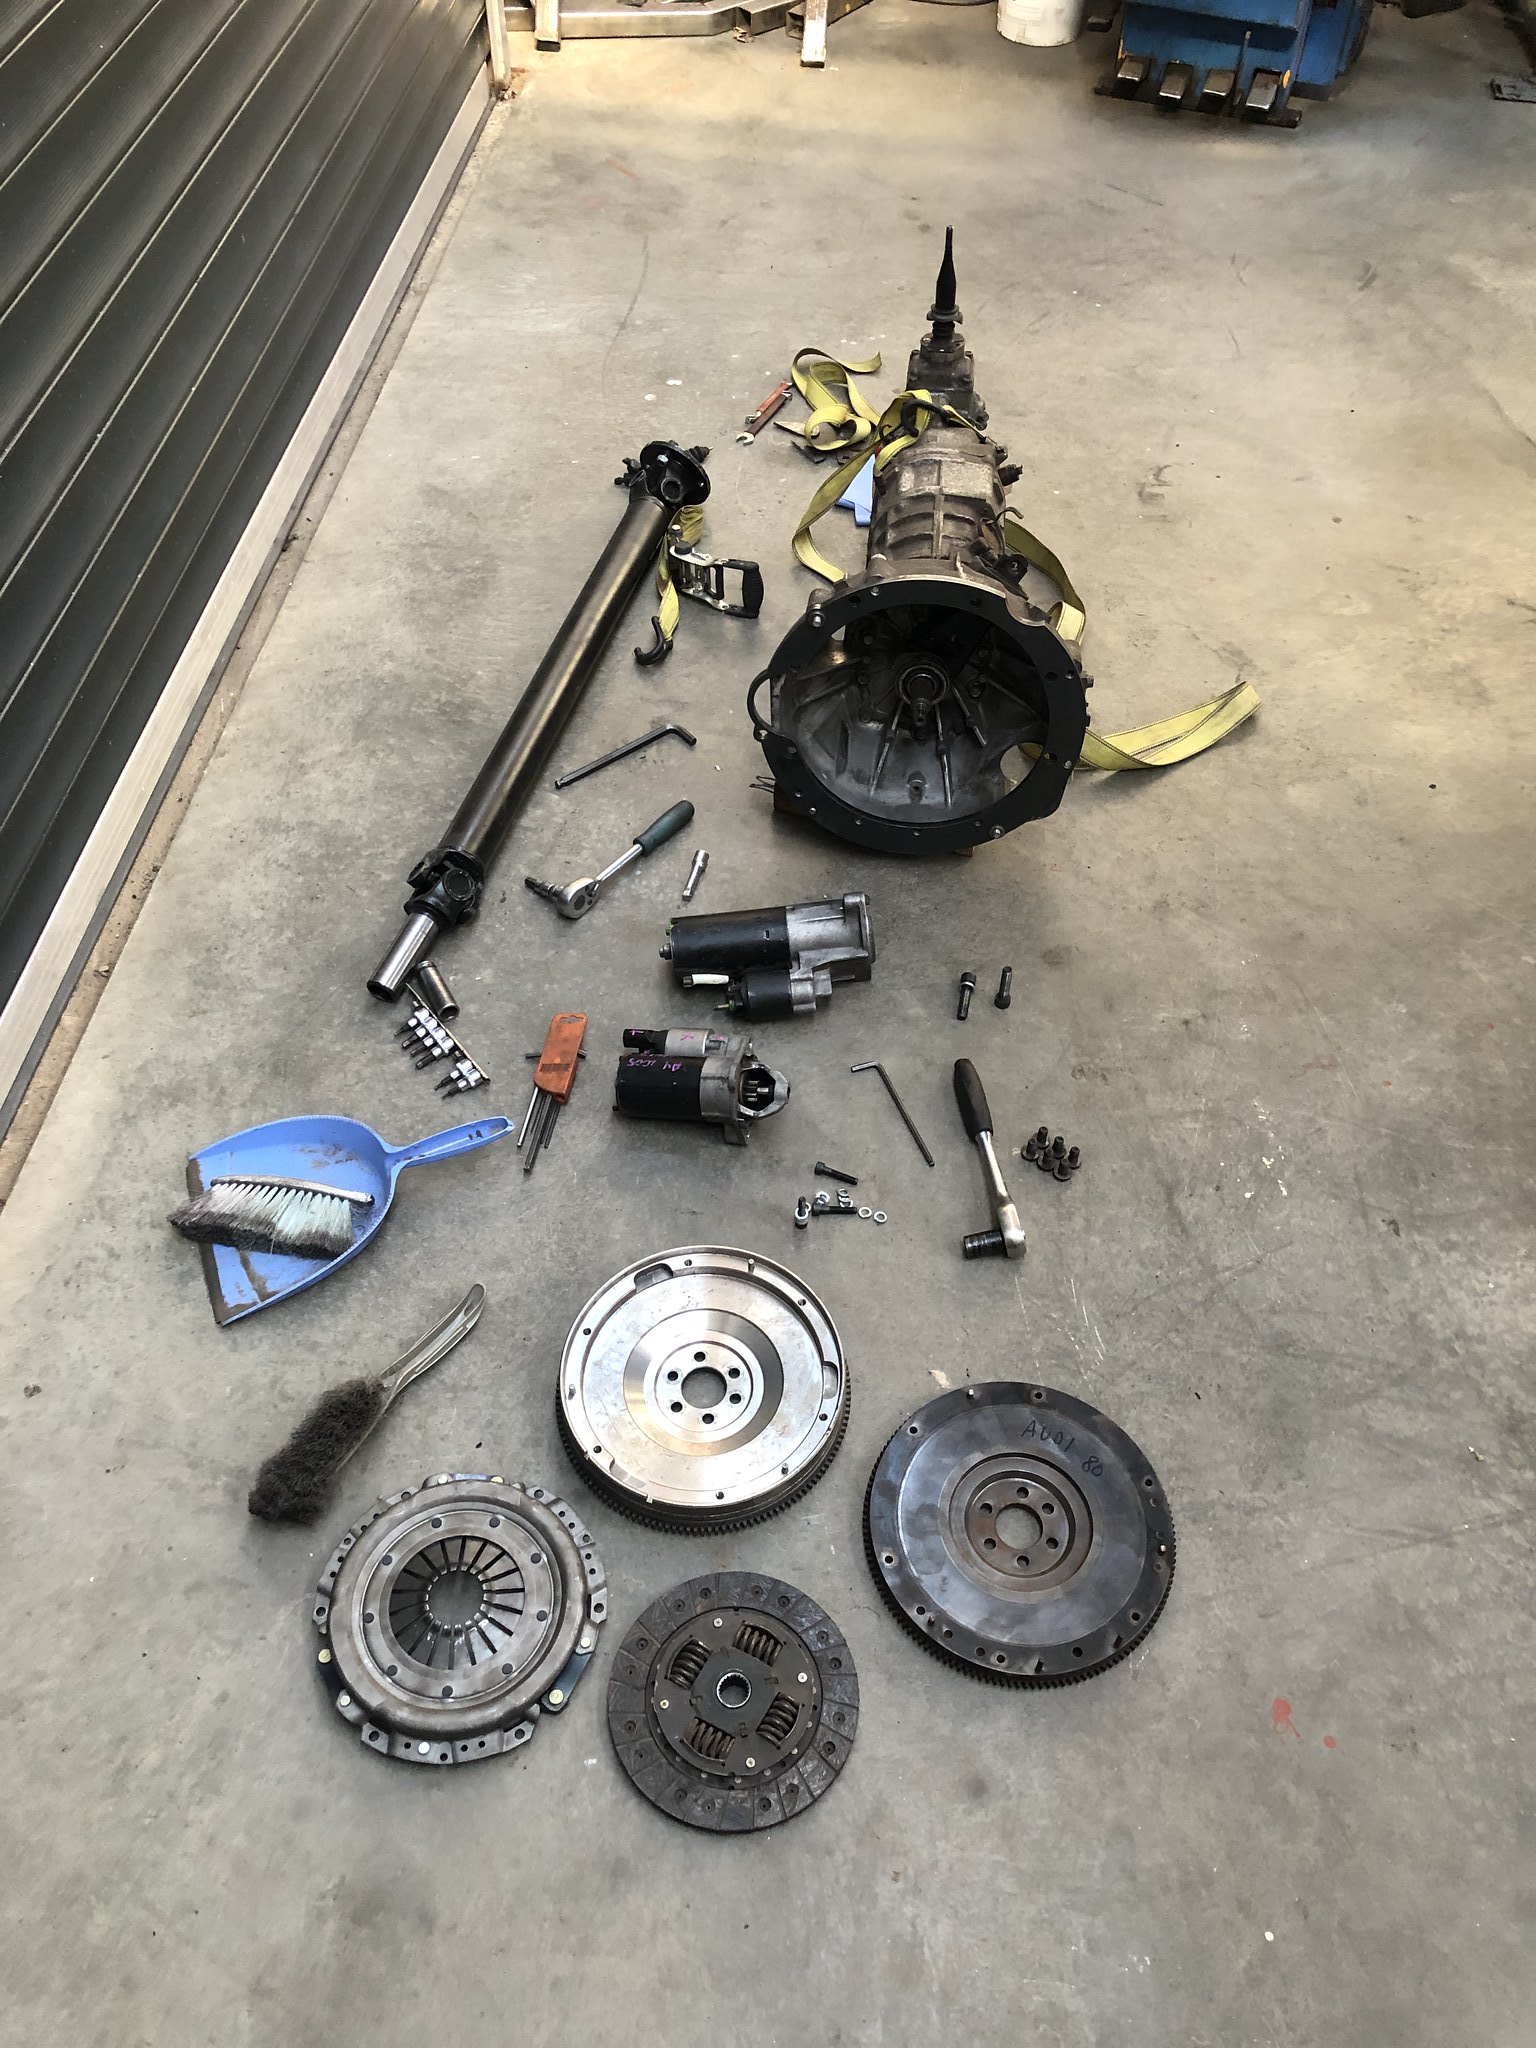
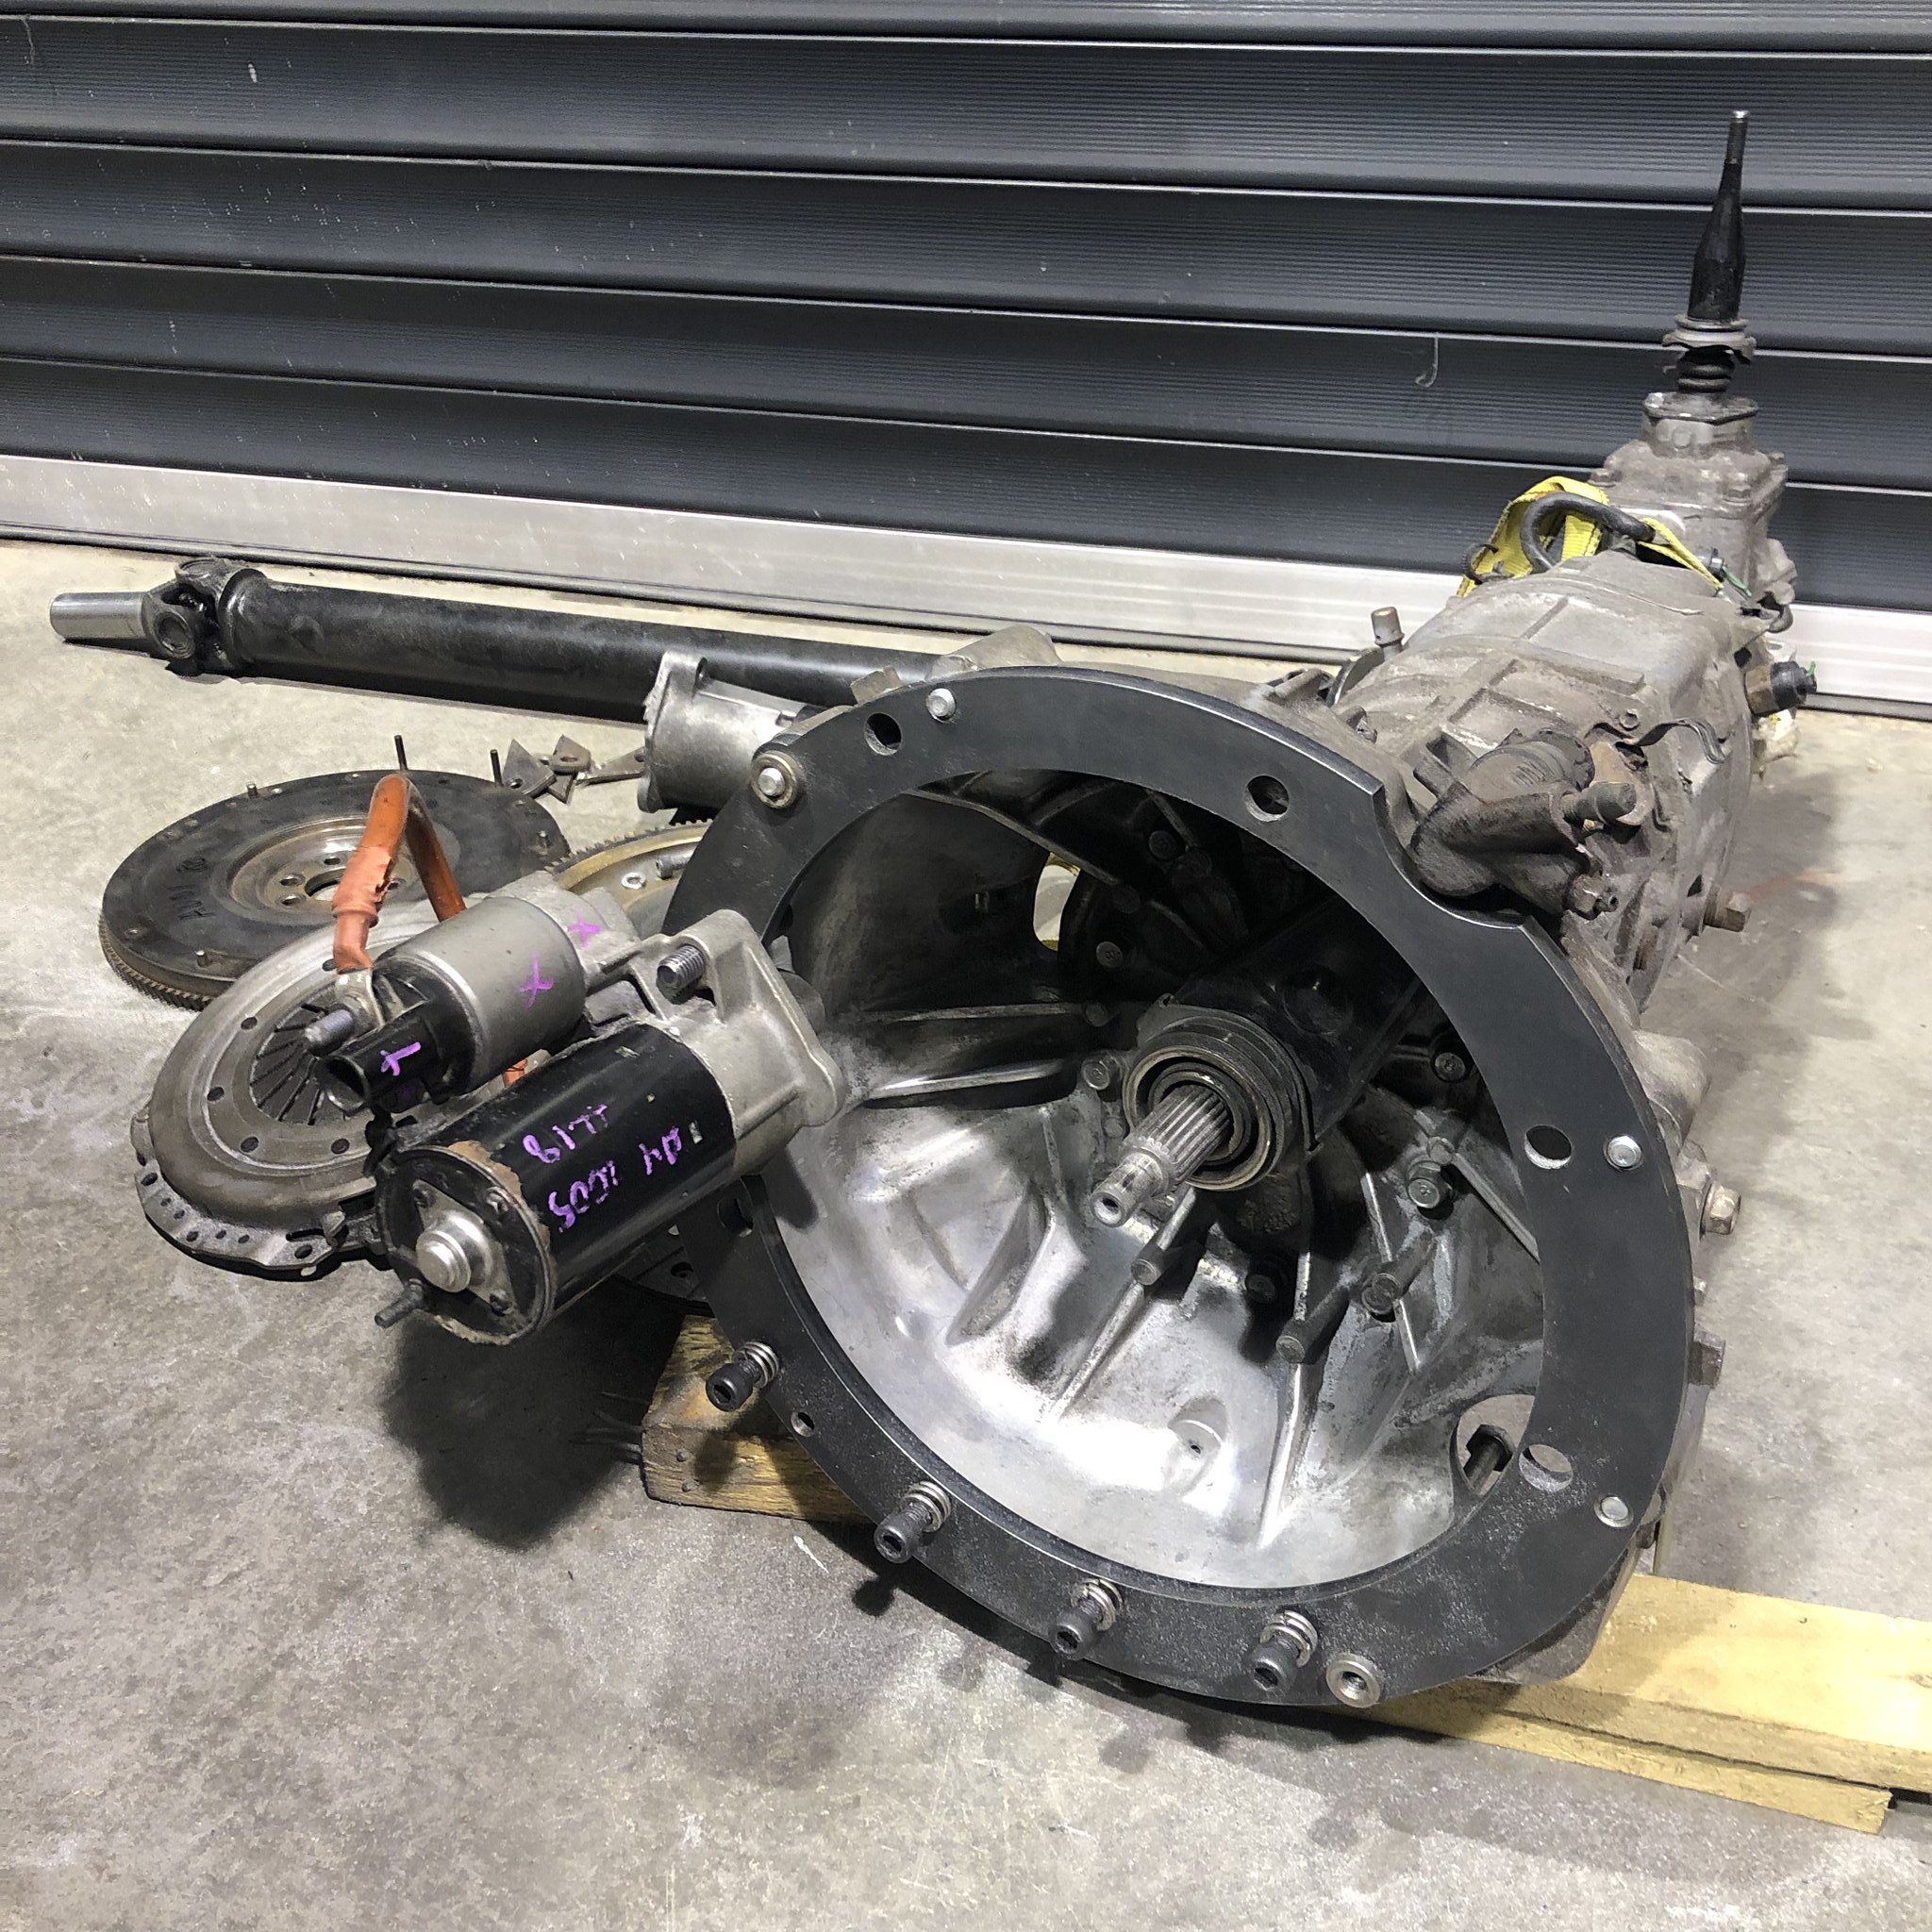
After notching the bellhousing a bit to allow the starter to fit i have the following combo:

Audi A4 B5 1.8t flywheel, starter and pressure plate
2.0 Ford Pinto clutch disc (just for testing!)
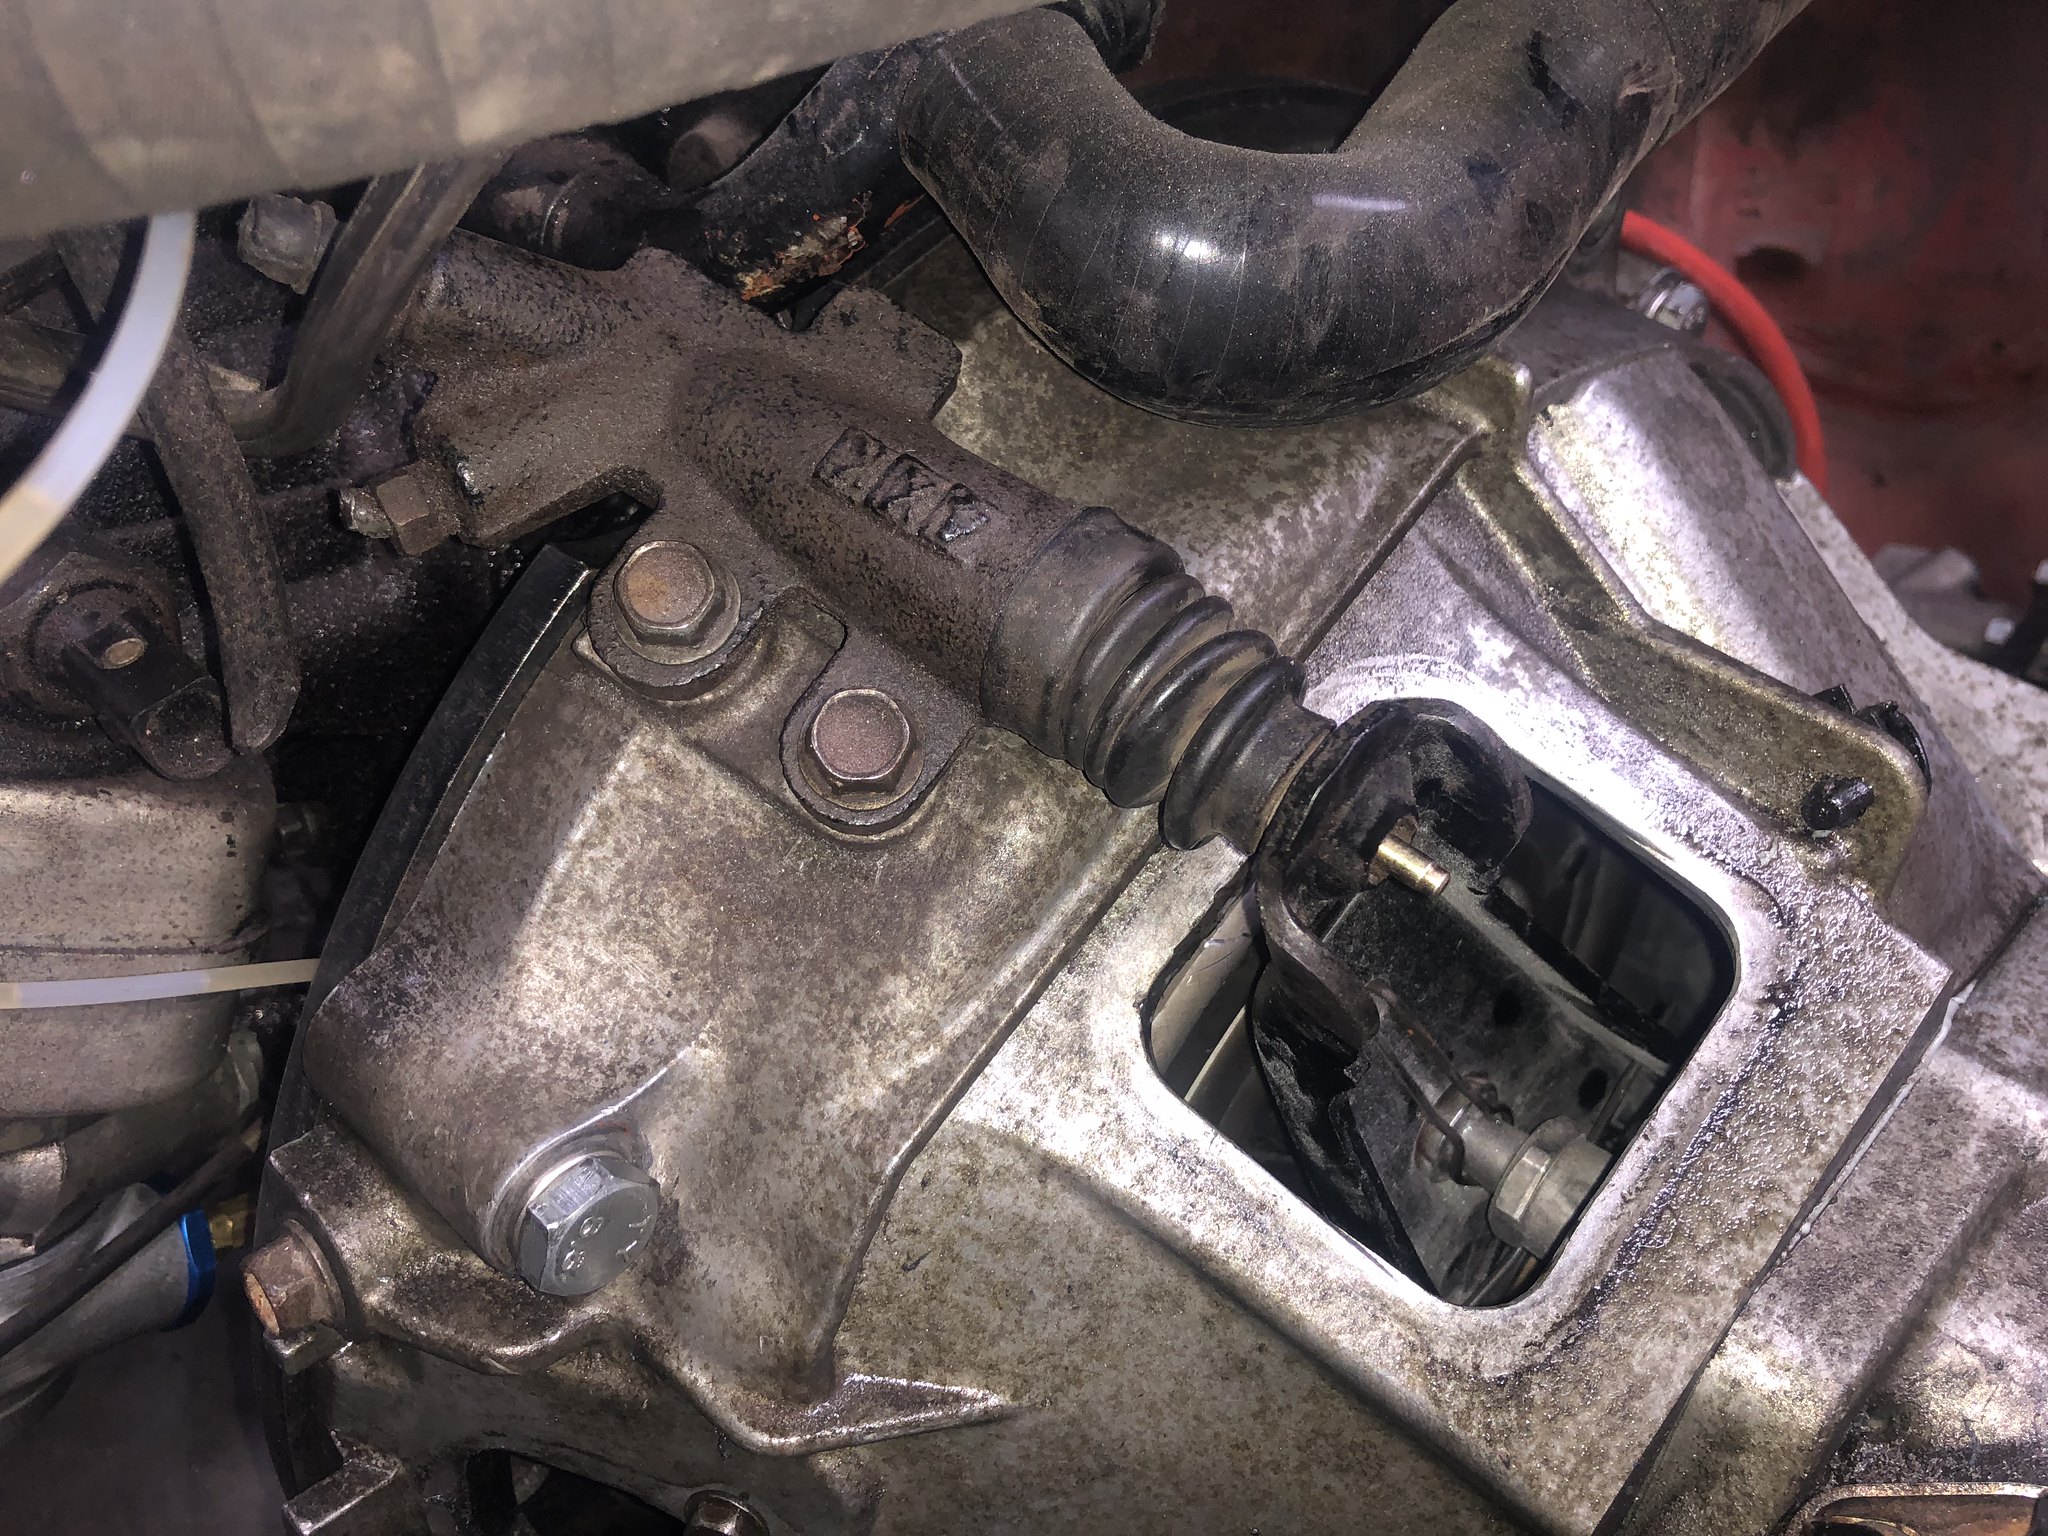
Rx8 slave cylinder, clutch arm, release bearing etc

I've plumbed and bled the clutch and it looks like this setup will work after a small bit of tweaking to allow for a little bit more play in the clutch fork. Obviously I will go for uprated components for the final build to handle the torque of the 20vT, this is just for proof of concept!
Image

Image

Image

Image

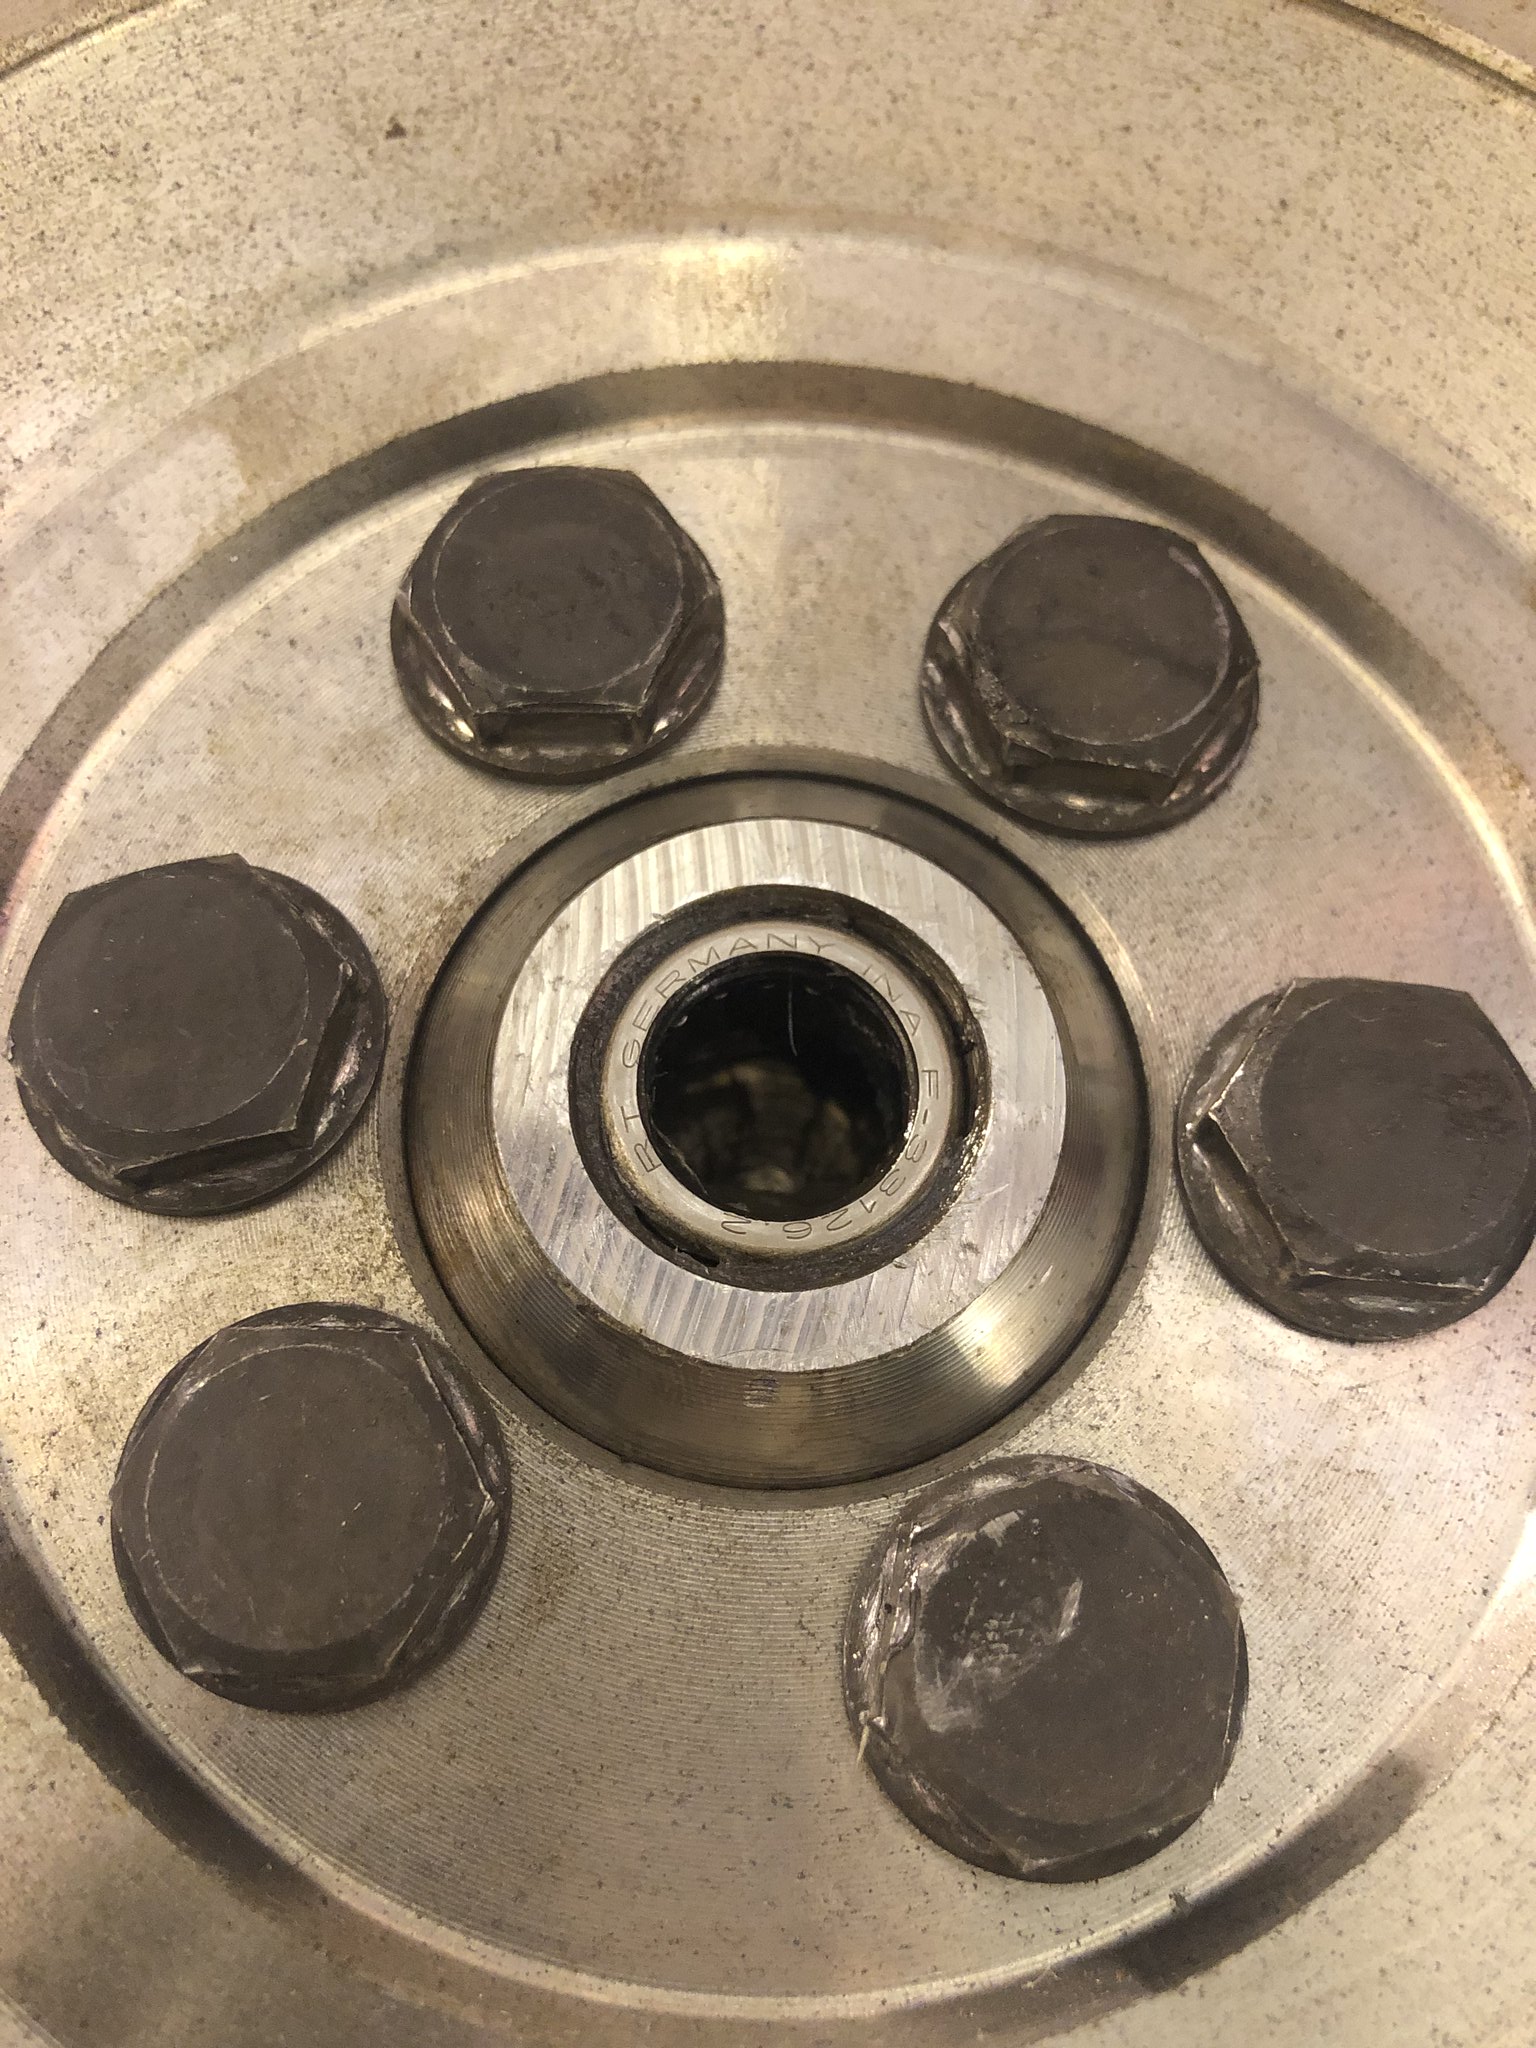
Ford Type 9 spigot bearing fits a treat as the VW crank is 21mm bore and the rx8 input shaft 15mm, exact same as the ford dimensions!
Image

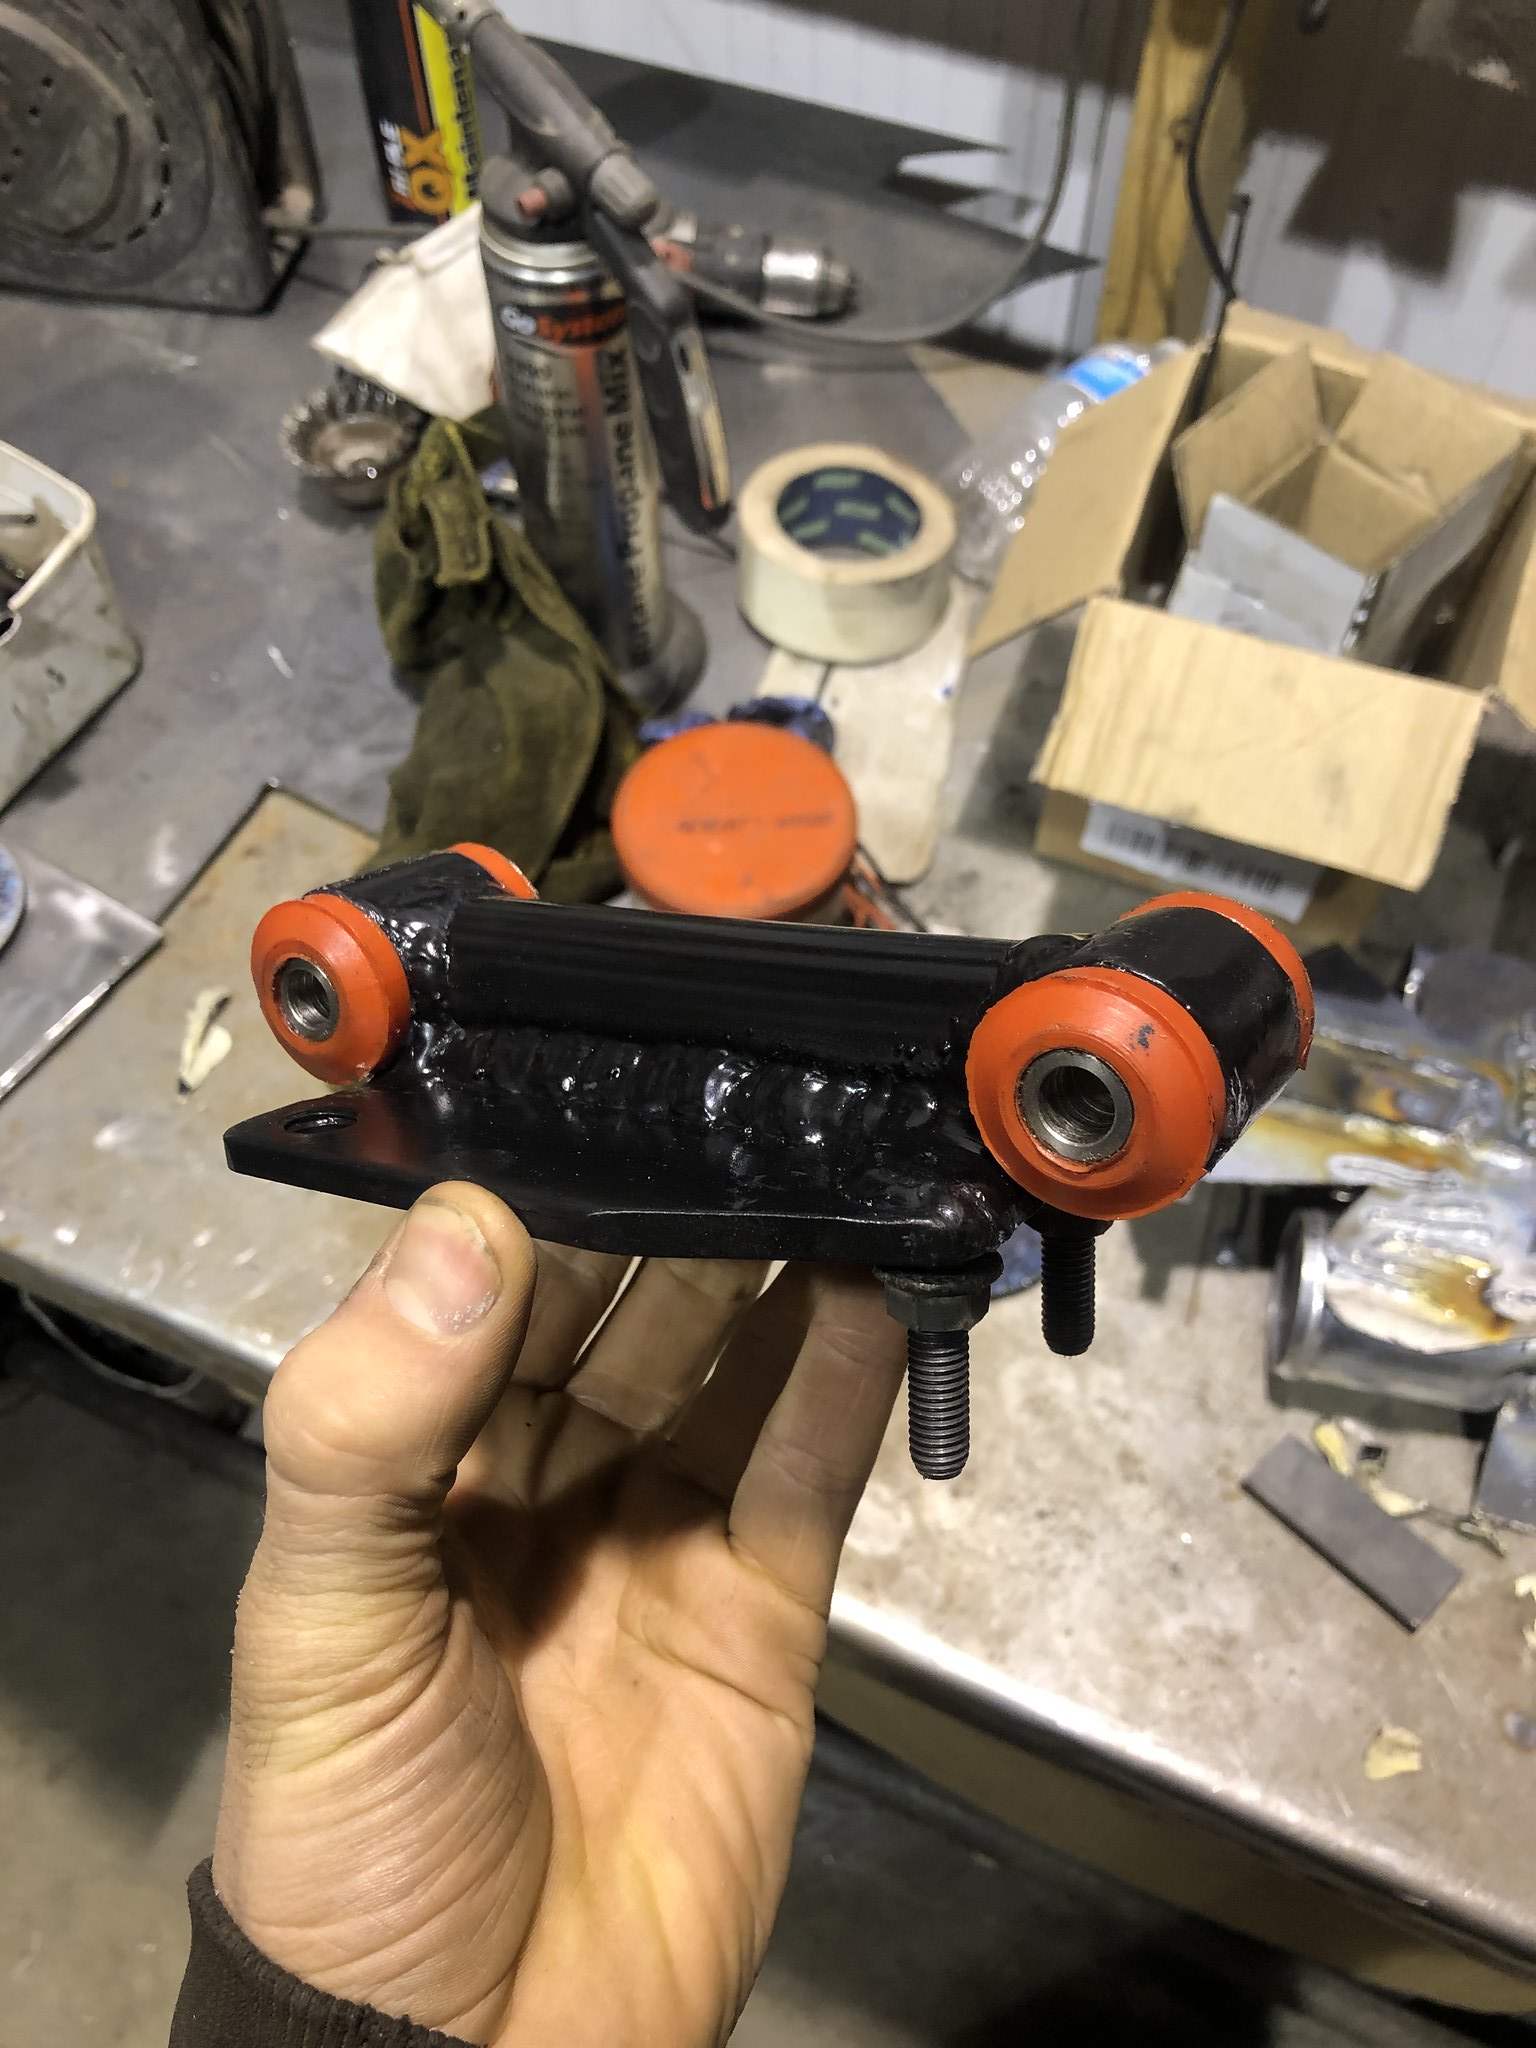
Gearbox mount version 4! This one is nice and compact and uses some old mk2 escort anti tramp bar bush ends welded to an offcut from the seat rails, i've pressed in new tramp bar polybushes. This is then welded to an 8mm plate i fabbed up to bolt to the back of the rx8 box.

this all then bolts in to 2 'bolt on' brackets that bolt to the inside of the tunnel via plates with captive nuts that i've made up and welded to the inside.

Nice and strong and makes removing the box much easier now! and i can fit a 3" exhaust under the mount too.
Image

Image


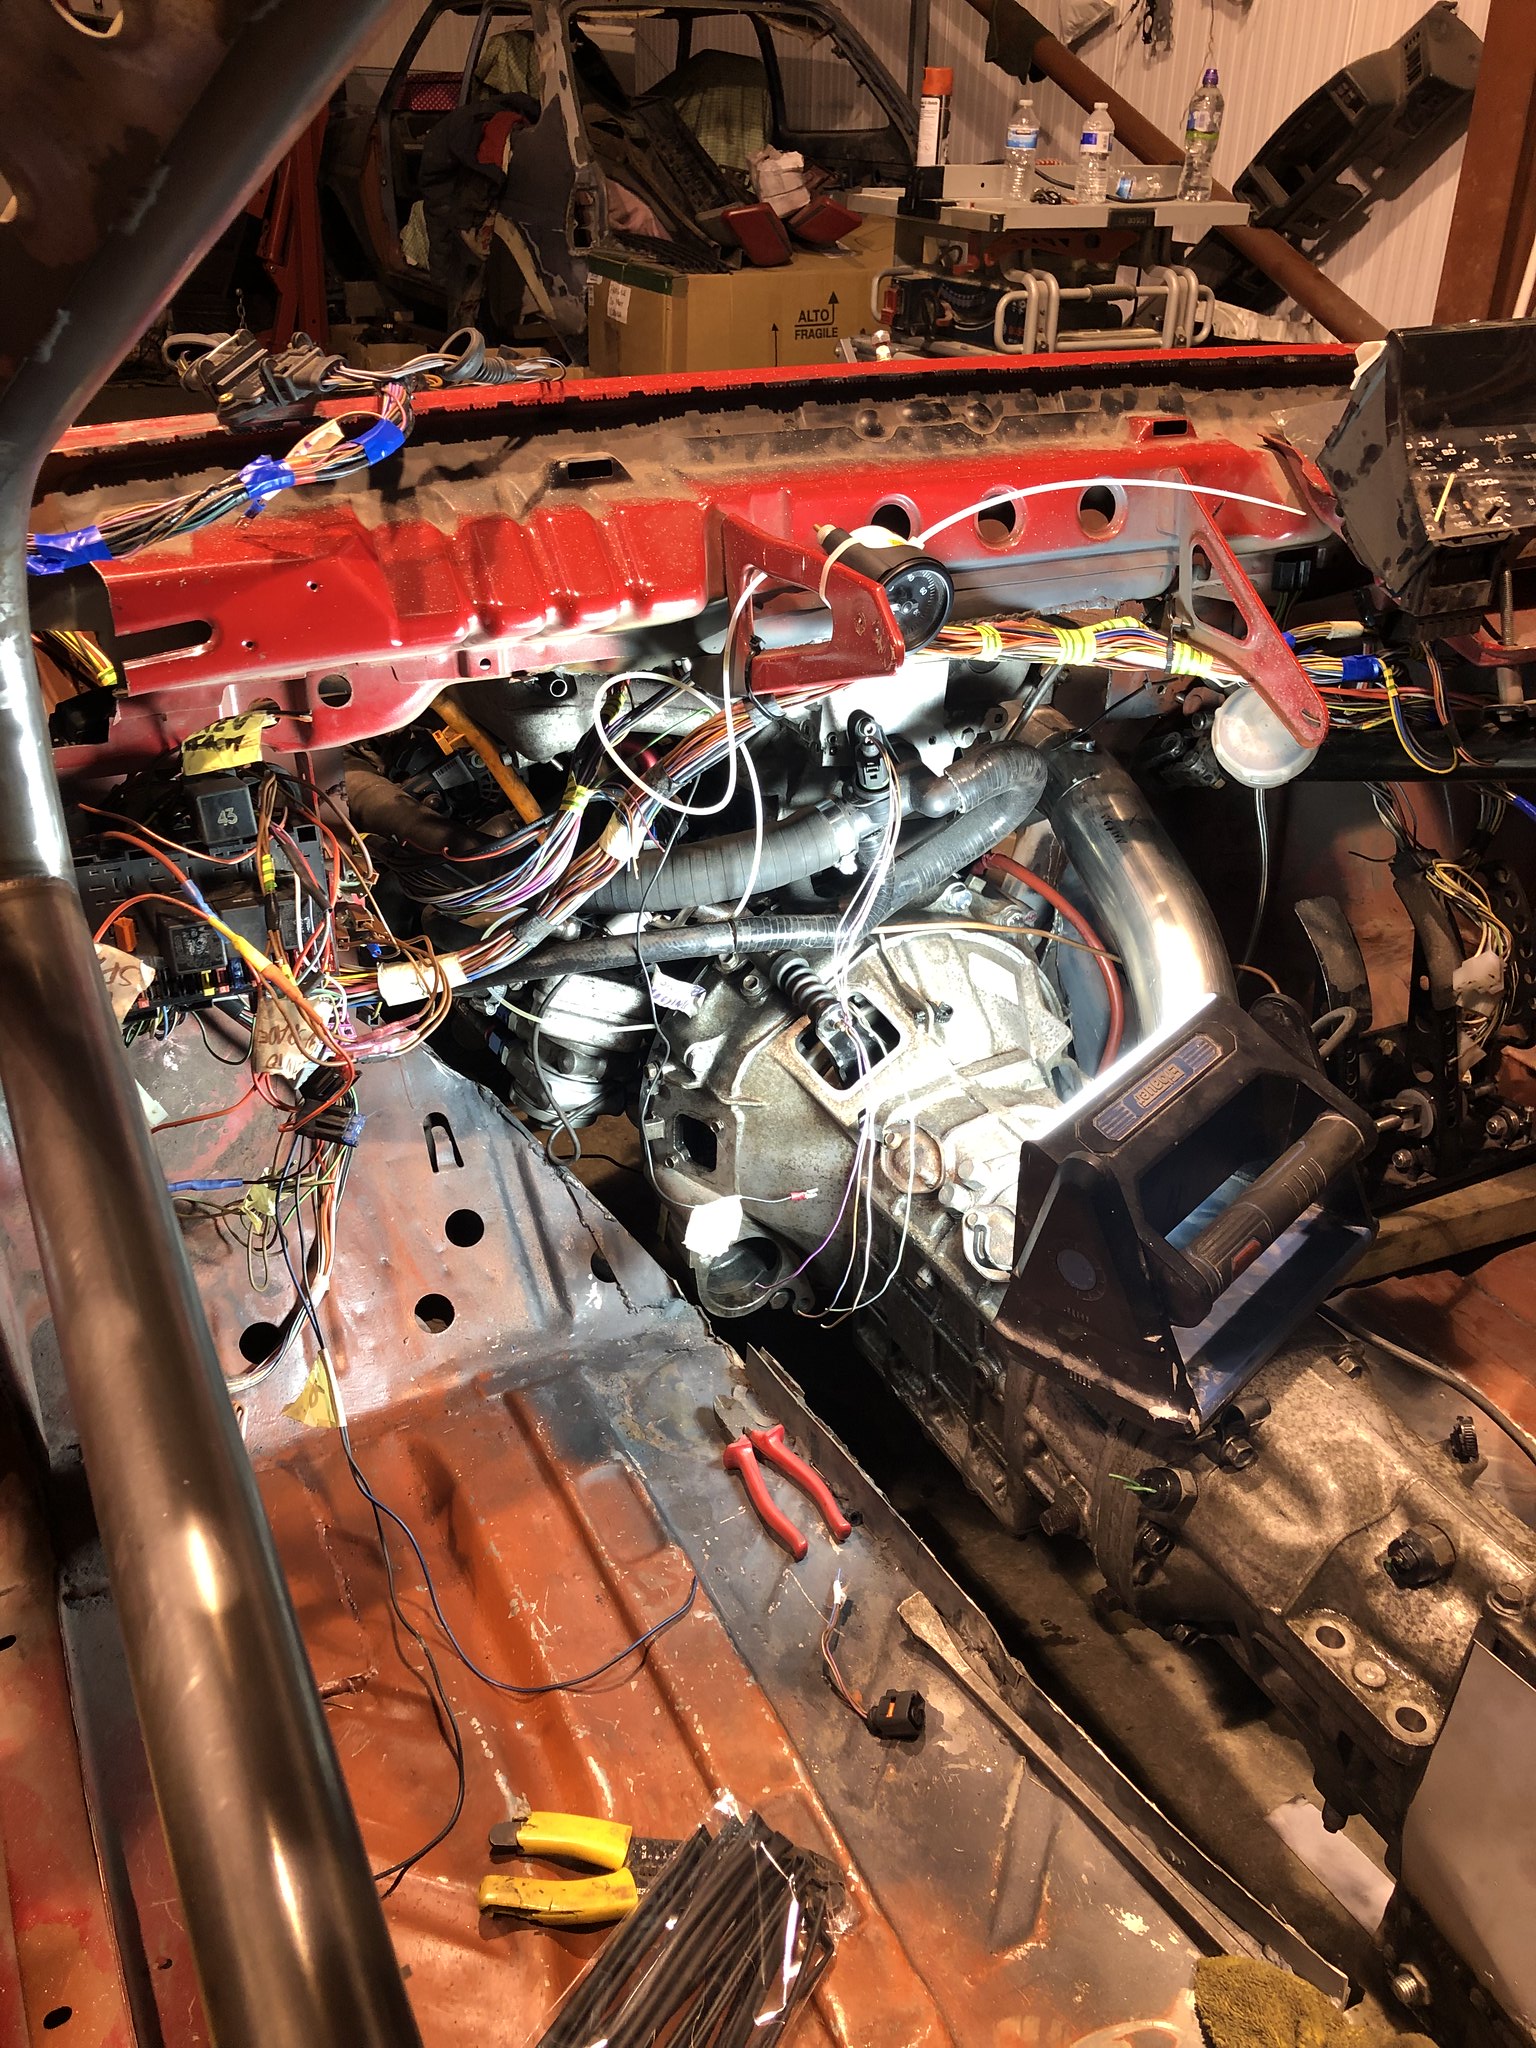
Right, time to chuck some wiring in, hook up some fuel lines, set up a very rough base map on the emerald and see if she will start up!


First of all, my butchered ce1 1.8T engine loom i made up previously had been cut up a bit for some bits on my other car so this needed rectified first.
Mainly adding new plugs for starter, new TFSI n75 wiring, injector wiring, map sensor, and eventually the 4 pin coils (although im going to start it up on the 3 pin coils first)

Image

Image

Image


Reverse lights working with the RX8 box!

Image


Fuel lines are exactly as they were before (now far too long!) and fuel system also as it was, facet lift pump feeding swirl pot, inline filter then bosch 044 pump up to the rail.

Of course, this is all temporary just for starting it up, proper brackets, fuel cell etc will be used!

Image

Quickly calibrated a rough map on the Emerald ECU and after robbing a couple relays from my daily car I was ready for the first fire up.

CRanked it for about 15 seconds and nothing, pumps had primed but im presuming had only filled the swirl pot.

Next crank she fired a bit...

Next crank she fired right into life on all 4's and idled away lovely!! Get in.

Oil pressure reading nice and high on the gauge, lambda readings a bit high but then again my downpipe is only tacked together, also no gasket or anything.

put it up on the lift and tried a few gears while operating the clutch pedal by hand, 1st good, 2nd good, 3rd good!! rear wheels were going like mad so didn't go any more than that.

Beyond chuffed with it, she is now officially Rear wheel drive!

Here are the latest youtube videos that go a little more in depth on what I've done.

Oil system and engine bay

https://www.youtube.com/watch?v=ToAt7OGWfbw

Clutch, flywheel, spigot bearing, starter, etc etc

https://www.youtube.com/watch?v=PN4dGS6xkpM&t=7s

The first start up video will be coming out this weekend hopefully!

Thanks for reading. Daz


mk2daz
Posts: 123
Joined: Thu Dec 29, 2016 3:39 pm
fill in the right answer: 15

Re: Mk2 RWD 1.8T

Post by mk2daz »

Here is the latest YT video for the first start up and also running it up on the lift in gear!

https://www.youtube.com/watch?v=SVheRko9Giw


mk2daz
Posts: 123
Joined: Thu Dec 29, 2016 3:39 pm
fill in the right answer: 15

Re: Mk2 RWD 1.8T

Post by mk2daz »

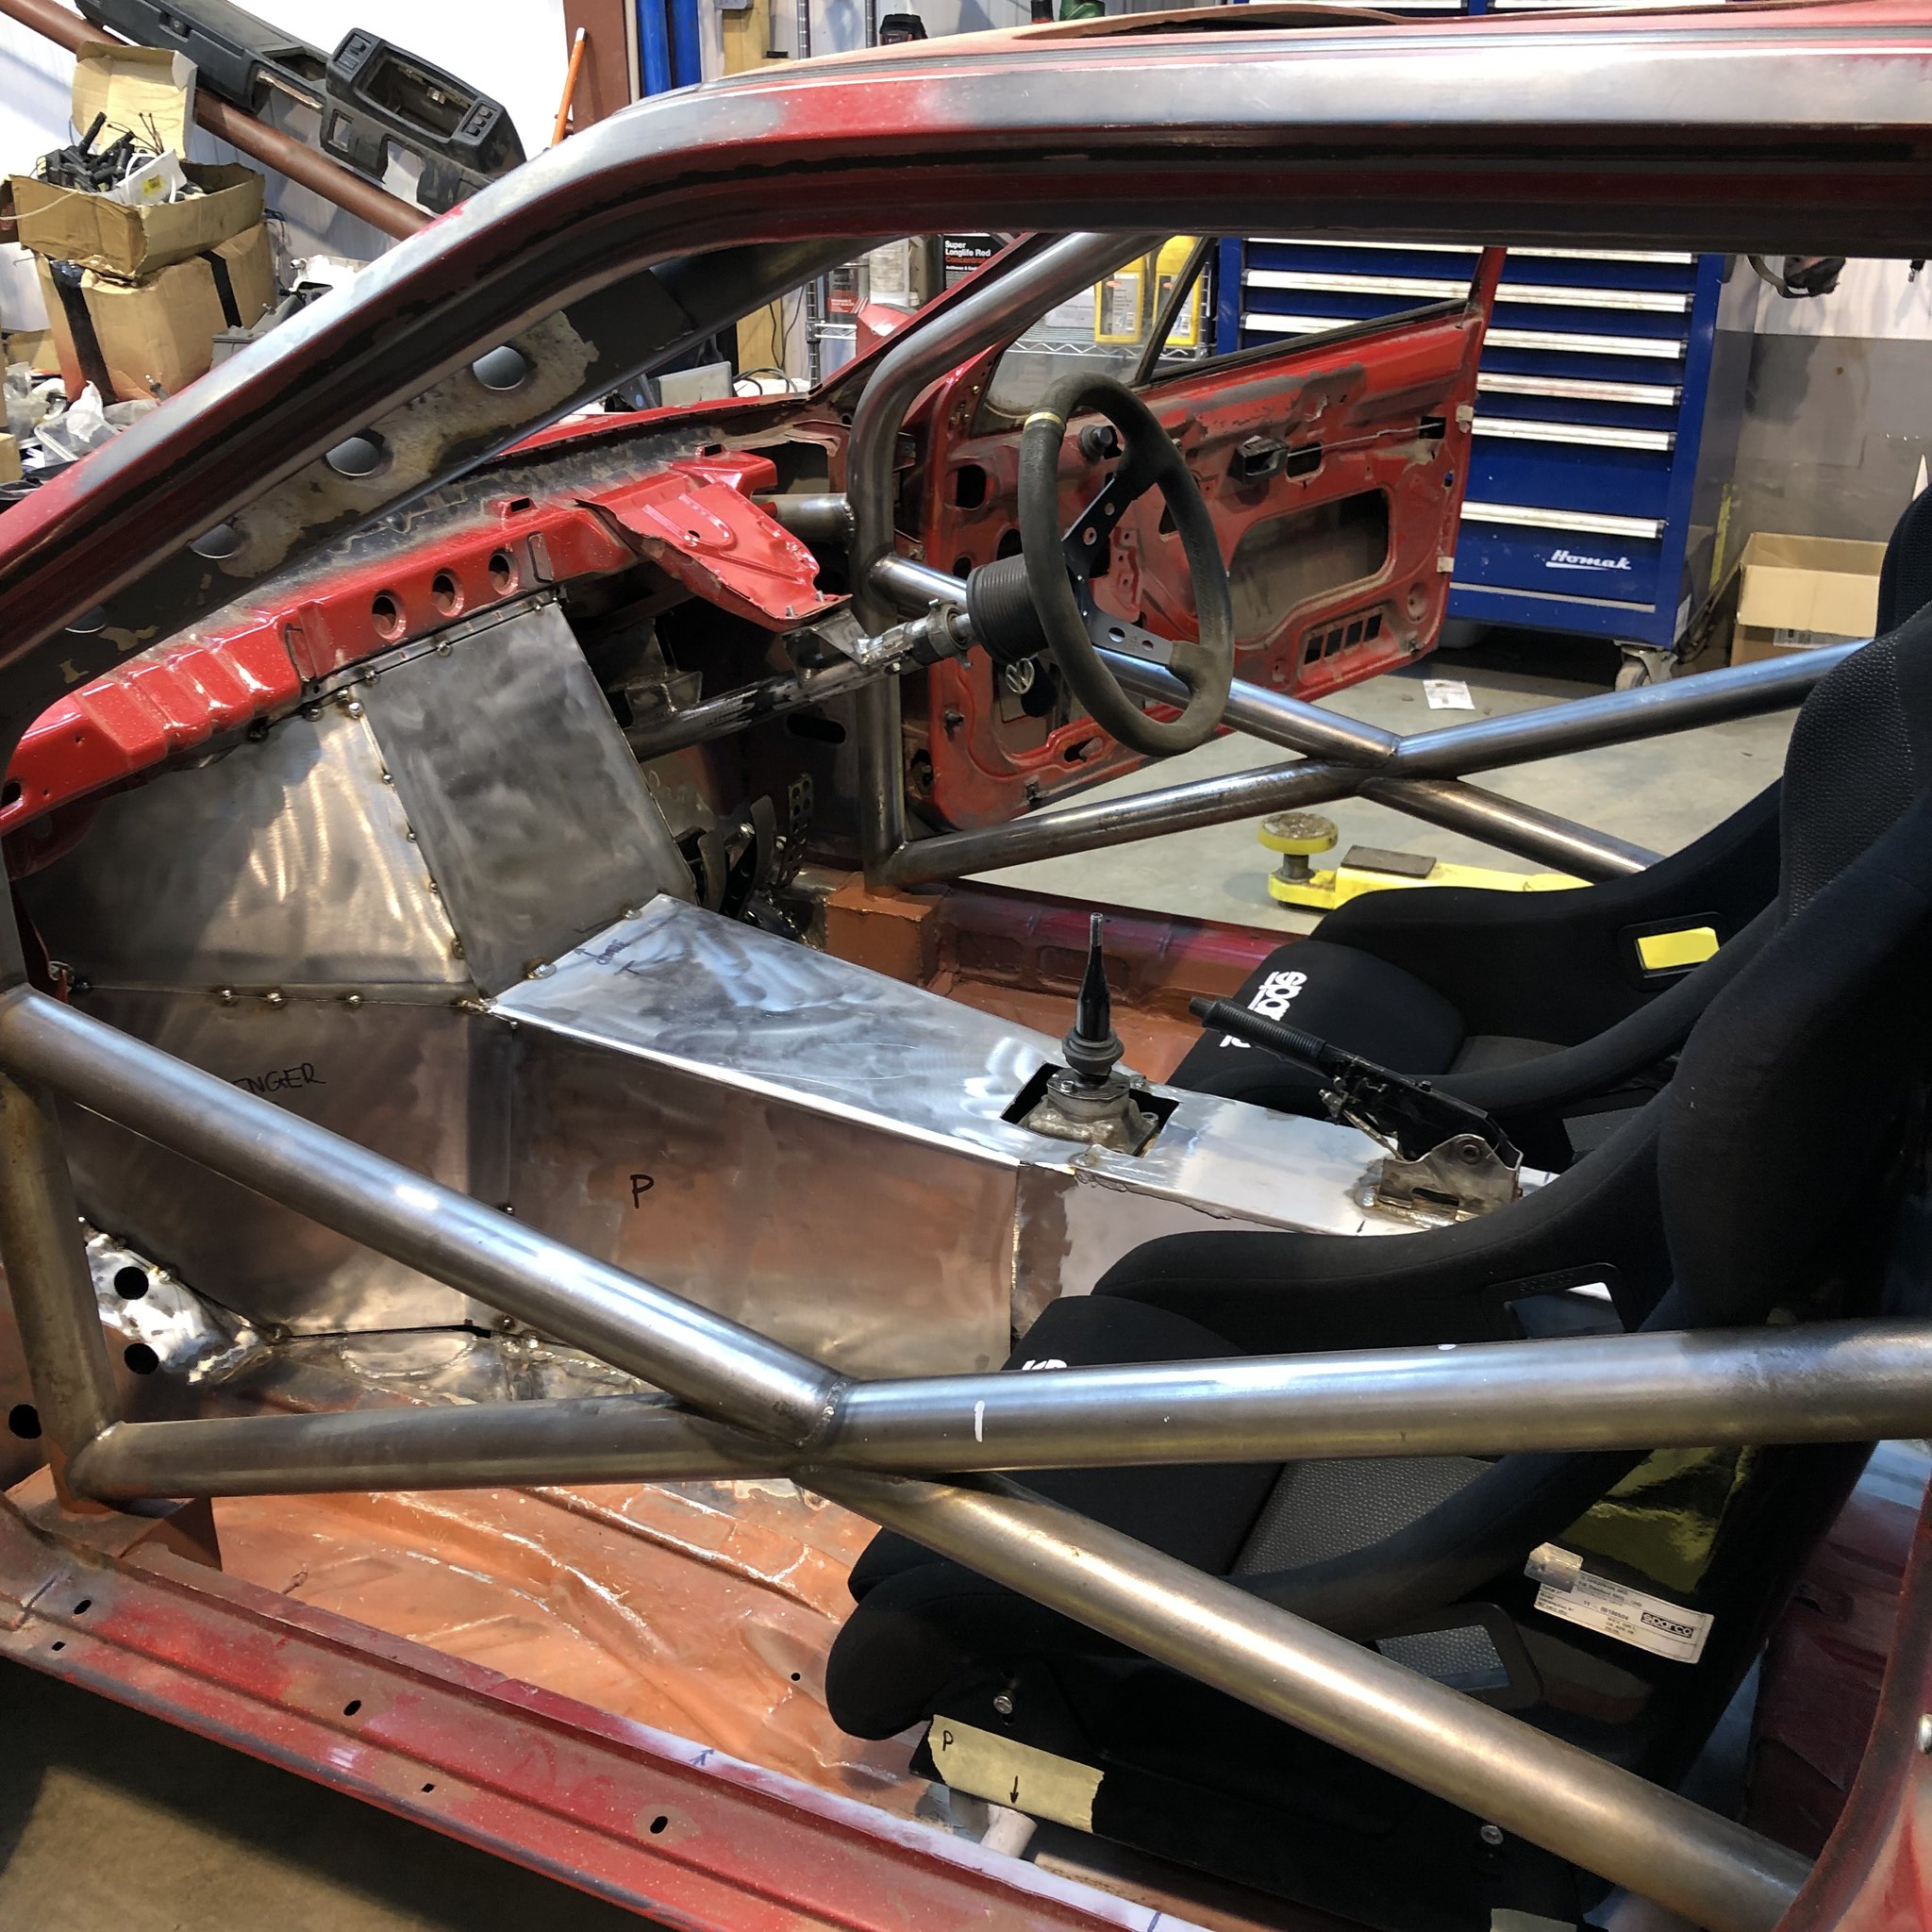
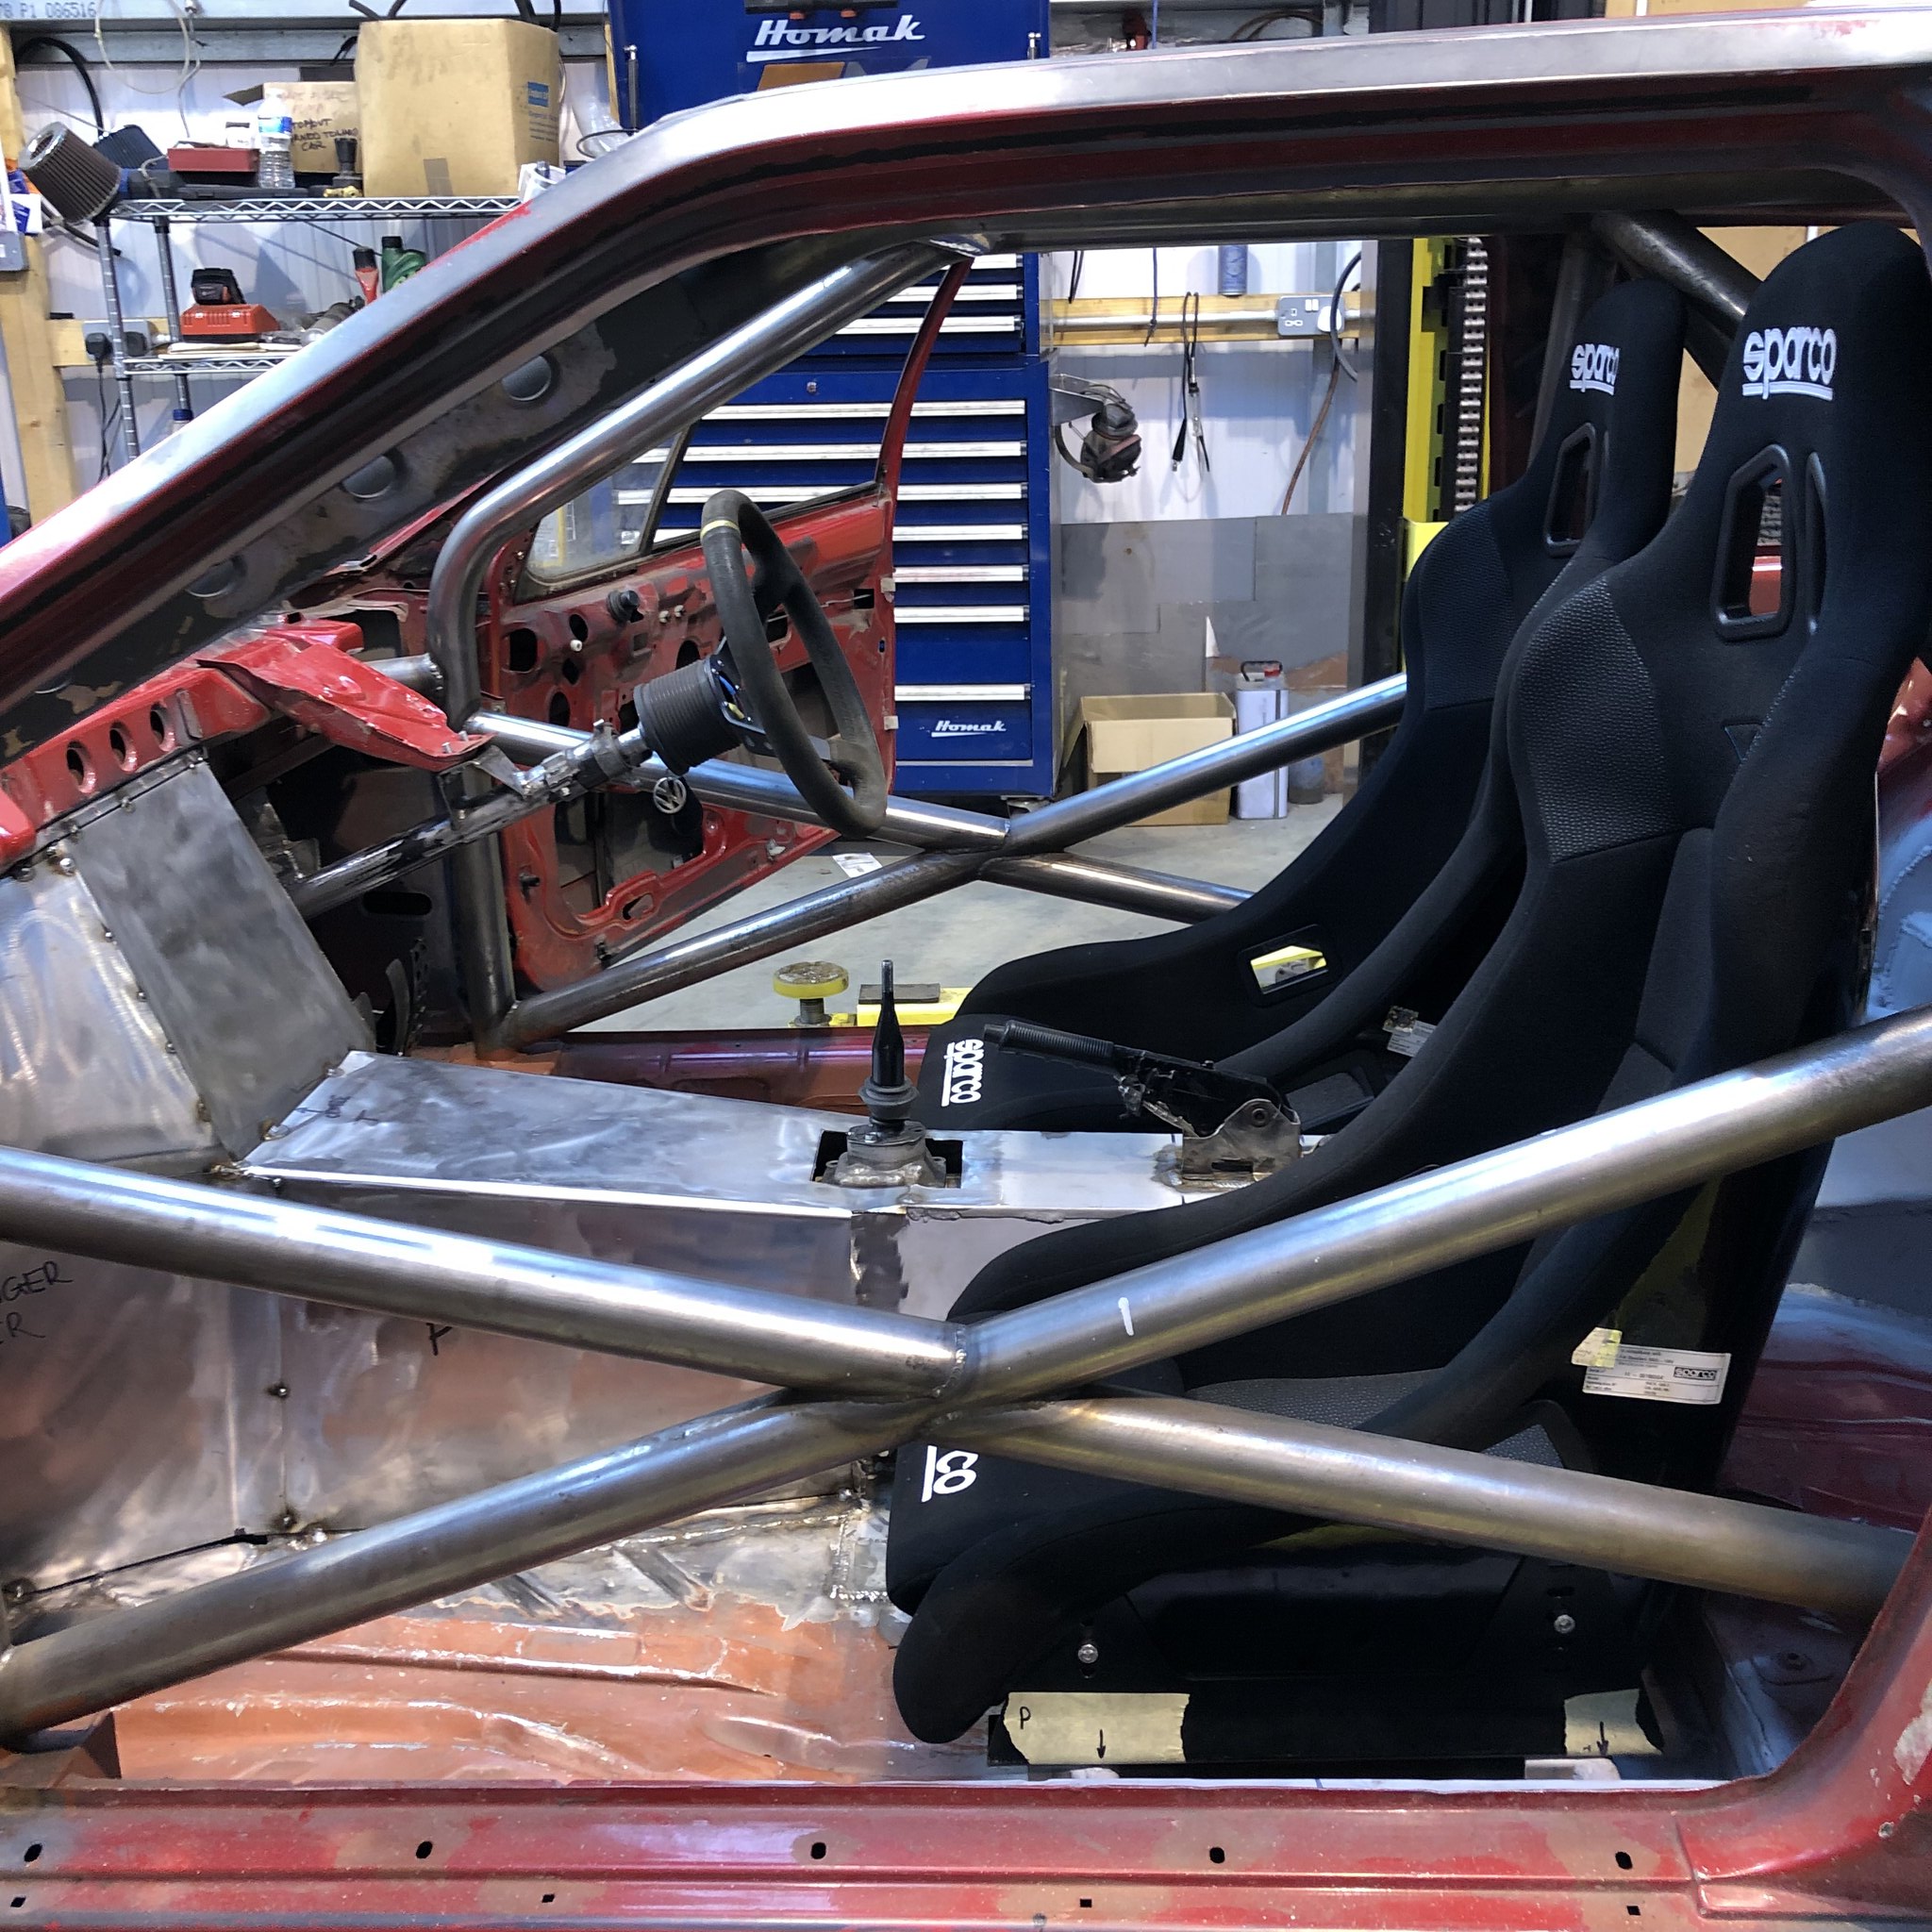
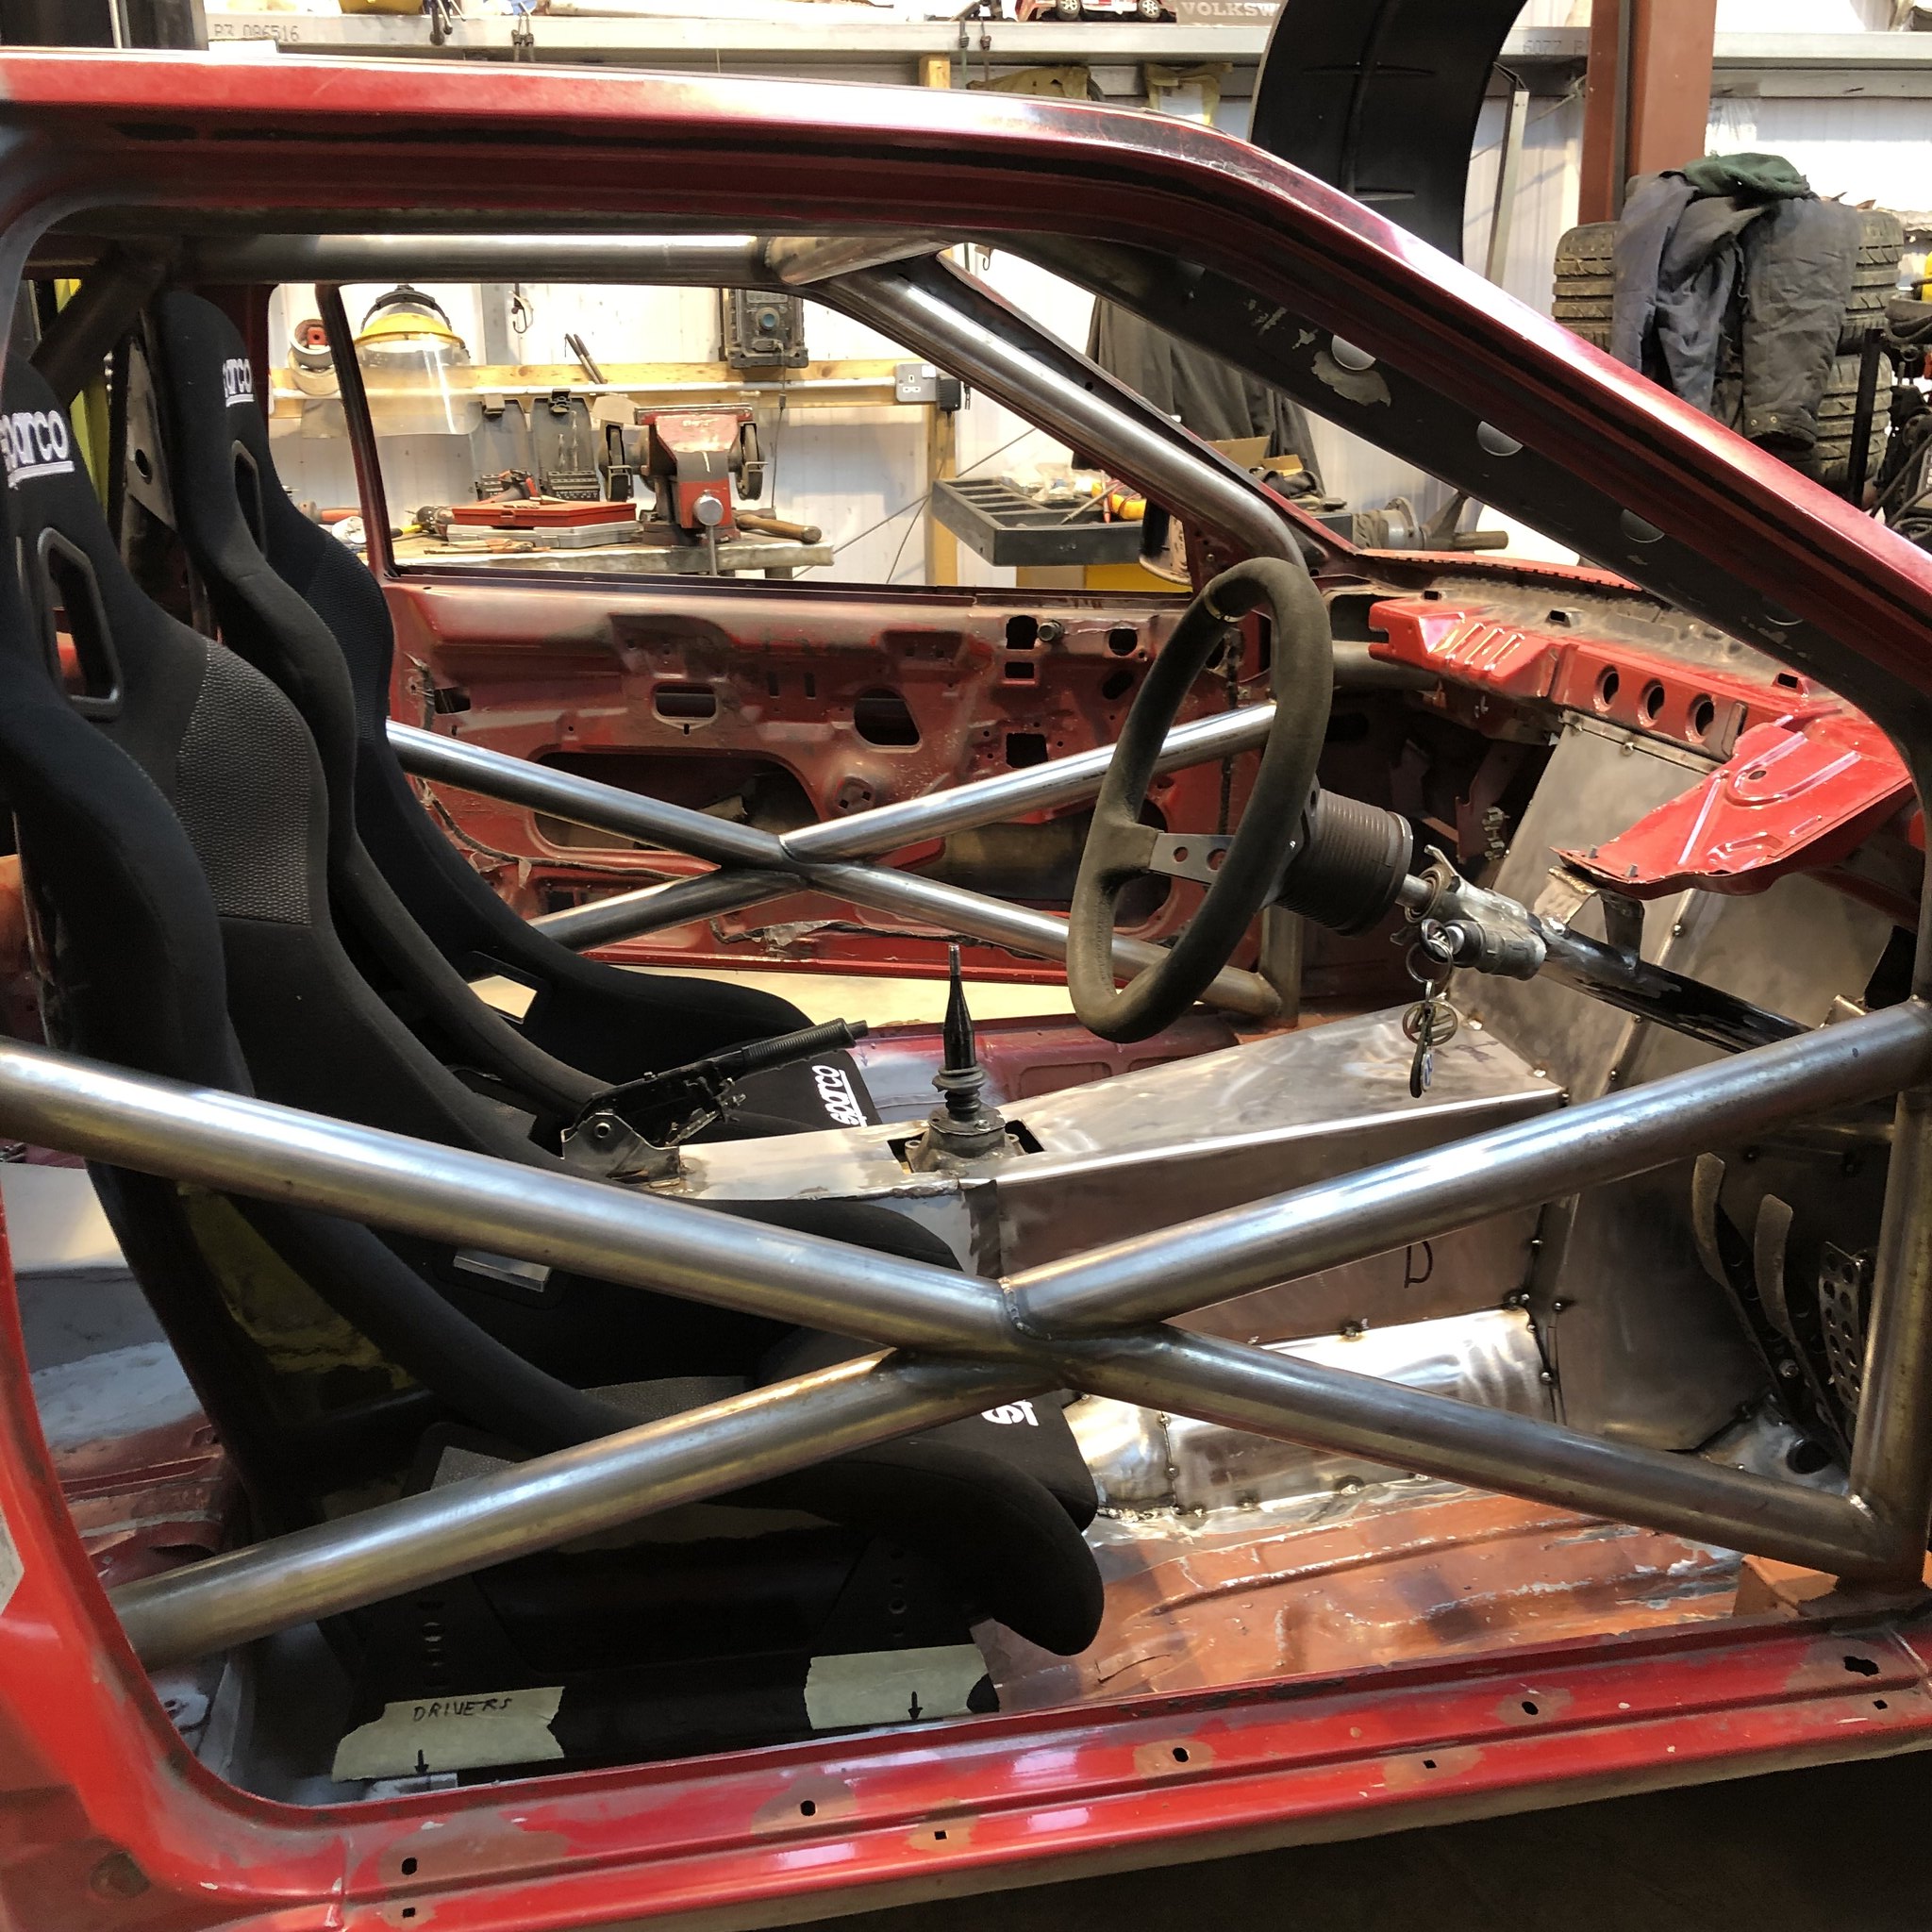
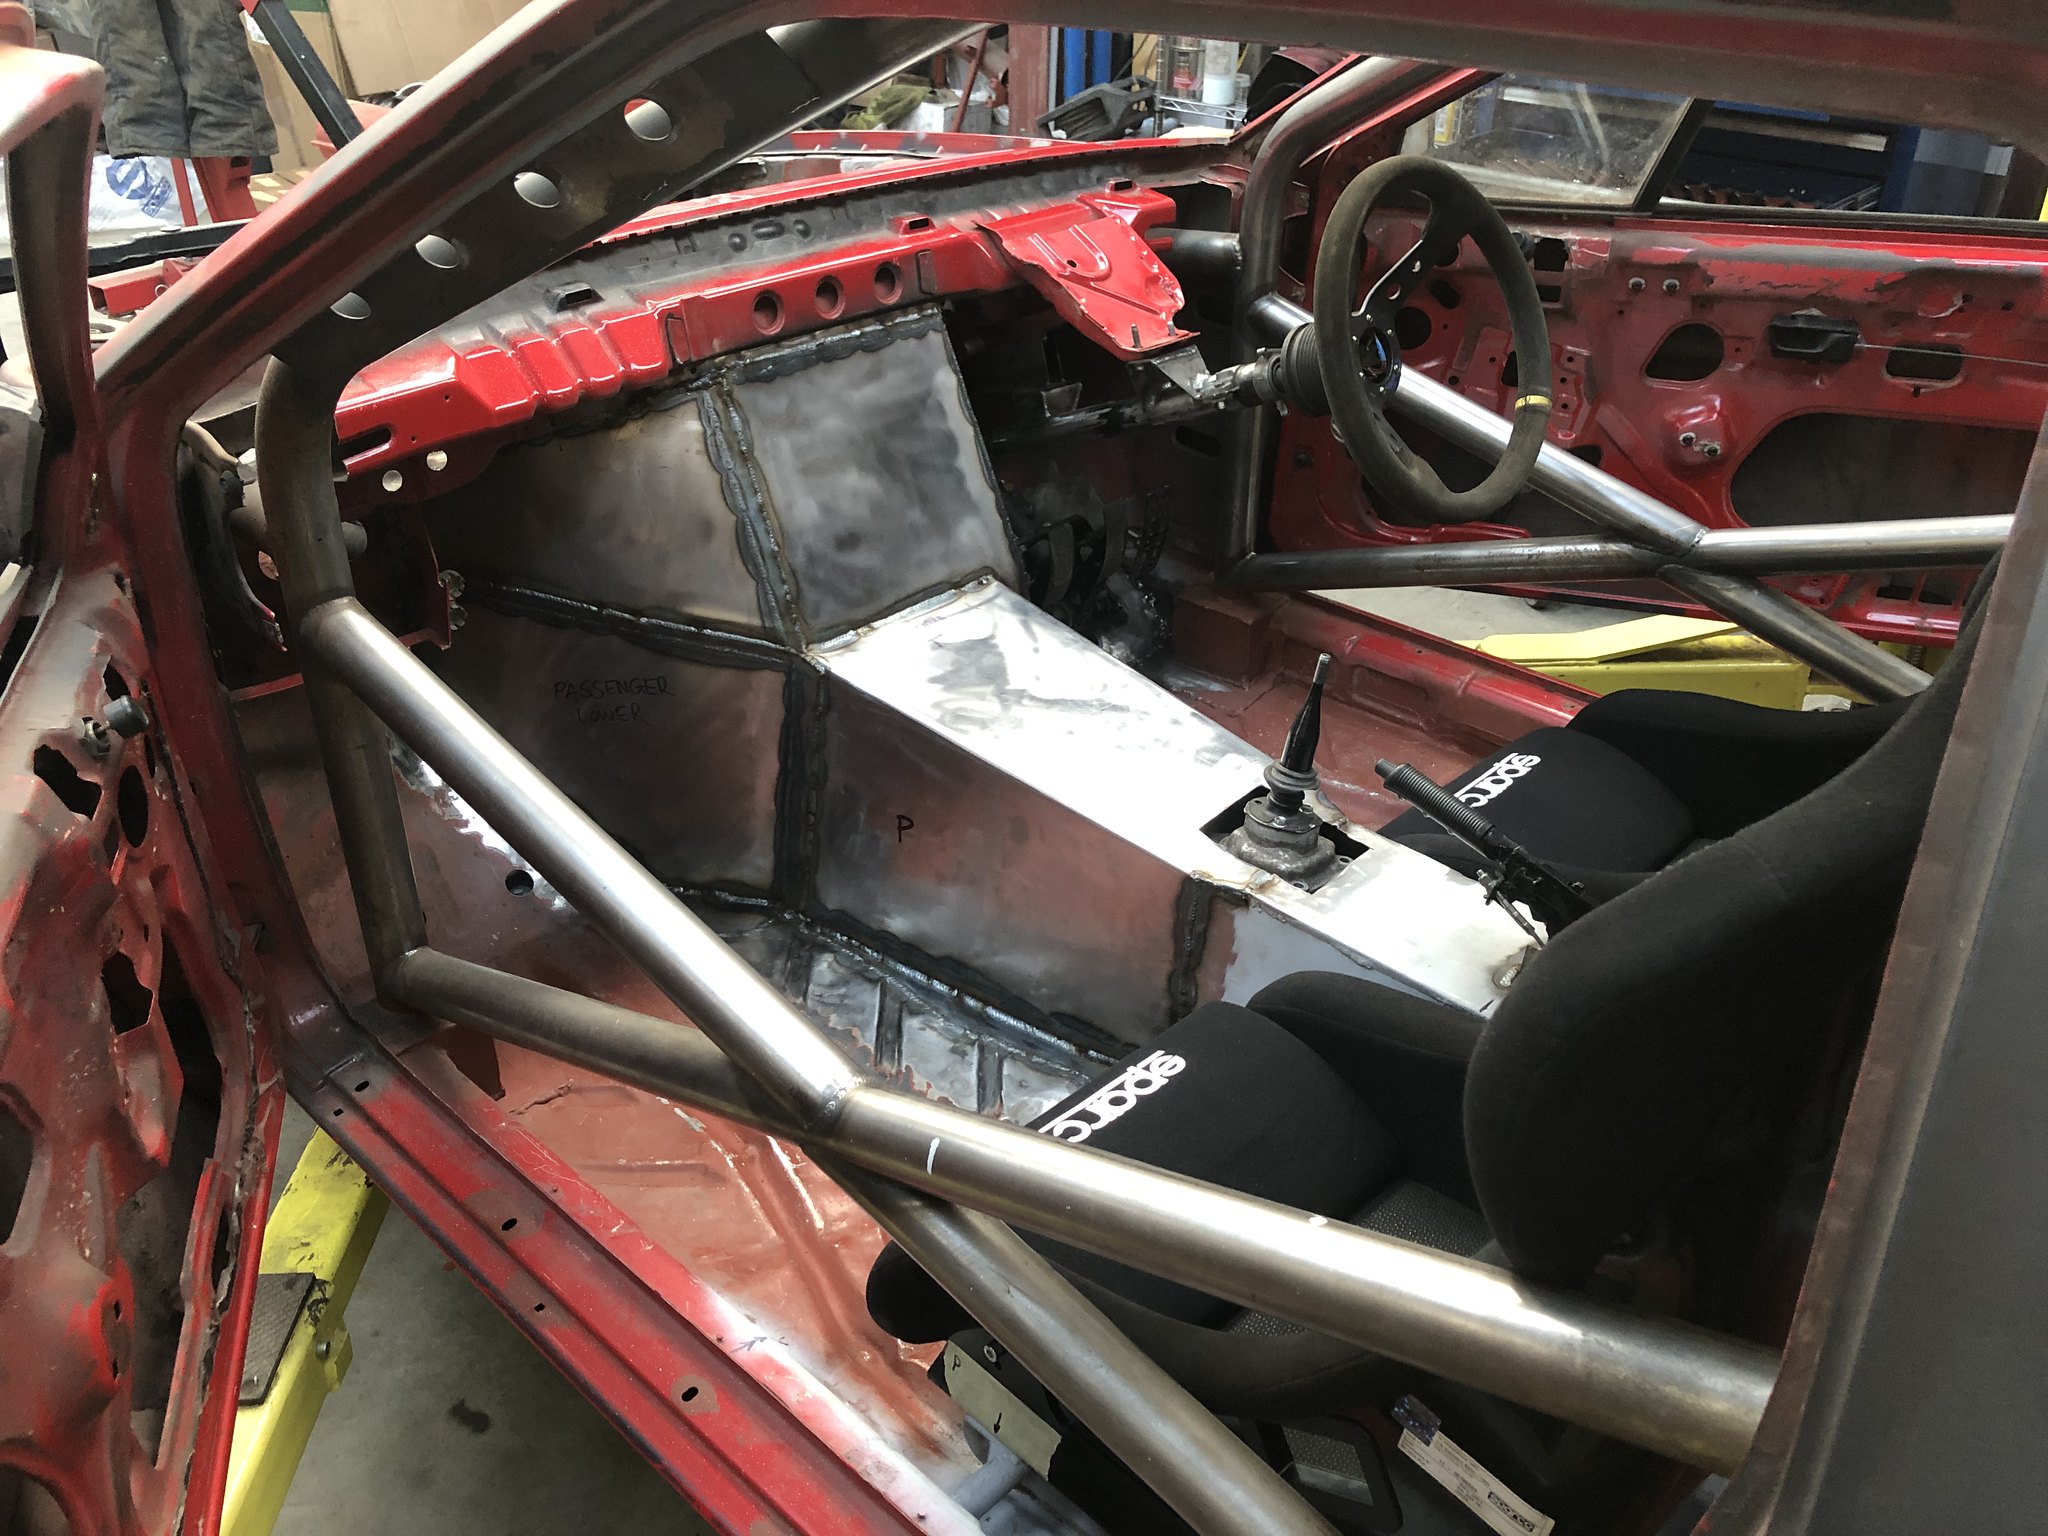
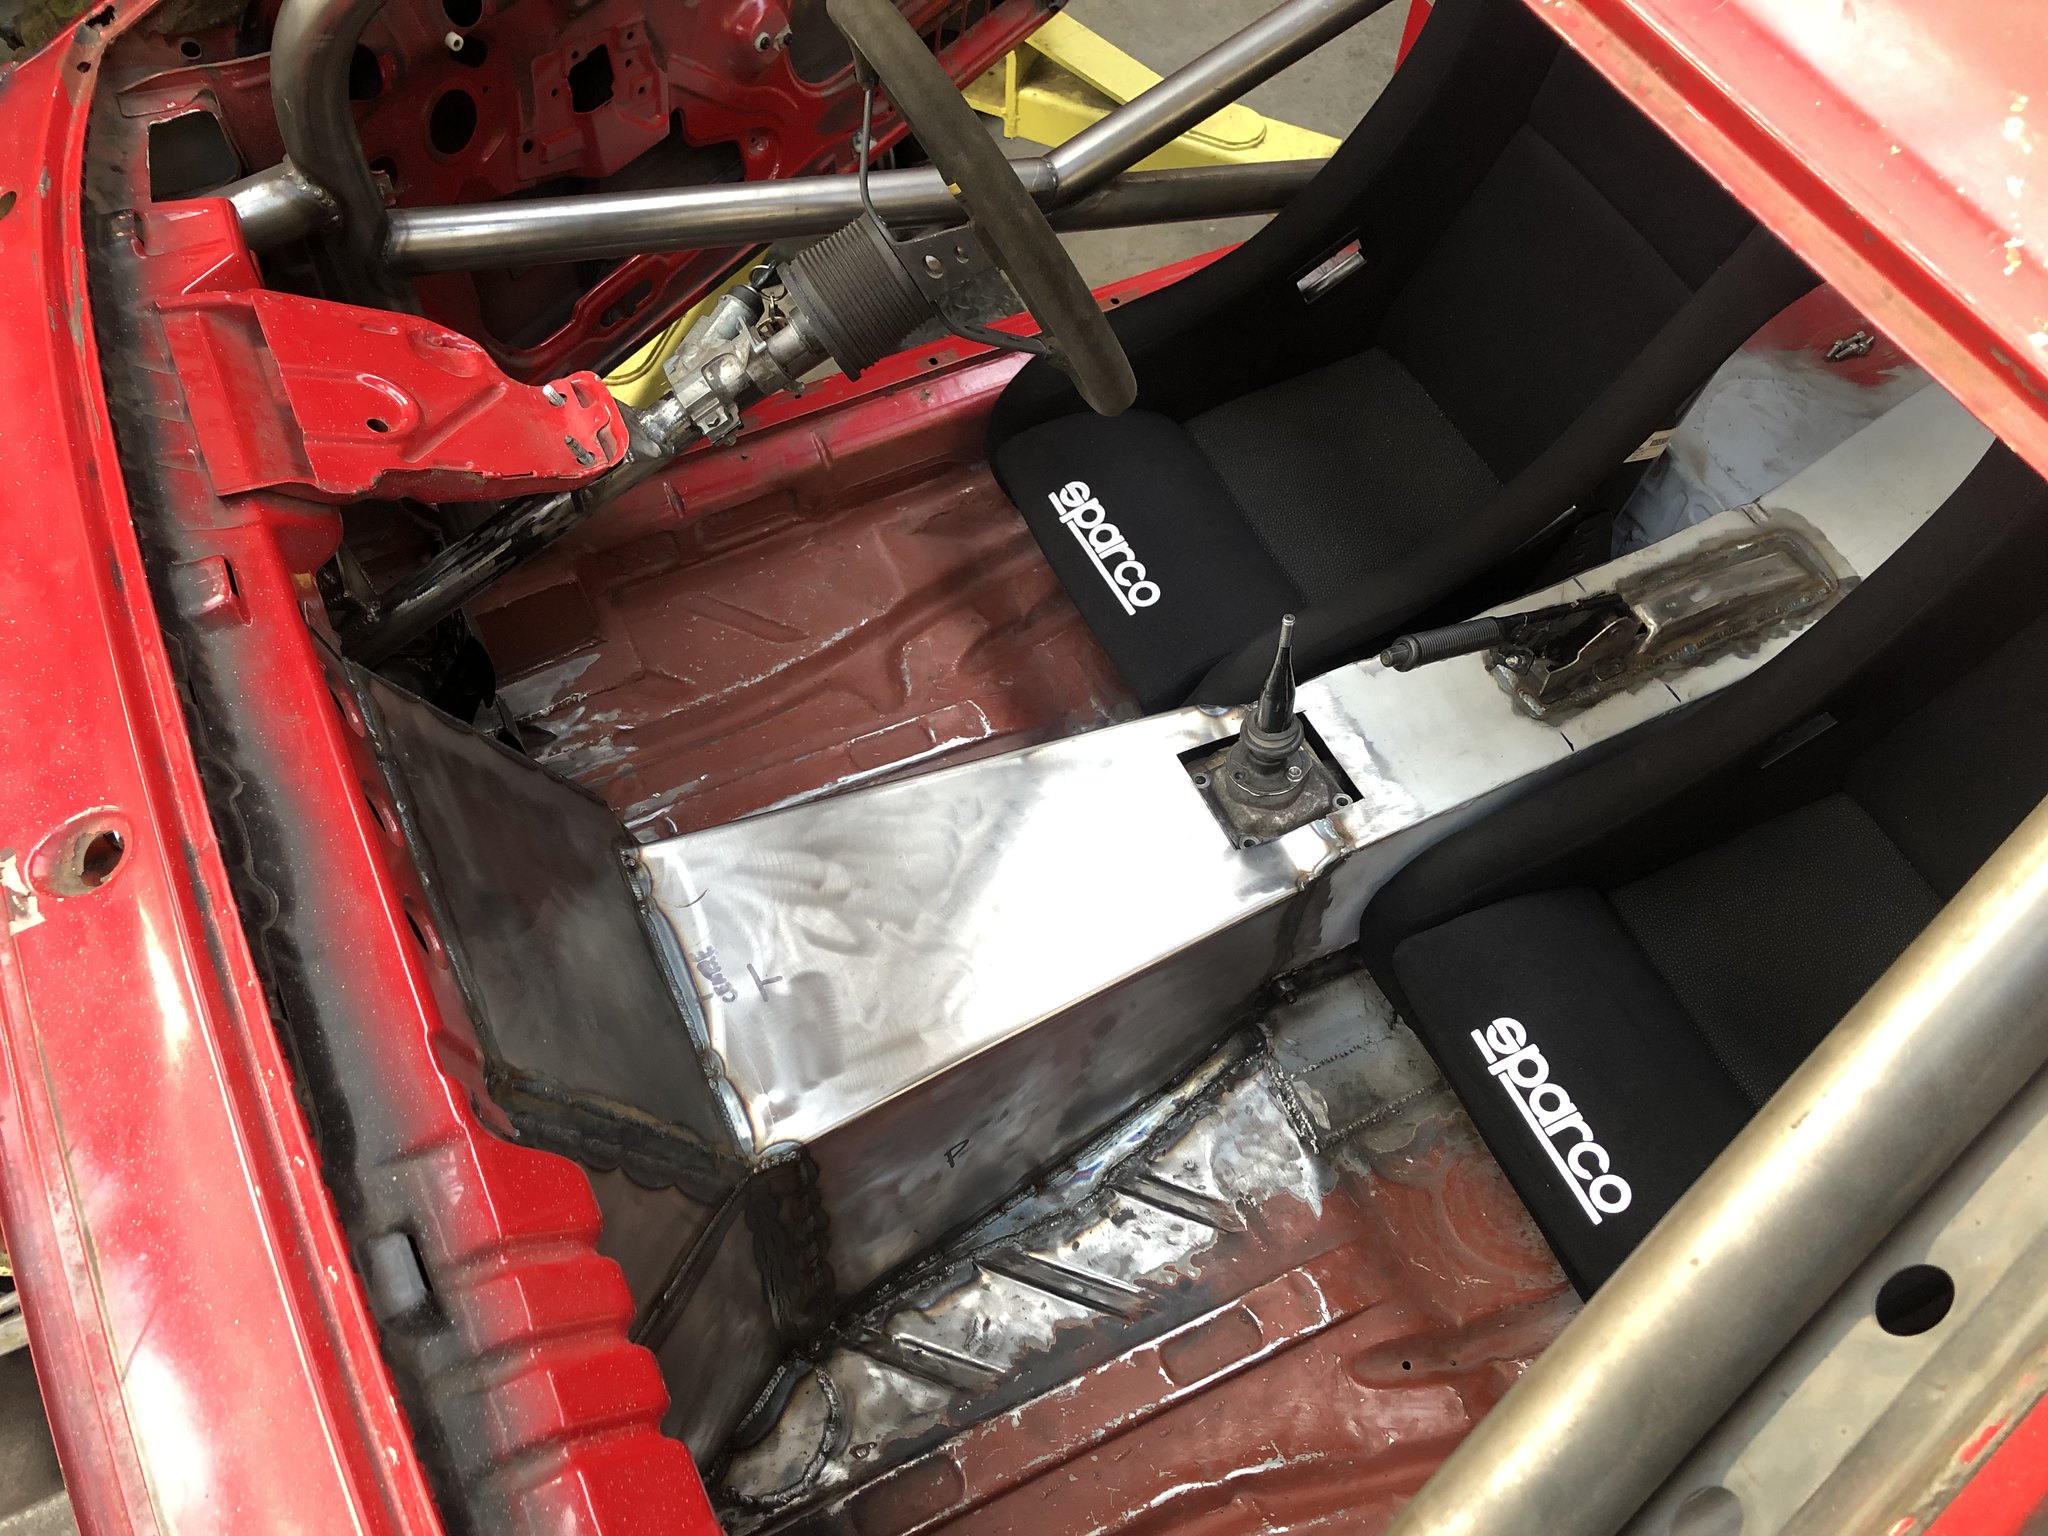
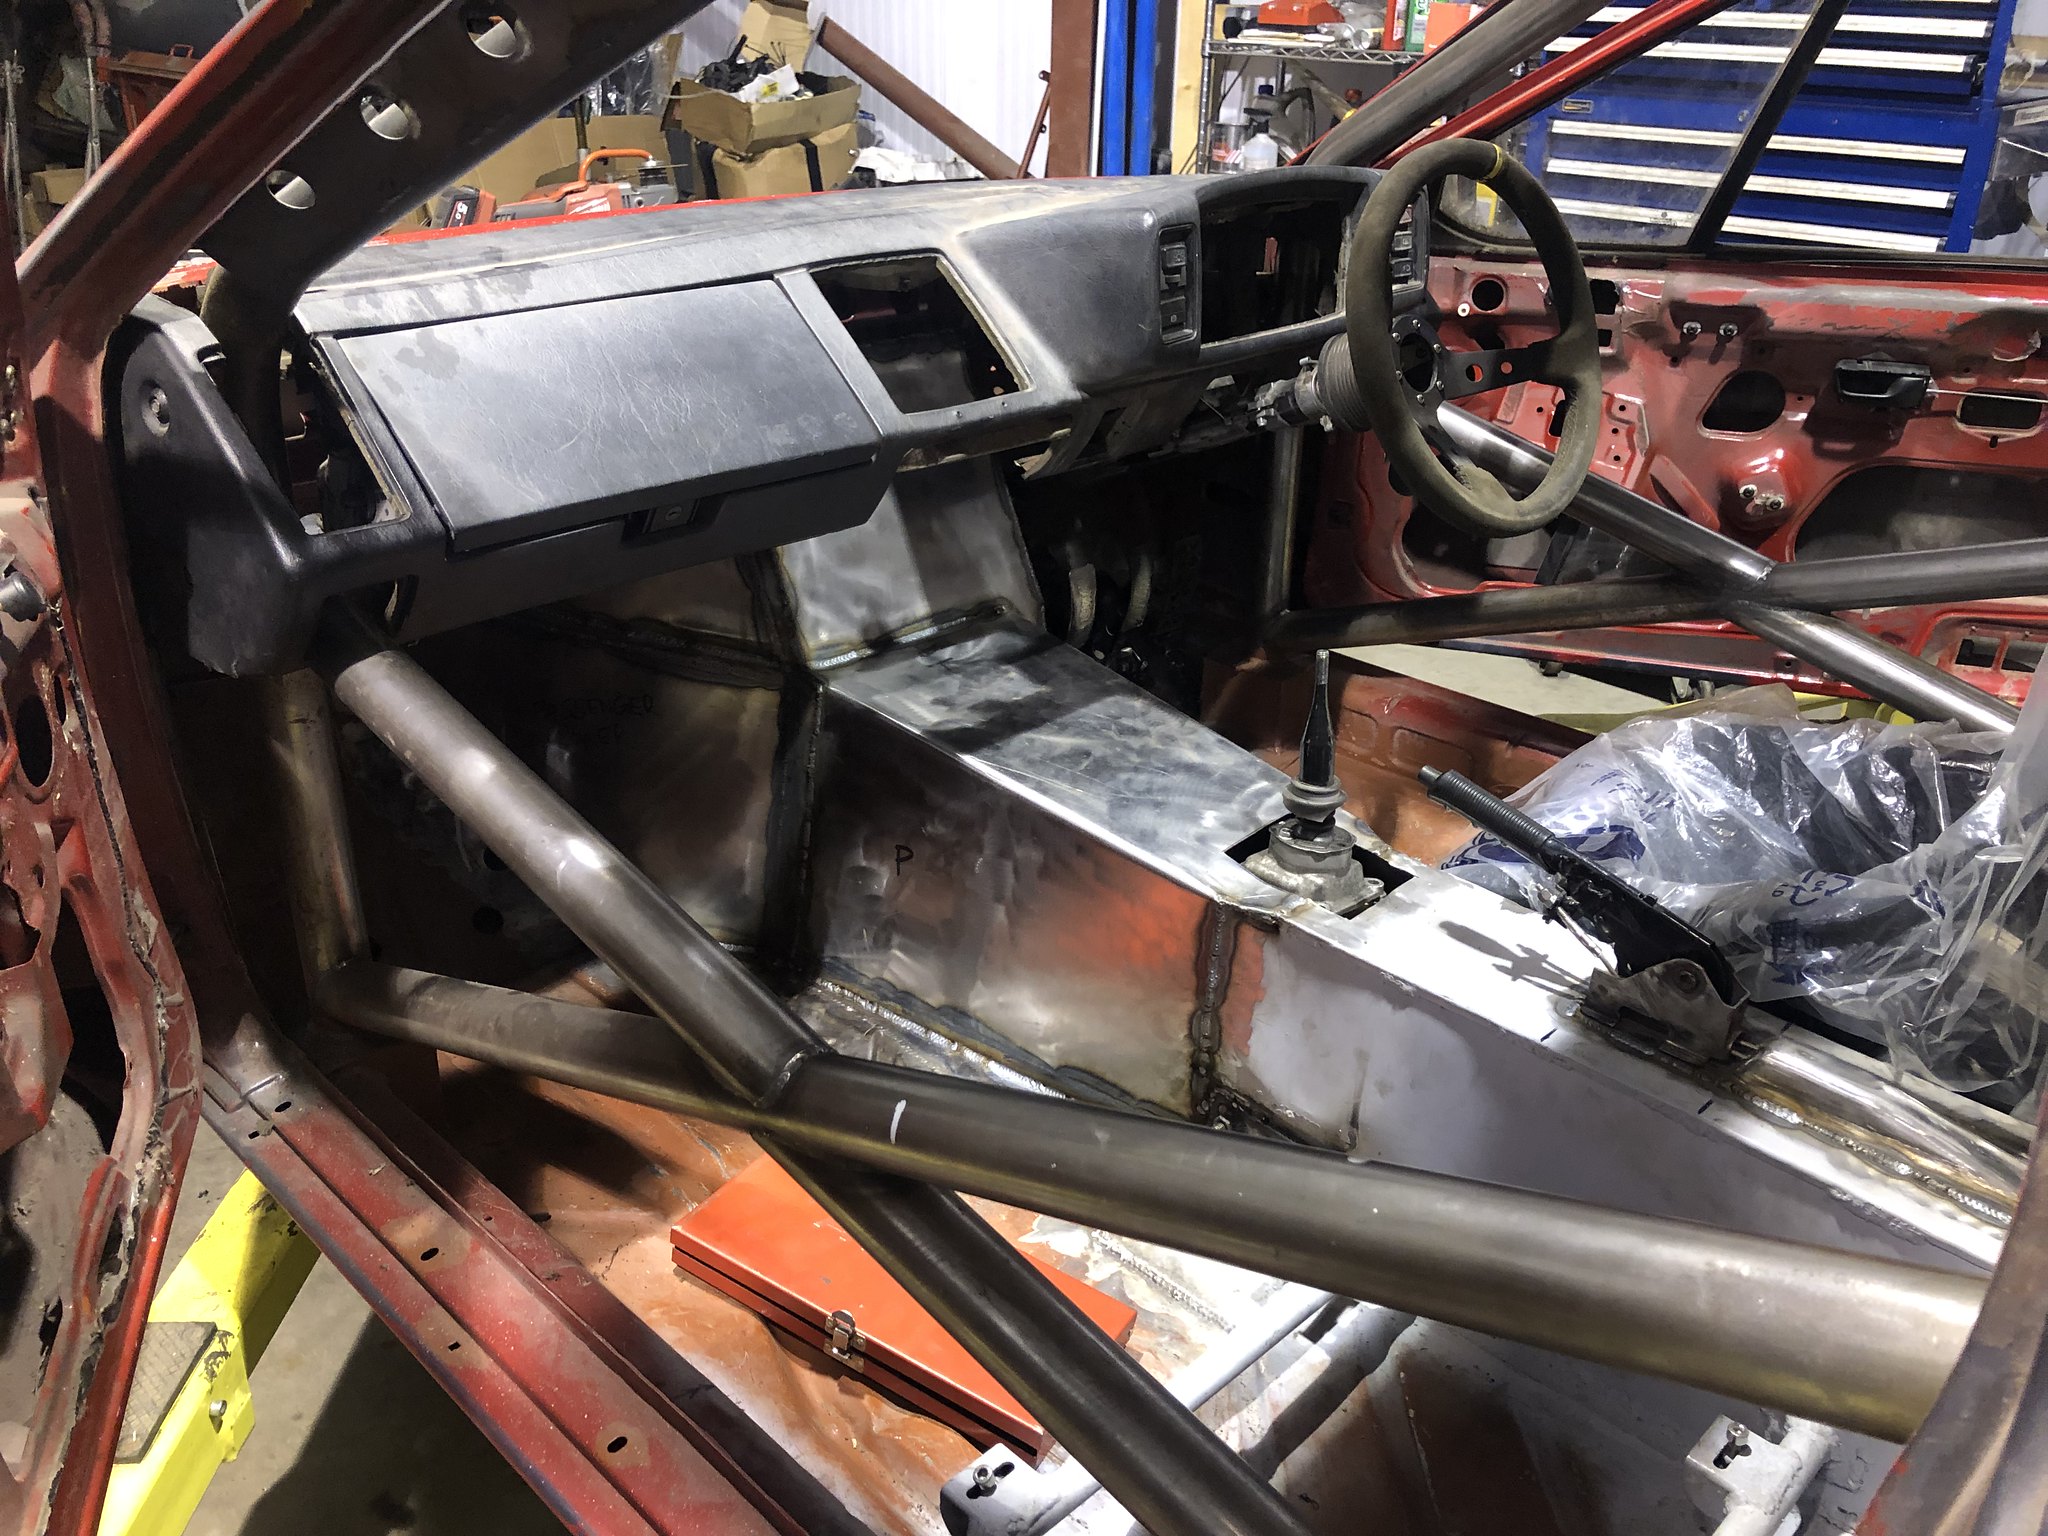
Finally got my bulkhead and tunnel all tacked up with the engine and box still bolted up to ensure everything clears.
Complete pain to do, especially round the drivers side as the pedalbox, steering column and 3" downpipe are all fighting for the same space.

Can now drop the engine and box out and get everything fully welded up before doing a bit of surgery to the dashboard to get it to fit!

Image

Image

Image

Image

Image


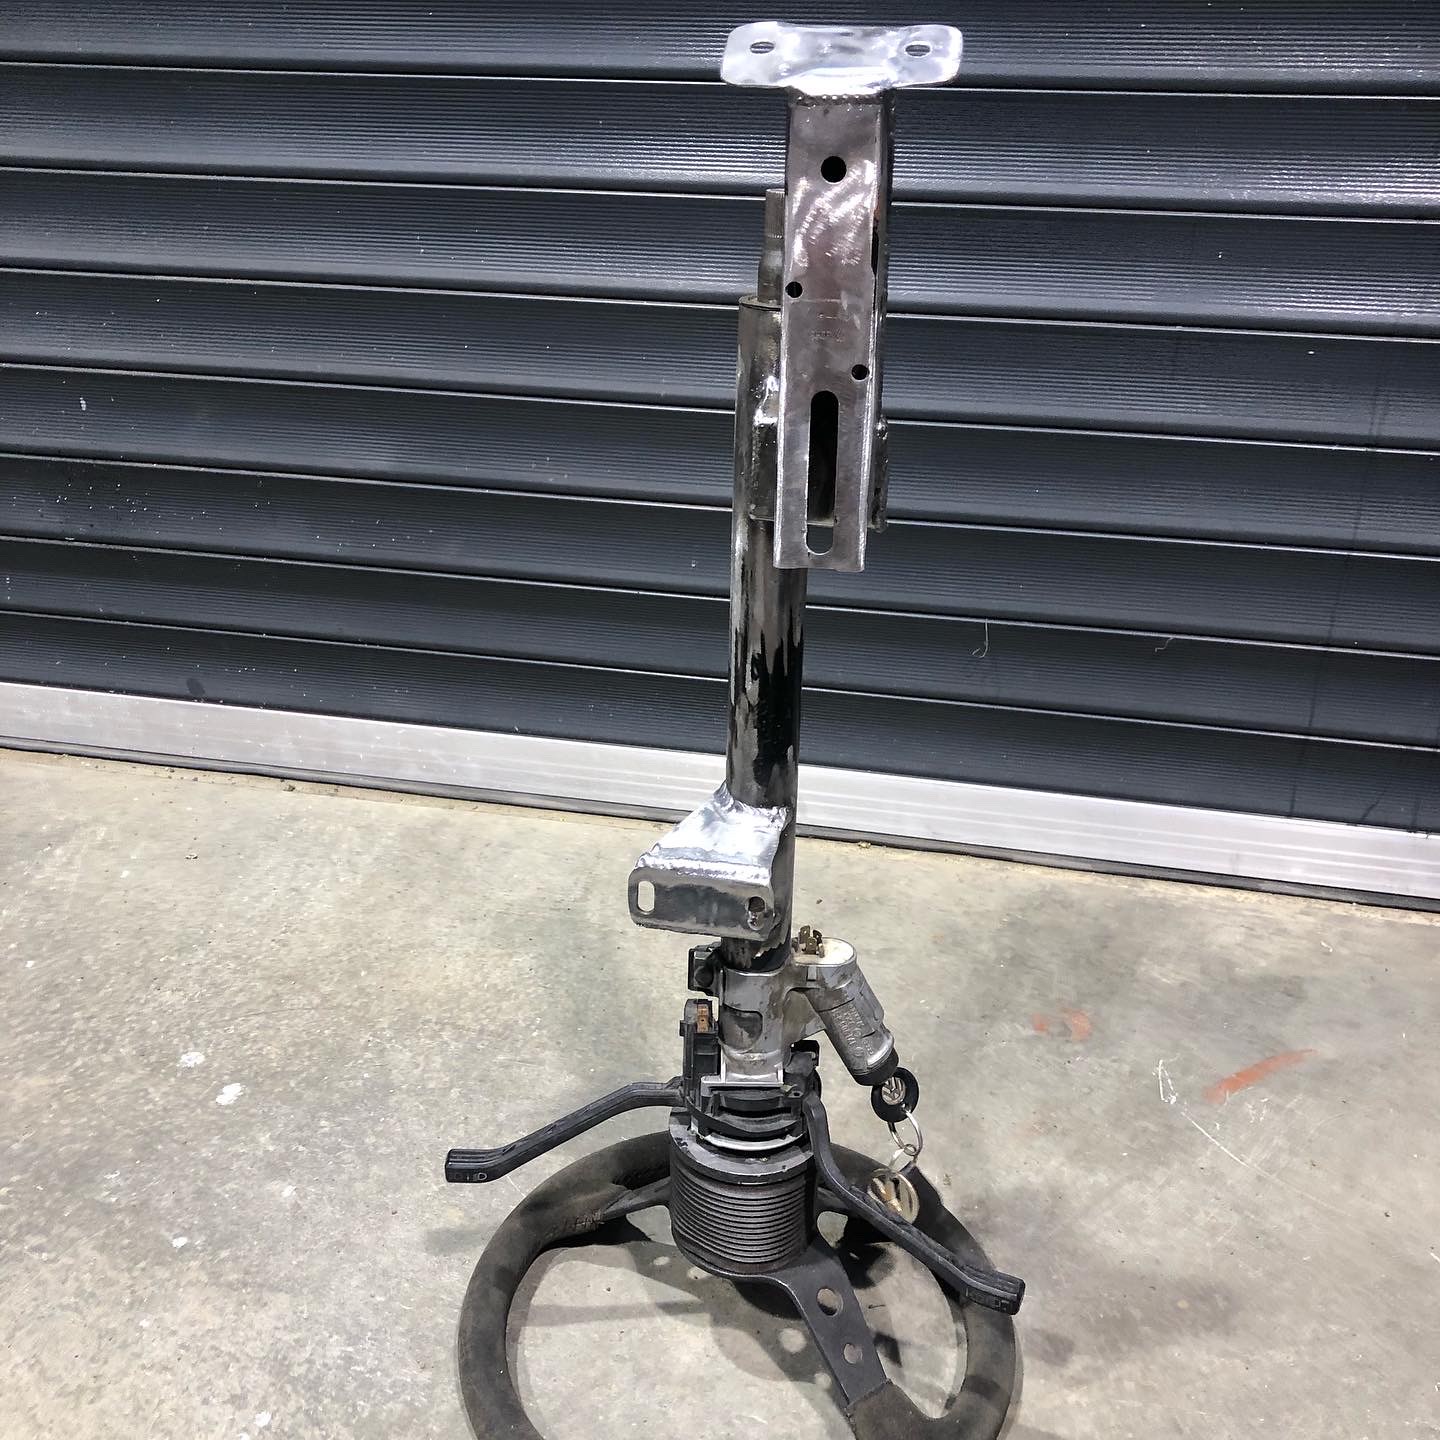
Original scirocco steering column modified a bit to suit my driving position better

Image


Made a bit of a start to the exhaust too, 3" all the way back from the turbo, should be relatively straight forward from here onwards!

Image


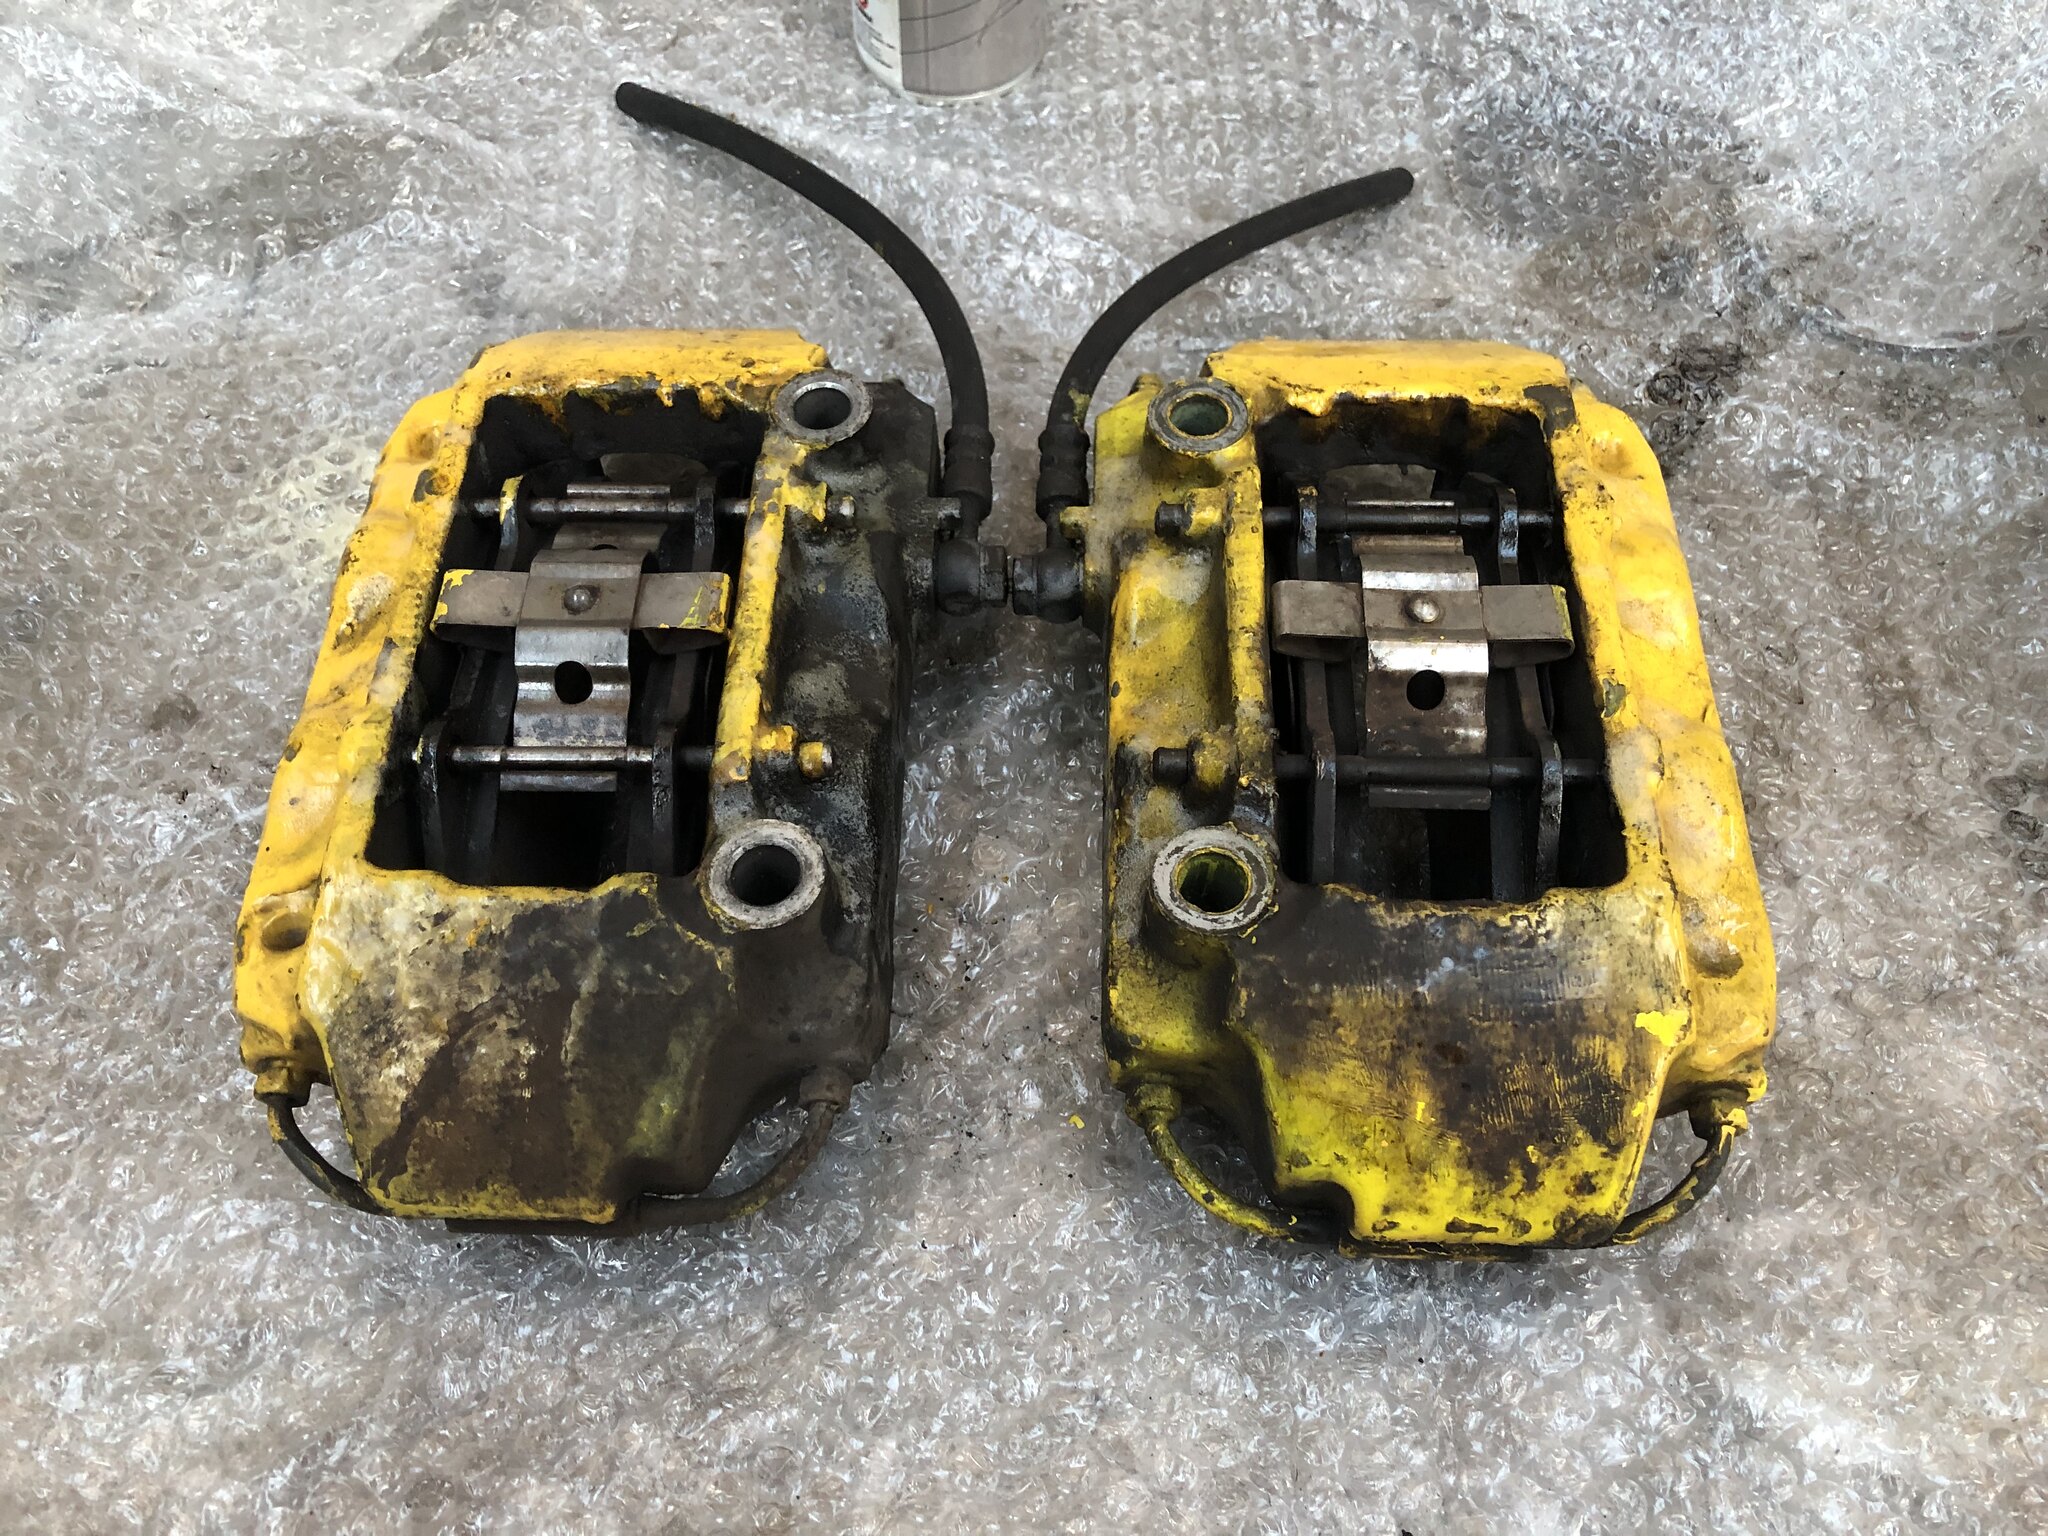
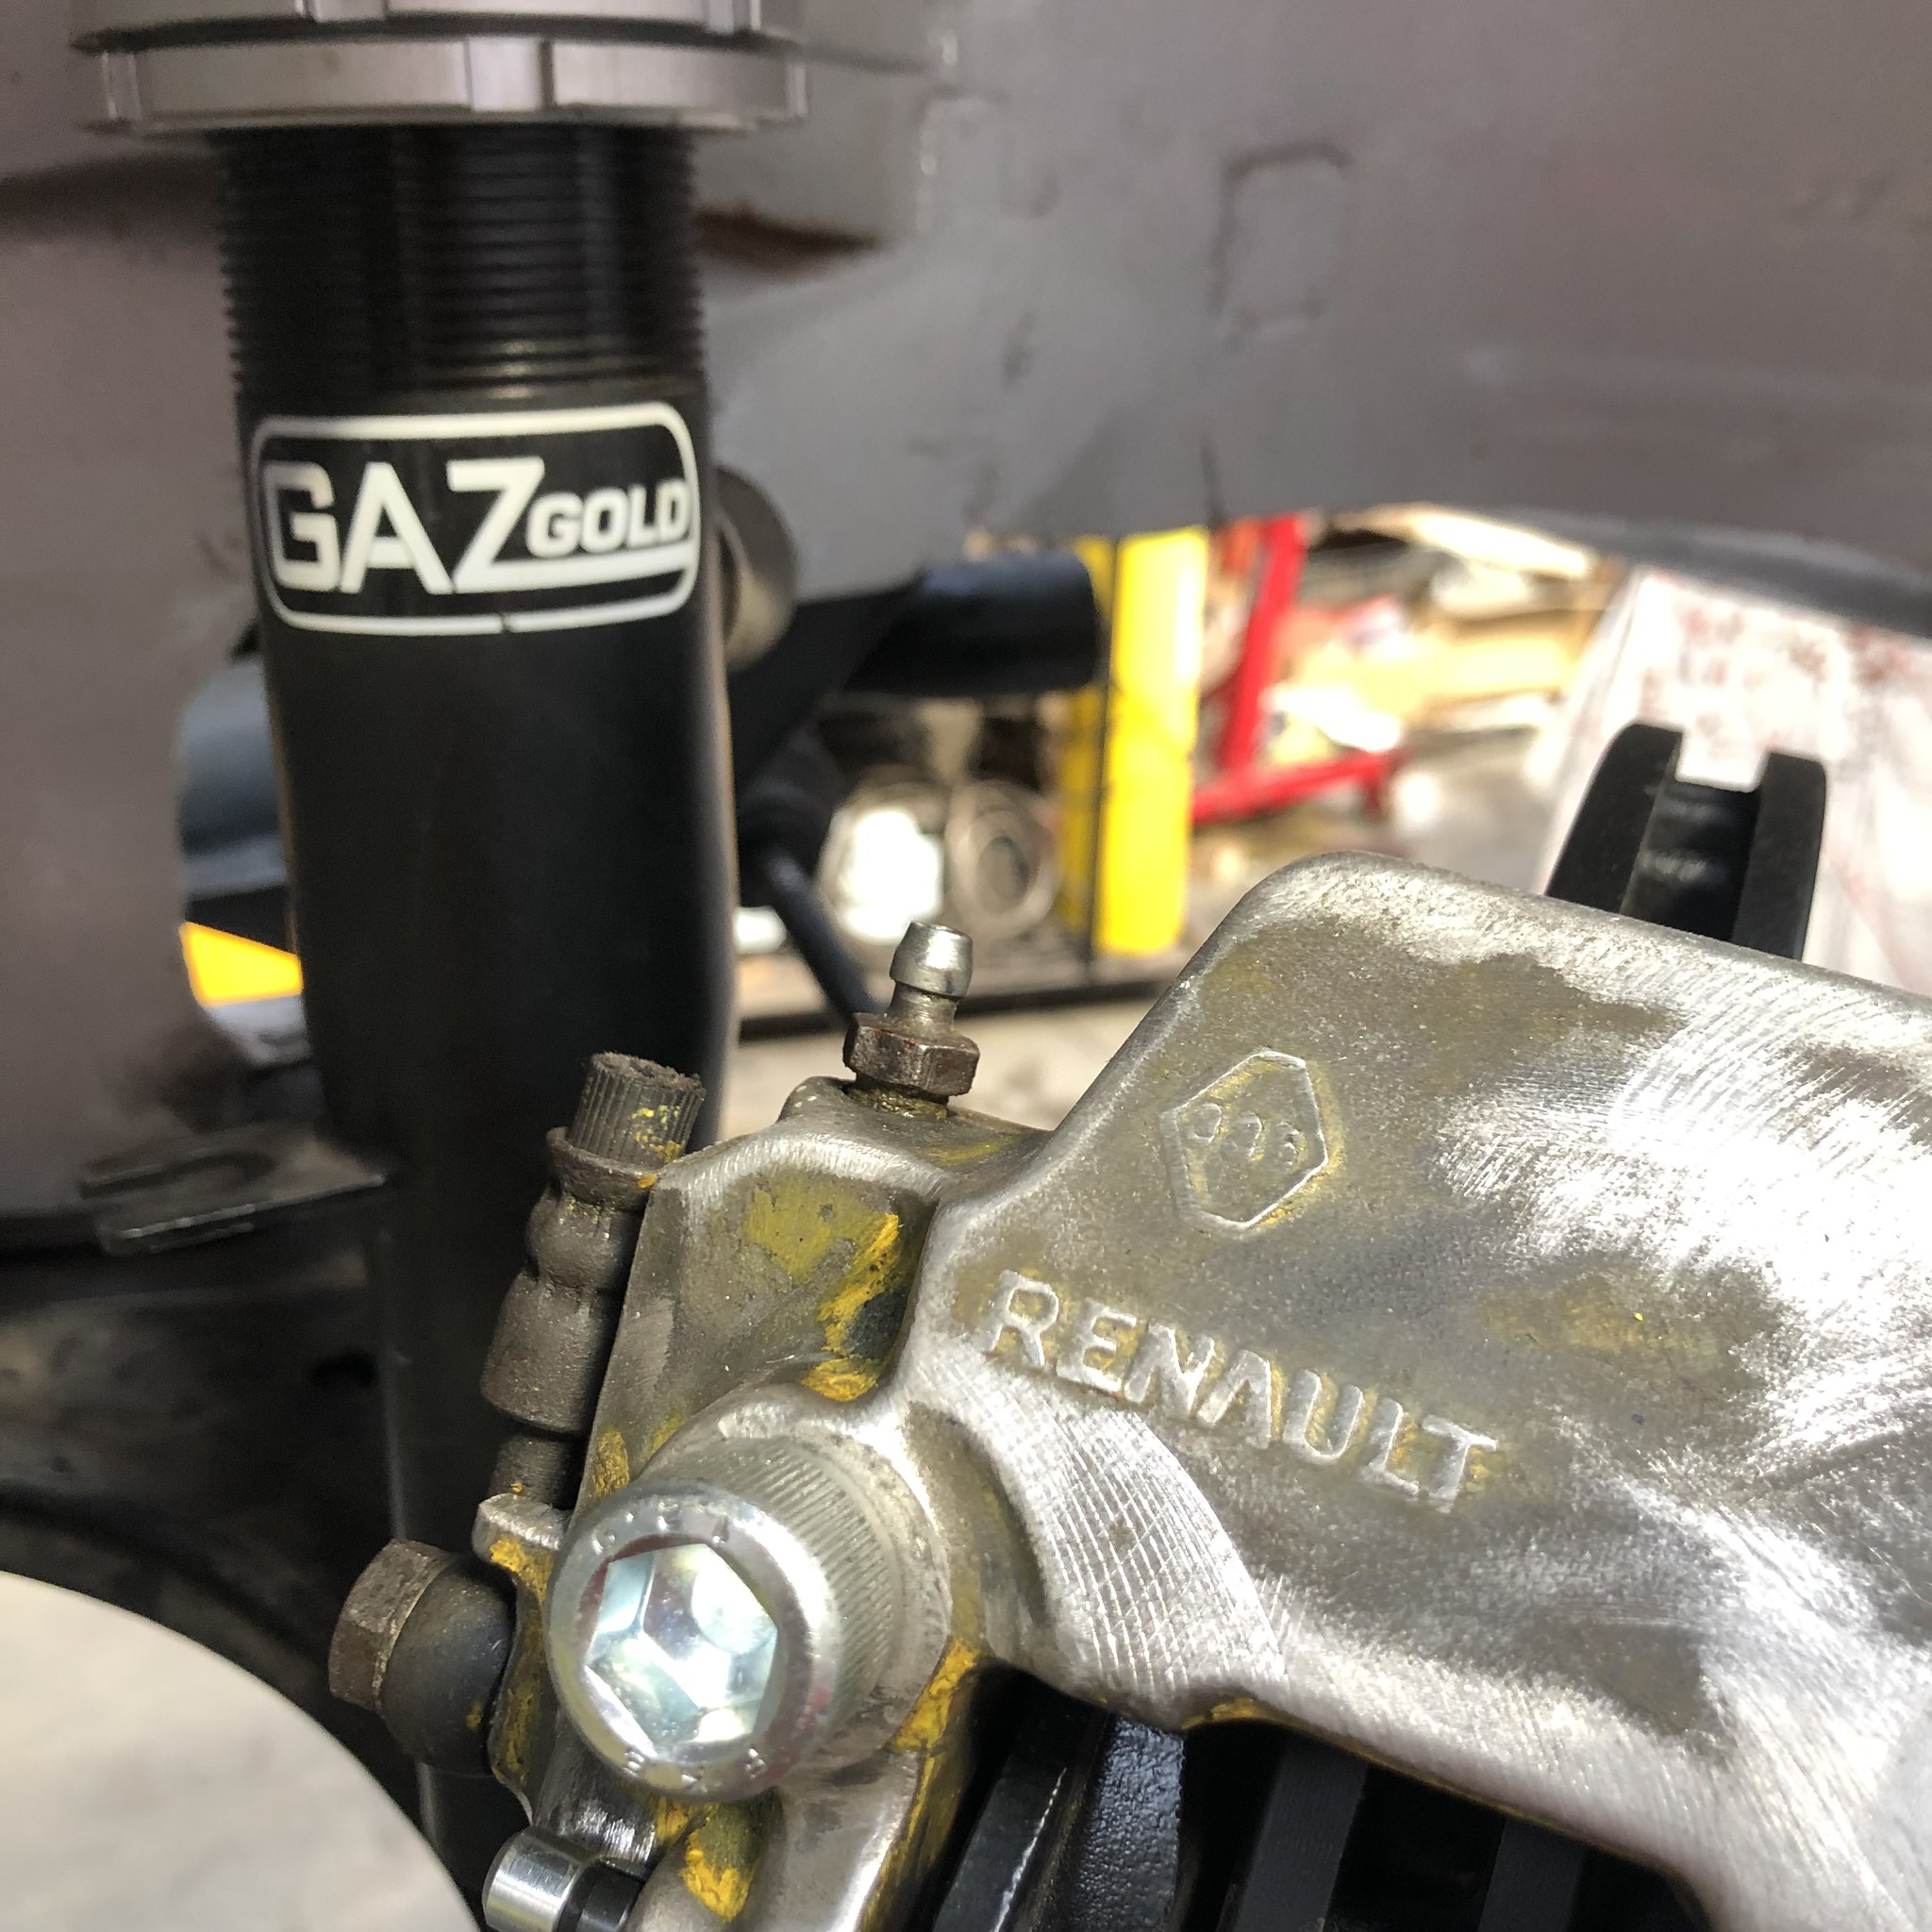
And after a couple discussions with Richard at North East Brakes I have a plan in place for my front brakes, will be using Renault Megane 225 4 pot brembos with a focus ST170 front disc, so all those bits and bobs are with him now to have some caliper carriers machined up.

Image

Image

Full steam ahead now, I want to be driving this thing this year!


mk2daz
Posts: 123
Joined: Thu Dec 29, 2016 3:39 pm
fill in the right answer: 15

Re: Mk2 RWD 1.8T

Post by mk2daz »

Engine and box out earlier this evening, spilt gearbox oil everywhere..woops

Image

Image

Image


Engine bay is massive now!


Image


Made a start to the welding on the engine bay side, so far so good

Image

some decent penetration

Image

below view

Image


User avatar
essextom
Posts: 991
Joined: Sat Feb 18, 2012 6:27 pm
fill in the right answer: 10
Location: Chelmsford

Re: Mk2 RWD 1.8T

Post by essextom »

what tube did you use for your cage and what did you bend it with?


mk2daz
Posts: 123
Joined: Thu Dec 29, 2016 3:39 pm
fill in the right answer: 15

Re: Mk2 RWD 1.8T

Post by mk2daz »

essextom wrote: Wed Jan 12, 2022 7:36 am what tube did you use for your cage and what did you bend it with?
Hey Tom, its 2" cds Ropt510 rollcage tubing, I never made the cage myself but i'm sure it was all bent on a hydraulic tube bender.

hope that helps
Daz


User avatar
essextom
Posts: 991
Joined: Sat Feb 18, 2012 6:27 pm
fill in the right answer: 10
Location: Chelmsford

Re: Mk2 RWD 1.8T

Post by essextom »

cheers mate


mk2daz
Posts: 123
Joined: Thu Dec 29, 2016 3:39 pm
fill in the right answer: 15

Re: Mk2 RWD 1.8T

Post by mk2daz »

Tunnel and bulkhead now fully welded up inside and out

Engine has been in and out a couple times to check everything clears, which thankfully after loads of welding, it all still clears and fits.

Image

Image

Image

Image

Image

Image


Downpipe is now on version 4(!) where it has been split into 2 sections with a V-Band to make for easier removal/fitting.

Image


Very happy with how it has all turned out, just need to go back in and buzz back / tidy up some of the welds before i can nail it all in some epoxy primer.

While the engine is still in though I'm going to build up the remainder of my exhaust so i can weld hangers/brackets etc to the inside of the tunnel.


Going to be doing a bit of surgery to this dashboard next to get it to fit around the cage and around the bulkhead!

Image

Image

Image


User avatar
C 20 CCO
Posts: 258
Joined: Sat Jan 06, 2018 7:38 pm
fill in the right answer: 15
Location: Burnley, Lancashire.

Re: Mk2 RWD 1.8T

Post by C 20 CCO »

Loved checking in on your fascinating build Daz, thank you for keeping us updated. 👍🏻.


kind regards,

Dave.

To be old and wise......
You must first be young and stupid!

Previously owned: 1984 1.6 CL in alpine white; 1986 1.6 GT in met light blue over black body kit; 1990 1.8 GT2 in silver.
Currently: 1991 GT2 in Pearl green metallic.
mk2daz
Posts: 123
Joined: Thu Dec 29, 2016 3:39 pm
fill in the right answer: 15

Re: Mk2 RWD 1.8T

Post by mk2daz »
Dashboard is now in, started mocking up switch panels and stuff too

Image

Image


Cheap nylon gearknob off ebay and a new CV boot i found in the boot of a BMW E39 in the scrappy, grabbed it thinking it could work as a gearstick gaitor, fits like a glove around a mk2 escort bolt on alloy plate thing!

Image


welded up the rear washer jet hole

Image


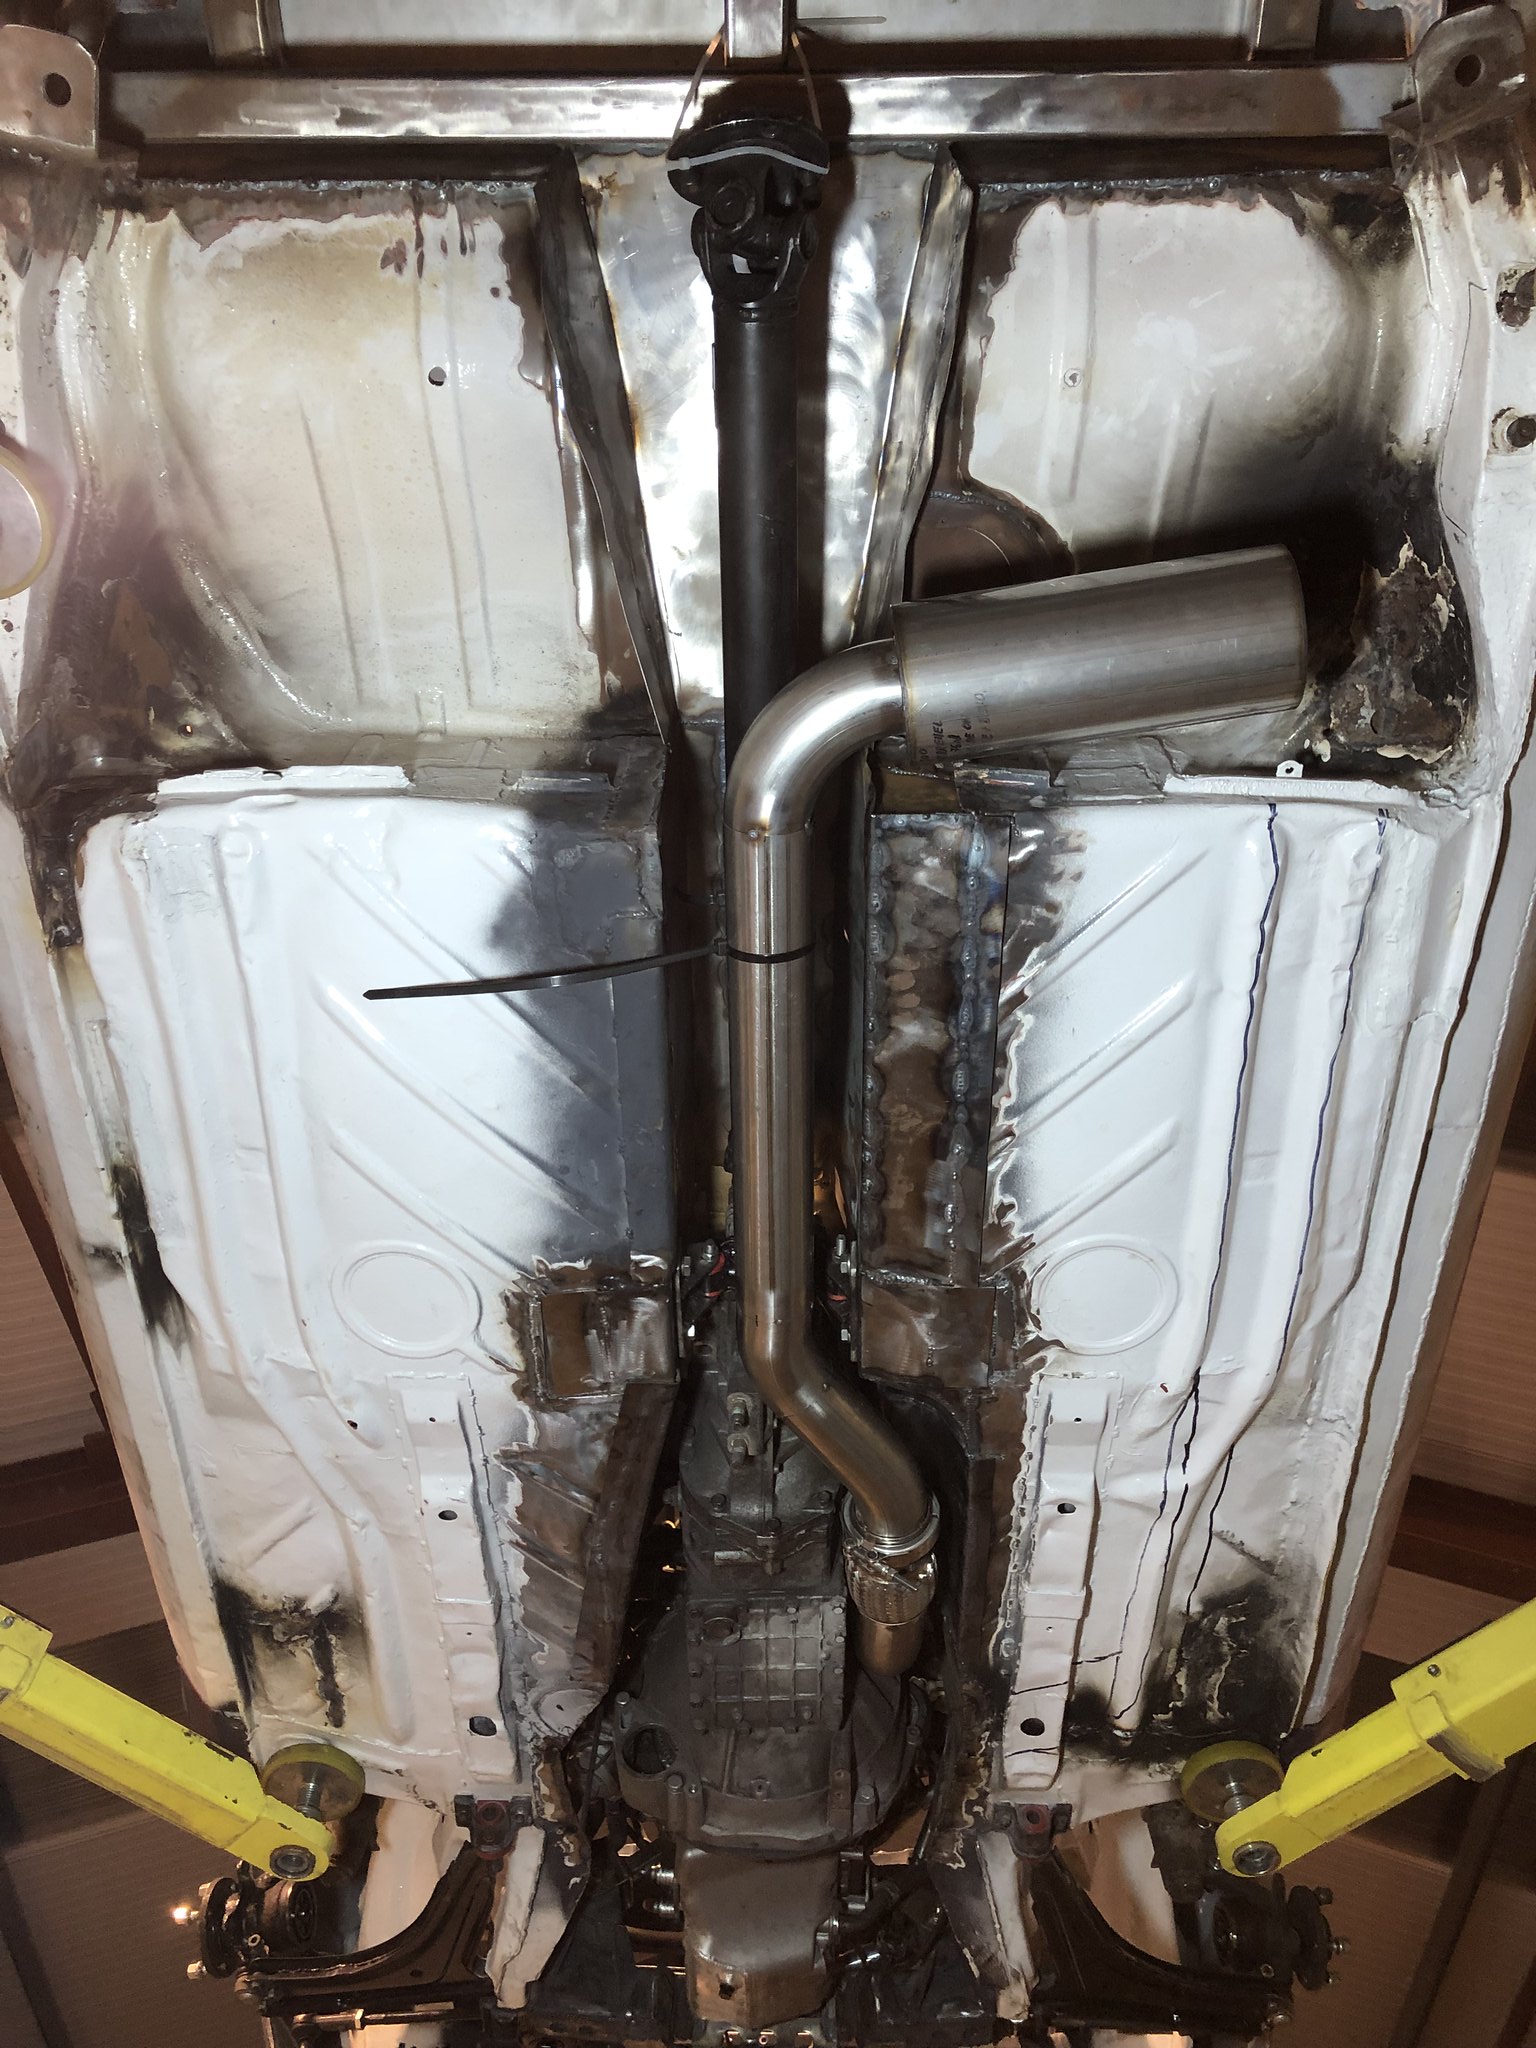
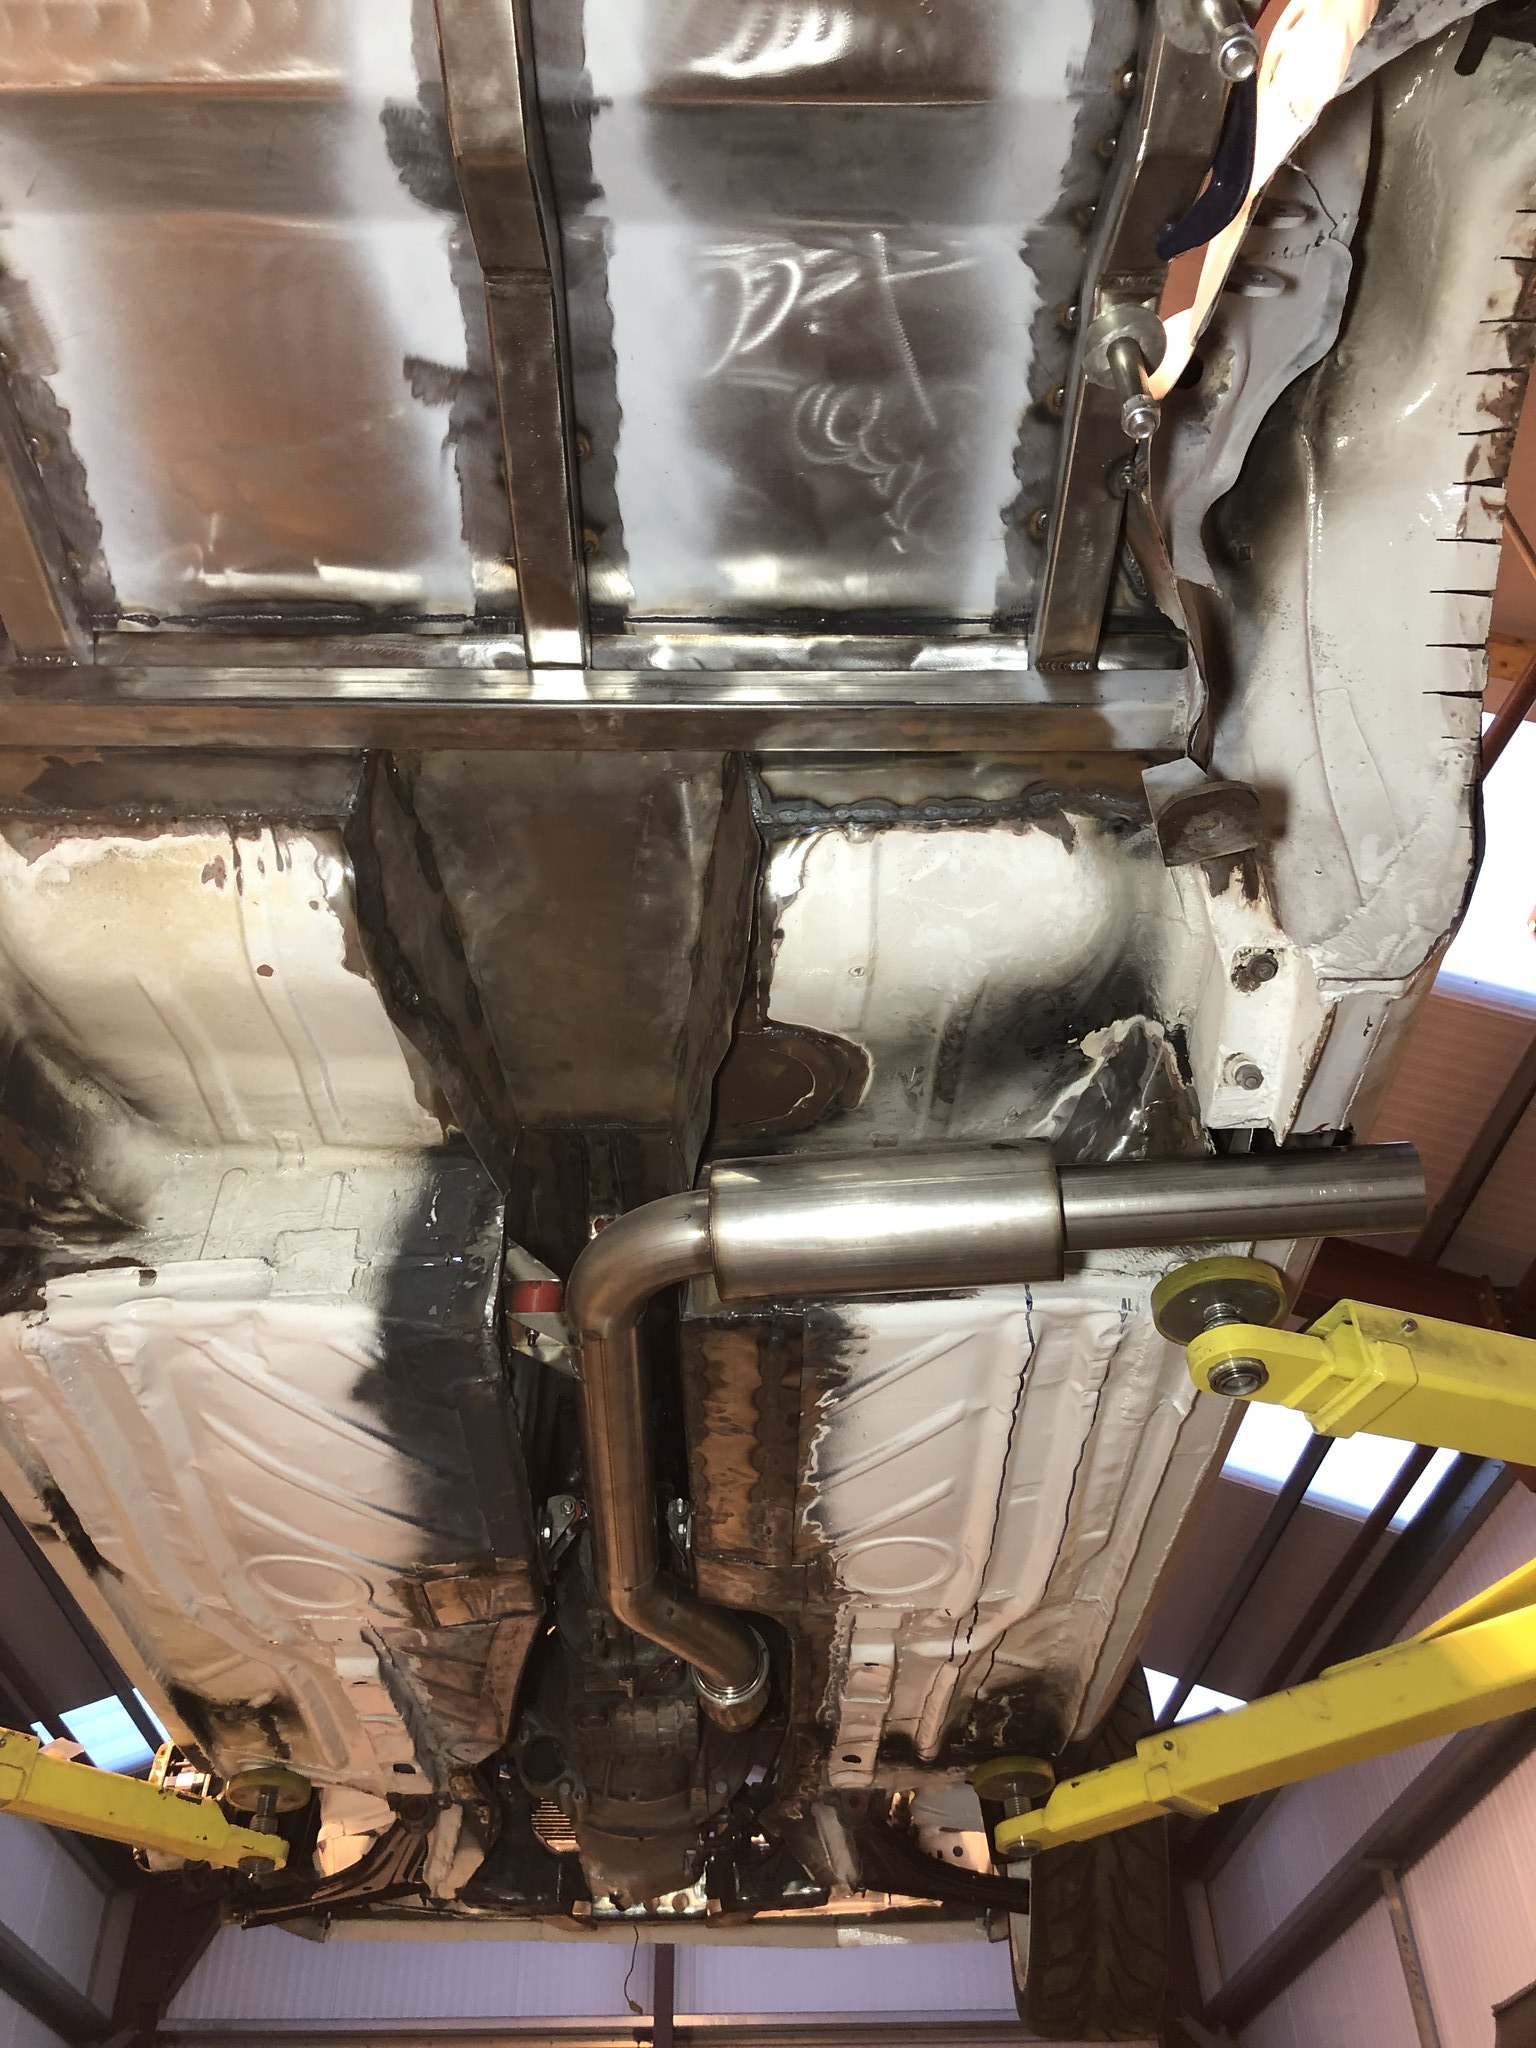
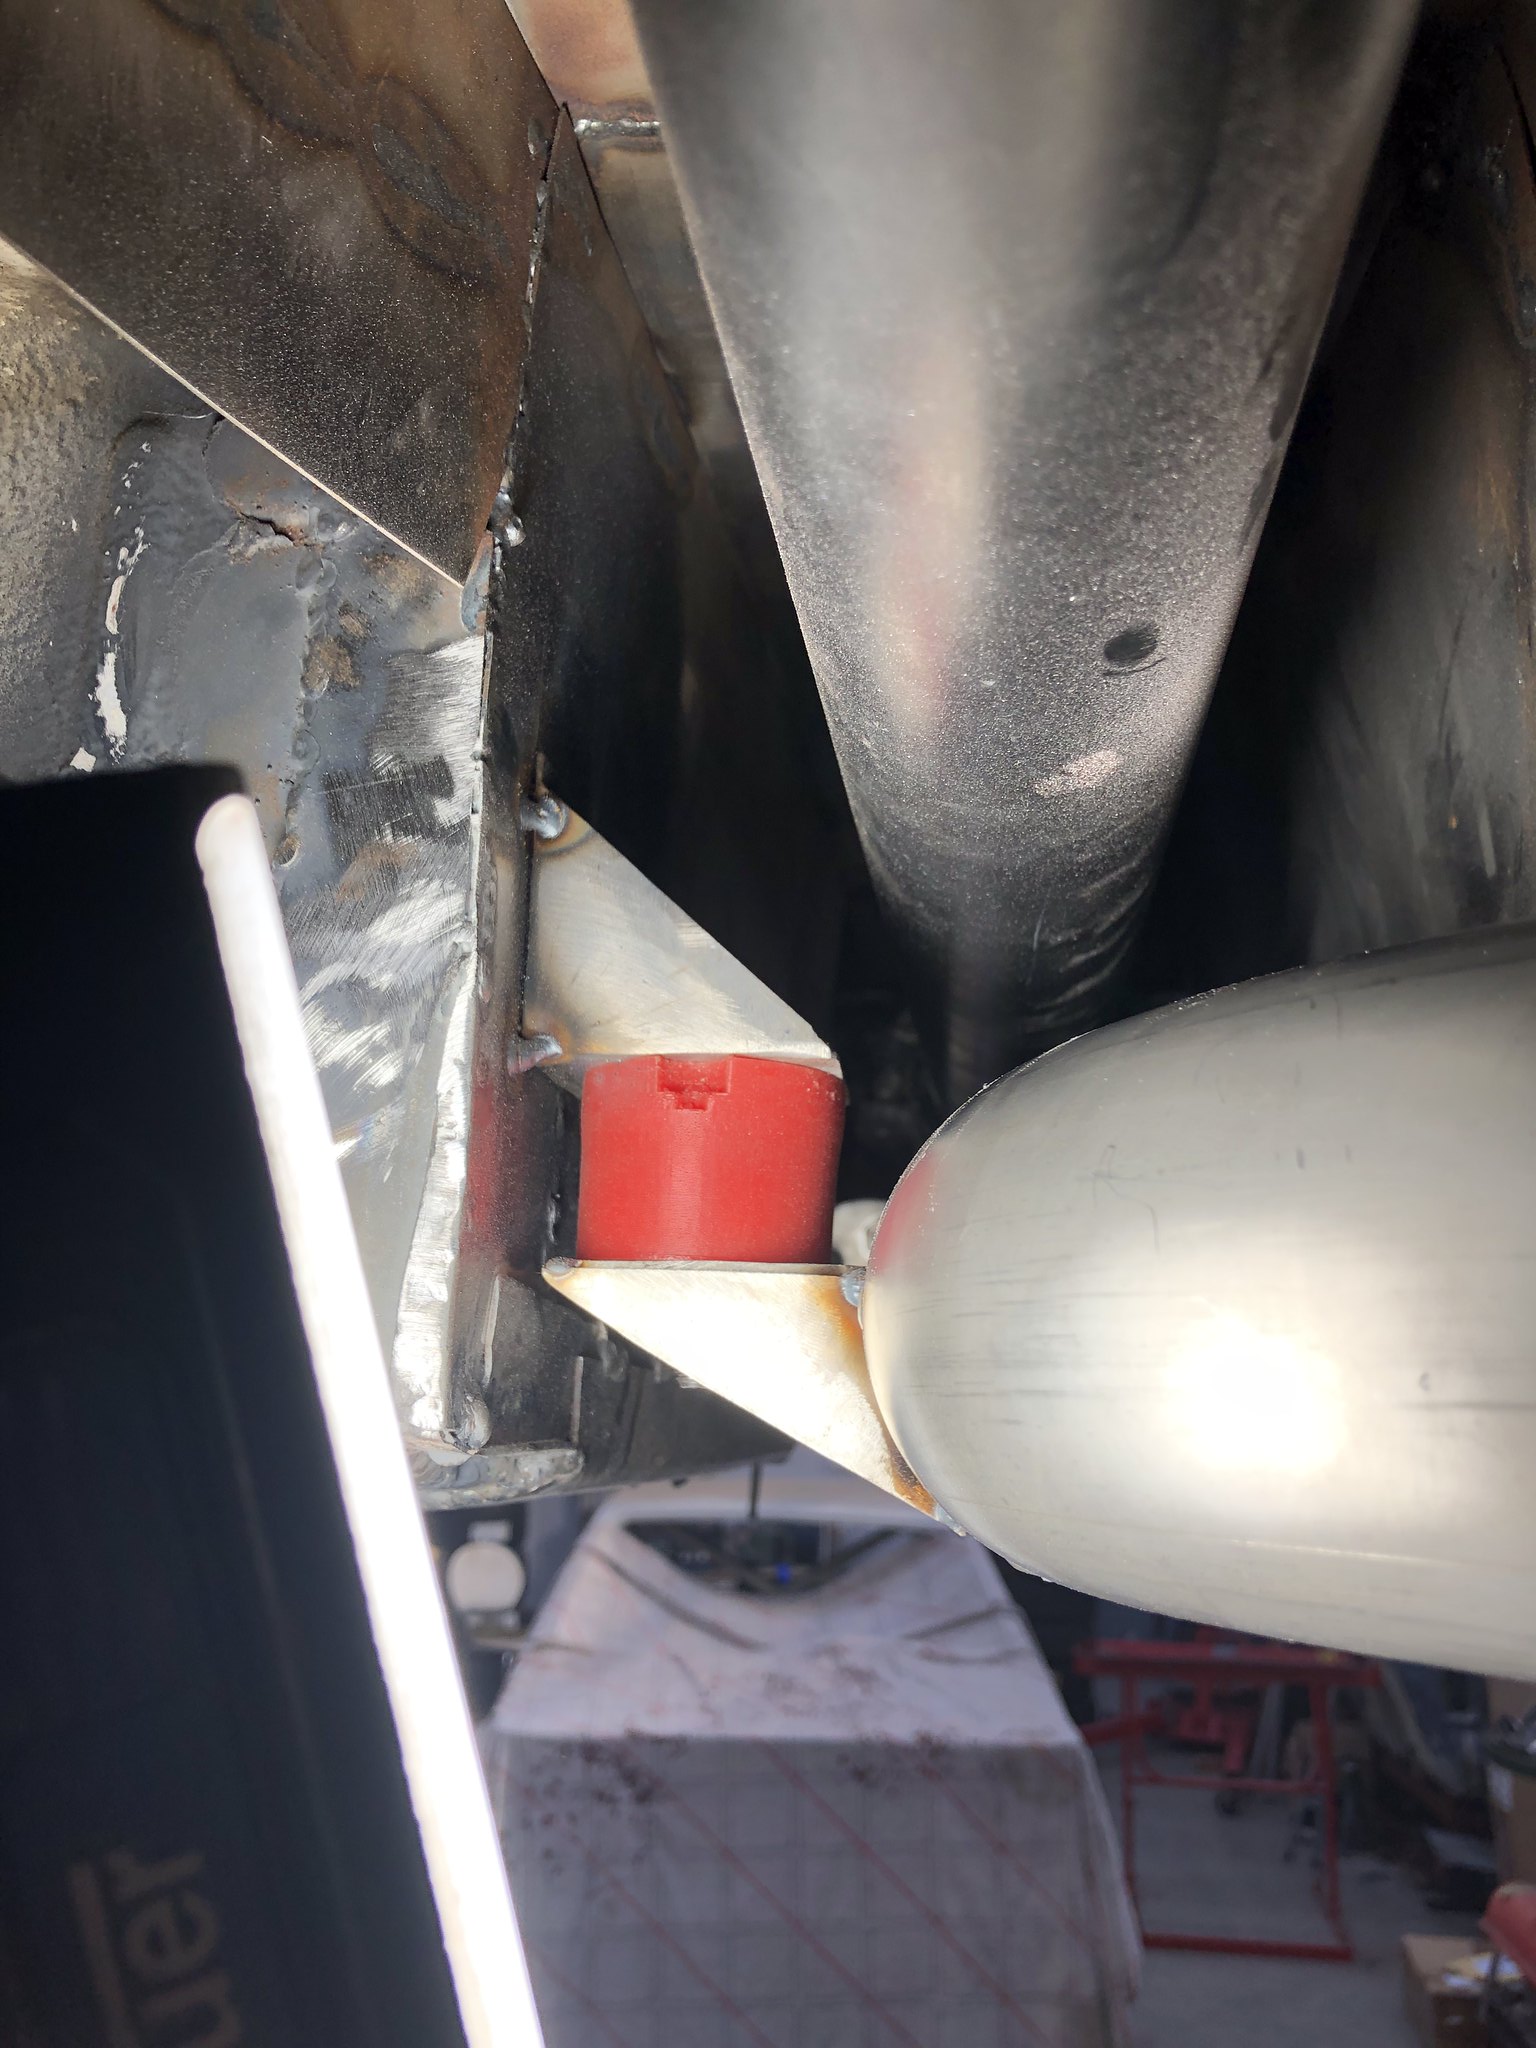
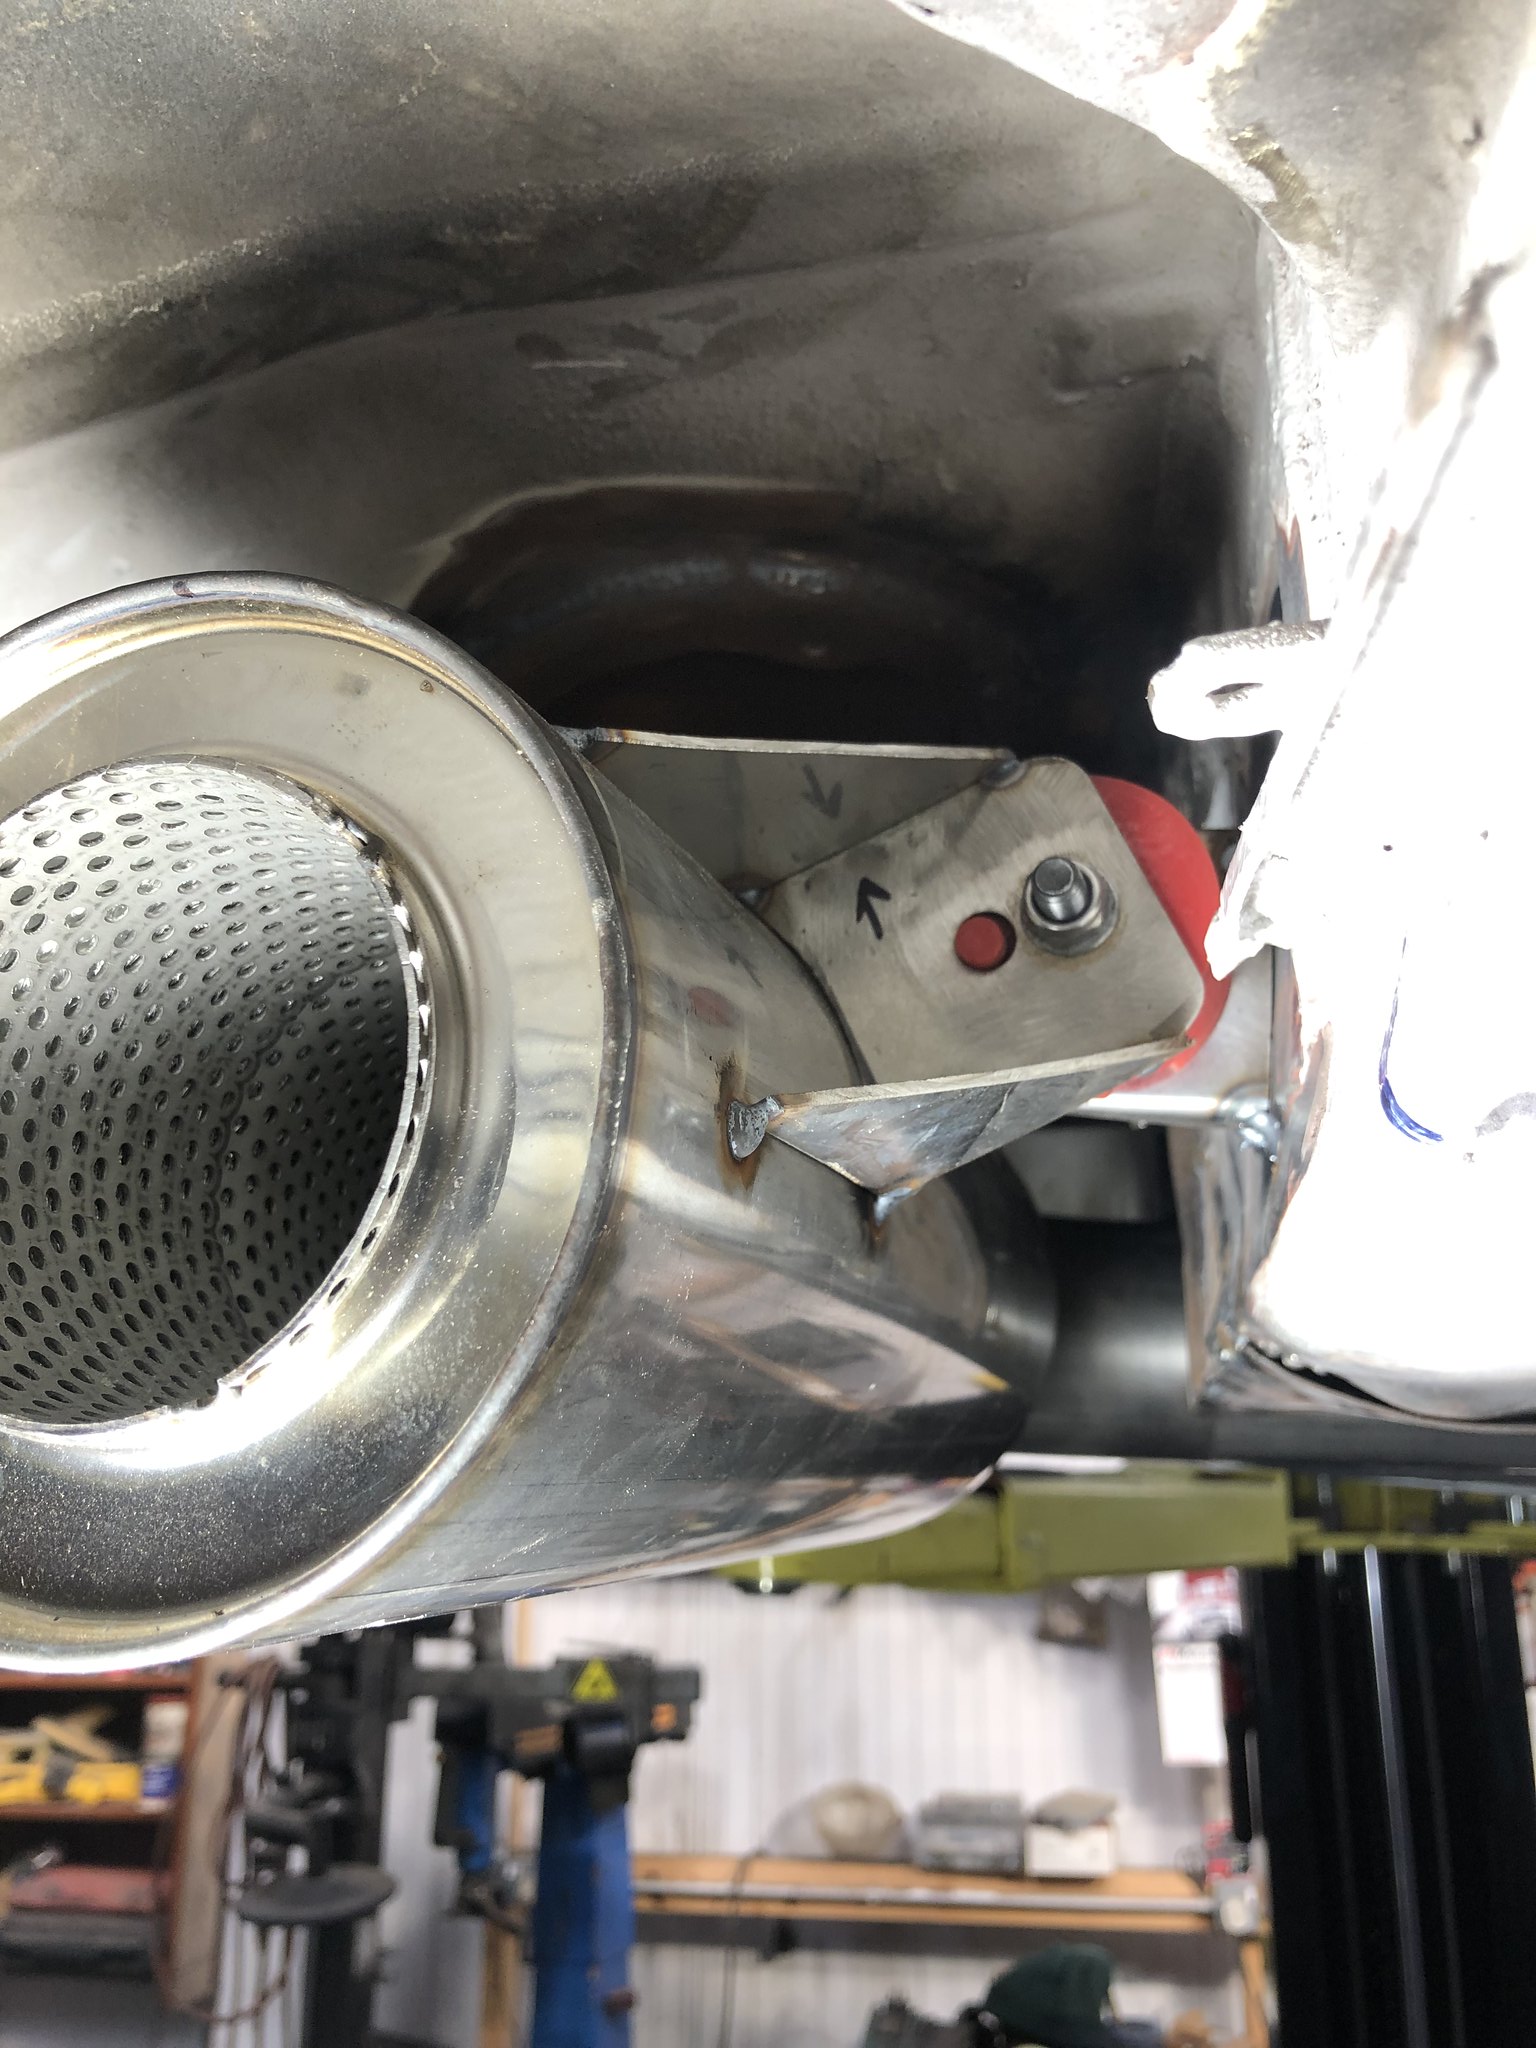
Got rest of my exhaust tacked up, 3 inch all the way from turbo back, with a backbox/silencer, side exit to drivers side, hanging off two E36 polybush gearbox mounts, mounted in the X and Y planes to keep full system stable, all clears the propshaft nicely

Have strengthened and notched the sill for the tailpipe to exit through, just need to clean back the welds a bit more

Image

Image

Image

Image

Image

Image

Image

Image


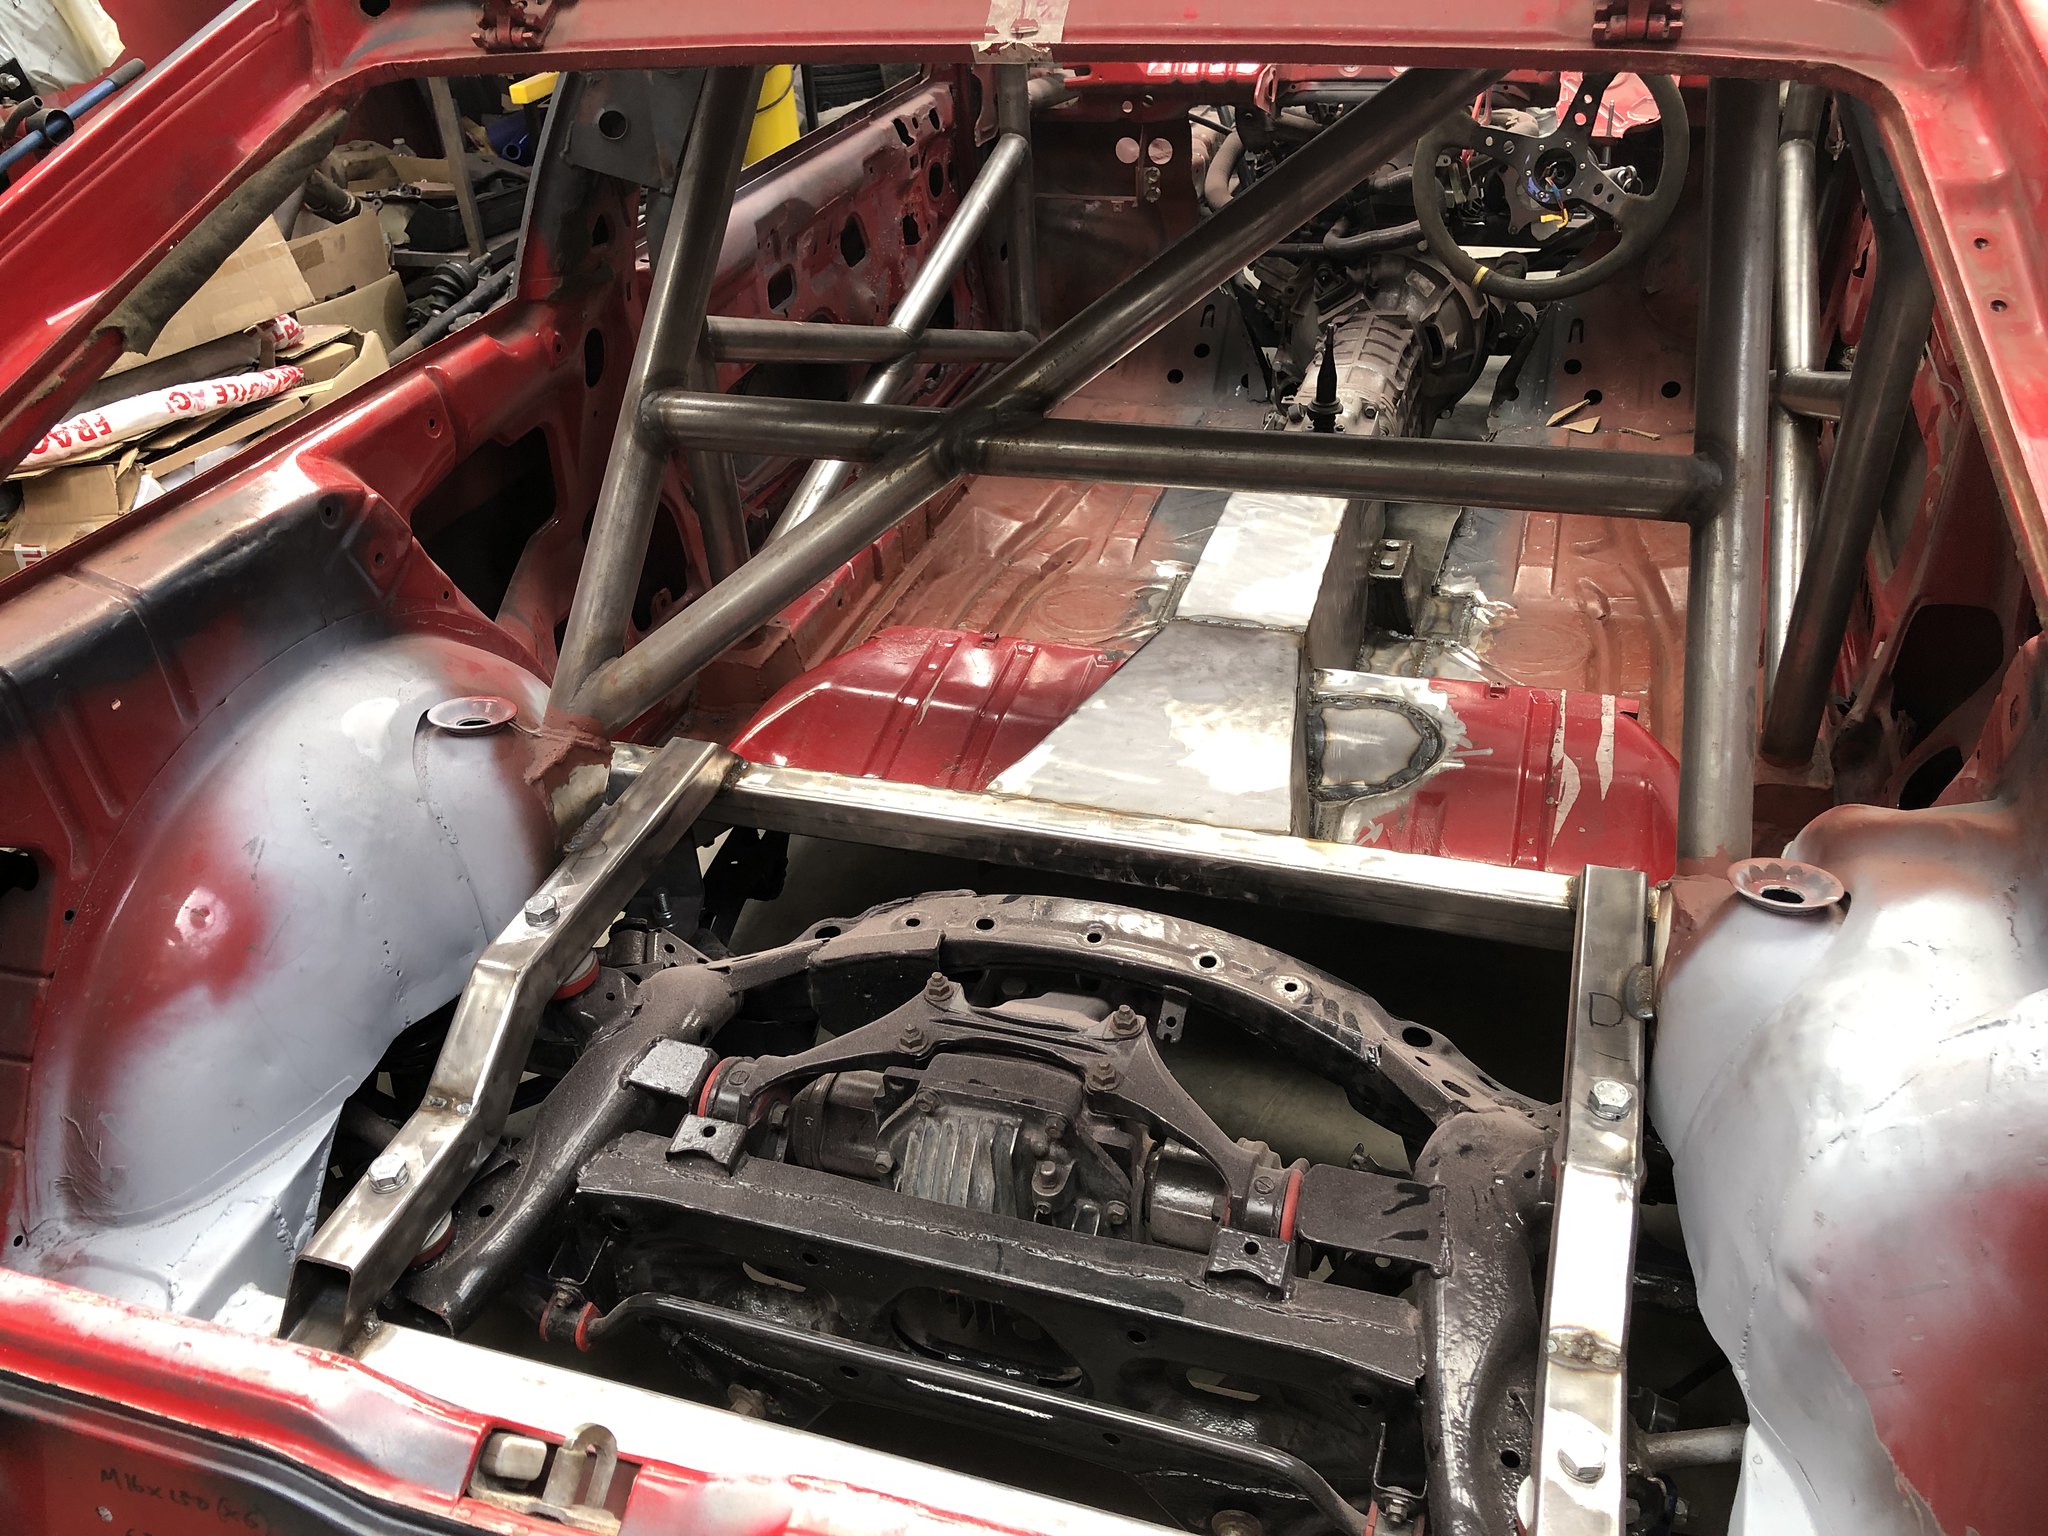
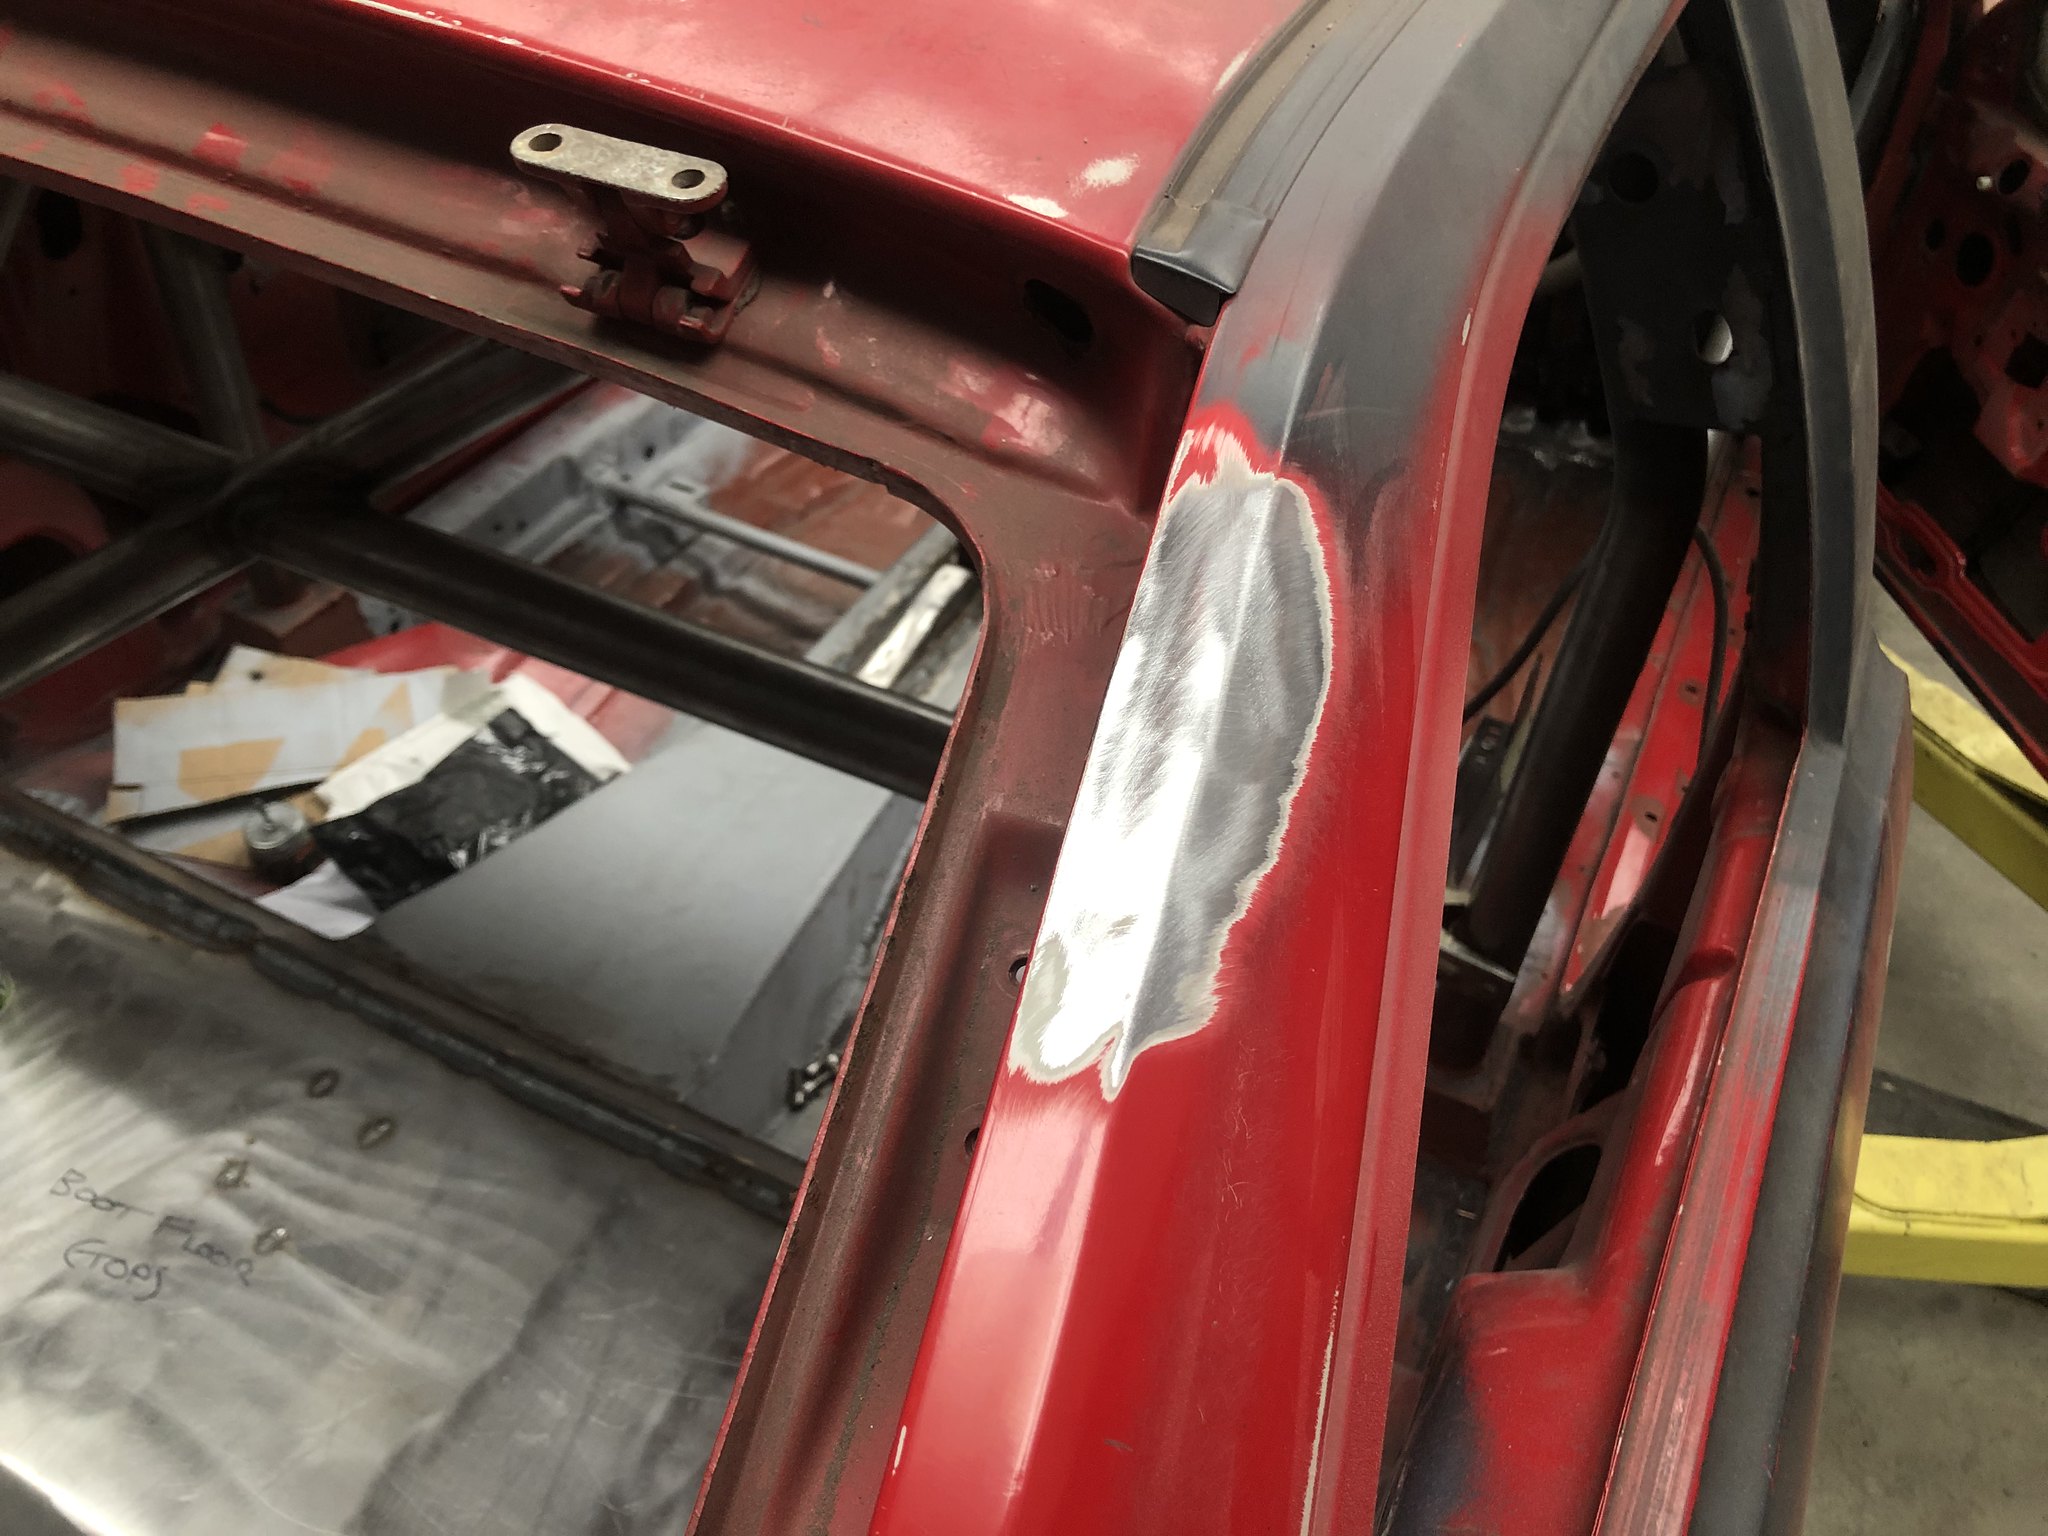
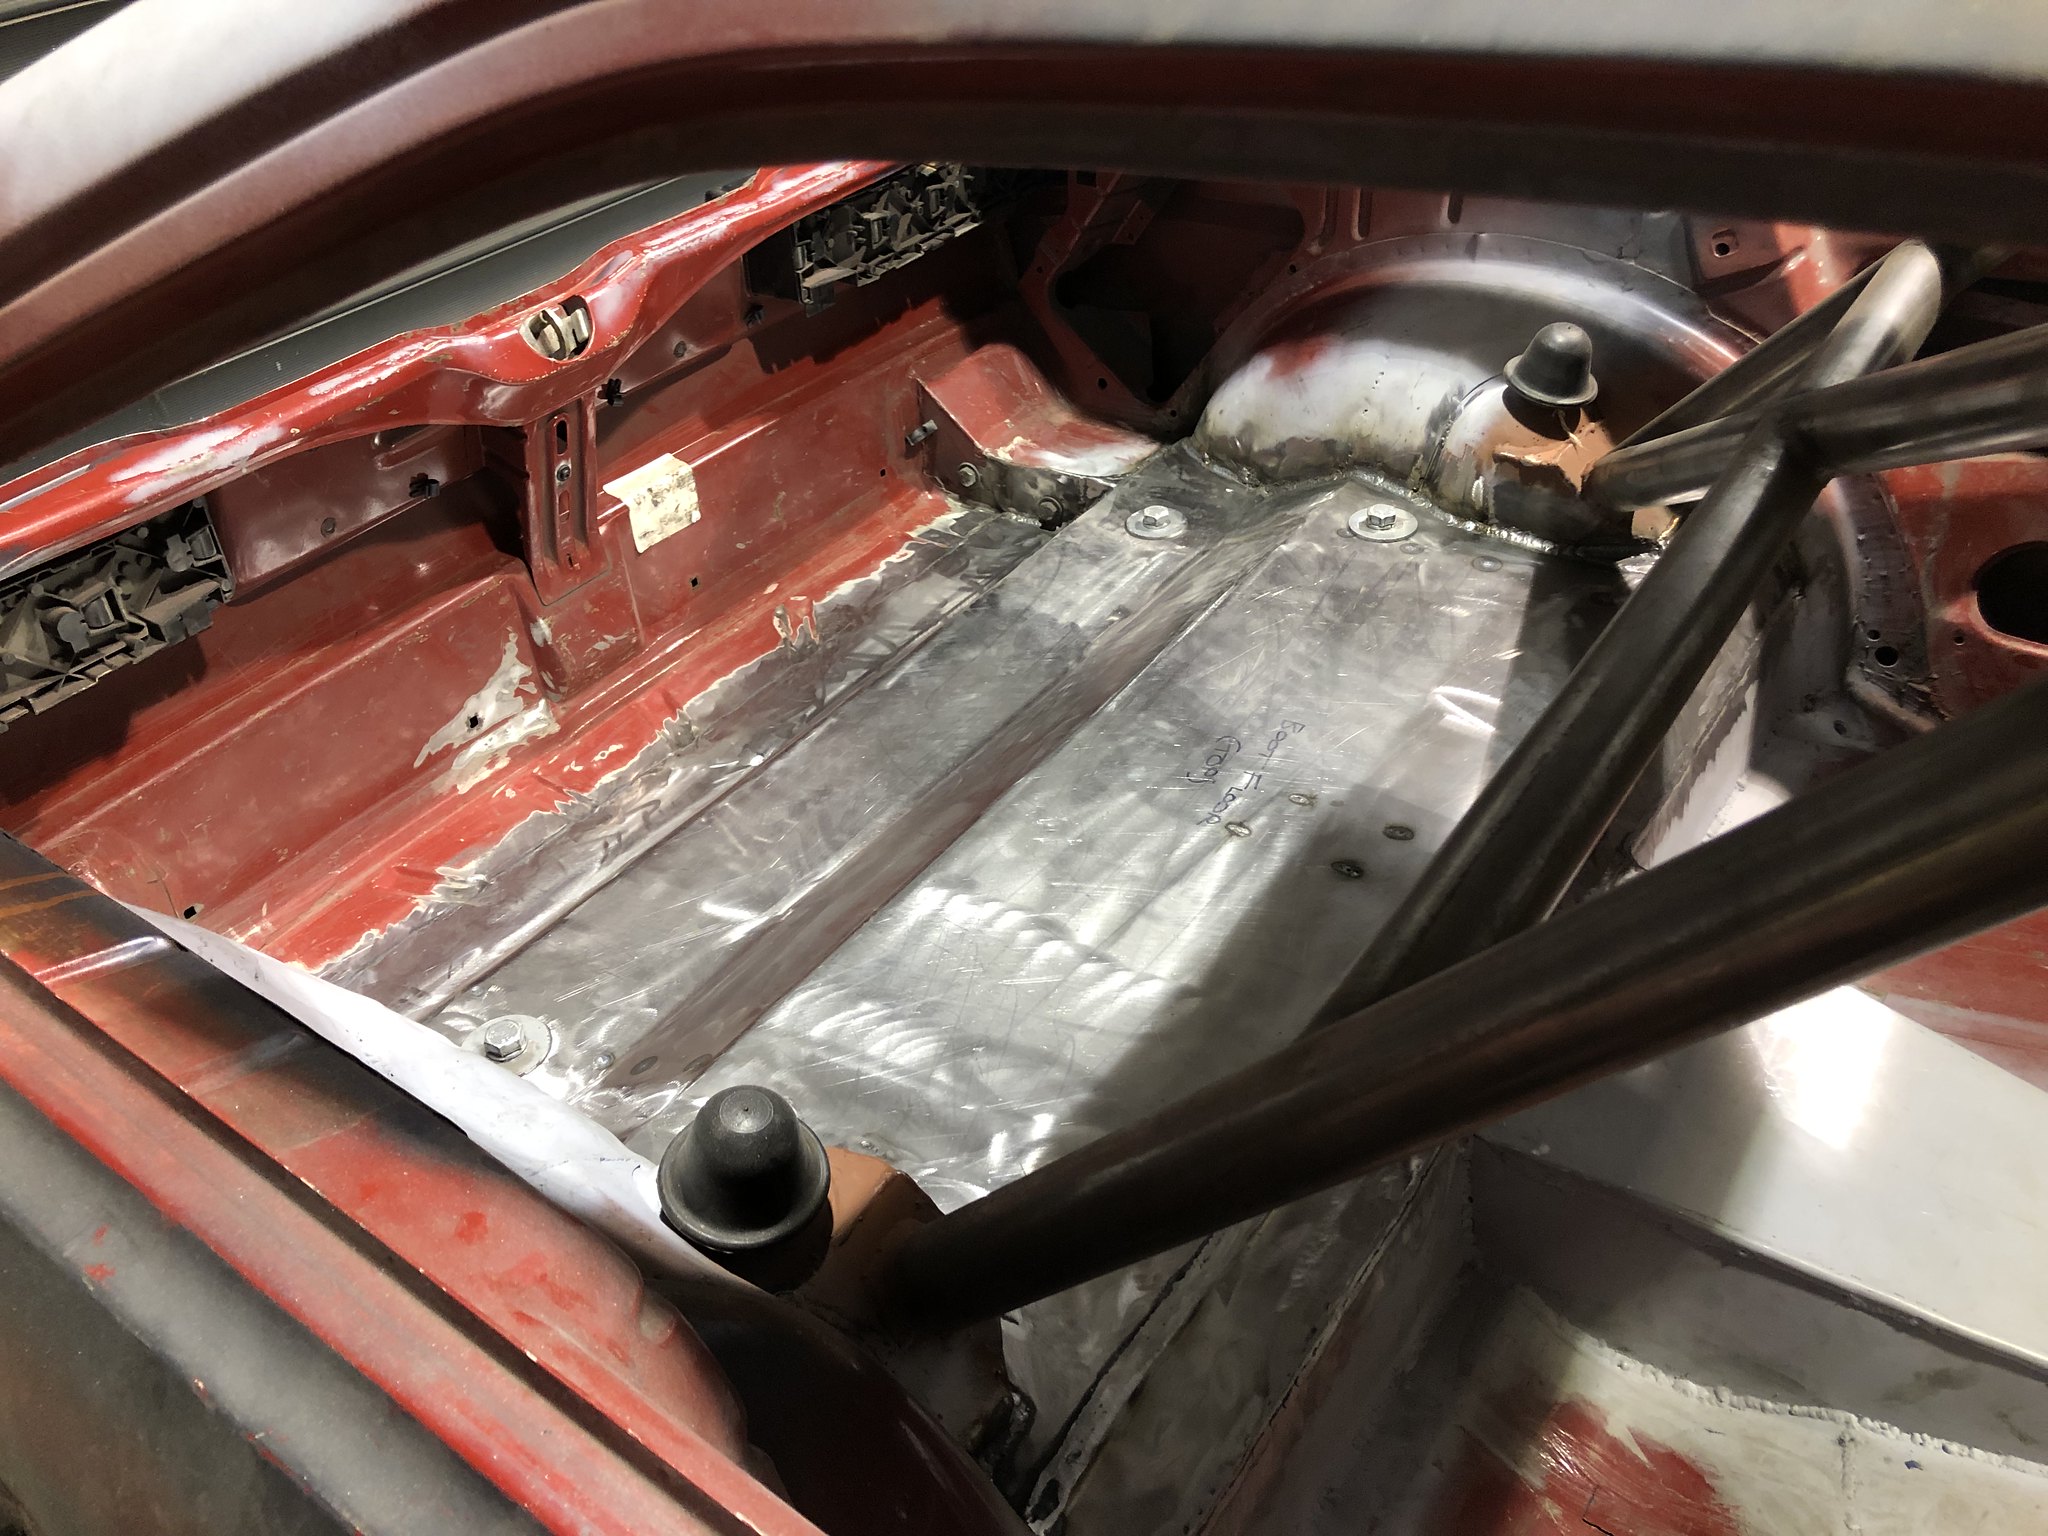
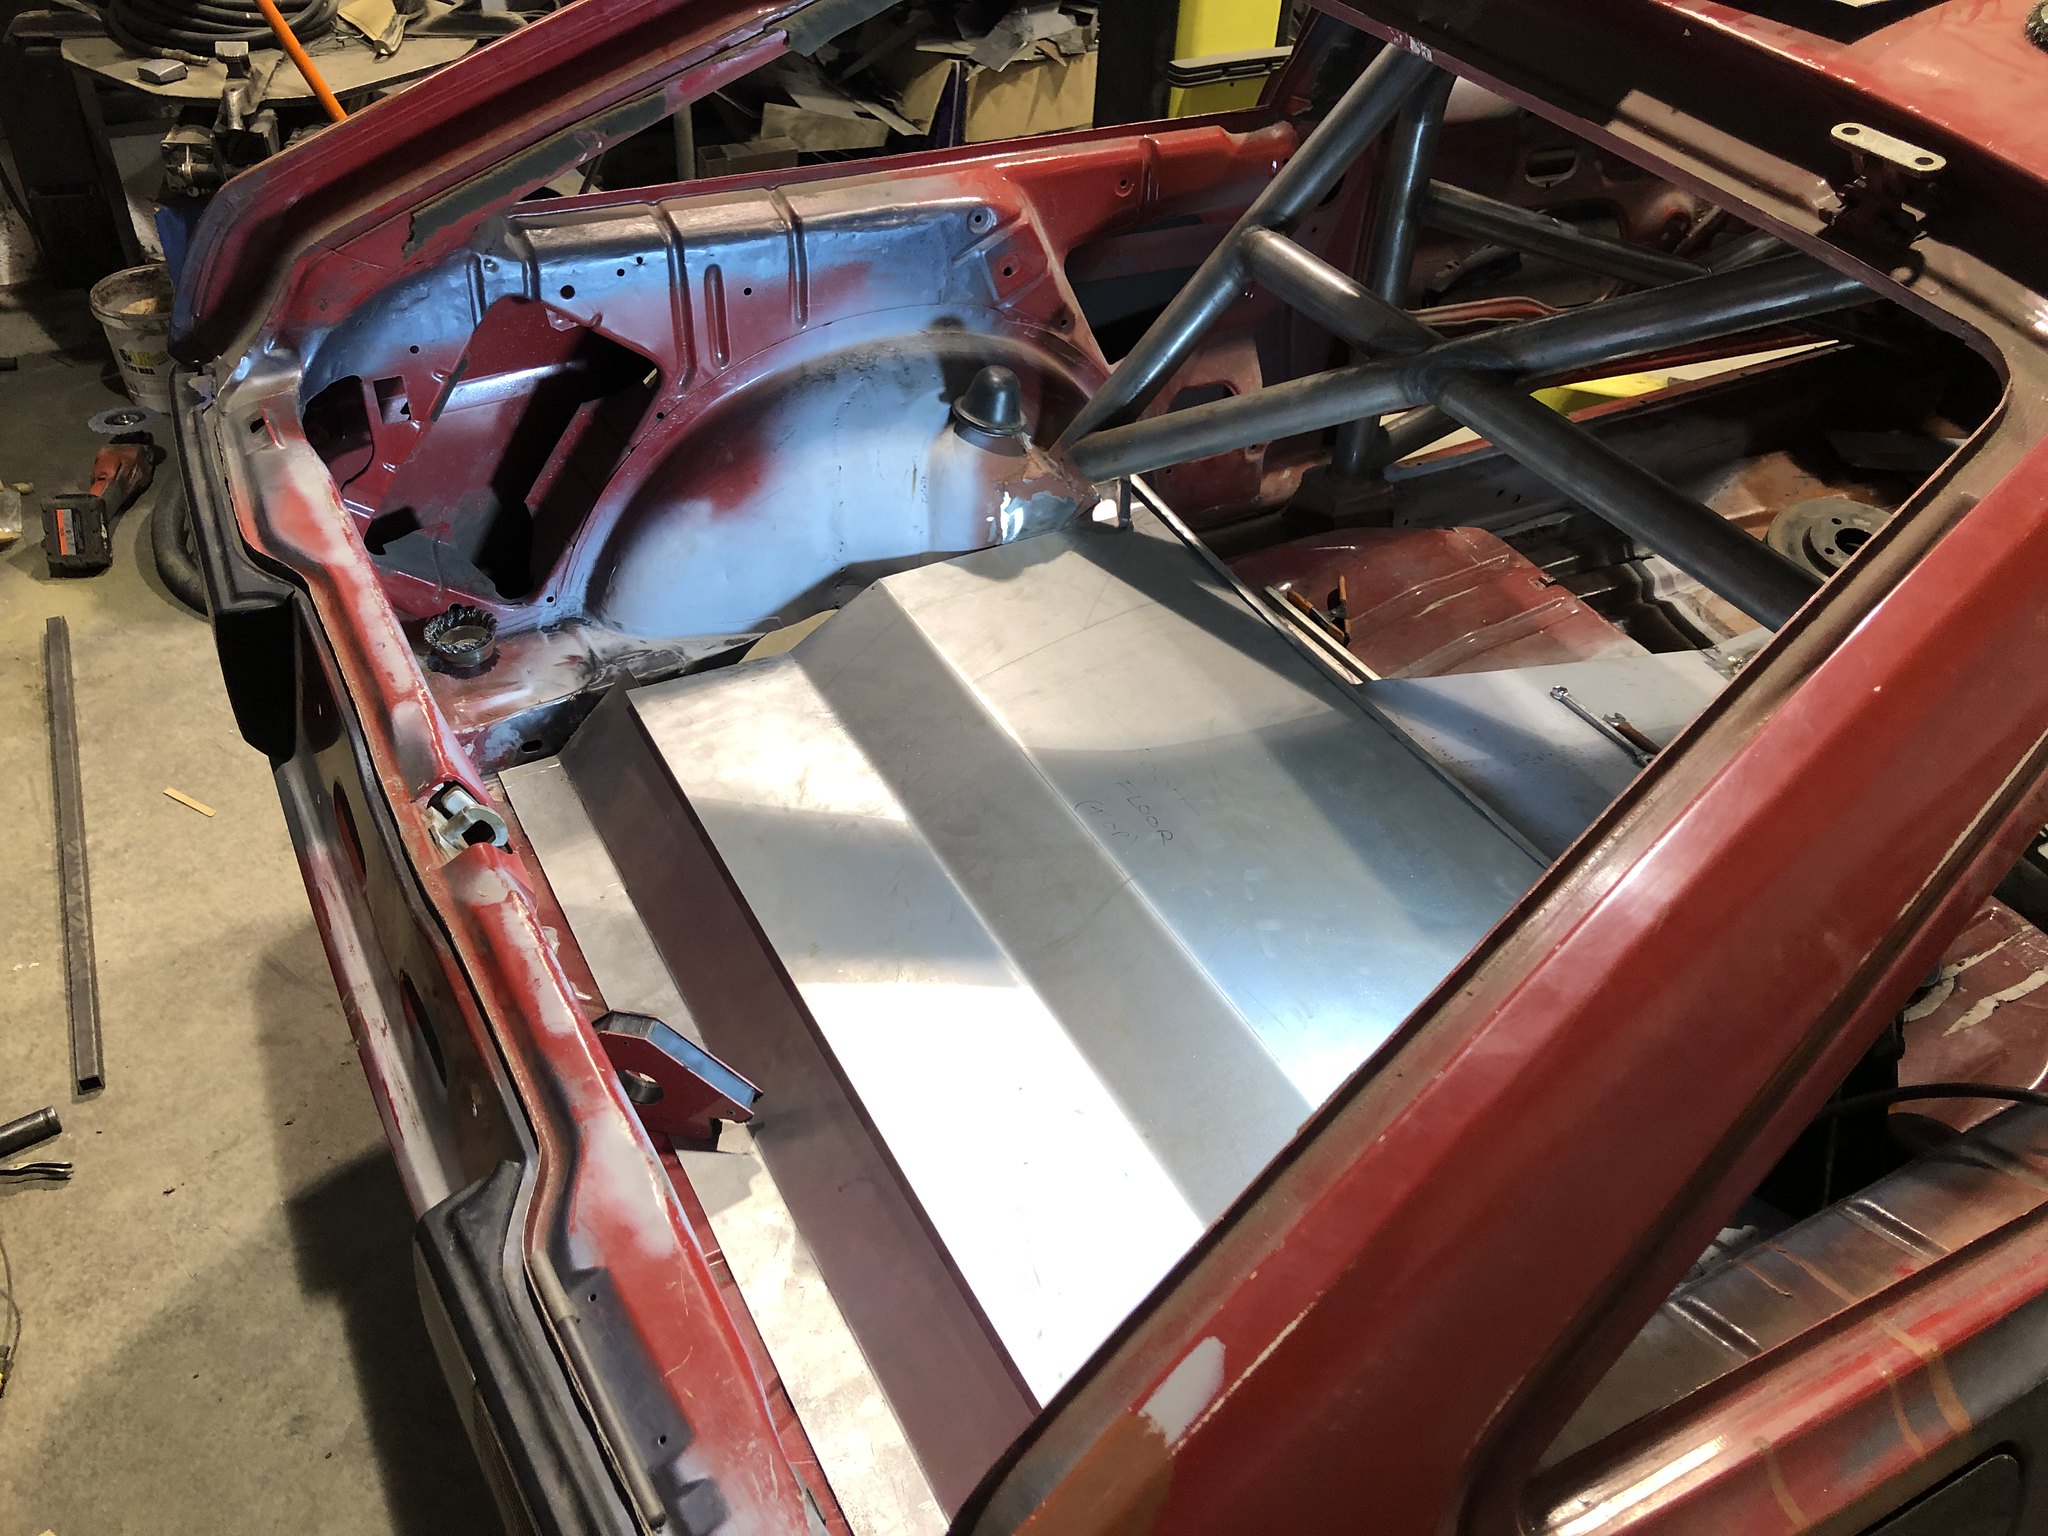
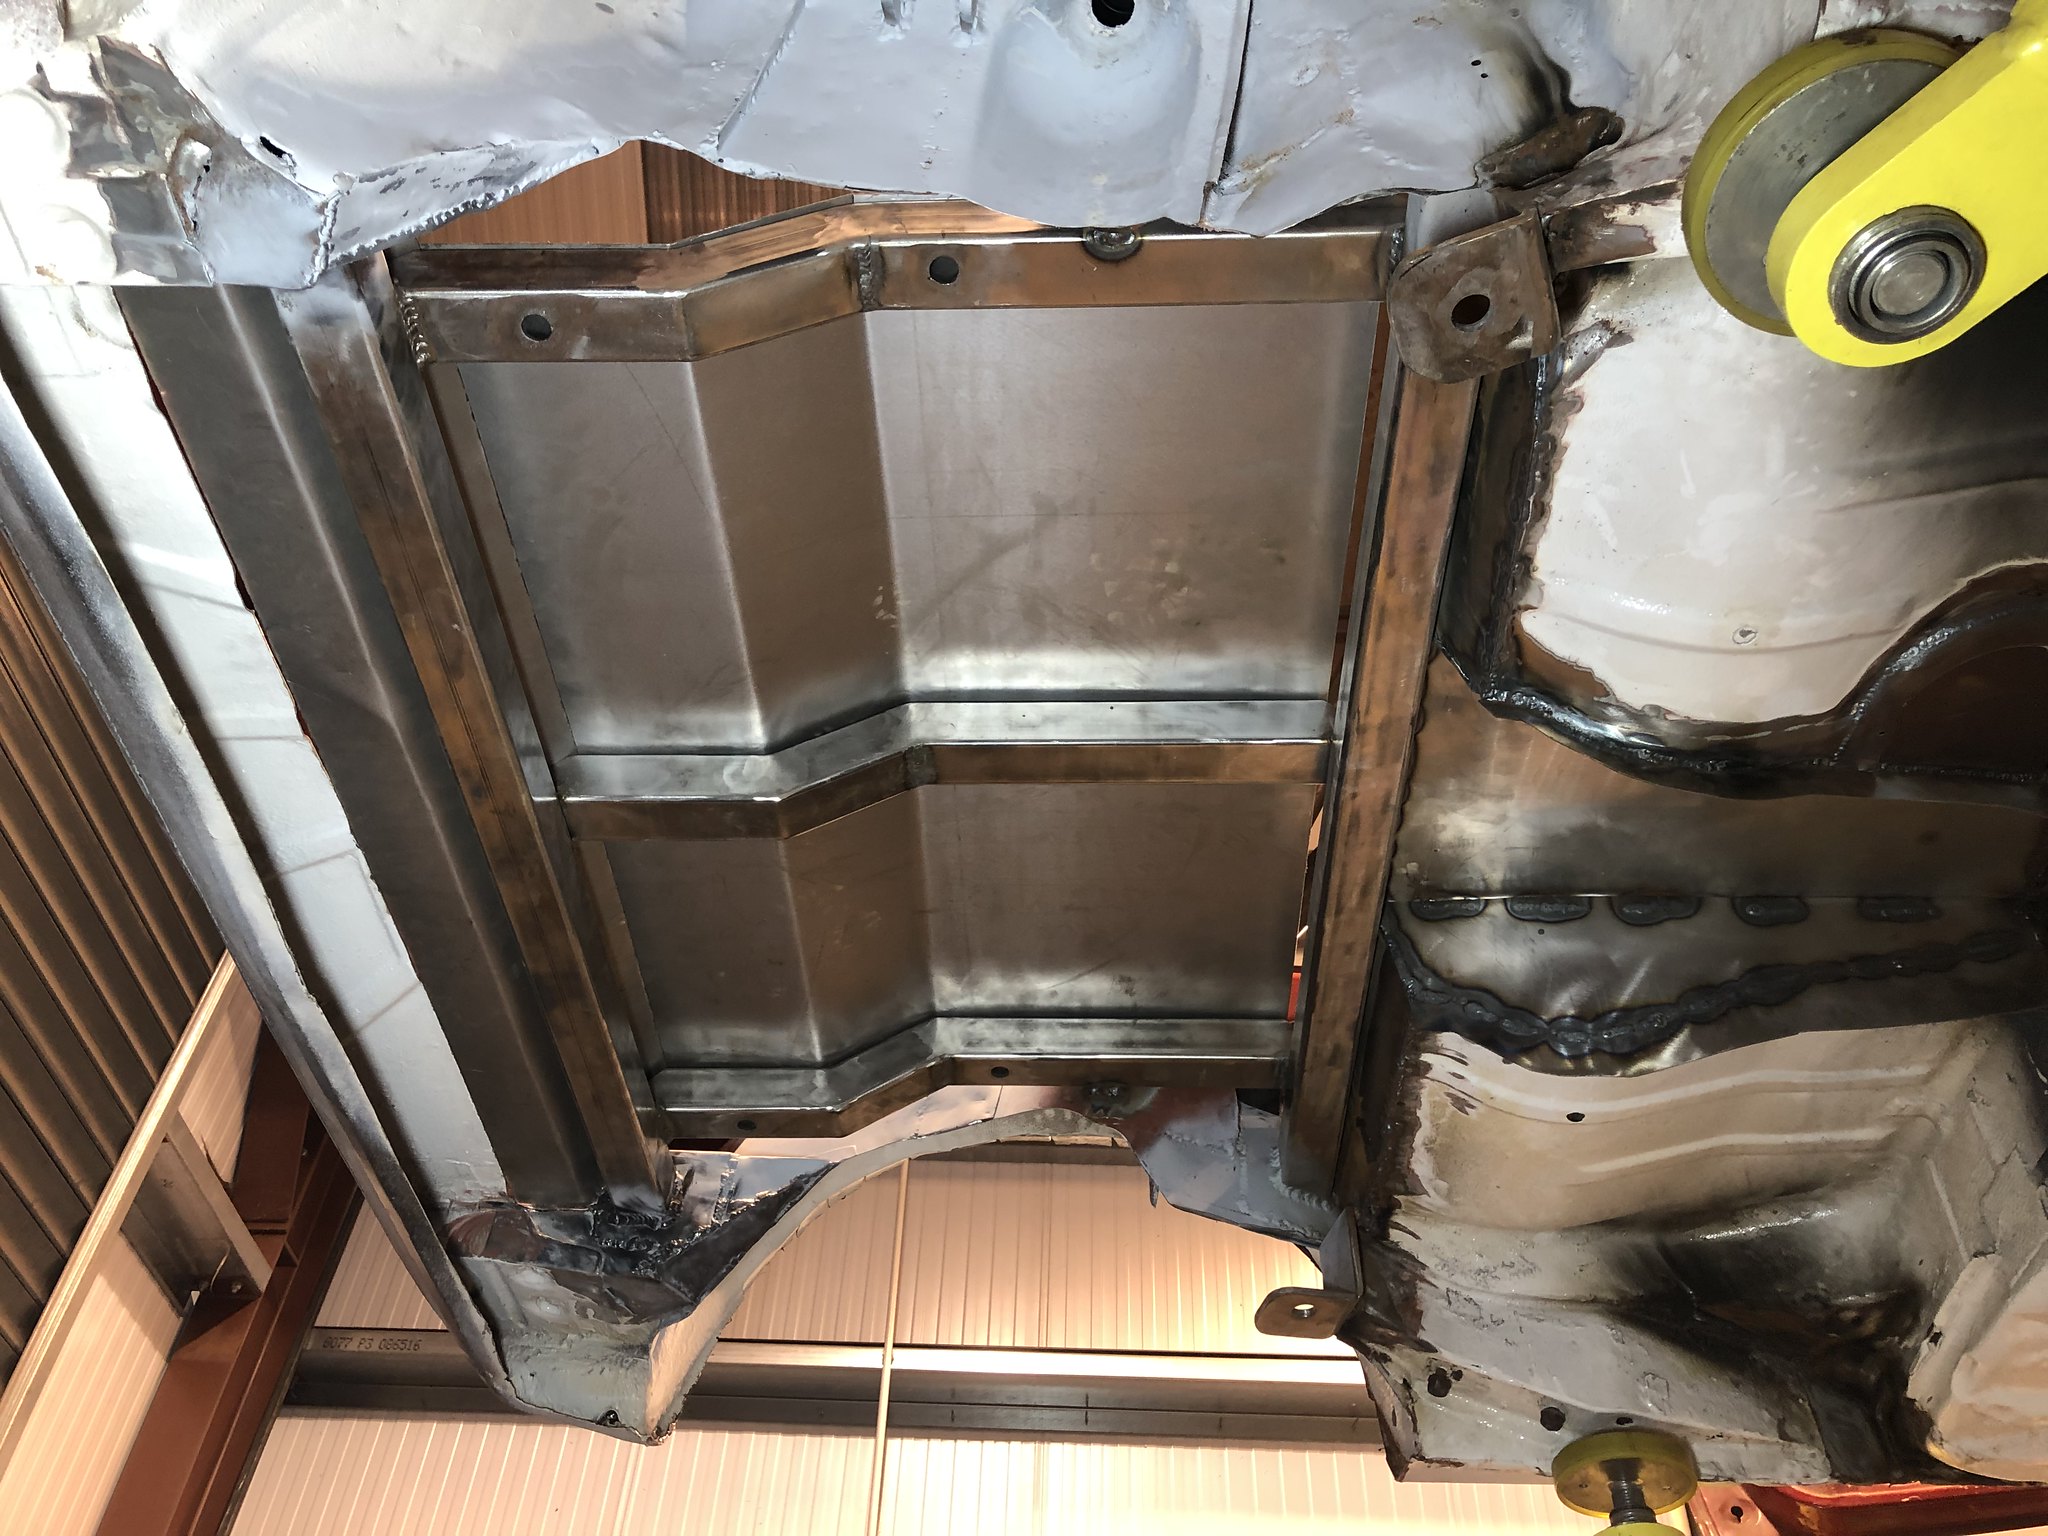
Next up is the boot floor, too complicated to make up in one piece so made it out of individual sections, fits nice and tight to the box section frame so will weld underneath too once car is on the spit

rear axle setup on and off multiple times to check clearance etc during fabrication

Image

Image

Image

Image

Image

Image


Front brakes are now finished and mounted up, quick spec
- Renault Megane 225 4 pot brembos
- 300mm focus st170 disc (could have went bigger disc but i may run 16s in future, 300mm is plenty)
- custom carriers and spigot rings machined by Richard @ North East Brakes
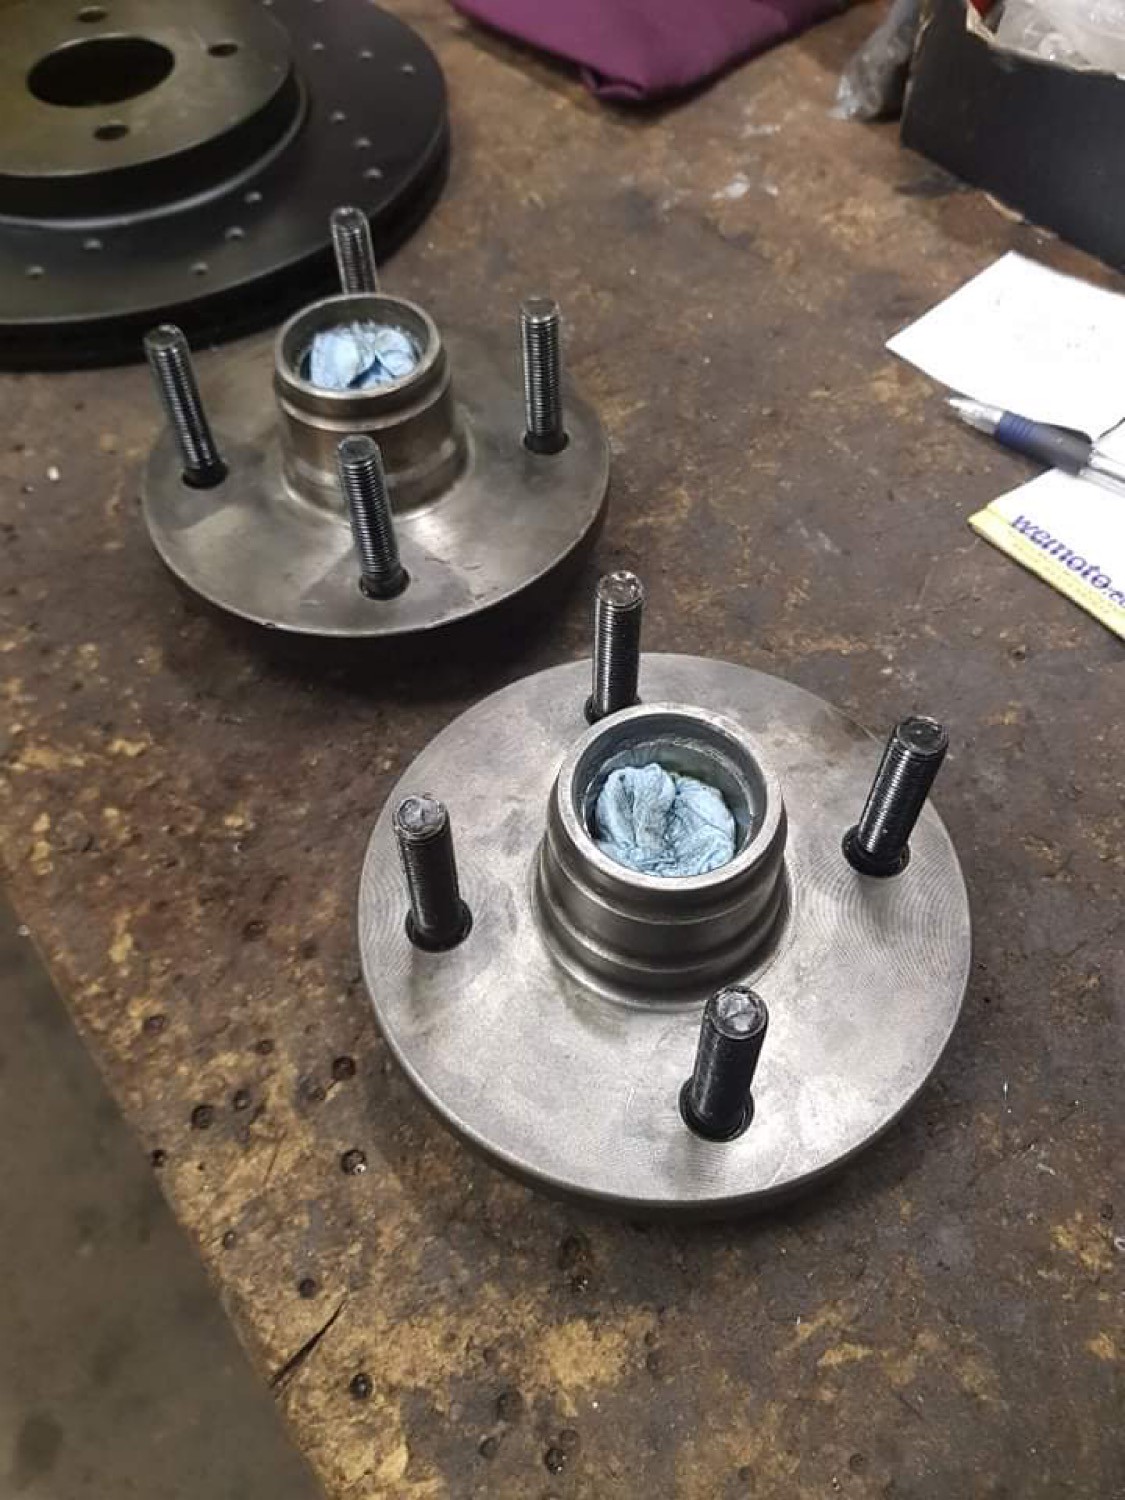
- hub is cut from porsche 924 front disc, pressed in some 14.3 spline studs to match rears

Very happy with the setup and now the brakes are fully sorted other than running lines etc!

Image

Image

Image

Image

Image

Image

Image


"drift lock" ...

Image


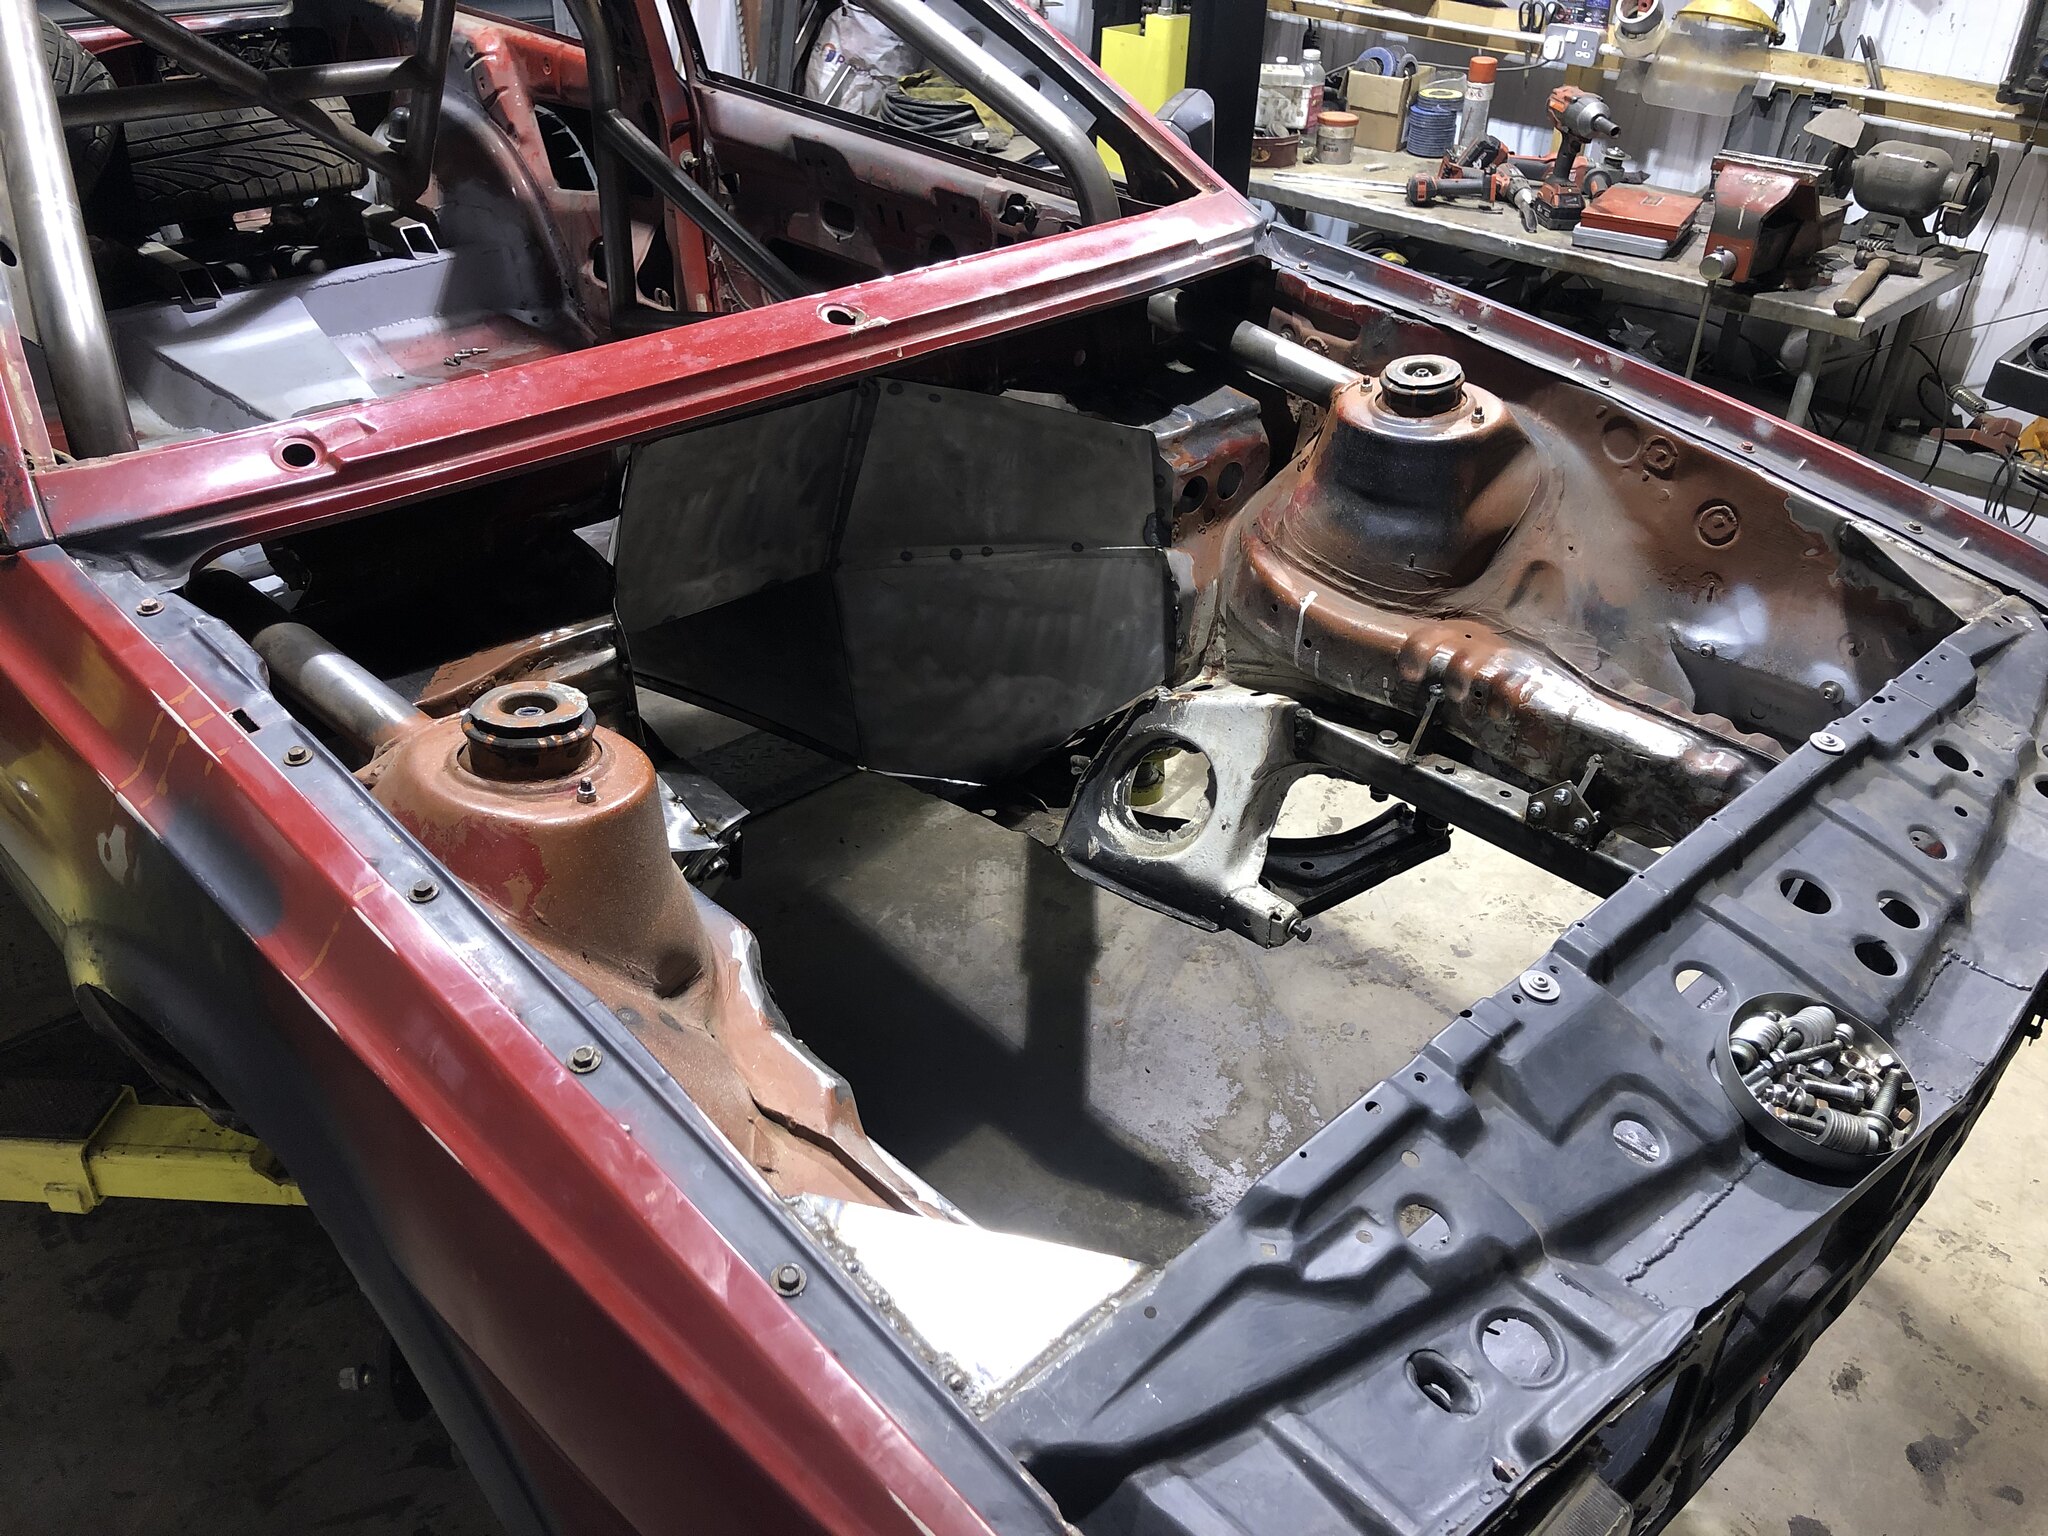
Last peice of fab work before i strip it down for the spit is extending the front turrets, main reasons i want to do this is to extend the damper travel and to open up more options for different top mounts, with the extra track width as well my struts sit at more of an angle, so the extended turrets can compensate for this to ensure the spherical bearing in the top mount has an easier life.

Made up some rough cardboard templates, and ordered up some 2mm plate

Image


Need to offer up the bonnet to check how much i can extend them by, I've got two bonnets here and they are both pretty knackared, just got to work with what i've got. Im happy to cut away some of the underside of the bonnet if need be as it weighs a tonne, plenty of engine clearance to the bonnet too for a strut brace, more on that later!

Image


Anyway... Here she stands

Image


Also...
Fresh 12 month ticket for the daily too, failed on a bottom ball joint but a quick lunchbreak fix and it was through, happy days!

Image


treefingers
Posts: 400
Joined: Wed Aug 14, 2013 1:04 pm
fill in the right answer: 15

Re: Mk2 RWD 1.8T

Post by treefingers »

Rear floor in.. good progress mate! not too far off paint now!!


mk2daz
Posts: 123
Joined: Thu Dec 29, 2016 3:39 pm
fill in the right answer: 15

Re: Mk2 RWD 1.8T

Post by mk2daz »

https://www.youtube.com/watch?v=9AU1UHduqnI&t=20s

More of me talking crap in the latest YT update!


Post Reply