Page 1 of 4
Project 21A
Posted: Wed May 27, 2009 11:04 pm
by markh
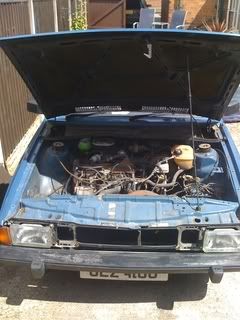
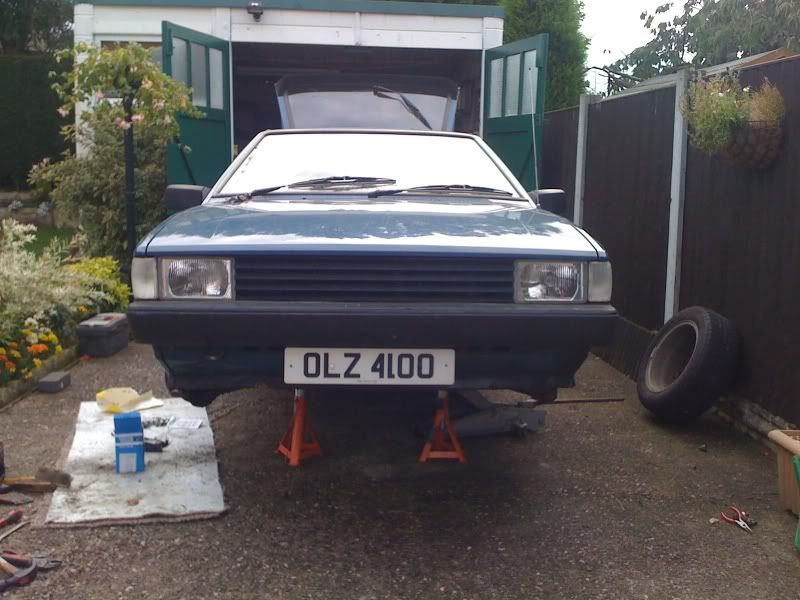
Even though Project DARE is underway, i thought it was about time i made a start on 21A. Not alot to report at the mo, but it shouldnt need too much work to get it through MOT. When i first got it , it looked like this at the front..
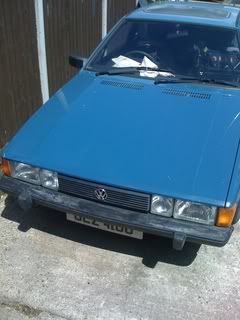
But as i had just got a set of inner spots from LEEP, and a spare grill, i thought id fill the gap at the front.
The lights still need to be wired up. Later this week i intend to make up a list of exactly what i need to do to get her on the road.
Re: Project 21A
Posted: Thu May 28, 2009 9:33 pm
by GTXTRA
so whats the plan with the CL then Mark?
Re: Project 21A
Posted: Fri May 29, 2009 6:58 am
by markh
Basically with this one Sean, i just intend to get it through MOT, then sell it on. Original intention was to keep it, seeing as its a non body kit model, but Lynne (my wife) really likes the GTS, and she wants to run that when her Karmann Ghia comes off the road in August for its resto. I really cant afford to keep/run 3 cars. Its actually a GT, not a CL (which i thought it was when i first saw it on ebay 3 years back) badged as a GT and the log book actually says Sciroccco GT Auto.

Re: Project 21A
Posted: Tue Aug 11, 2009 10:58 am
by markh
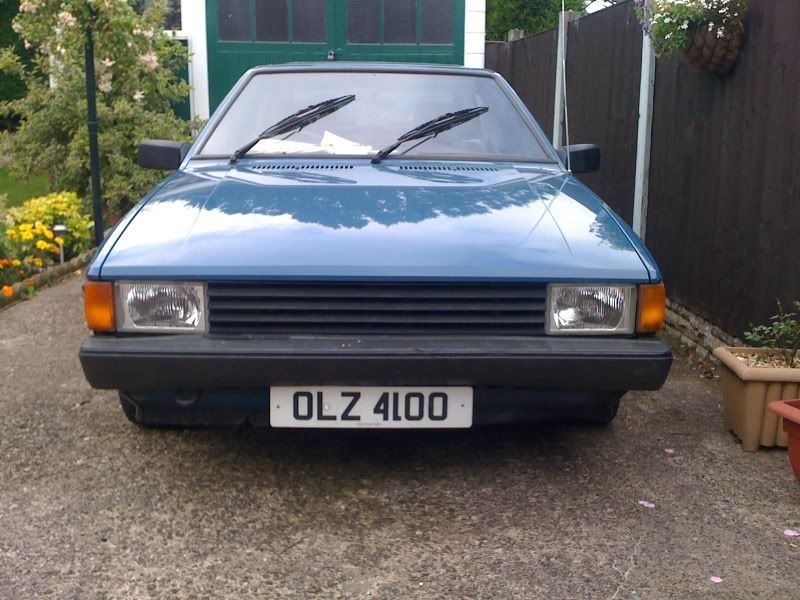
Small update, and the front end plans change again. Back to the long grill look...
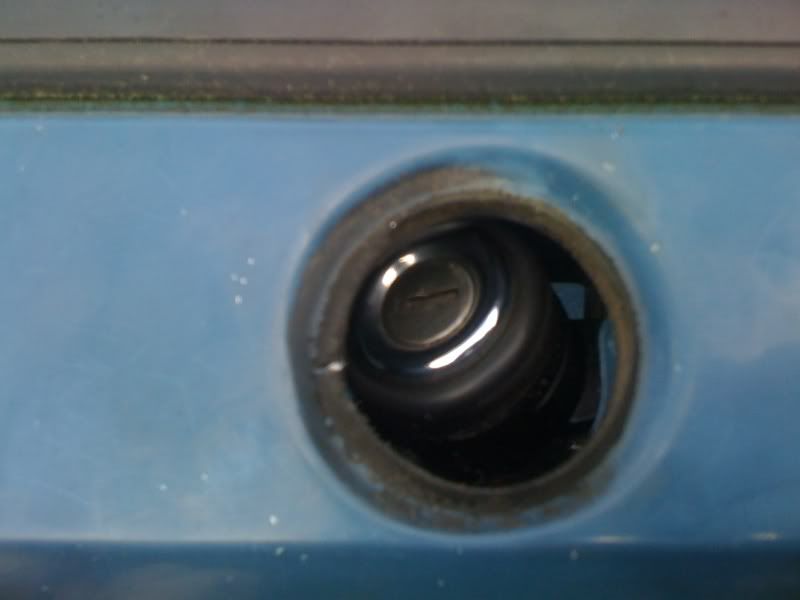
I will be doing more work on this car now that the GTS is done. I have now got a filler neck for it, which im in the process of cleaning up and repainting, i have already sanded it down and given it a coat of rustproofer. I hope to refit it on friday (weather permitting ) then i can reconnect all the fuel pipes and she will be a runner again !!!

Re: Project 21A
Posted: Mon Sep 28, 2009 4:28 pm
by markh
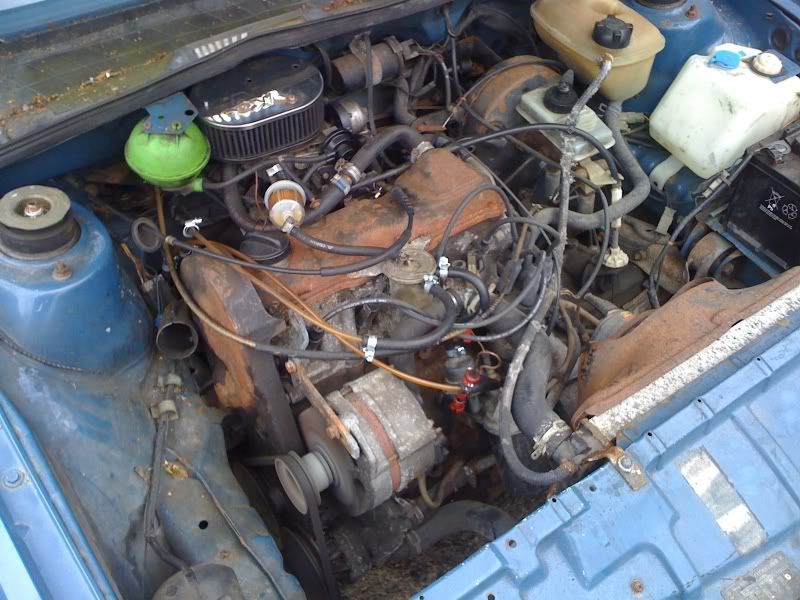
Finally, i get my arse into gear yesterday and refit the fuel filler neck i've had for bloody ages !!!! Then reconnect all the fuel pipes under the bonnet, put some fuel in the tank and after a bit of winding over she fires into life !!

.....
I intend to crack on with this motor now, as its sat on my brothers drive long enough, so weather permitting i'l make some progress on thursday when im off work. Also theres a couple of people interested in buying her off me, so thats another incentive to sort her out.

Re: Project 21A
Posted: Tue Sep 29, 2009 3:58 pm
by markh
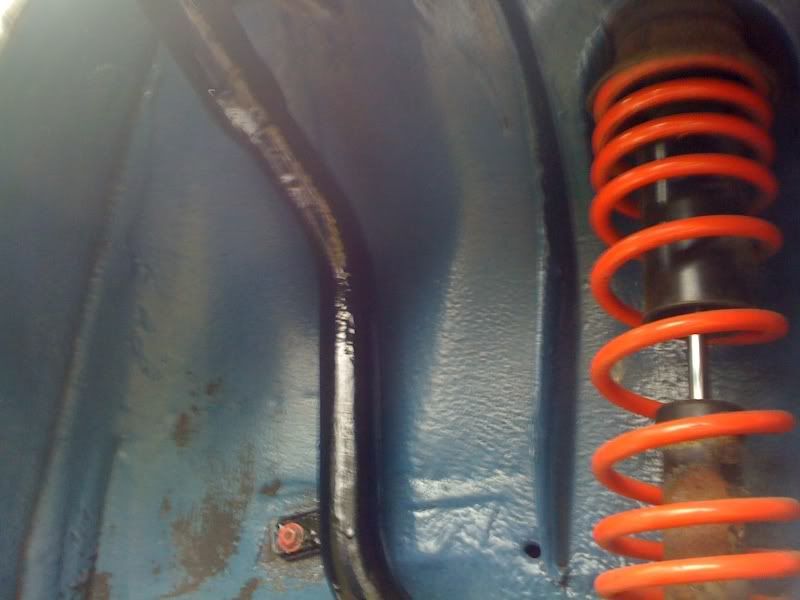
Well, due to a huge slump in work this week, i managed to book a couple of nights off, so cracked on with some more work. One of the metal fuel pipes that runs along the floor had corroded and sprung a leak. So, i whipped of the whole length of old pipe and replaced it with a plastic fuel line from a GTX, the other pipe is in good shape ,so i wire brushed it off and sprayed it in underseal. Next up was to replace the plastic sheild that protects the fuel breather pipes, so i think thats the fuel side of things sorted.
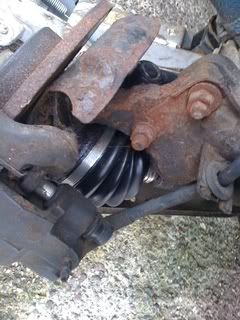
I gave the rear brakes a strip down, cleaned up the back plates and drums, the refitted and adjusted the shoes, also replaced the drivers side handbrake cable, as it was knackered and re greased the rear wheel bearings. Tomorrow i will clean up the front brakes, and replace the drivers side outer CV boot as its split.
I let it run for a while today, and it seems pretty smooth when its warmed up....
Re: Project 21A
Posted: Wed Sep 30, 2009 6:58 pm
by markh
Todays efforts include a new drivers side outer CV boot.....
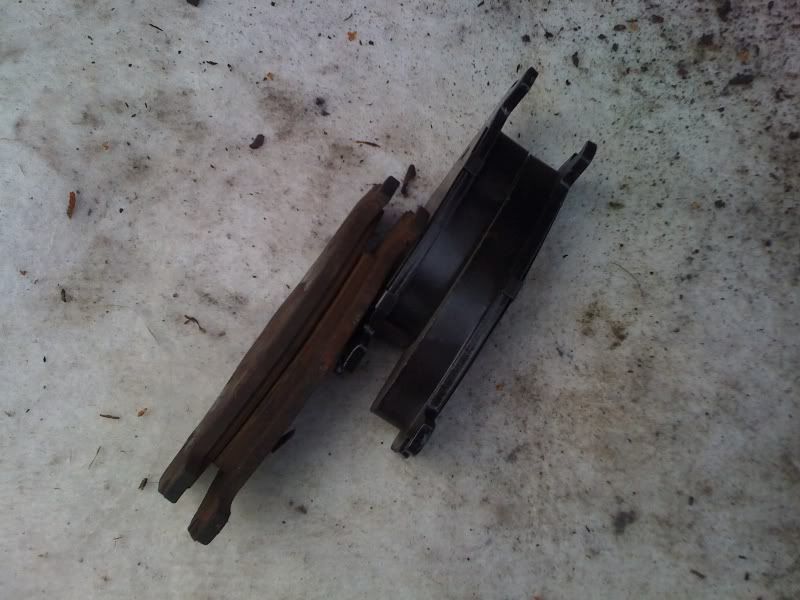
New front pads and disc clean up.....
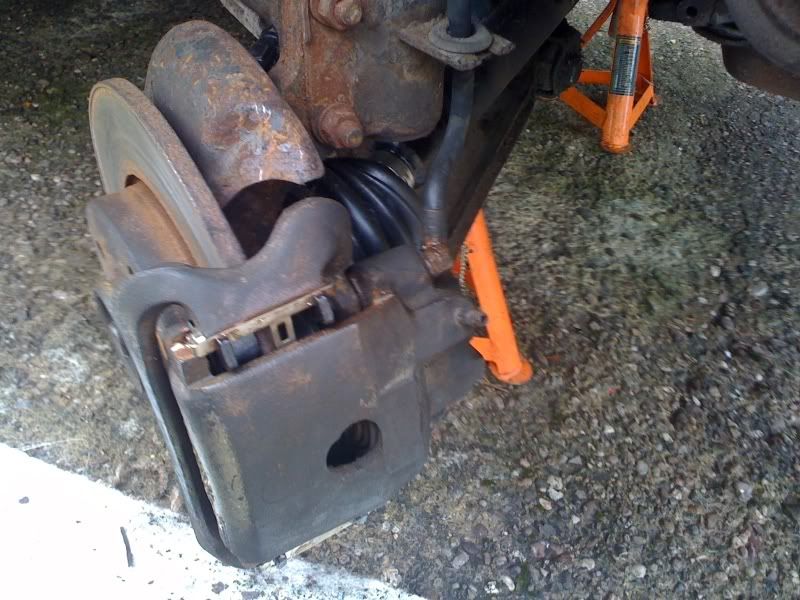
The old pads were pretty knackered....
Others jobs done include, fixing the horn and front washers, refitting some of the interior trim, straightening the front bumper, fixing the front sidelights and fitted LED sidelight bulbs, also i fitted clear front indies, but thats just temporary.....
More updates tomorrow.

Re: Project 21A
Posted: Thu Oct 01, 2009 4:47 pm
by markh
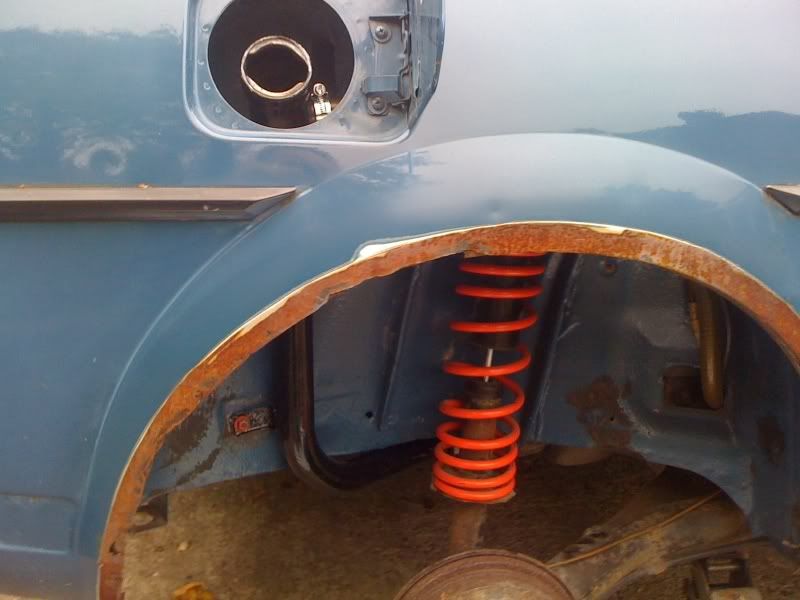
Today i started on the bodywork, namely the rot in the drivers side rear arch...
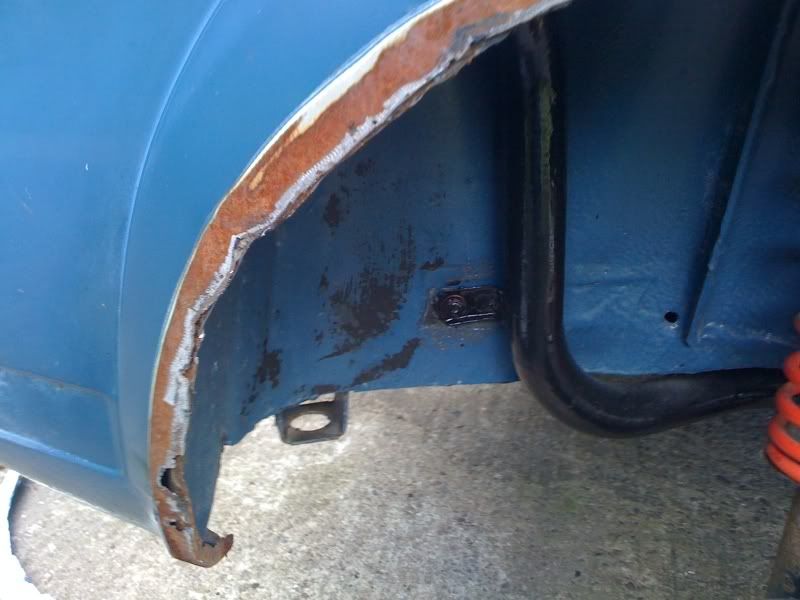
I cut a repair section from an arch of an old front wing...
And then MIG welded it in place...
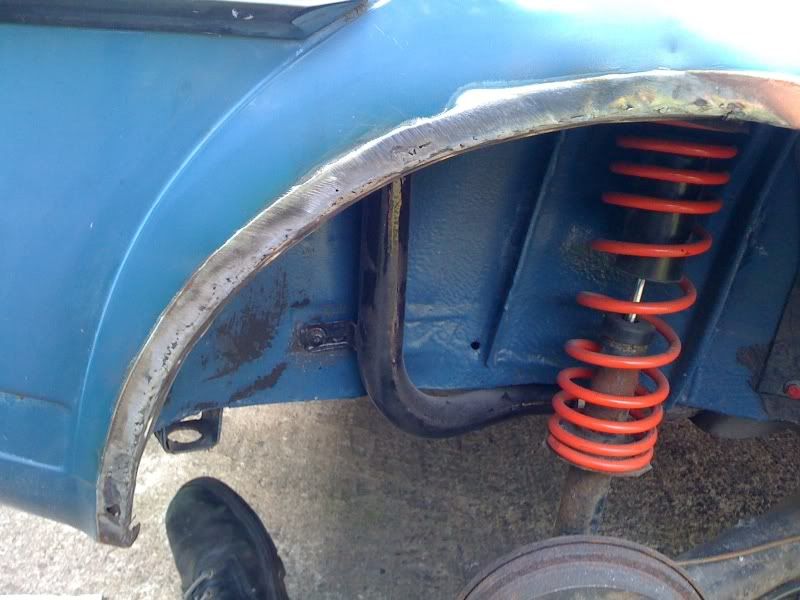
I will need to do the same on the other side, which is slightly worse, but straightforward enough.
Re: Project 21A
Posted: Mon Oct 05, 2009 3:41 pm
by markh
A bit more work on the drivers side rear arch today, filled and sanded. It will need a bit more filler in places to get a nice finish, but its looking better...

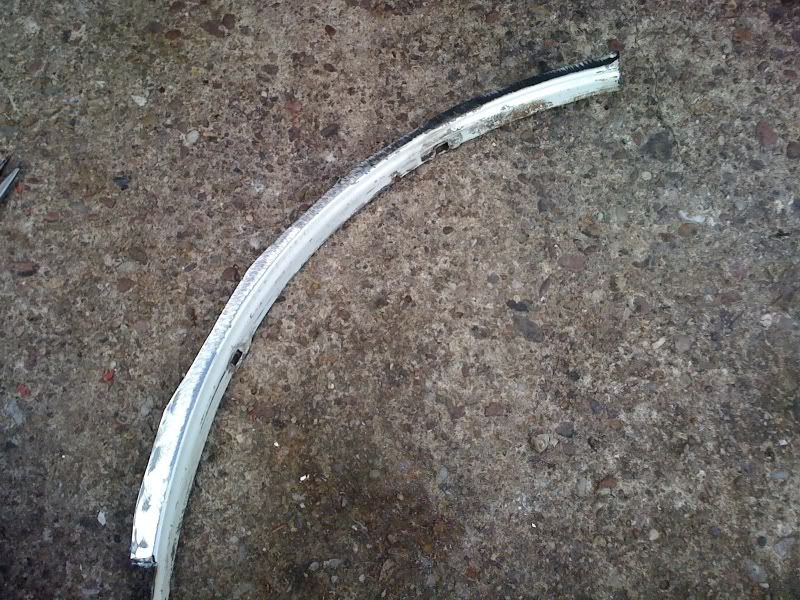
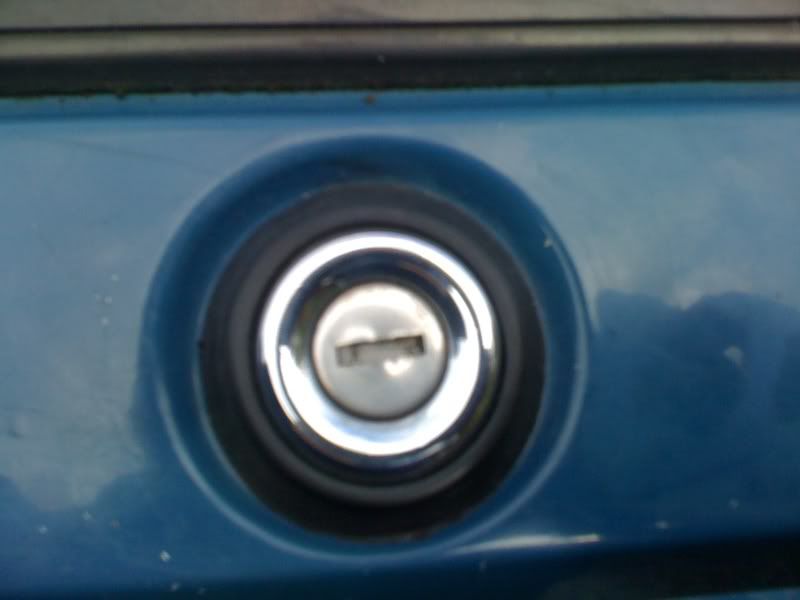
Also changed the knackered boot lock seal for a nice new one...
Not a huge leap forward today, but a step in the right direction.
Re: Project 21A
Posted: Fri Oct 09, 2009 8:07 am
by markh
Yesterday, i had time to weld up the passenger side rear arch. Again i used an arch cut from a front wing (FECKOs knackered drivers wing actually), with a little bit of trimming, i lined it and clamped it ready to weld in...
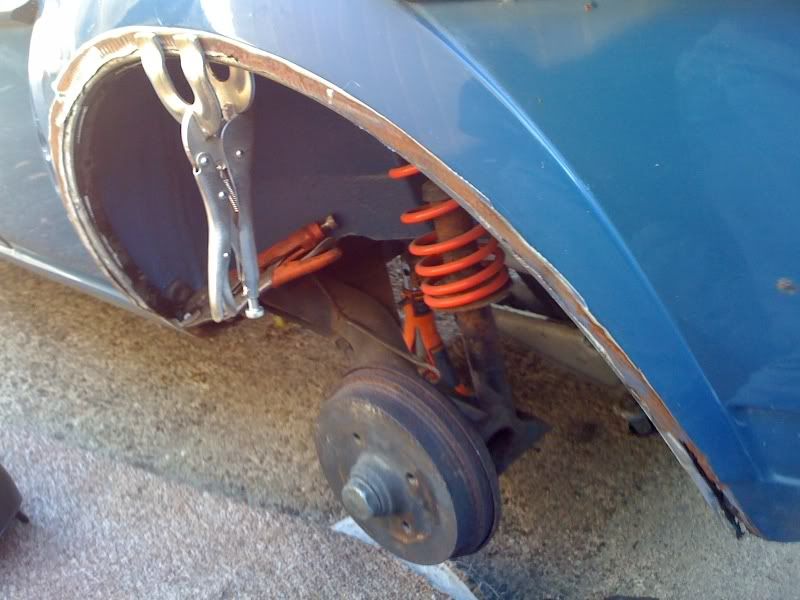
Then welded it up and ground down the welds so they were level....

Next was to skim it with filler and start to rub it down. Hopefully i can do an hour on it later this morning.
Re: Project 21A
Posted: Fri Oct 09, 2009 9:14 pm
by brass007
Wow what nice clean inner arches!

cannot wait to see this back on the road
can't be much left to do now?
Re: Project 21A
Posted: Fri Oct 09, 2009 10:03 pm
by markh
Not a huge amount now for the MOT Marko, but the next couple of weeks are taken up with work and getting FECKO back on the road. I really want to finish this and get the Mk1 done. Hopefully I can get them both in the new workshop tomorrow before I pick up my new GTX.
Re: Project 21A
Posted: Sat Oct 10, 2009 3:59 pm
by brass007
markh wrote:Hopefully I can get them both in the new workshop tomorrow before I pick up my new GTX.
What new GTX have I missed something???????????? another one!!!!!!!!!
You need to go to confession to repend your sins!!!!

so what do you need in there so I can keep my eyes peeled
air compressor, car ramps, shelving etc
you would be surprised at what I can occasionally get my hands on

Re: Project 21A
Posted: Sun Oct 11, 2009 4:34 am
by markh
A compressors on my wish list Mark, something around 50 litres, so let me know if anything crosses your path mate please !!
Re: Project 21A
Posted: Sun Oct 11, 2009 5:37 pm
by brass007
now IIRC its the bar pressure that is important not size/volume
don't they recommend 2 bar plus for spraying?
someone let me know so I can keep me eyes peeled