Mk1 Redroc

Scirocco Register members projects
Forum rules
Section for all vehicle and related projects. Please keep responses pertinent to thread.
User avatar
The Autoad
Posts: 732
Joined: Sat Feb 28, 2009 5:57 pm
fill in the right answer: 10
Location: Nottingham
Contact:

Mk1 Redroc

Post by The Autoad »

This is carried over from the old forum.

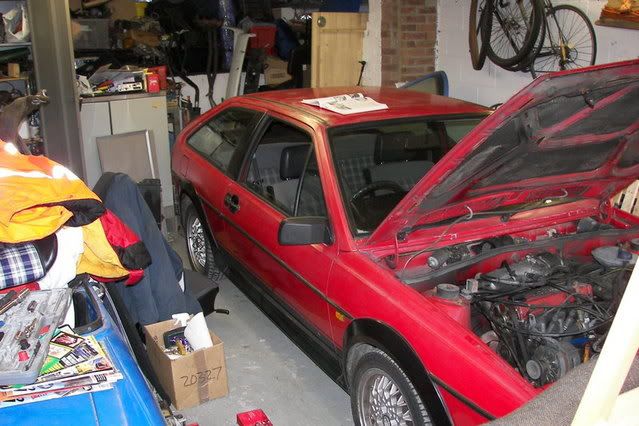
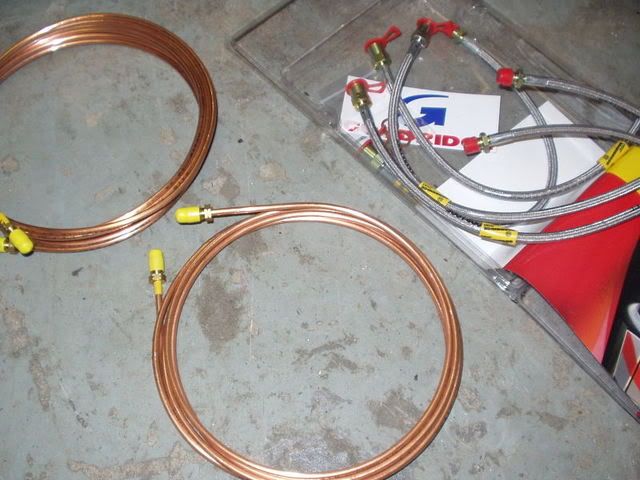
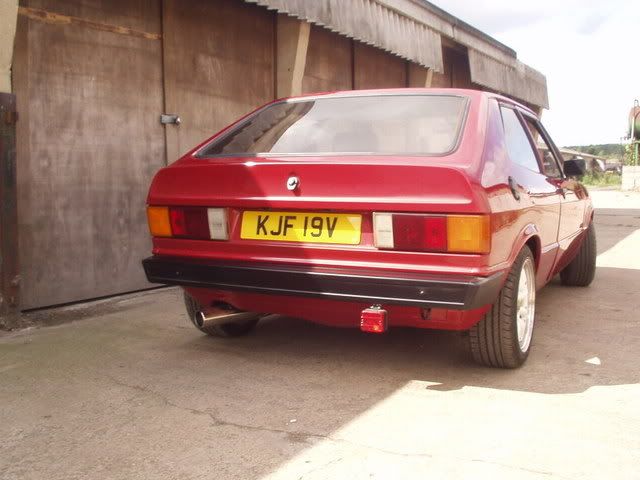
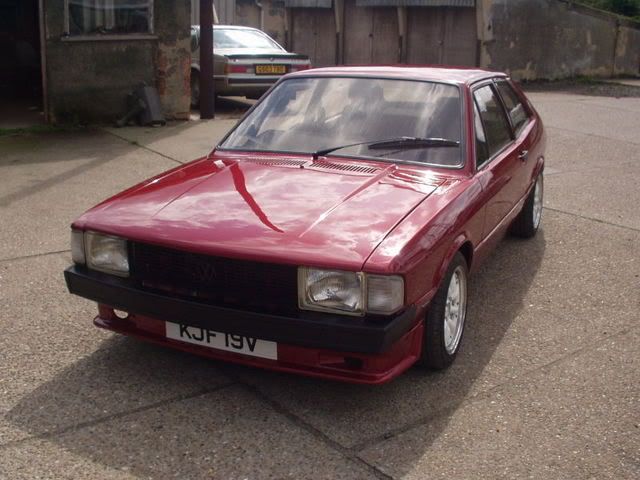
Bought the car in late 2006 from Mr. Brown. The car came with huge amount of new new parts (particulalry running gear, bushes and fueling), lots and lots of spares and most importantly a shell free of any major rust.

19th Feb 2009
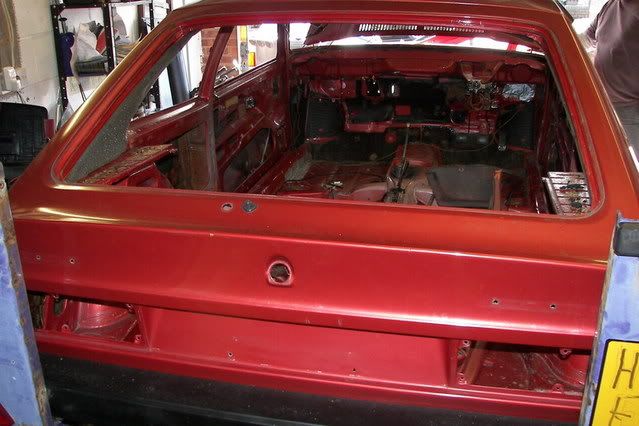
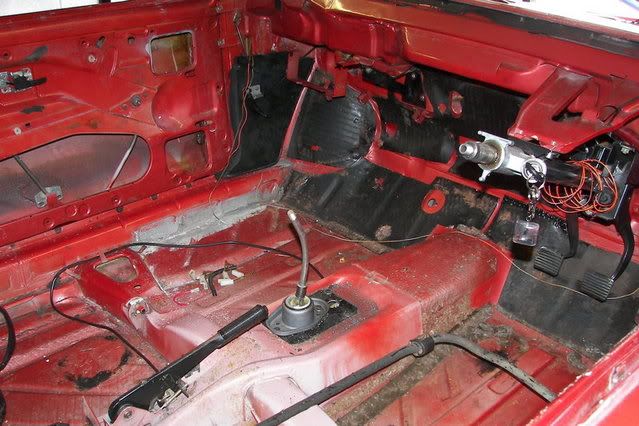
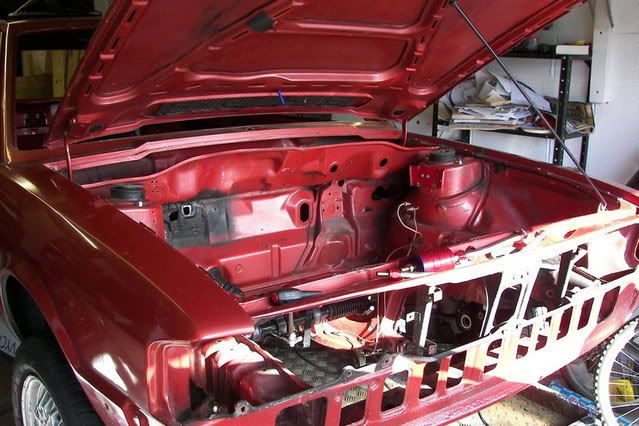
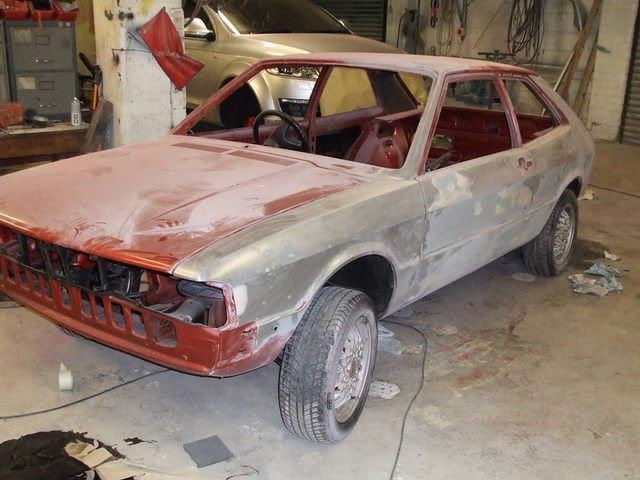
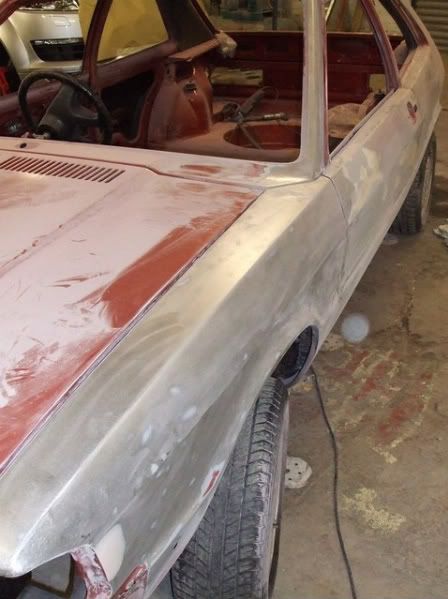
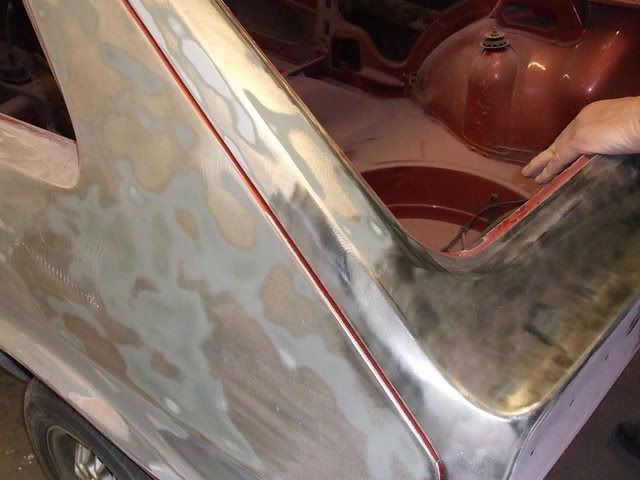
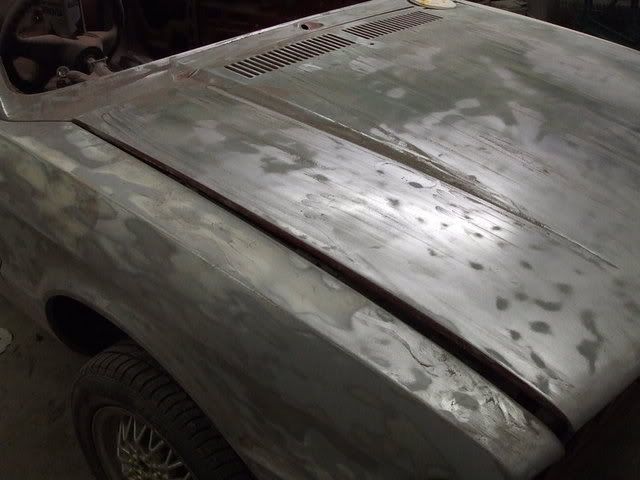
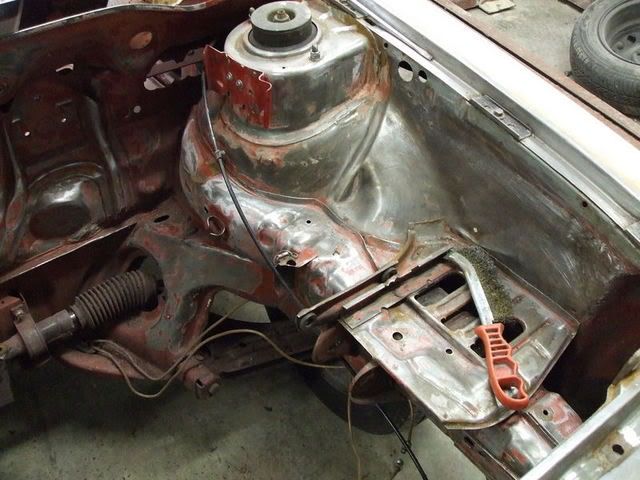
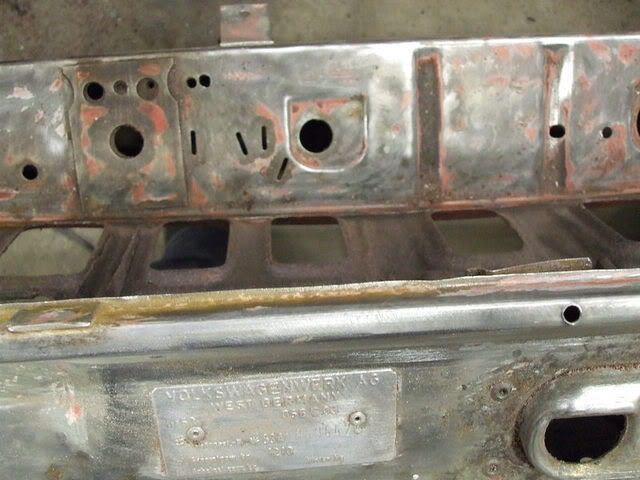
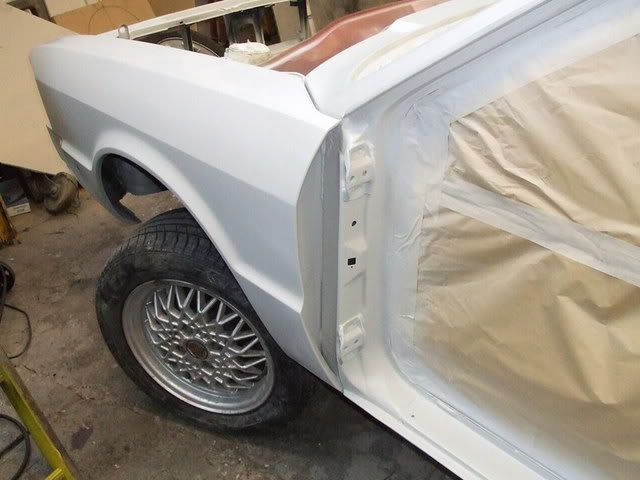
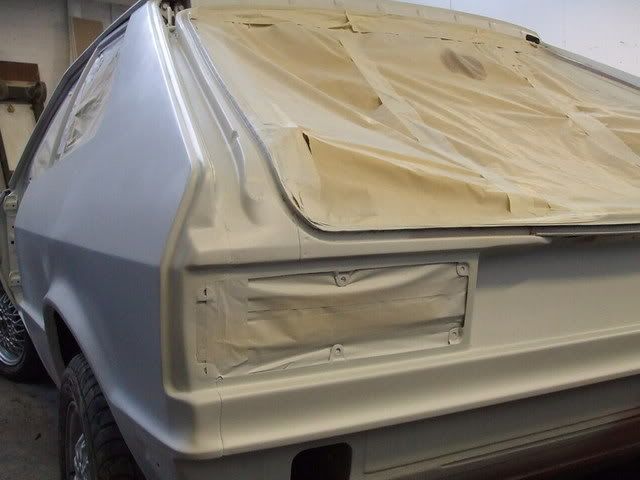
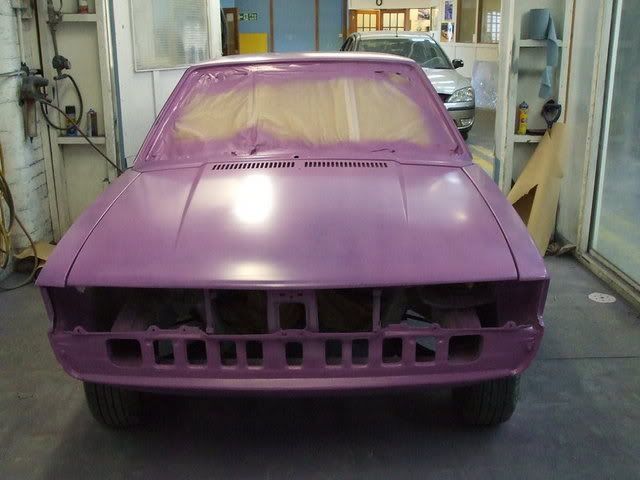
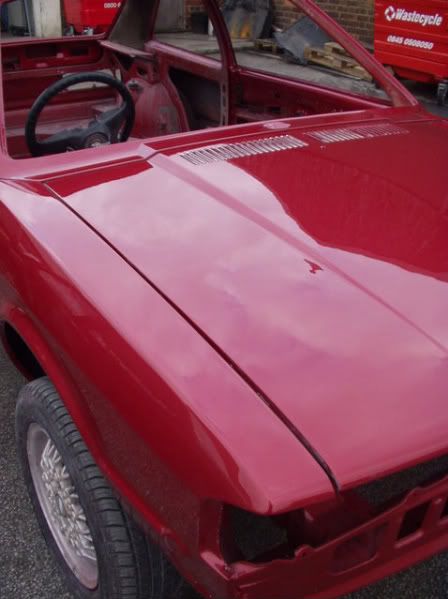
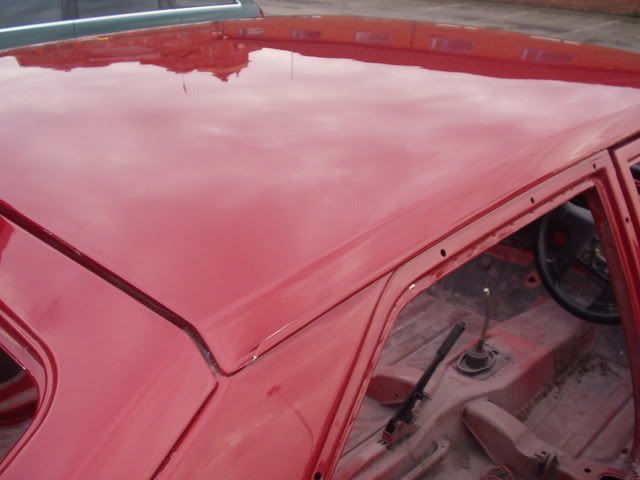
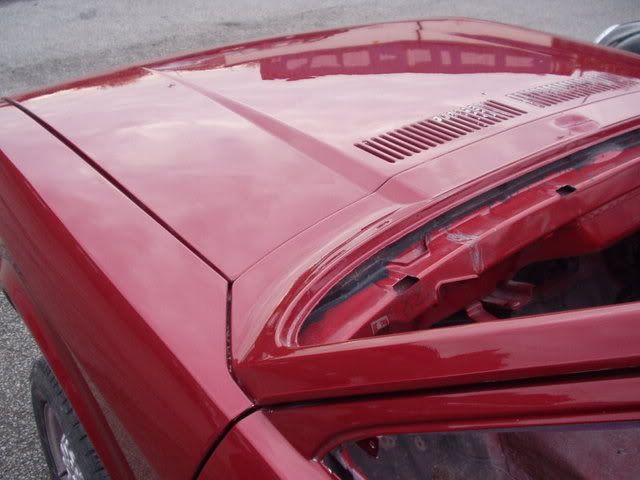
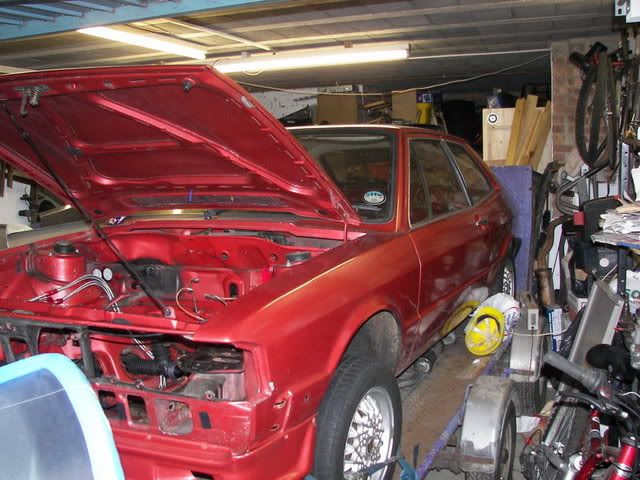
finally i've started properly!

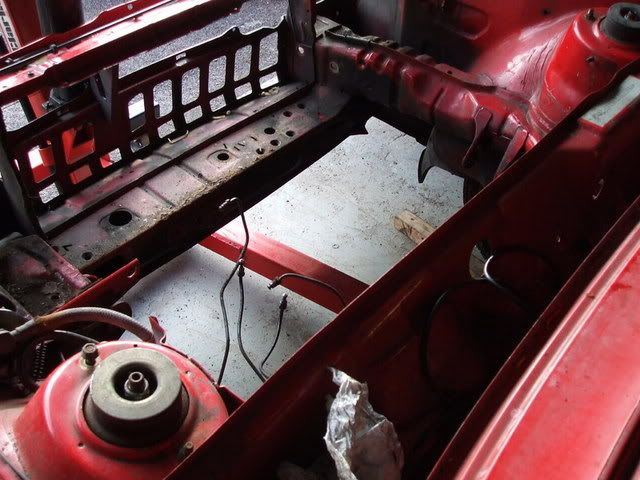
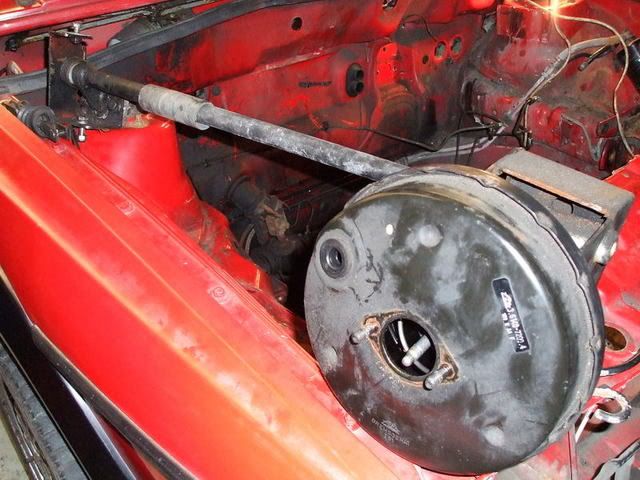
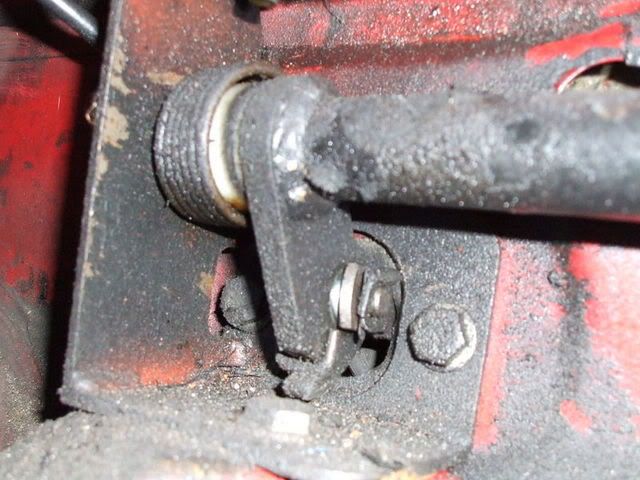
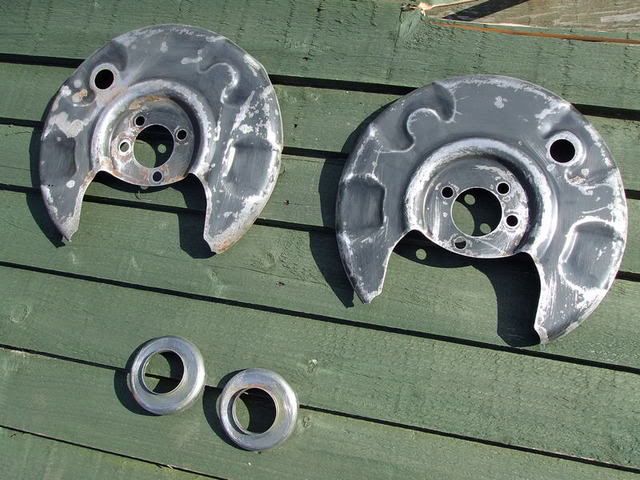
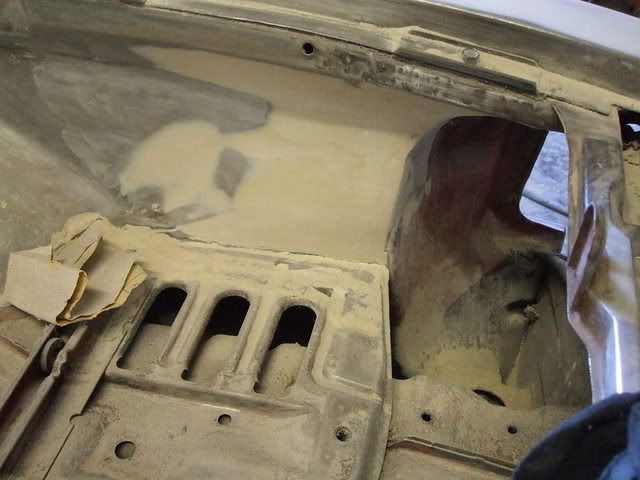
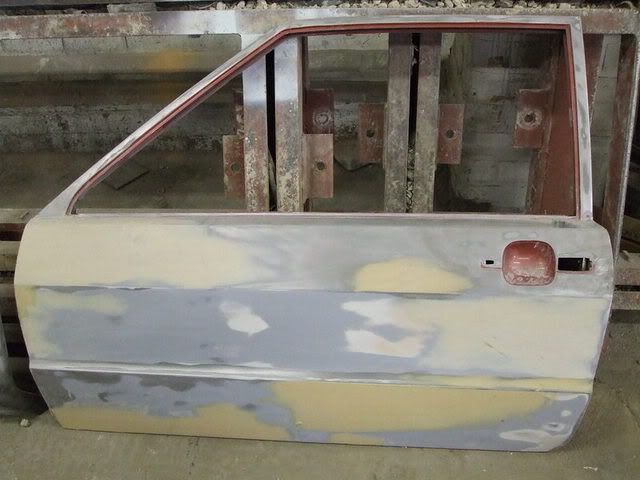
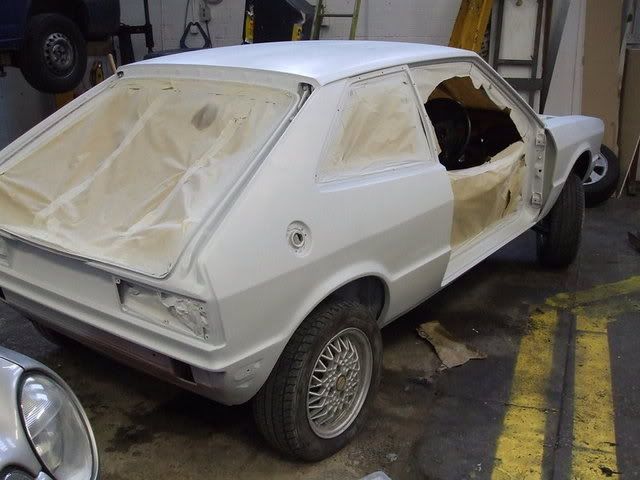
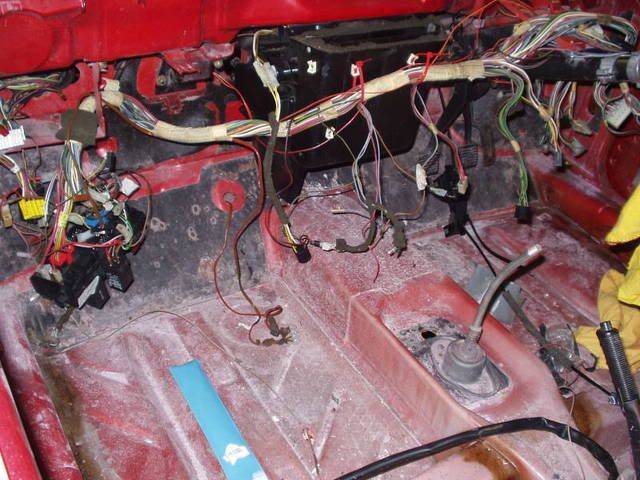
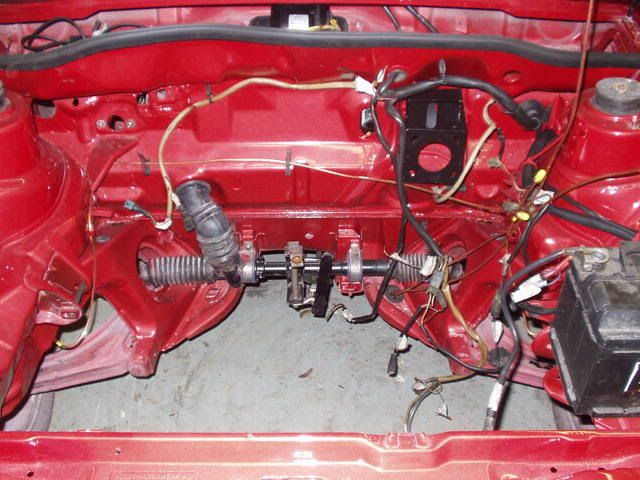
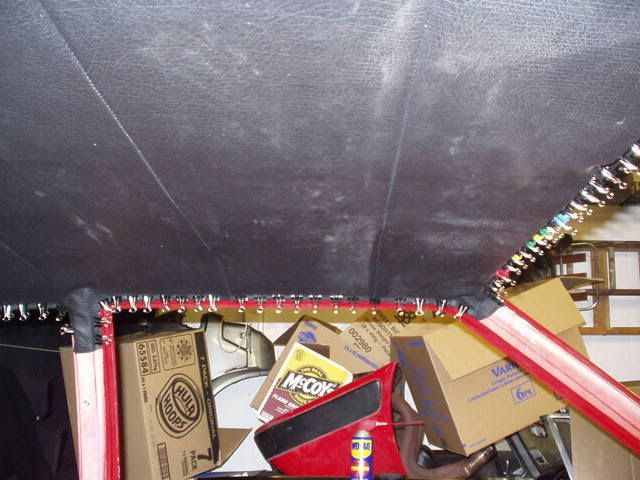
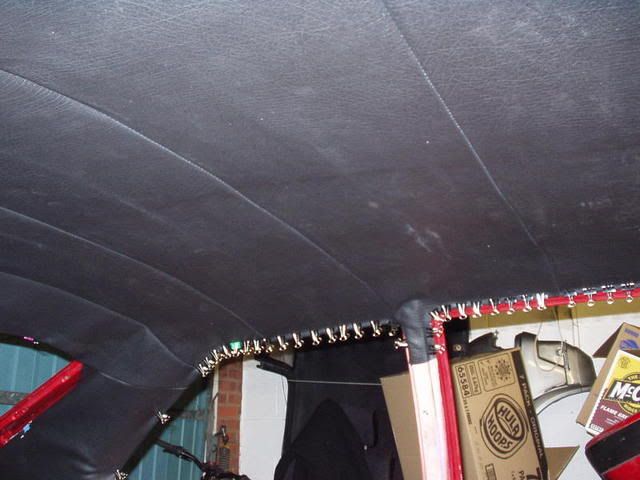
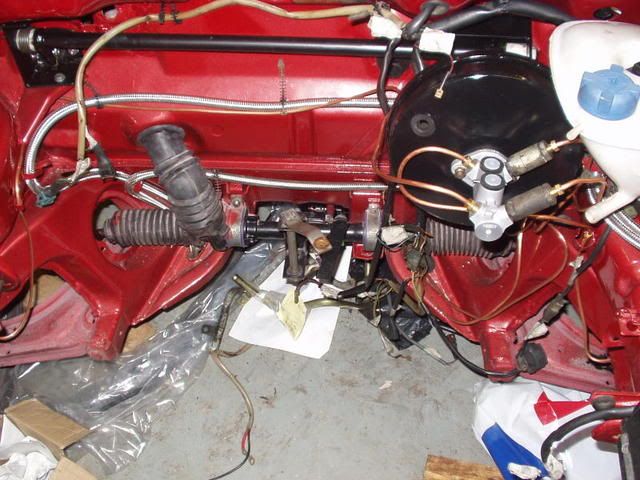
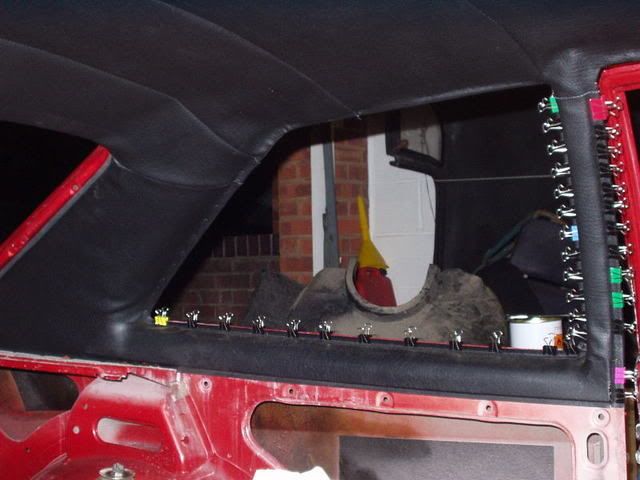
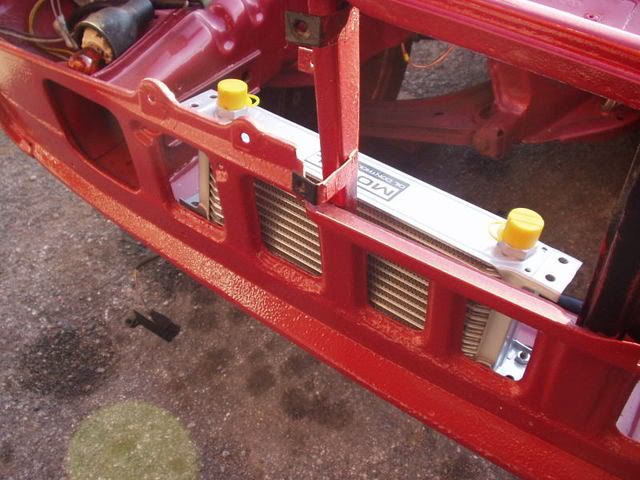
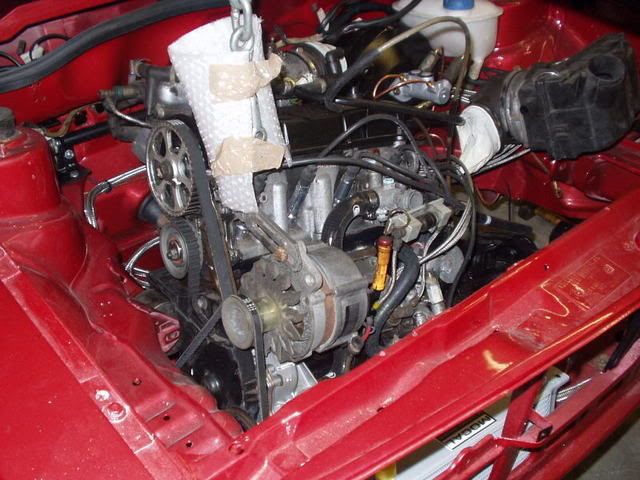
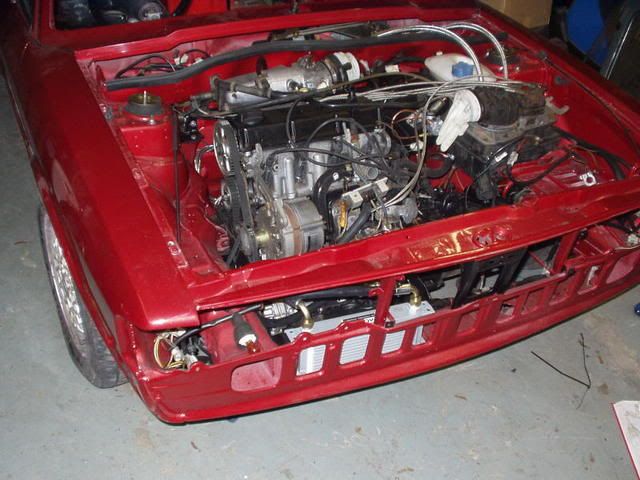
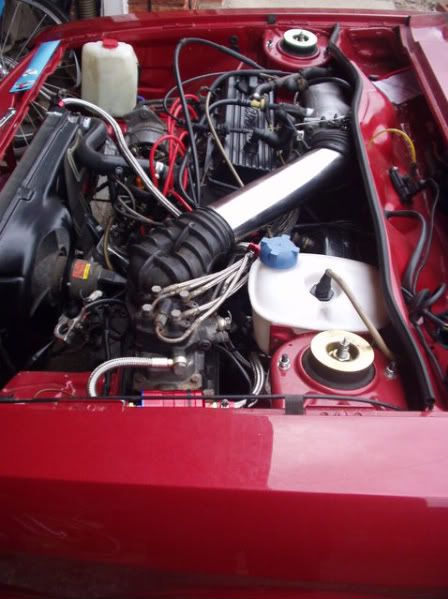
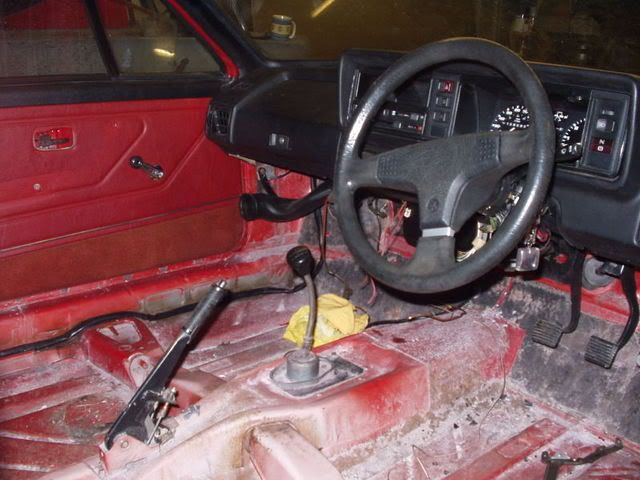
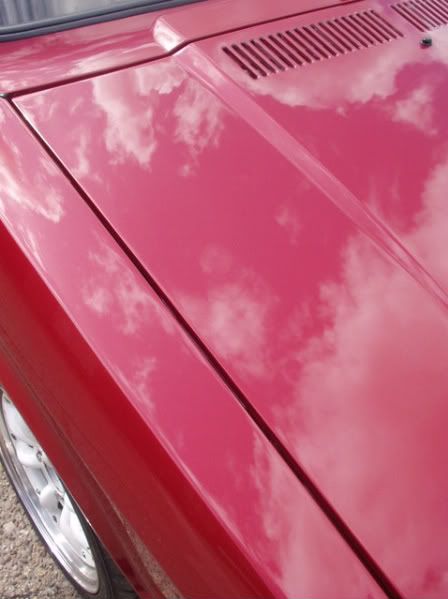
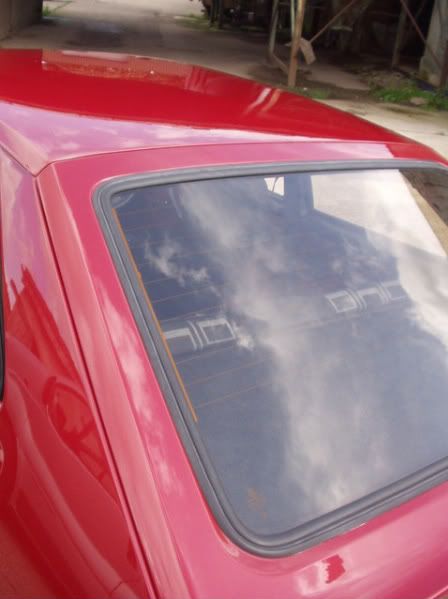
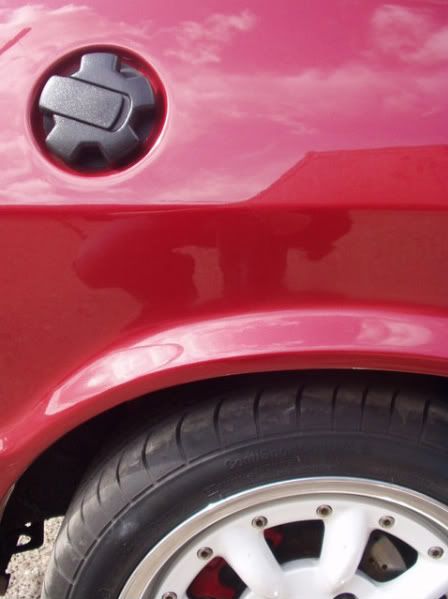
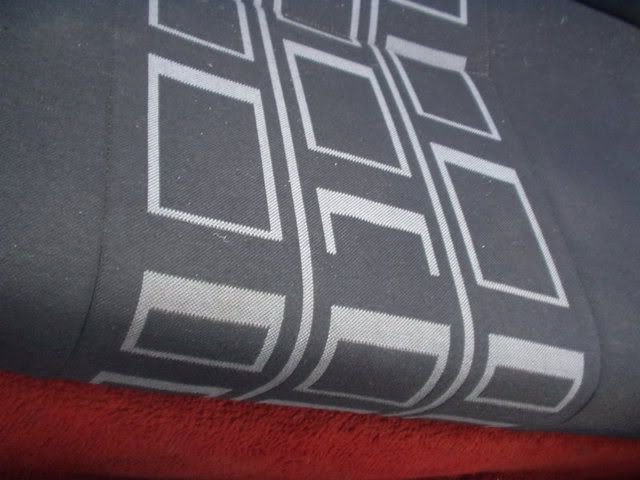
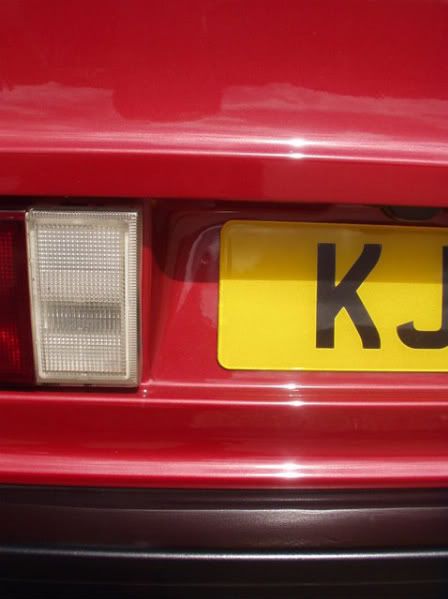
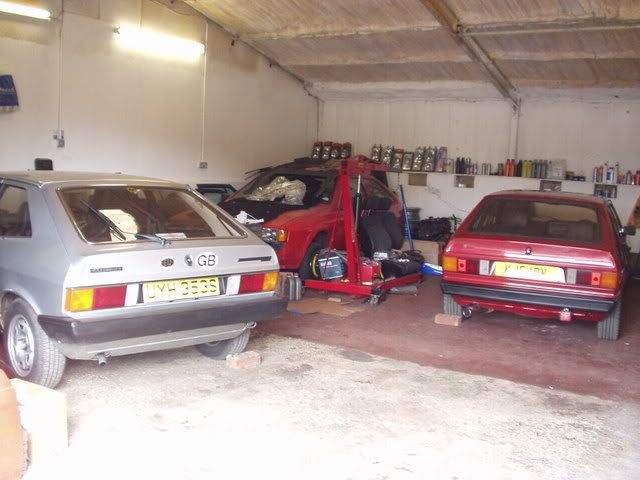
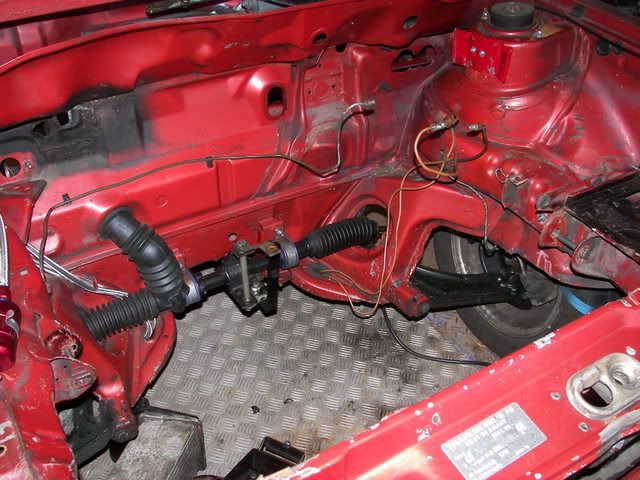
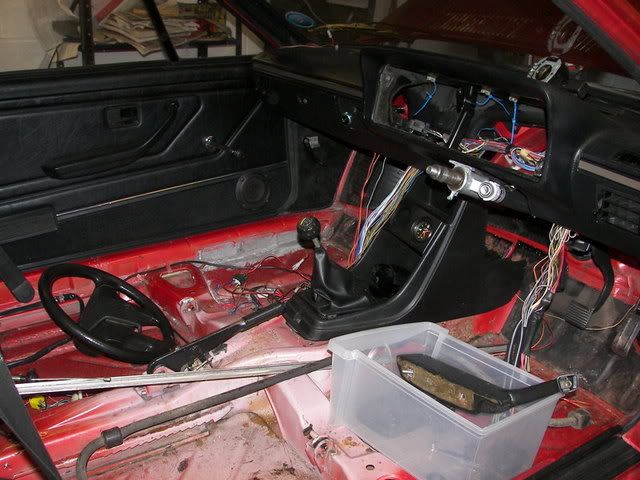
been stripping down redroc in preperation for going for paint at the end of month. A few pics of progress below. Everything will be repainted, and as of close of play Saturday 17th Feb all the interior bits, glass and trim had been removed from the car (still present in the photos). Just a few bits and bobs to do before it goes for paint at the end of the month. After much thought and consultation about colour it will remain the roc that is red.

This will be a project diary thread, so watch this space.

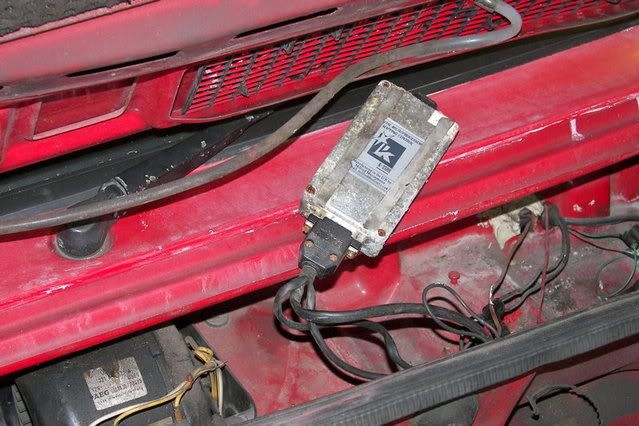
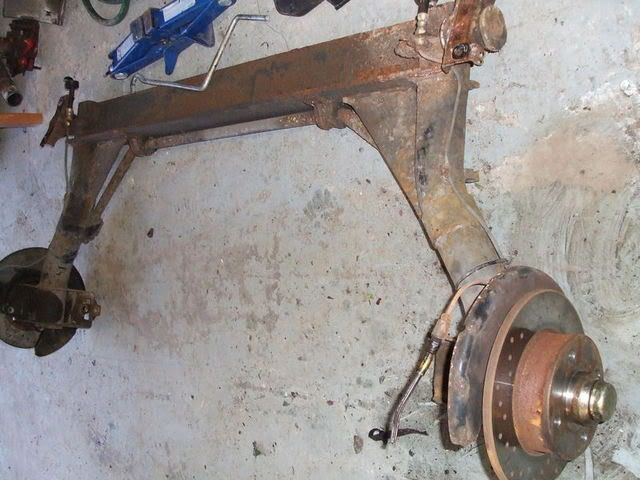
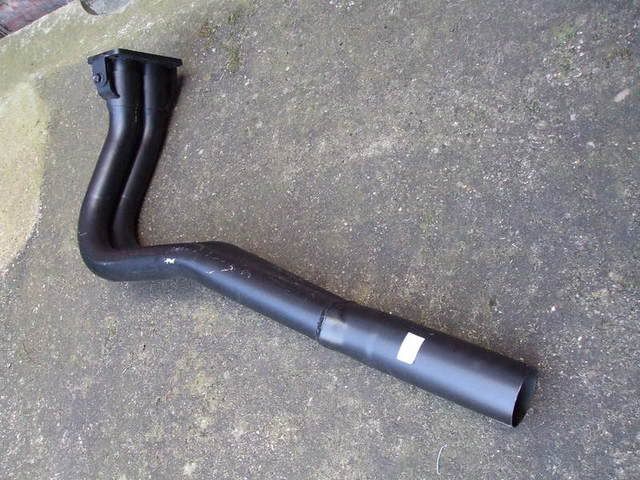
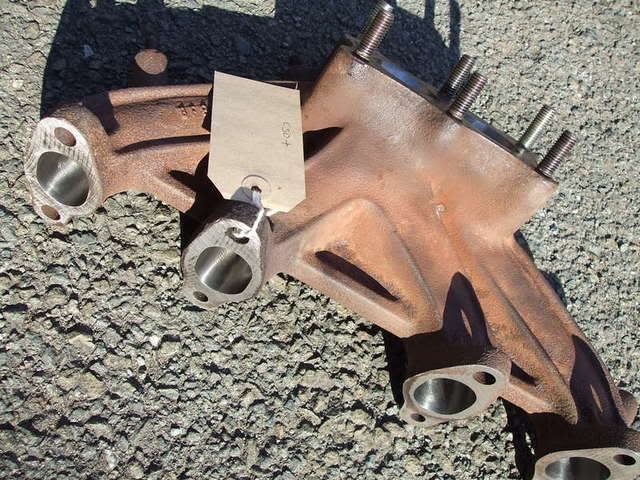
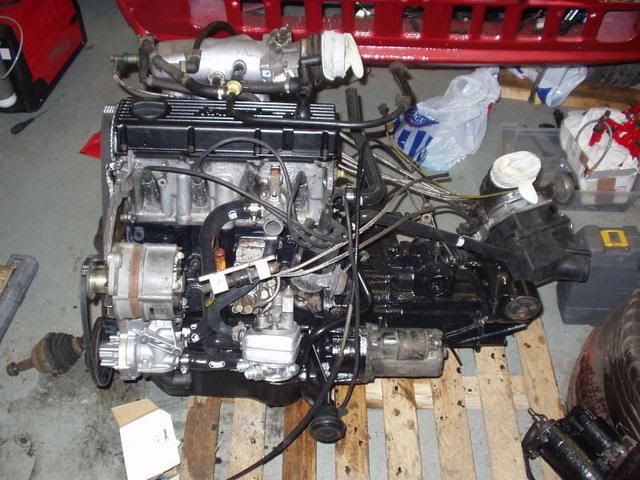
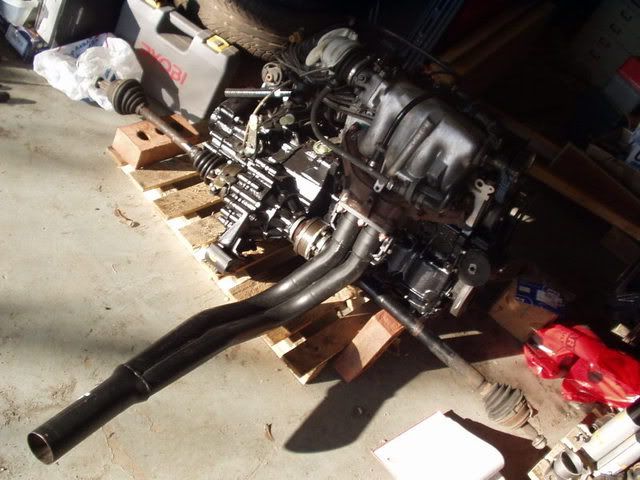
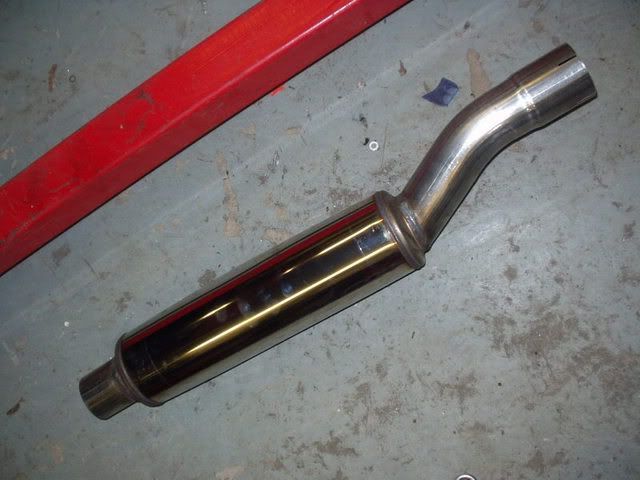
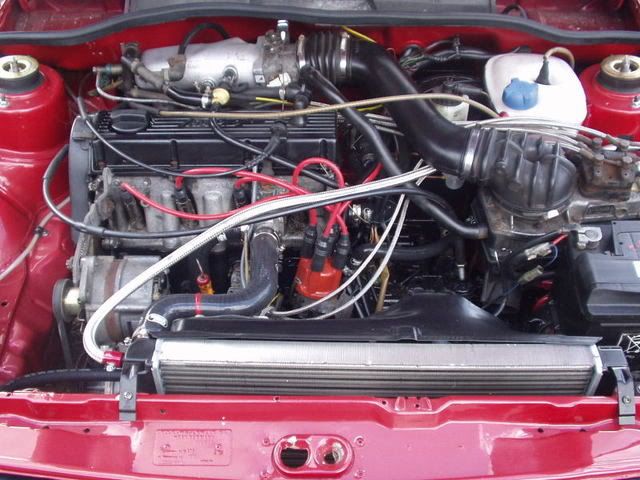
The 2.1 engine/tuning goodies donor has taken its journey to the abattoir and dismantling will commence over the next few weeks.

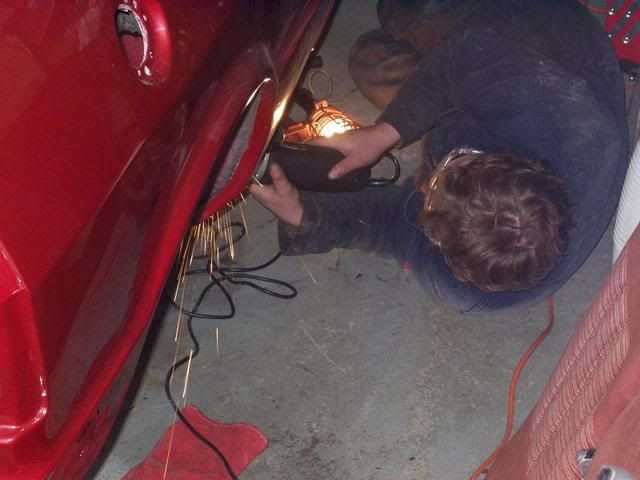
Pics from Fil's dungeon. Many thanks to him and the family for putting up with me!

Image

Image

Image

its on the way


Your friendly neighbourhood Scirocco restorer for hire
User avatar
The Autoad
Posts: 732
Joined: Sat Feb 28, 2009 5:57 pm
fill in the right answer: 10
Location: Nottingham
Contact:

Re: Mk1 Redroc

Post by The Autoad »

12th March 2007

more strip down completed over the last week:

Image

Image

Image

Image

and the car was collected for the paint shop.


Then could get on with stripping the 2.1 GTX donor car.


Your friendly neighbourhood Scirocco restorer for hire
User avatar
The Autoad
Posts: 732
Joined: Sat Feb 28, 2009 5:57 pm
fill in the right answer: 10
Location: Nottingham
Contact:

Re: Mk1 Redroc

Post by The Autoad »

15th March 2007

so now the mk1 has gone for paint I can crack on with stripping down the donor GTX with the 2.1 engine and tuning goodies.

So got it out of the holding garage into fils to start stripping the car down and labelling all the wiring.

Image

note those stripes above the bodykit. remember you saw it here first folks :wink:

Image

so I remove the scuttle cover to find a box wrapped up in foam and brown tape. I assume its an alarm box but unwrapped to reveal....
Image

which was a bit of a shock! a K-star timing box.

Plus had a call from the painter, he is bare metalling the mk1 to ensure a good job and invited me down to see the progress. The great news was that he has confirmed that there are no nasty horrors under the existing paint and the car is straight.


Your friendly neighbourhood Scirocco restorer for hire
User avatar
The Autoad
Posts: 732
Joined: Sat Feb 28, 2009 5:57 pm
fill in the right answer: 10
Location: Nottingham
Contact:

Re: Mk1 Redroc

Post by The Autoad »

16th March 2007

Progress of the car. One side and the hatch is completely bare metalled and a start has been made on the other side with bonnet and roof to follow...

Image

Image

Image

so it was moving along nicely.


Your friendly neighbourhood Scirocco restorer for hire
User avatar
The Autoad
Posts: 732
Joined: Sat Feb 28, 2009 5:57 pm
fill in the right answer: 10
Location: Nottingham
Contact:

Re: Mk1 Redroc

Post by The Autoad »

26th March 2007

having a week off work helps! Managed to completely strip down the GTX in 3 10 hour days. Suffice to say there was nothing left of it and the shell has been disposed of.

Image

Image

Image

and the GTX threw up more suprises
Image
Image

Autocavan brake assembly. which is nice.

I checked in on the mk1 progress at the body shop:

Image

Image

Image


...and, managed to get me one of these:
Image
Jetex 2.5" downpipe for lovely flow. Bolts up to the six stud manifold which i'll get properly sorted. Apparently Jetex are unsure if they are making any more of these beasties. Lobby them now!

with the mk1 bodyshell moving along it was time to start refurbing/renewing components. I cracked on with the dull but essential work that will make everything a bit nicer come rebuild time. I got my head around the wiring (at last!) and cleaned up and refurbing components that are sound and buying new where applicable.

Image

These are the rear disc brake backplates and dust caps after wire brushing and a 24hr bath in Deox C. These bad boys were then zinc primed and painted satin black along with the bases of the rear stub axles, the rad brackets, anti roll bar clamps, calliper brackets and a whole host of other bits...

onward.


Your friendly neighbourhood Scirocco restorer for hire
User avatar
The Autoad
Posts: 732
Joined: Sat Feb 28, 2009 5:57 pm
fill in the right answer: 10
Location: Nottingham
Contact:

Re: Mk1 Redroc

Post by The Autoad »

9th May 2007

By this time it was evident that the car was not going to emerge anytime from the bodyshop any time soon. But to give credit where due the bodyshop chap was being absolutely thorough whilst still sticking to agreed budget and I couldn't fault him. It would just take longer than I thought. With bodyshops always treble the amount of time you will think it will take, particulalry if agreed on a price, your project then needs to be fitted around insurance work and the like.

Image

Image

The bodyshop had moved premises adding to the amount of time, but my car would be done in a spangly new sparay booth :good:

In the meantime I got a few other bits and bobs done:
- picked up a cool steering wheel at Spring Festival

- Had some brackets and heat shields shot blasted by Mr. Tooly (cheers boss, top work :ok: )

- degreased and cleaned up engine and box

- bought exhaust system: full 2.5" stainless Jetex system with round 80mm tailpipe :diablo:

- got some more interior bits from Alexander, Craig and Sean. Many thanks guys!

- exhaust manifold is getting the C&R porting treatment

and the jobs to do before car came home:
-clean a couple more bits and bobs

- renew all coolant and ancillary hoses

- new brake discs and pads

- new speedo cable

- new braided fuel lines

- fit an oil cooler

- decide on suspension package (in the end I went for Weitec coilovers from Mr. Brown)


Your friendly neighbourhood Scirocco restorer for hire
User avatar
The Autoad
Posts: 732
Joined: Sat Feb 28, 2009 5:57 pm
fill in the right answer: 10
Location: Nottingham
Contact:

Re: Mk1 Redroc

Post by The Autoad »

19th July 2007

Had been buying more bits, said suspension above, and lots of trim and little gubbins and whatnot. Nothing too exciting for pics by themselves but all added to the finished piece once assembled.

also, paint slowly got closer to completion:

Image

Image

Image

this is the first coat of primer. To follow was a light stonechip to the bottom flanks of the car followed by some more primer then colour and top coats.

I think I can see a chink of light at the end of the tunnel :swoon:


Your friendly neighbourhood Scirocco restorer for hire
User avatar
The Autoad
Posts: 732
Joined: Sat Feb 28, 2009 5:57 pm
fill in the right answer: 10
Location: Nottingham
Contact:

Re: Mk1 Redroc

Post by The Autoad »

10th September 2007

almost there...

top coat of primer before final rub back and colour

Image

Image

Image

Image

full of raspberry goodness :dance:


Your friendly neighbourhood Scirocco restorer for hire
User avatar
The Autoad
Posts: 732
Joined: Sat Feb 28, 2009 5:57 pm
fill in the right answer: 10
Location: Nottingham
Contact:

Re: Mk1 Redroc

Post by The Autoad »

10th September 2007

Amongst paint I also collected this:

Image

A very thorough and excellent porting job by C&R.

Have almost got everything ready -It was like a big airfix kit!

And the package of stuff that I ordered nearly three months prior finally arrived t'other week with samco hoses, new braided fuel hoses and my oil cooler. Just got to get a new water pump and cam belt then I could fit up the engine ready for the return of the shell.


Your friendly neighbourhood Scirocco restorer for hire
User avatar
The Autoad
Posts: 732
Joined: Sat Feb 28, 2009 5:57 pm
fill in the right answer: 10
Location: Nottingham
Contact:

Re: Mk1 Redroc

Post by The Autoad »

20th November 2007

It was finally done. The pics don't do it justice

Image

Image

Image

Image

Since these pics were taken inside the boot had been done also.


Your friendly neighbourhood Scirocco restorer for hire
User avatar
The Autoad
Posts: 732
Joined: Sat Feb 28, 2009 5:57 pm
fill in the right answer: 10
Location: Nottingham
Contact:

Re: Mk1 Redroc

Post by The Autoad »

7th January 2008

So picked the car up on the Lilac Trailer and returned it to Phil's garage. Firstb thing was to cavity wax the car with Dynax S50 and allow to dry.

renewed the solid brake lines, new copper jobbies from Automec which I can't recommend highly enough for a DIY install. Flexies loosely connected for now.

Image

had also got all the wiring in and loosely in situ before connecting up.

Image
(that car floor was cleaned before the carpet went in)

Image


Also had a ton of new parts on order and shipped some stuff off to the powder coaters. Began to paint the engine block and box.


Your friendly neighbourhood Scirocco restorer for hire
User avatar
The Autoad
Posts: 732
Joined: Sat Feb 28, 2009 5:57 pm
fill in the right answer: 10
Location: Nottingham
Contact:

Re: Mk1 Redroc

Post by The Autoad »

21st January 2008

things were hotting up.

literally, as the brand new headlining that I had custom made had to be heated with a hairdryer to make it nice and malleable to stretch around the door jams and windscreen aperture. Glued and assisted by good ole bulldog clips. We cleaned the local Tesco's out of them. Ta to her indoors and brother out-law for the help with this fiddly job that requires a multitude of hands!

Image

Image

flash shows the all the dust, but it looks great and will receive a good clean. Went in pretty well, main fiddly bit was around the C-pillars.

Also from the same trimmers, had the drivers seat restored - upper and lower bolsters and base all done. I later tracked down a complete spare set also.

aaannnddd, the wheels went in for a refurb.

Image


Your friendly neighbourhood Scirocco restorer for hire
User avatar
The Autoad
Posts: 732
Joined: Sat Feb 28, 2009 5:57 pm
fill in the right answer: 10
Location: Nottingham
Contact:

Re: Mk1 Redroc

Post by The Autoad »

11th February 2009

Discovered a naughty little hole that appeared when inspecting underseal inboard of the sill. Nobody, especially me, had noticed it before. Luckily i didn't have to grind off any of the new paint as it was on the underside of the sill, and I was re-undersealing the sills anyway. Have gone over the whole underside of the car with a fine tooth comb and pleased to report that was the only bit of rot on the whole car. Ah, the joys of mk1 ownership!

So, off with the rear beam, pumps and tanks and sorted with mr. angle grinder and mr. welder.

Image

Tidied the welds up and re-undersealed.

Rear disc set-up was fitted and rear coilovers.

Larger 9" servo undergoing restoration:

Image

and fully fitted with autocavan brake bar and 22mm master cylinder.

Image


Engine refurbished with new belts, water pump and thermostat, oil coolers and hoses. Just the dizzy cap, rotor arm, plugs and leads to do in this shot.

Image


Cabin coming together

Image


Wheels were sorted with tyres. 14" Watanabe RS8's with Conti Sports 195/45/14

Image

Image

thanks to filmidget for spotting them and Mr. B for tyre size advice.


Your friendly neighbourhood Scirocco restorer for hire
User avatar
The Autoad
Posts: 732
Joined: Sat Feb 28, 2009 5:57 pm
fill in the right answer: 10
Location: Nottingham
Contact:

Re: Mk1 Redroc

Post by The Autoad »

25th February 2008

work continued apace, two weekends worth:

oil cooler in place:

Image

remember that stonking downpipe? engine all ready to go in:

Image

and in it goes:

Image

Image

and with a 2.5" downpipe, would rude not to fit a 2.5" Jetex exhaust.

Image

Image

fuel and cooling plumbed, electrics plugged in and test fire - it worked! :groove:

Glass fitters arrived and fitted front and rear screens, plus the two rear side windows with brand new seals. Then i could turn my attention to the interior. Again, not to everybody's taste or approval, but i'm running a mk2 GTi loom so a mk1 Golf dash with a polo G40 steering wheel would seem to fit the bill.

Image

The dash had to be modded to fit, as a mk1 Scirocco interior is 2 inches or so wider than a mk1 Golf, whilst the bulkhead is less curved. oh, and a mk2 dash is too wide. By about 2 inches.


Your friendly neighbourhood Scirocco restorer for hire
User avatar
The Autoad
Posts: 732
Joined: Sat Feb 28, 2009 5:57 pm
fill in the right answer: 10
Location: Nottingham
Contact:

Re: Mk1 Redroc

Post by The Autoad »

3rd September 2008

So work continued, but at a much slower pace as stuff like work and domesticity got in the way (never have too many projects!)

Early March I got the car presentable but not finished nor legal and trailered it to Ultimate Dubs for a sneaky peek.

Since then, the car moved from Phils garage (very very grateful for time, space, and tea and advice) to a new unit at a secret location that consolidated three garages worth of stuff :swoon:

I had been doing bits and bobs on it here and there, just taking my time and sorting niggling problems like replacing a duff rear caliper :dash: , replacing the plastic water pipe on the head (a leak), renewing senders etc and also fitting it around helping out on other folks' projects. This was the best way as I was loosing patience trying to rush the car leading up to March.

Also used this time to locate little bits and bobs that I needed, and also make a few special mk1 buffer purchases...

So, fast forward to early Sept 2008. Took a punt on an MOT and it passed straight through with no advisories!

Rashly I wanted to get it down to Ed38 but wised up and realised that I need to get it tuned and sort out some little teething things. Plus I did need to finish the cosmetics on the car before i'm ready to get it to the shows and chuck it around on the weekends :pilot:

Image

Image

Image

Image

Image

Image

Image

Image

Image

Image

Image


engine needs some more cleaning and tidying work

Image


home sweet home :chill:

Image

updates on cosmetics as they are done!


Your friendly neighbourhood Scirocco restorer for hire
Post Reply