Page 1 of 2
Refurb.. Take 2
Posted: Sun Sep 23, 2012 9:33 pm
by 79 Scirocco
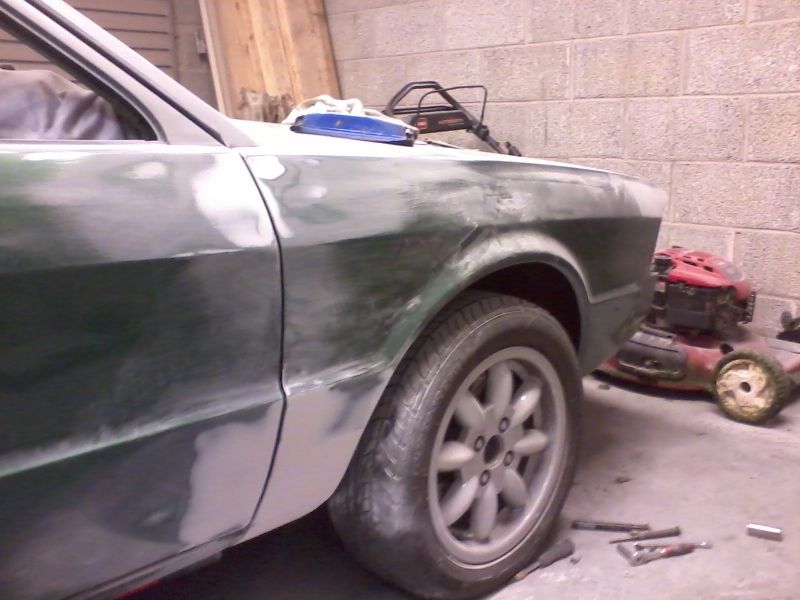
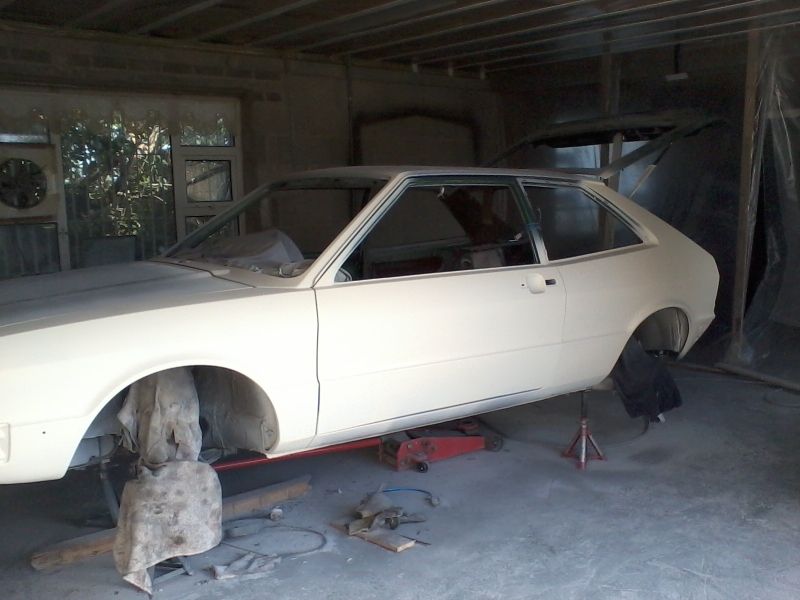
Hi all, a few might recognise my Scirocco, I have had it a few years with reliable service. I had to replace the door bottoms a few years ago and then last year the vinyl roof gave up. I replaced the vinyl with a black repair kit and it has being fault free but the paint has taken a hit, the doors don’t match the wings/bonnet and the roof does not match the doors or bonnet either. I got the correct shade of paint (L99Y) but years of sun (if that’s actually possible) take their toll, (maybe my painting skills, but I doubt that

)
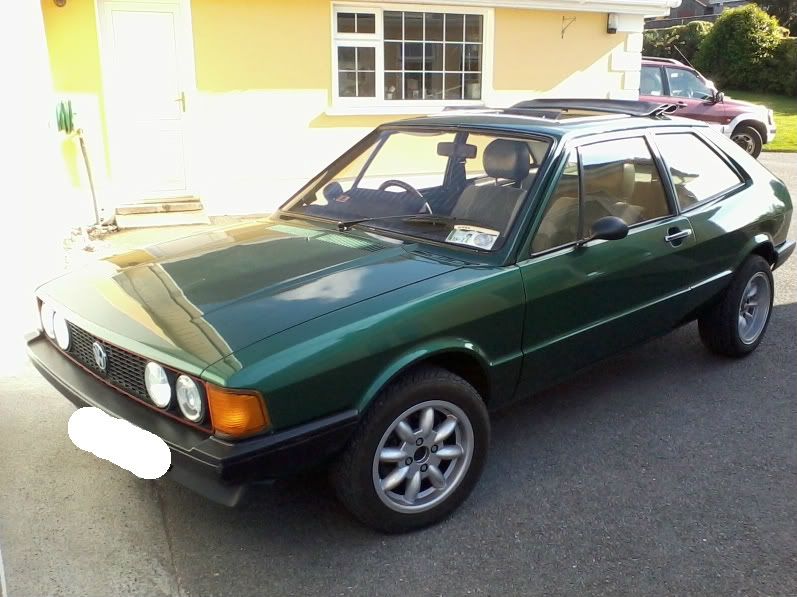
I have taken the plunge and will repaint it (L99Y) and I am going to remove the vinyl roof, I like it and I think it adds to the car but long term it could cause problems again.
Anyone want a full vinyl roof kit.
Her last days
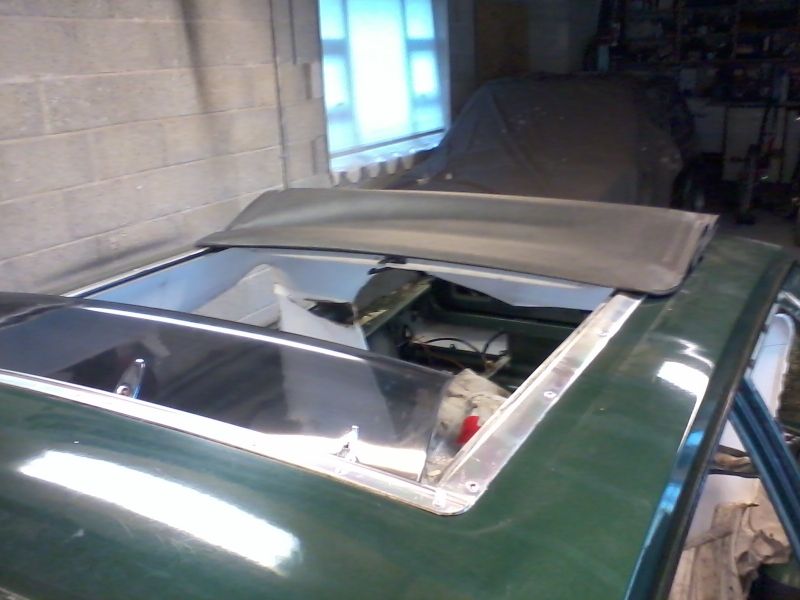
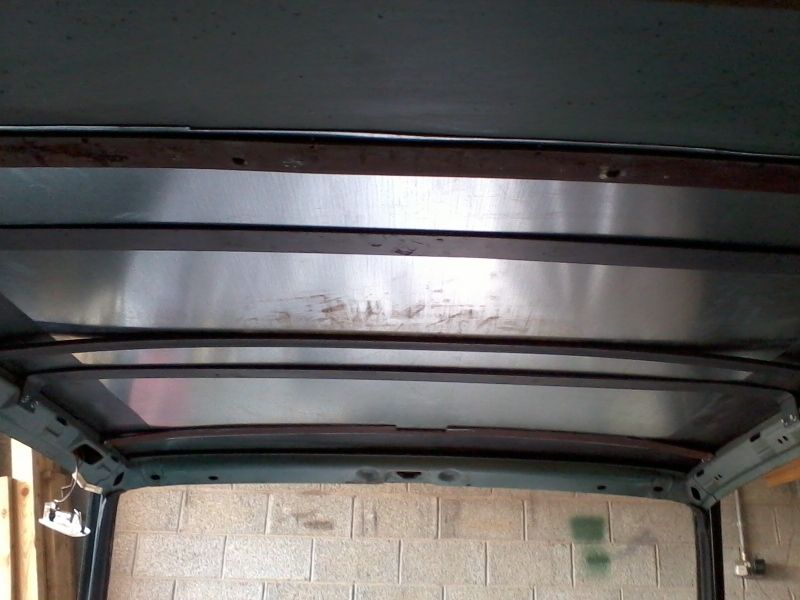
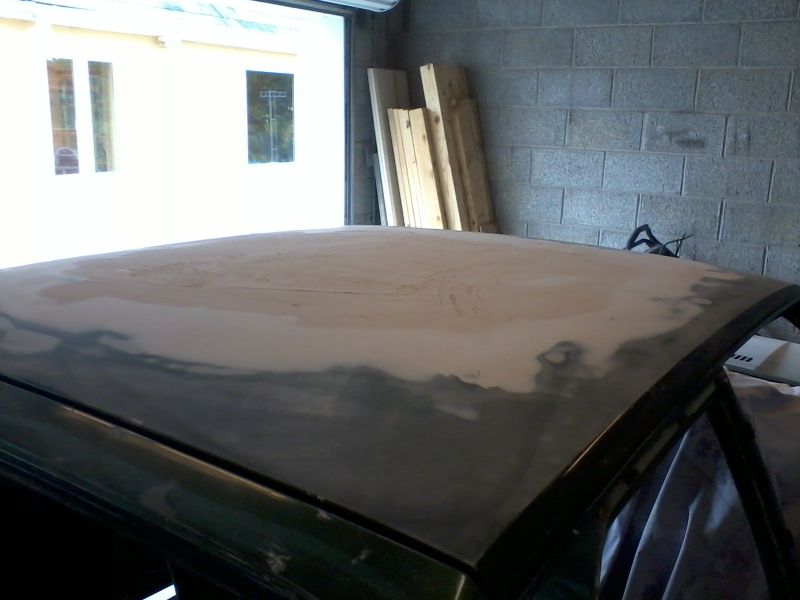
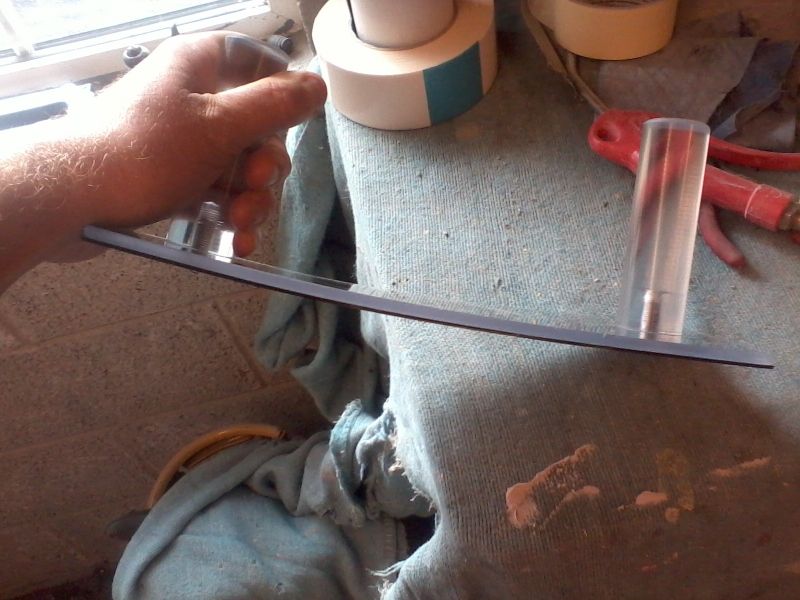
I sheet of galvanised 1.2 mm plate.
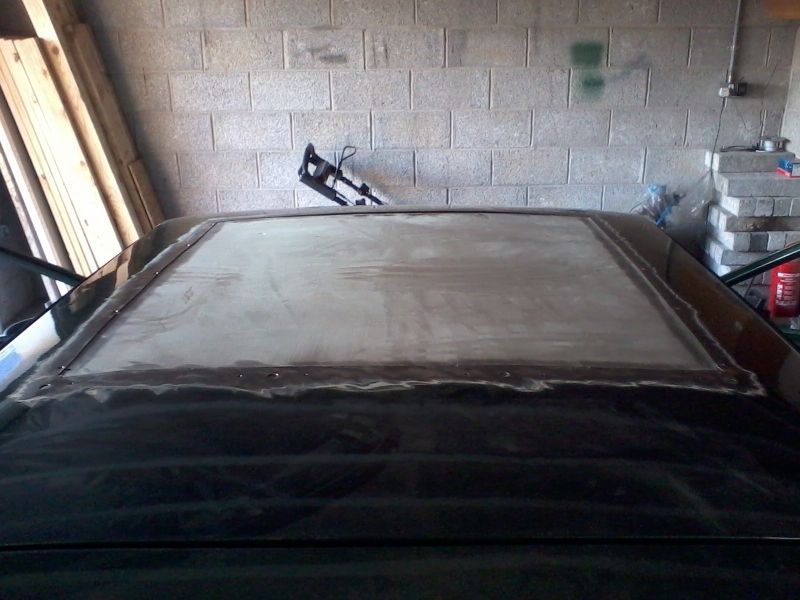
Supported with 5 flat bars welded in, I rolled on a slight curve to shape the roof.
I added flexible filler to smooth it out (1 mm or so)
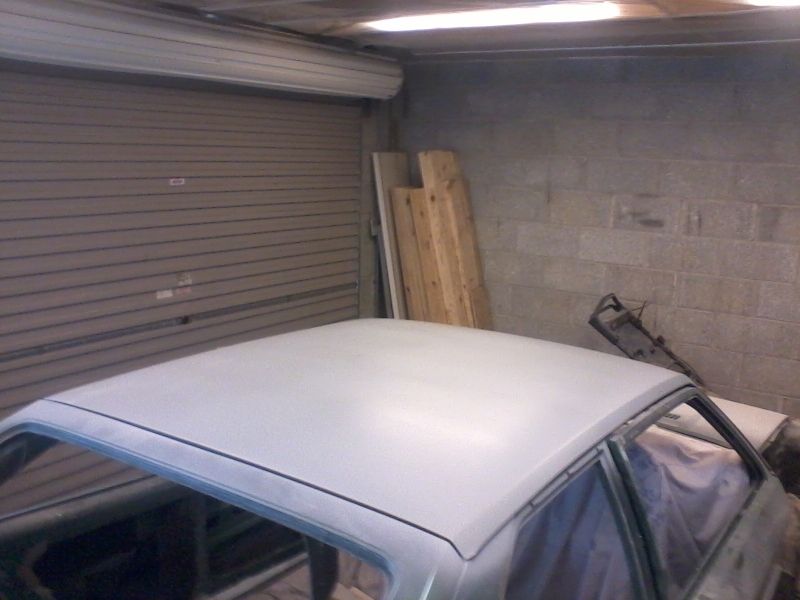
Till the whole roof was covered.
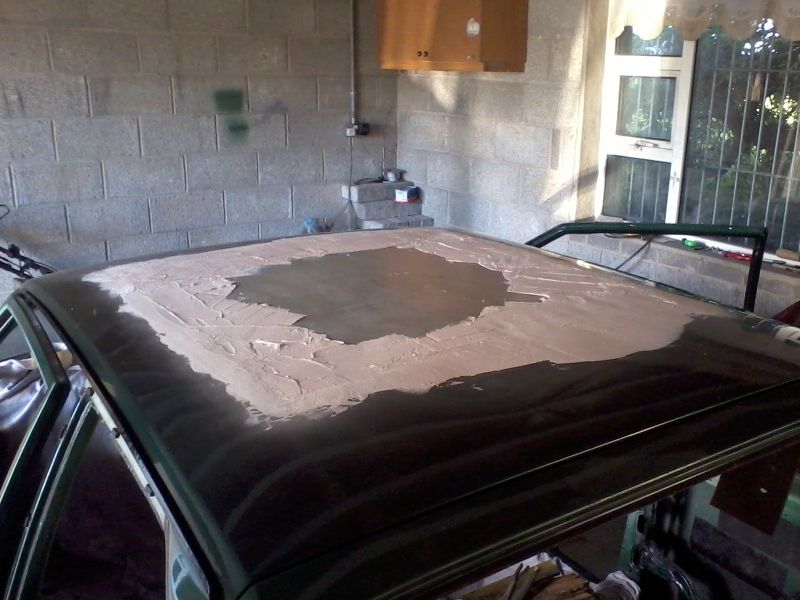
A quick sand to try to shape it and get rid of all the high spots.
I sprayed on 3 pots (paint gun sized) filler primer to smooth it all out.
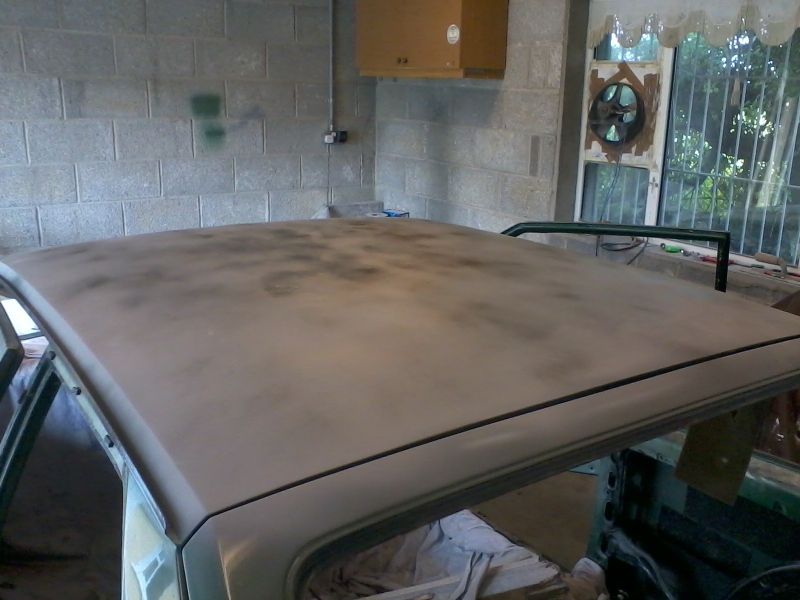
Some black spray dusted on to find the low spots after a sand and there were a few?
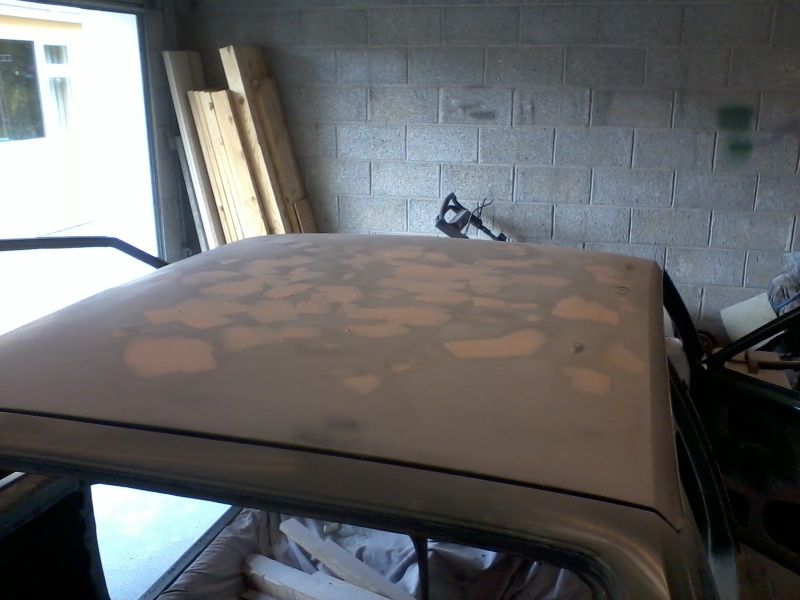
I repeated the process once more this time 1 gun of paint and found less.
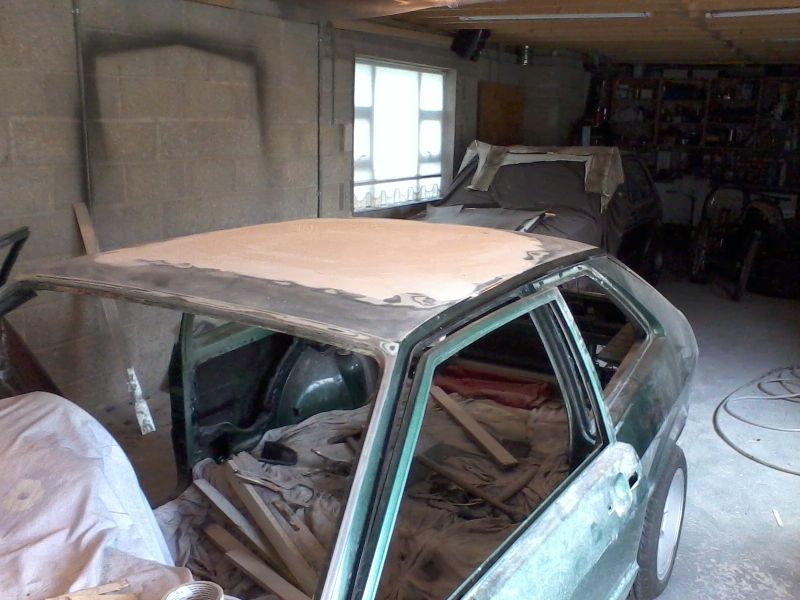
I made a curved sand pad to help out. It worked out pretty good. I curves both directions.
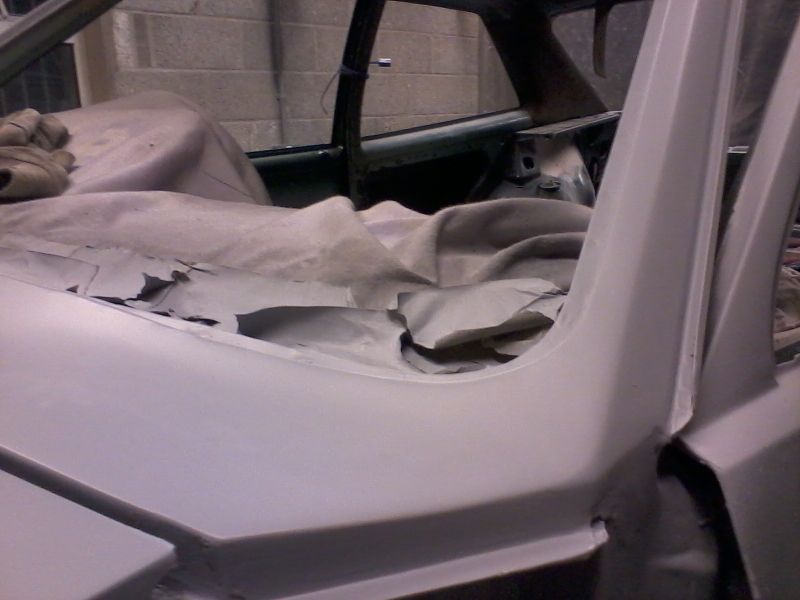
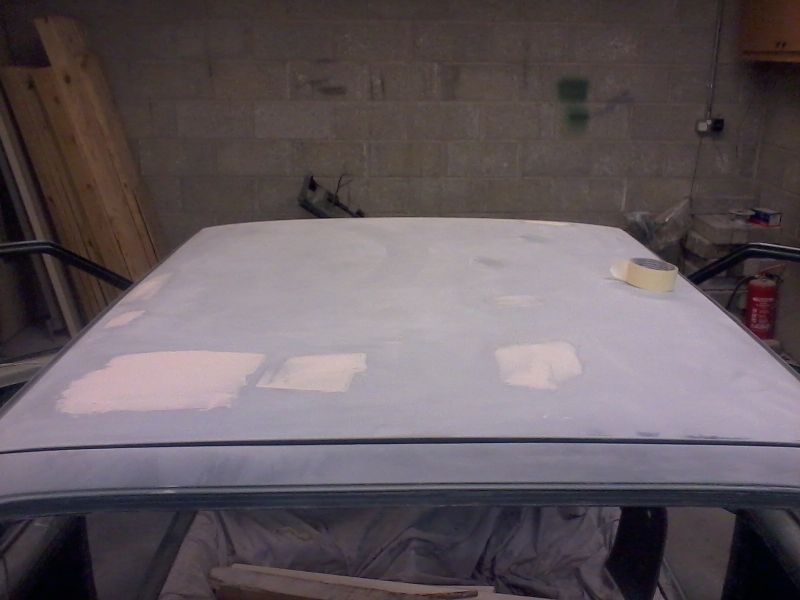
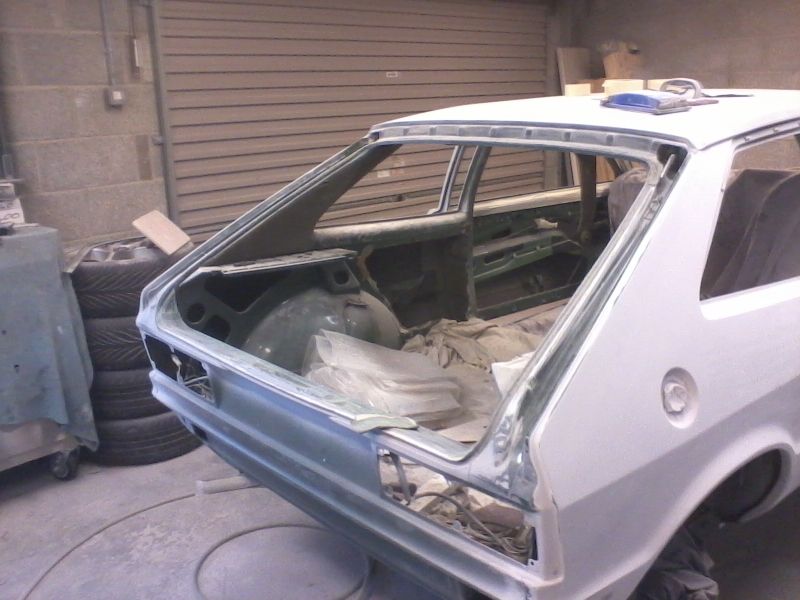
the end, well kind of.
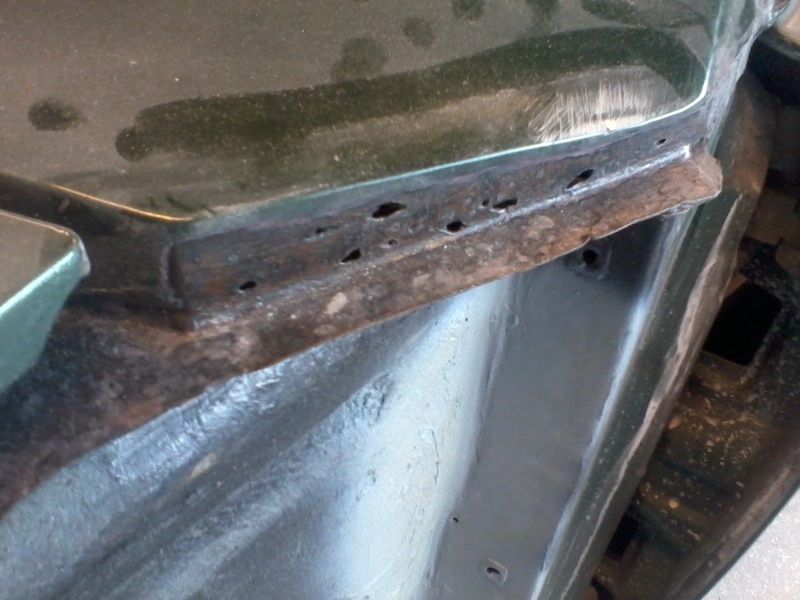
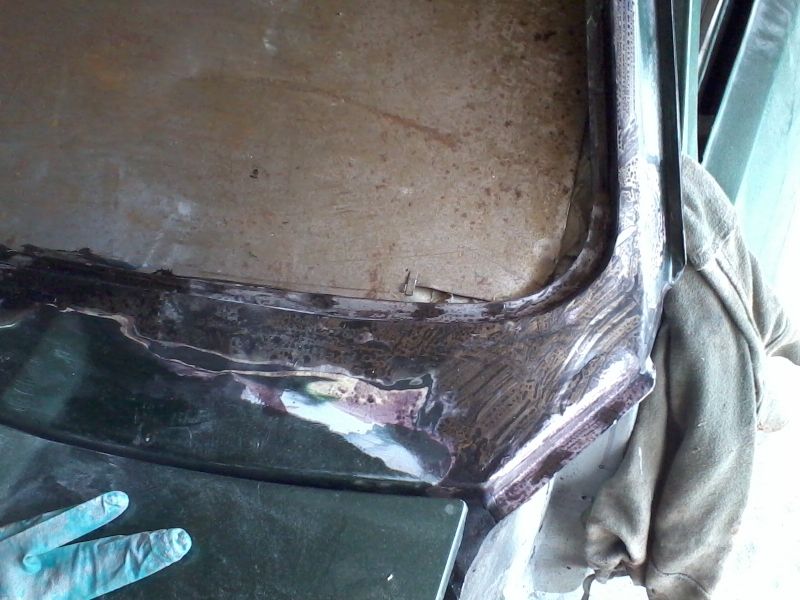
I found this with the windscreen out.

And this. The work continues.
Re: Refurb.. Take 2
Posted: Tue Sep 25, 2012 1:36 pm
by Dutch GT
Yeah... wish I could do that! Top work.
Re: Refurb.. Take 2
Posted: Tue Sep 25, 2012 2:09 pm
by mark1gls
Great work there.
Seeing that you have your headlining out can you let me know if there is any holes/nuts on the C pillar for 3 point rear seat belts? A photo would be even better!
I know some people have said that there is a fixing in a Mk2 scirocco which was not fitted with seat belts in the factory but I'm not sure if there is any in a Mk1, I need to fit rear seat belts in my Mk1 and don't what to cut a hole in my head liner to find no hole/nut there....
Thanks.
Re: Refurb.. Take 2
Posted: Tue Sep 25, 2012 8:19 pm
by Tempest
Try feeling around on the liner across the c-pillar, about half-way up and halfway of the depth of the c-pillar you will feel a hole with a thread. My Mk1 had the relevant hole, and I have attached my 3-point harness to the c-pillar since.
Tempest
Re: Refurb.. Take 2
Posted: Tue Sep 25, 2012 9:50 pm
by 83mars
best of luck with the refurb, im very jealous of your rust issues, if mine is half as good as yours ill be laughin, doubt it tho.

id be very interested in a vinyl roof if its surplus to demand, pm me a price and see what i can do.
Re: Refurb.. Take 2
Posted: Wed Sep 26, 2012 9:29 pm
by 79 Scirocco
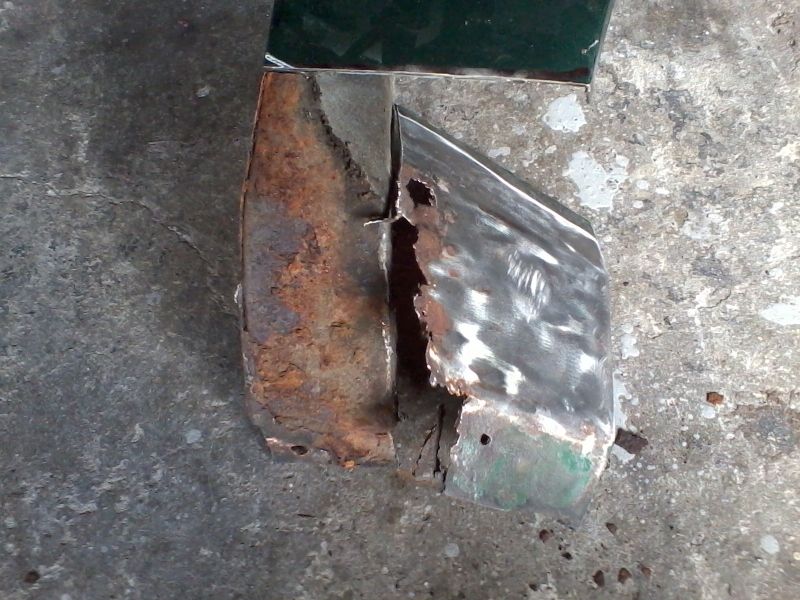
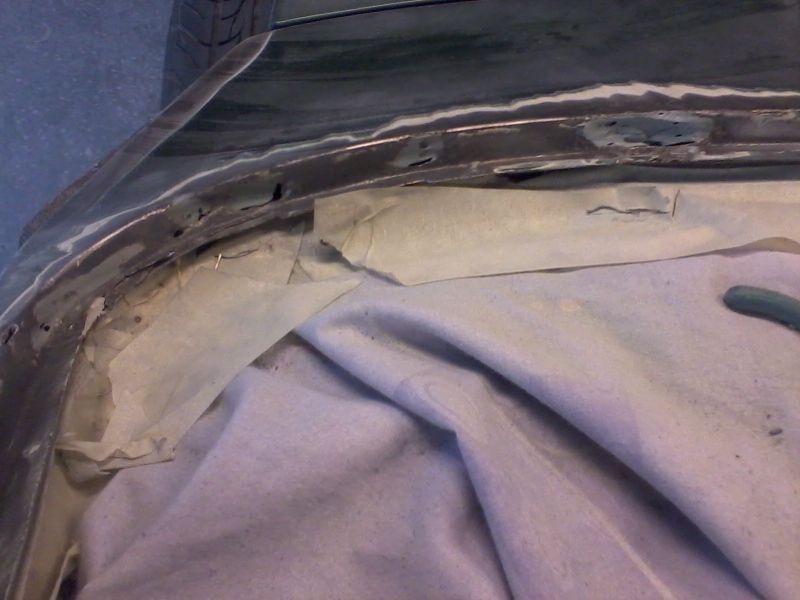
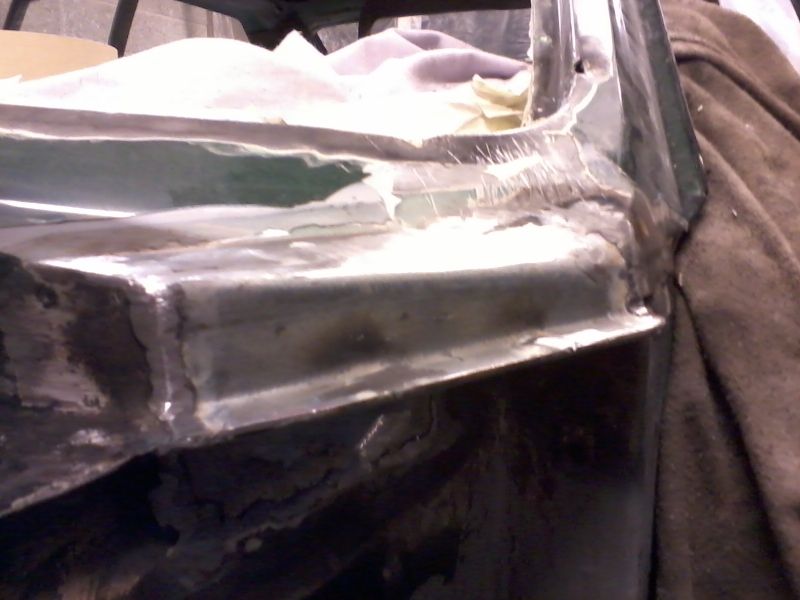
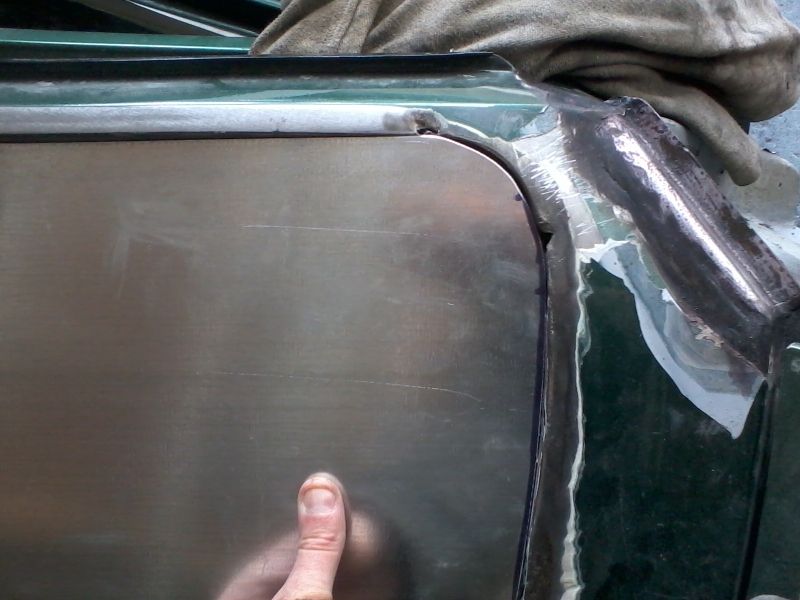
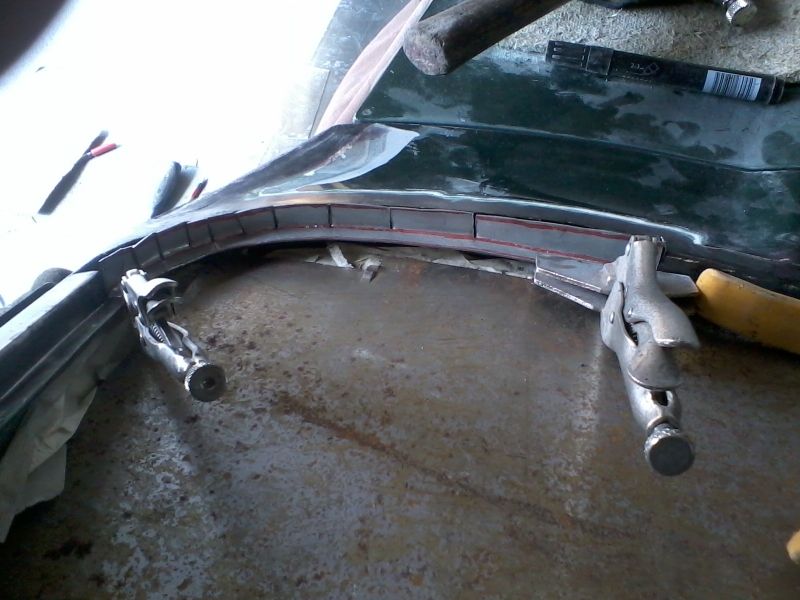
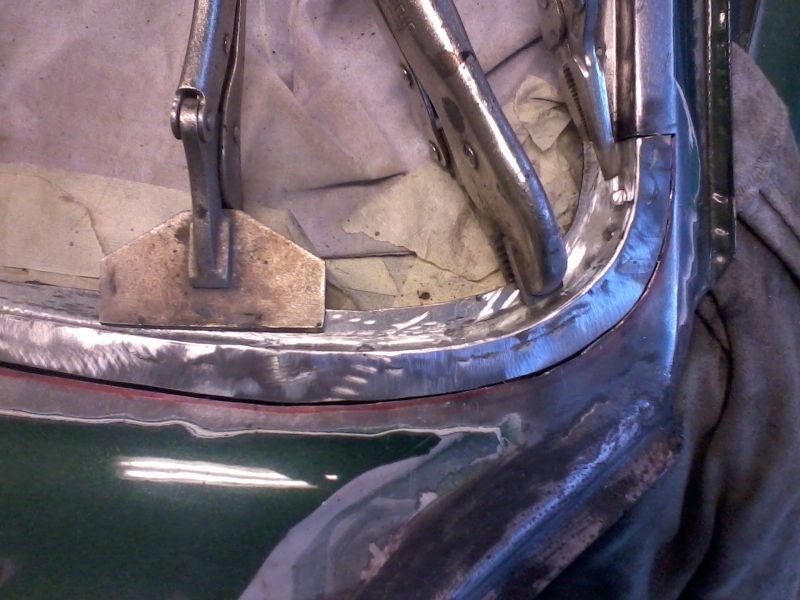
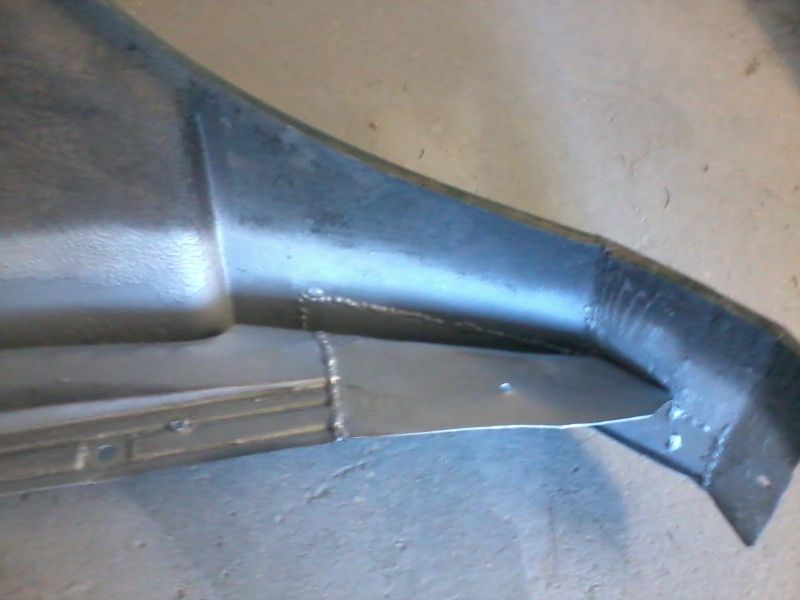
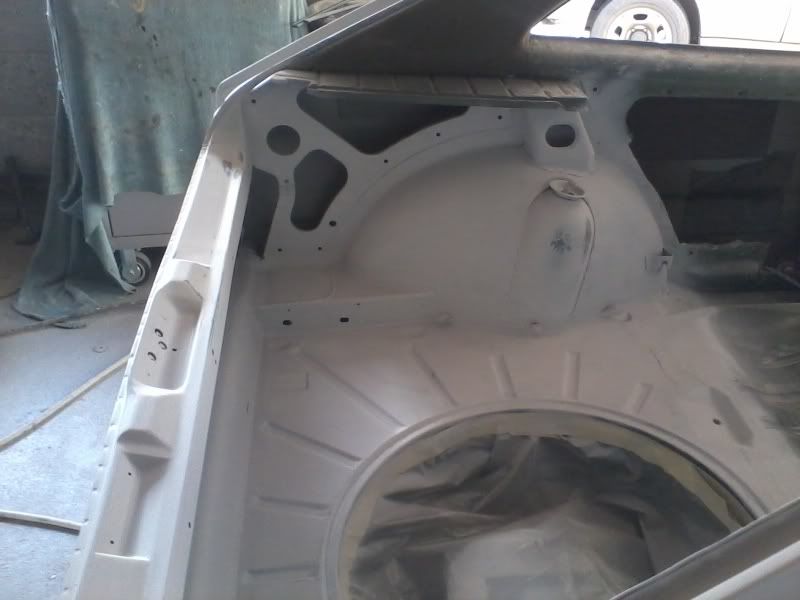
Update. Repairing the inner wing was not so bad compared to the windscreen lip seal area. Luckily the RHS side only needed a minor repair on the straight section about 50 mm long. As for the LHS, I will let the pictures tell the story.
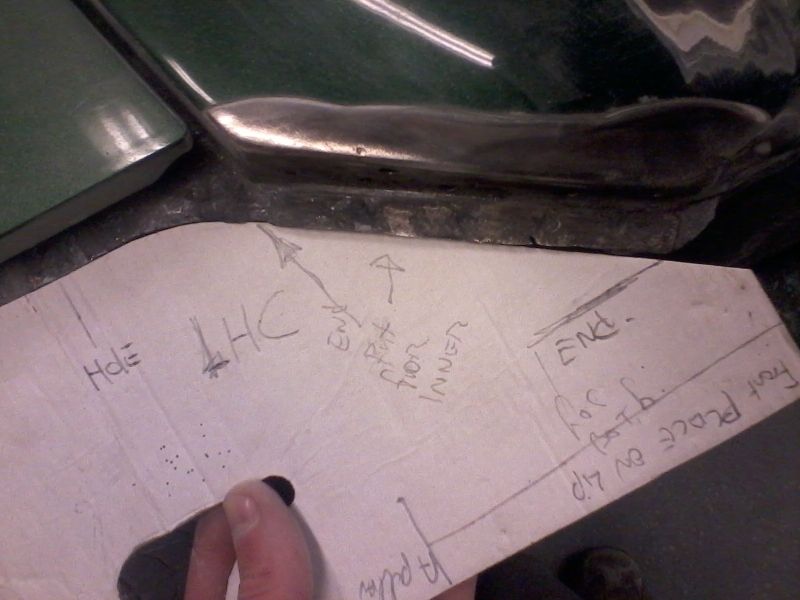
I marked out where the good metal was and cut it straight to make the repair piece easy as possible. It curves from the front towards the screen slightly.
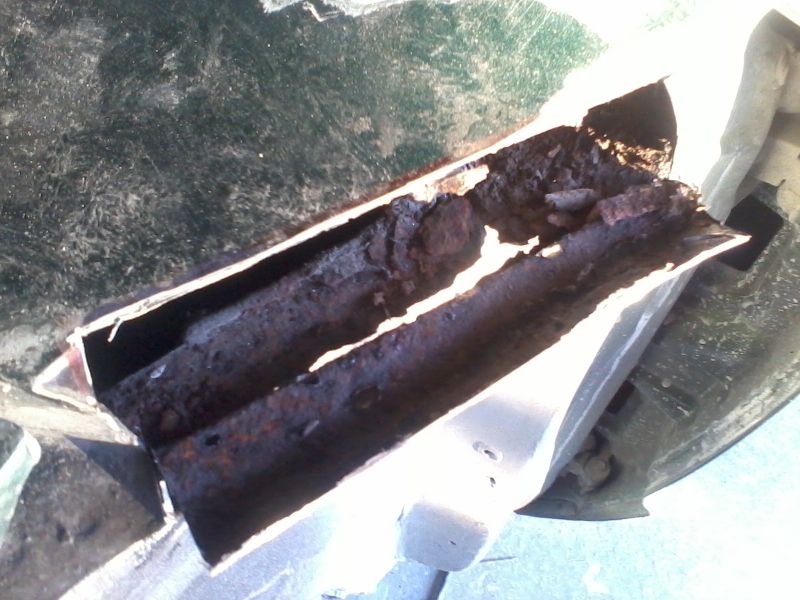
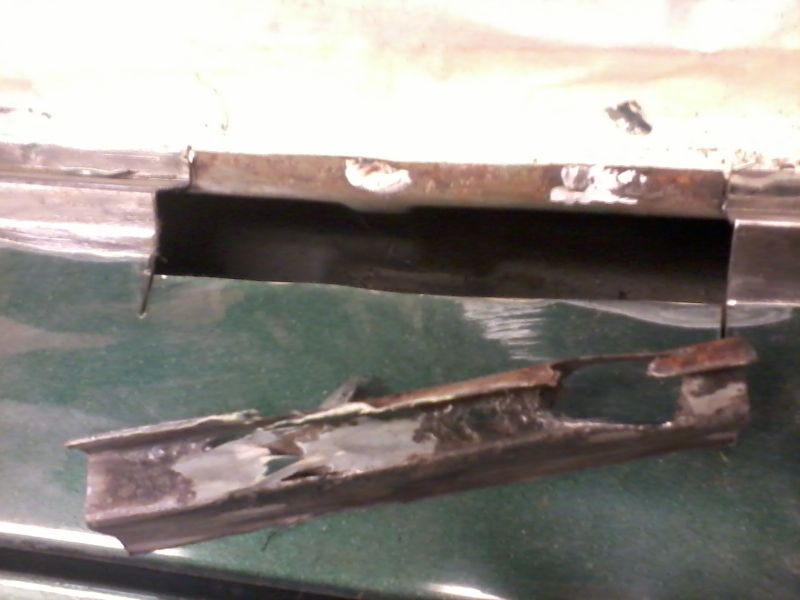
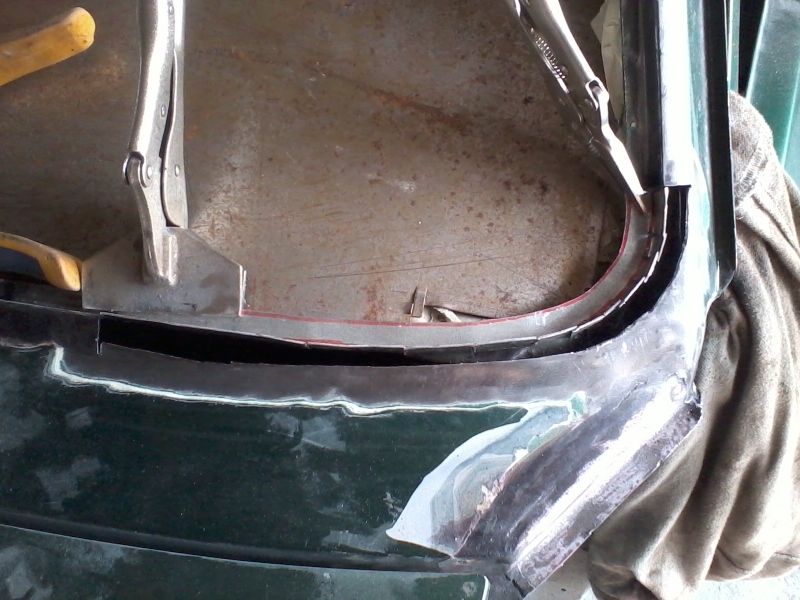
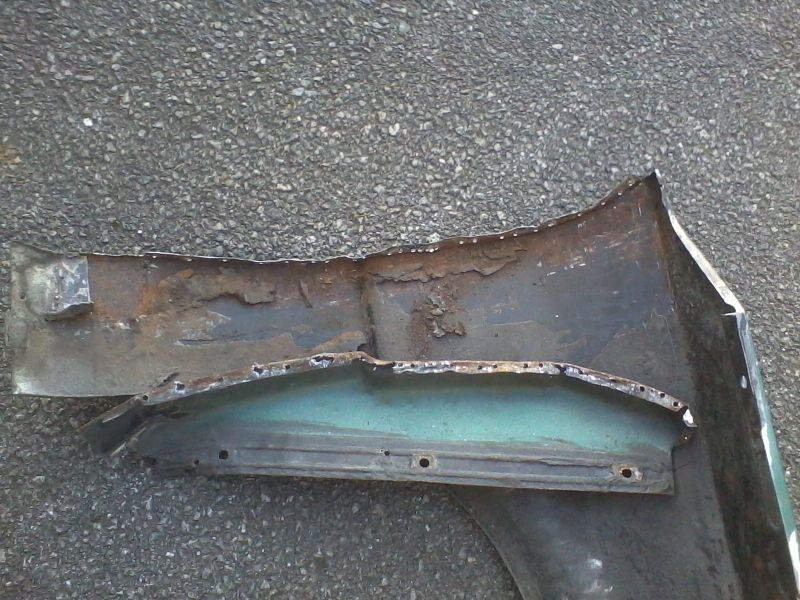
I ended cutting a little deeper into the inner wing to find rot free metal


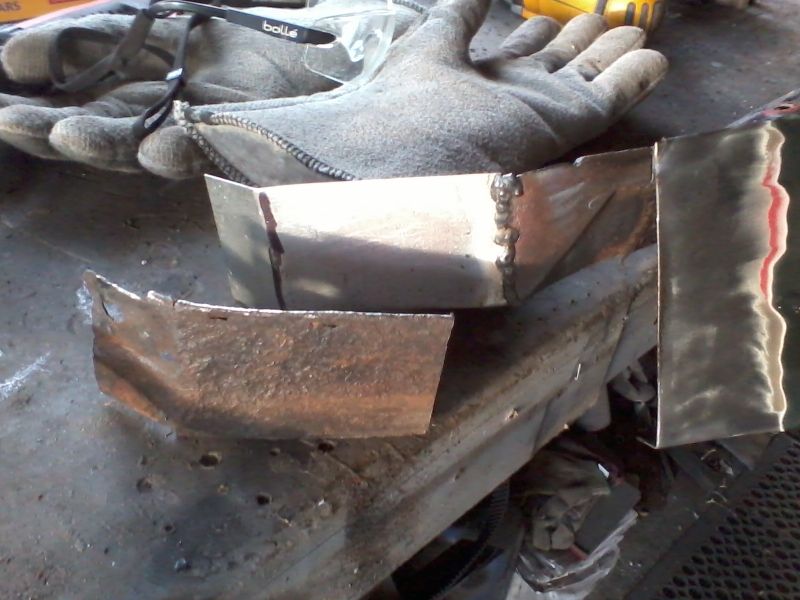
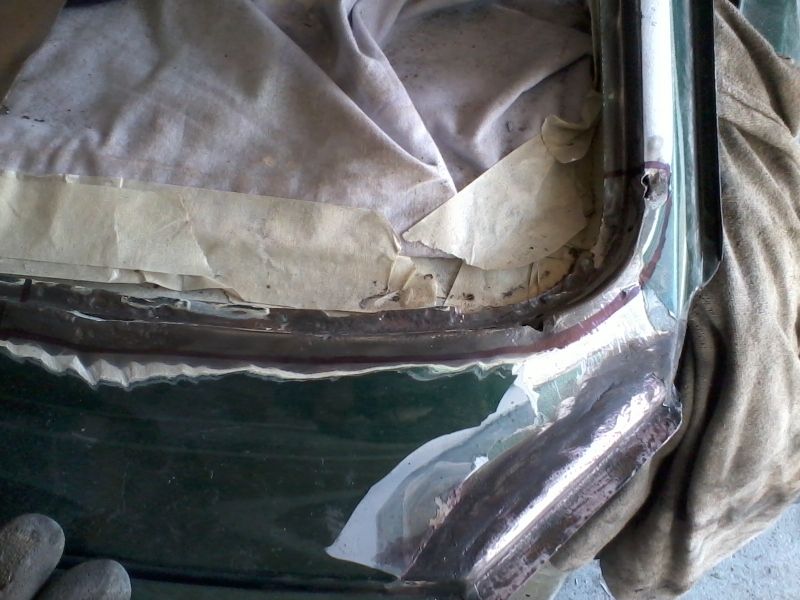
I peeled of as much of the waxoyl etc in the inside as I could to try prevent the car burning

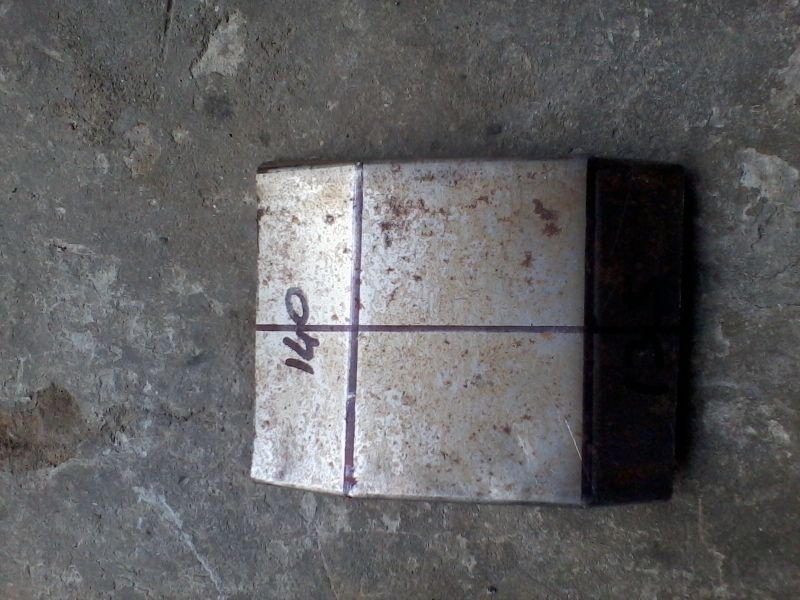
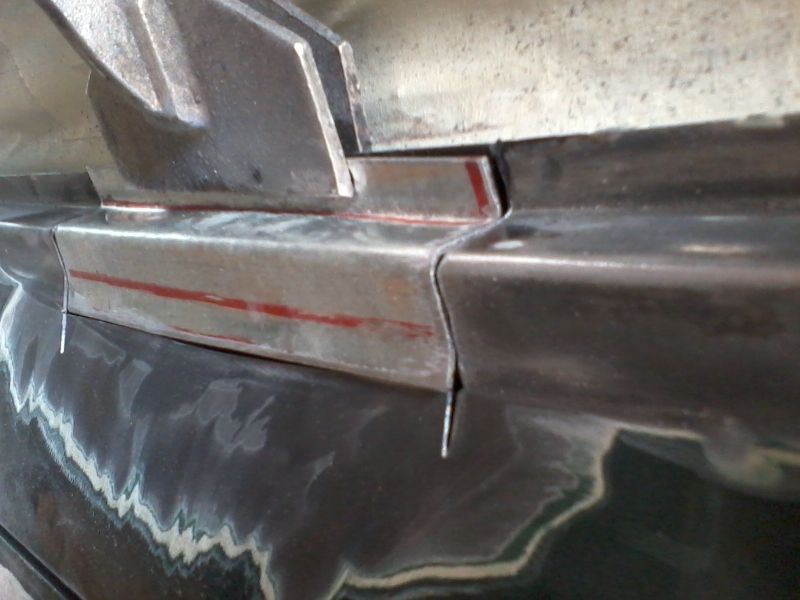
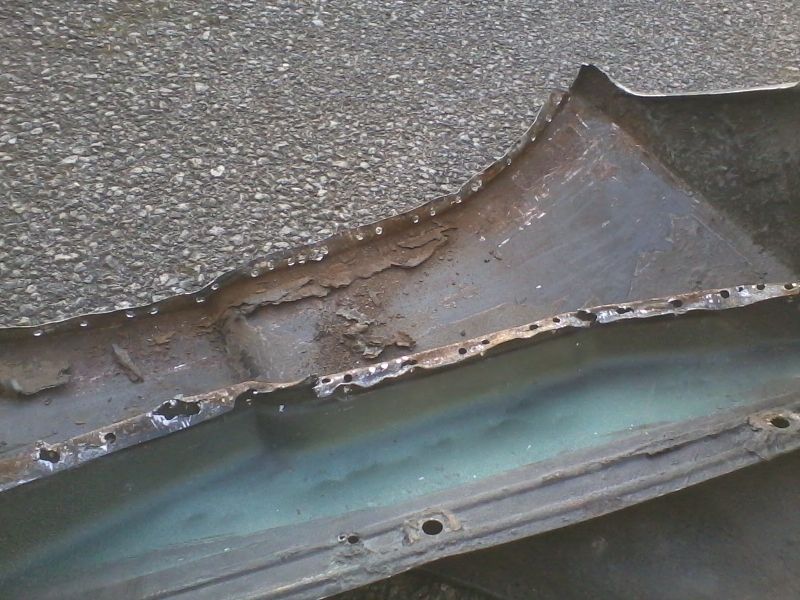
. Cut and bent the repair section for the bottom first leaving plenty of metal to trim.I cut a template out of cardboard first
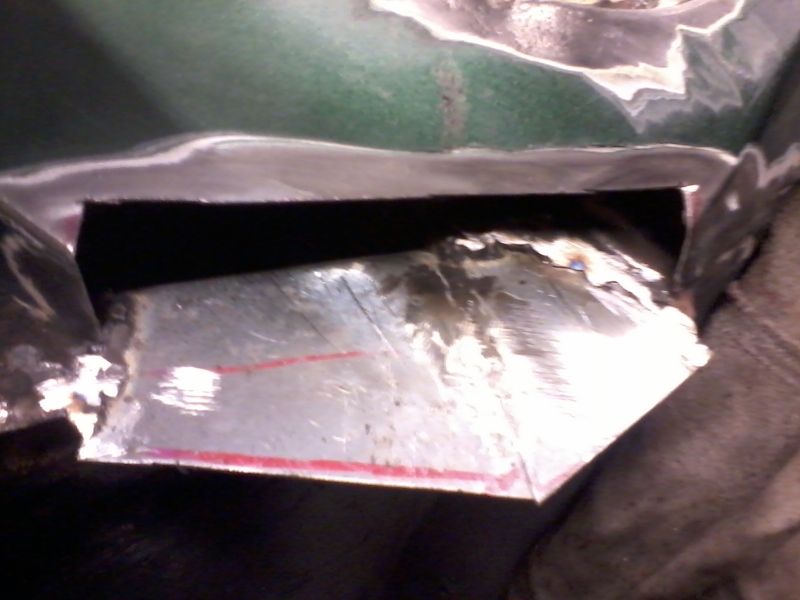
and then welded in the top punching two holes for spot welds along the lip.
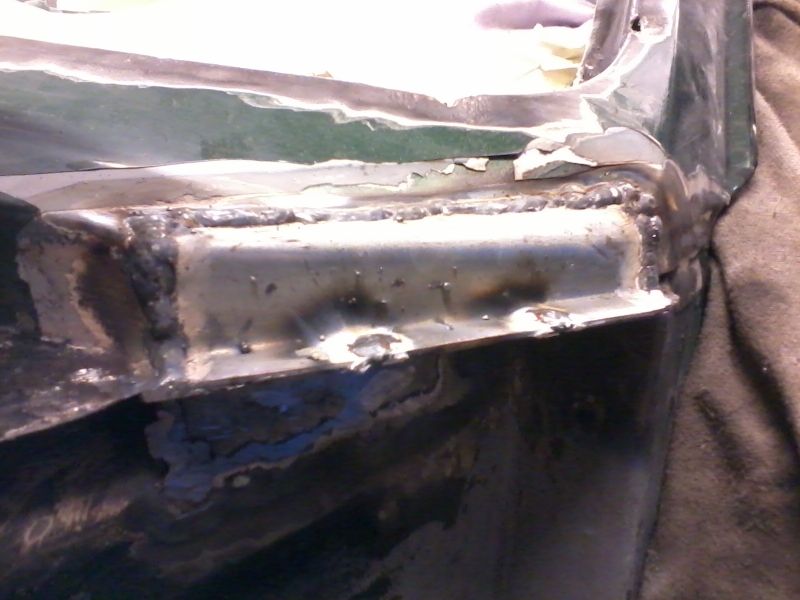
A quick grind down of the excess weld and used my template to recut the inner wing lip.
Next is the wind screen area.
Re: Refurb.. Take 2
Posted: Fri Sep 28, 2012 8:47 pm
by Nate
nice job on the roof
reminds me of a car my old man bought when i was a kid. it was a pug 304 that came from the salvage auctions, which had been upside down. he and a mate sat on the back seat and pushed the worst of the dent out with their boots, then put 4 or 5 tins of isopon on the top and a coat of hammerite
Re: Refurb.. Take 2
Posted: Sun Sep 30, 2012 9:48 pm
by 79 Scirocco
Mark 1gls. there are welded in nuts for seat belts in the "c" pillars.
Update:
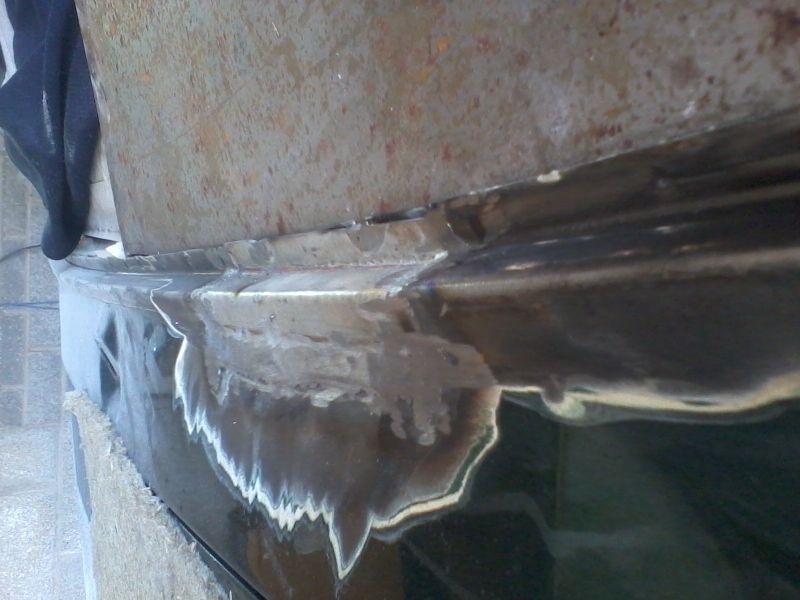
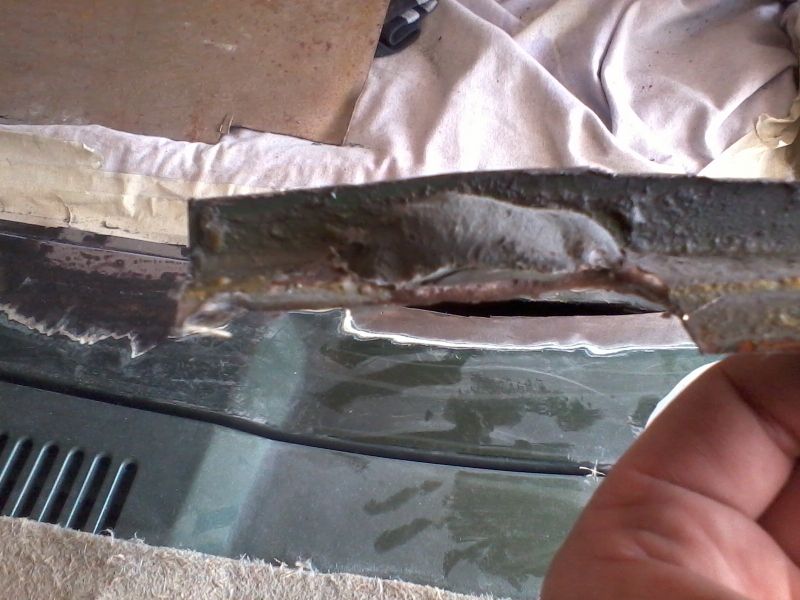
Mid way across the bottom windscreen opening I had a hole through to the scuttle area probably due to water staying in the channel. Maybe a hole there to drain the water into the scuttle where it would drain away to either drain holes to the LHS or RHS might have prevented the rot, probably the same goes for either corner of the windscreen areas.
the repair was easy here a handy bend and a bit of welding.
A bit of grinding and the repair is good.
I coat any welding in “krust” when I am finished grinding on both sides, as the heat from the welding promotes rust, It gives a soapy black look, it can be painted over with primer,
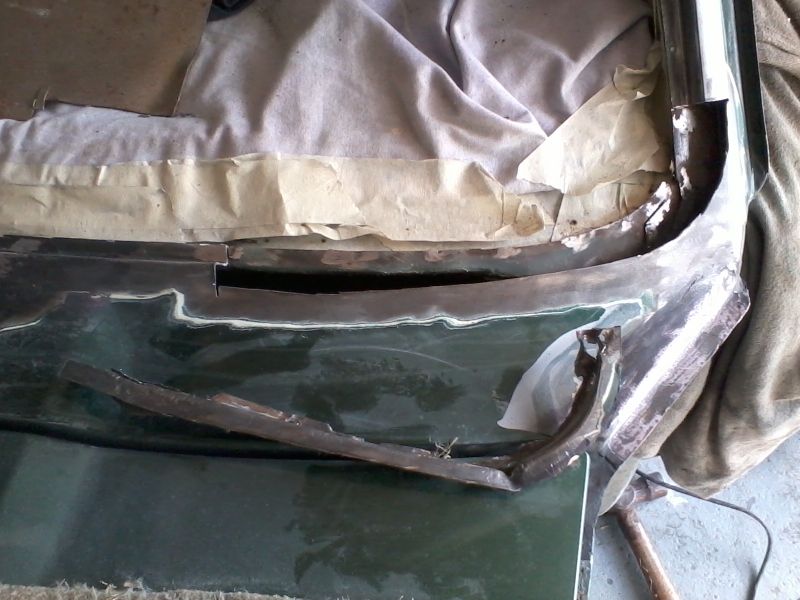
The windscreen LHS is a bit tricky as the curve bends both ways, I decided to make it in two pieces and weld them together.
I started by making a windscreen template so I could adjust my repair piece.
Marking out the rot and cutting it out.
On the back site of the cut out piece was caked in filler, who ever repaired the car in the past gave this a quick touch and let it go. Pity as the paint was finished off very good.
My repair.
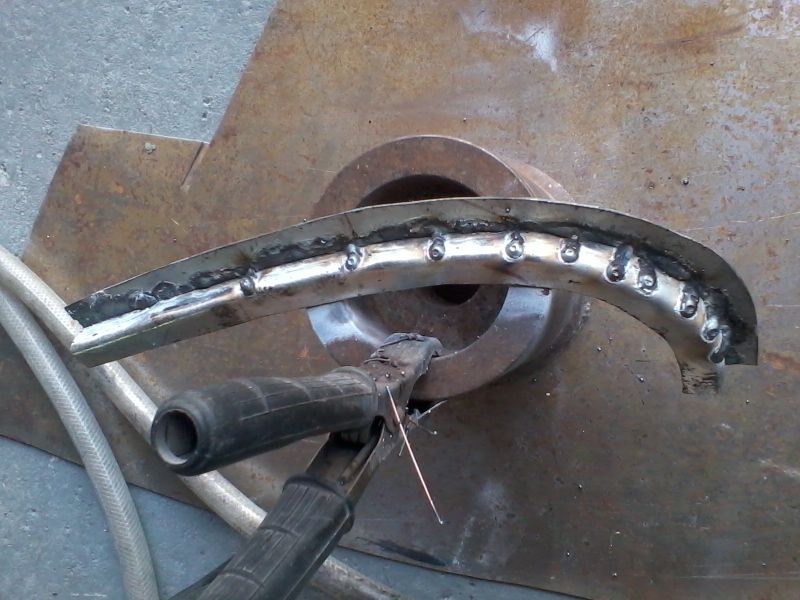
I started by bending the metal 90 deg’s and making small cuts so I could mould it into shape.
When I had the shape pretty good I made the “lid” for the repair.

I left this tall so I could tack it from the top before grinding off any excess metal.
I welded in the cuts for bending it on the rear to hide them and welded the front along the seam where they both met.
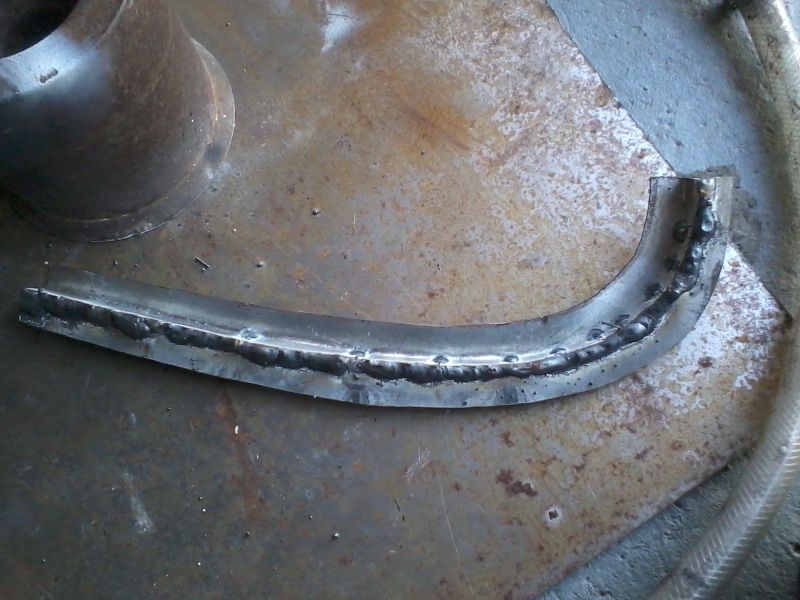
A rub of a grinder and some twisting to regain the shape, the welding twisted it a little.
I took my time welding in the repair and grinding down the excess welds. I coated it in krust and a lick of filler is required to finish it off.
Re: Refurb.. Take 2
Posted: Wed Oct 03, 2012 7:47 pm
by Nate
nice job there, that corner looks spot on. i got really lucky here, and cut a complete good scuttle from a shell in a scrappy. cant decide if i should replace the whole thing or just the corners that have gone crusty
Re: Refurb.. Take 2
Posted: Thu Oct 04, 2012 5:40 pm
by 79 Scirocco
Replace all of it, Its pretty easy to drill out the welds, My 2 cent.
Re: Refurb.. Take 2
Posted: Sat Oct 06, 2012 12:44 pm
by Westdubber
Tidy work!!
I am particularly interested in the roof - I have a Mk1 Golf with a glass sunroof which I am not a fan of (understatement) and would love to remove it!!
Is the sheet welded or bonded to the roof skin prior to filling?
Was admiring this car at the Limerick Show in recent years!
Looking forward to seeing it there again when it's back in one piece!!
Re: Refurb.. Take 2
Posted: Sat Oct 06, 2012 7:07 pm
by 79 Scirocco
Thanks for the comments. I welded it 10mm or so with 20 mm gaps between the welds. When I welded it, I started at the center in the front and worked my way to each side in turn and then to the back to minimise heat warping, It worked out pretty good, I have a new head lining being made for me at the moment. I put tiger seal between the curved bars and new skin so there would be no noise if the roof flexed during cornering/bad bumps/general driving fast in the wind etc.no harm I guess.

Re: Refurb.. Take 2
Posted: Sun Oct 14, 2012 8:57 pm
by 79 Scirocco
Re: Refurb.. Take 2
Posted: Sat Nov 17, 2012 4:17 pm
by 79 Scirocco
Even though the evenings are getting cold, work on the scirocco continues.

Update 17 Nov 12.
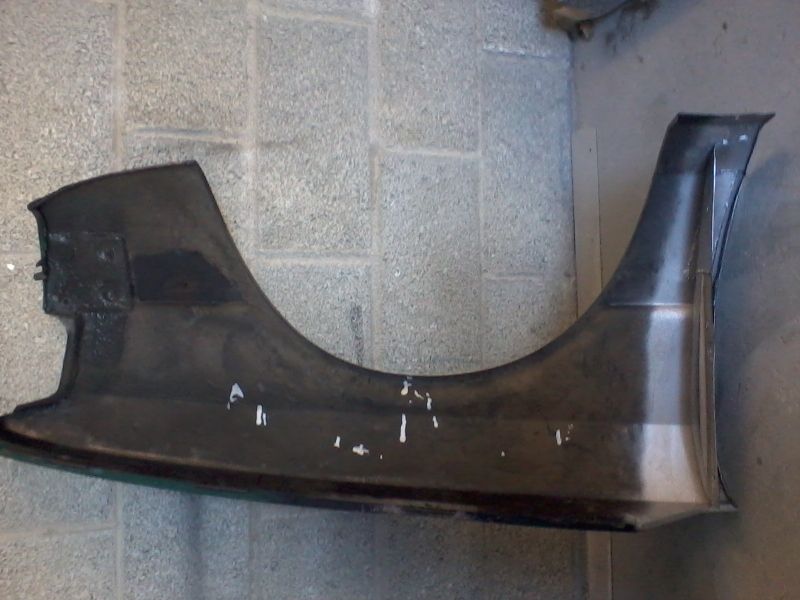
Sorted out the LHS wing. I drilled all the spot welds to separate the wing skins, As I could hear the rest hidden away behind the paint. Here’s how I got on.
All sorted
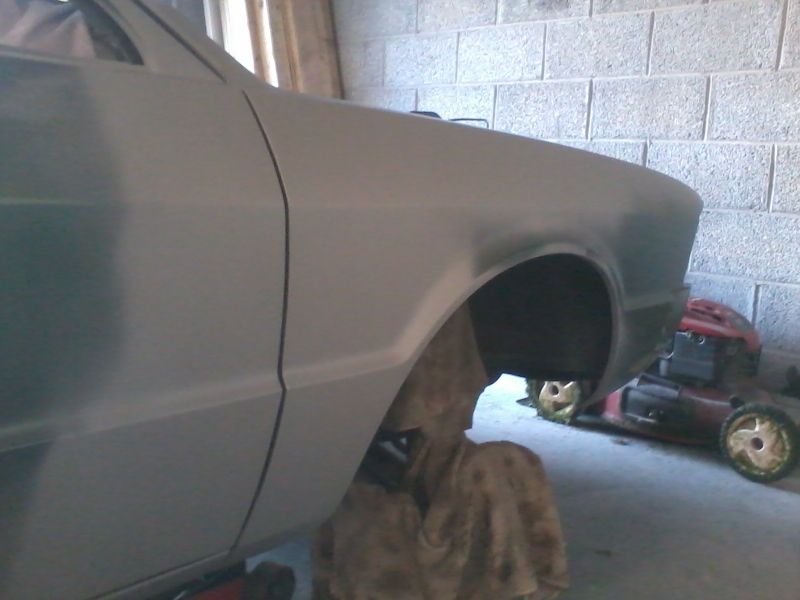
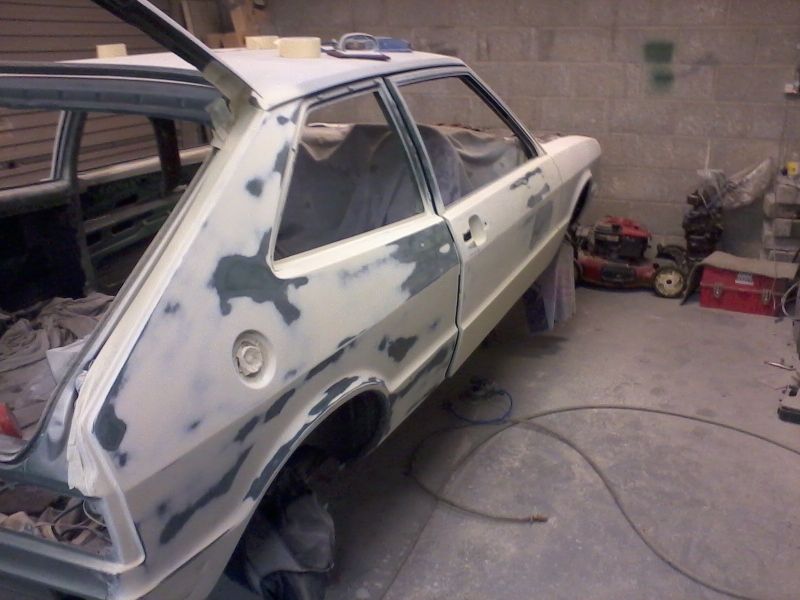
Fitted back on and the side of the car sprayed in polyester (spray filler) ready for blocking down.
RHS
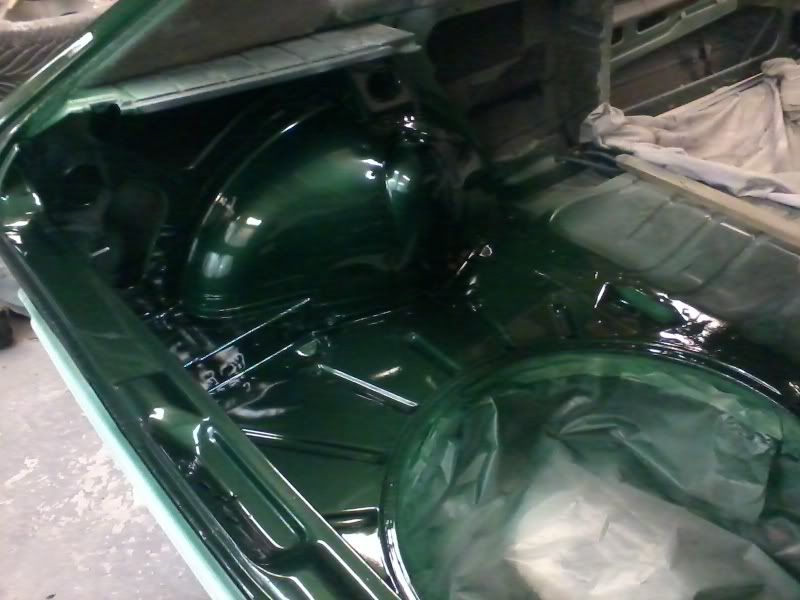
I went a bit mad in the boot, but it looks cool, now to keep it from getting scratched.
After a quick sand of 240 grit.
Some L99Y green base coat
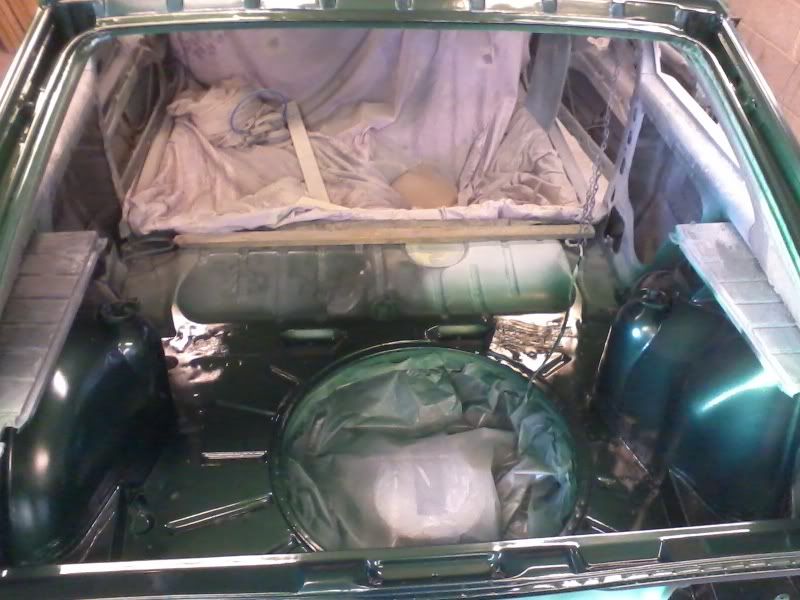
several coats of high gloss laquer
Re: Refurb.. Take 2
Posted: Sat Nov 17, 2012 4:25 pm
by Ryan
Most excellent.