Page 4 of 7
Re: Respray
Posted: Thu Sep 17, 2009 11:35 am
by mark1gls
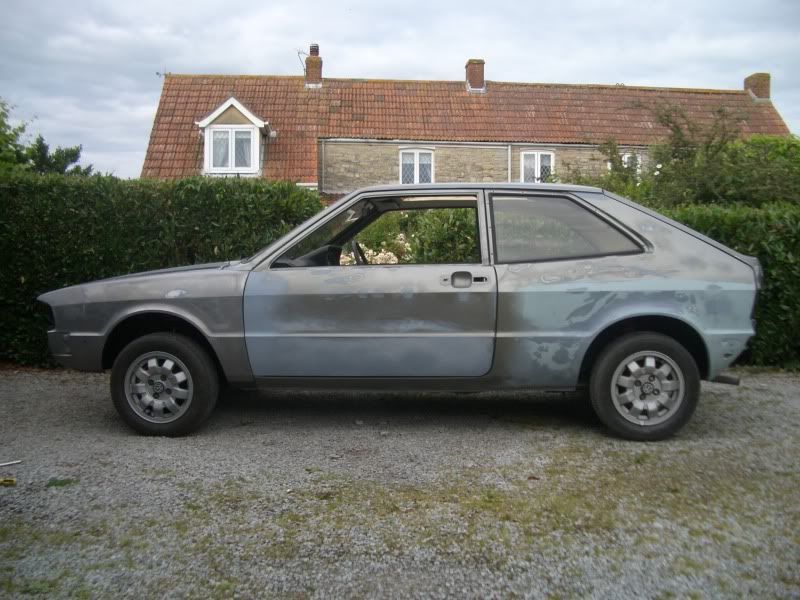
I was hopping to get it on the road by September 1st this year but thats come and gone so now looking at spring next year.
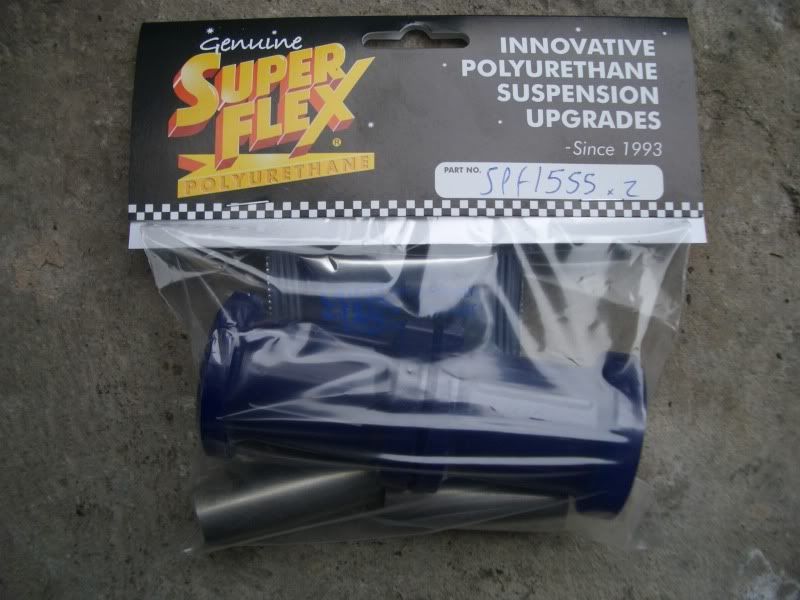
Going to get some new poly bushes for the rear beam tomorrow so I'll have a busy weekend replacing them, going to drop the fuel tank as well just to check under there and give it a clean.
The car is booked in at the sprayers again mid October to touch up a few of the paint problems.
Bring on the Spring!

Re: Respray
Posted: Wed Sep 23, 2009 3:52 pm
by FuzzyEdges
Any more pictures?
I'm avidly watching this restoration.
If not I look forward to seeing it in the flesh Friday.
Looking forward to it

Re: Respray
Posted: Wed Sep 23, 2009 7:40 pm
by mark1gls
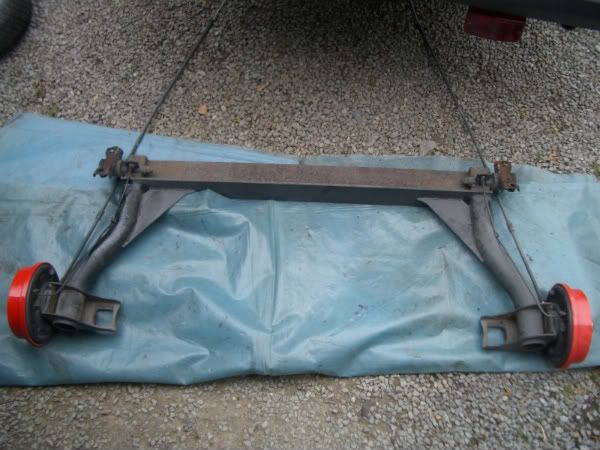
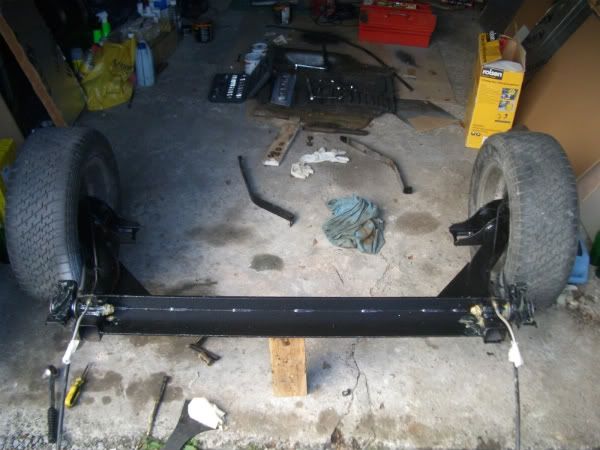
my weekend fitting poly bushes and checking the fuel tank while the rear beem is off.
The rear beam was easy to take off, took about an hour. I've already losened the rear beam nuts, rear shocks and replaced the brake hoses so no problems there.
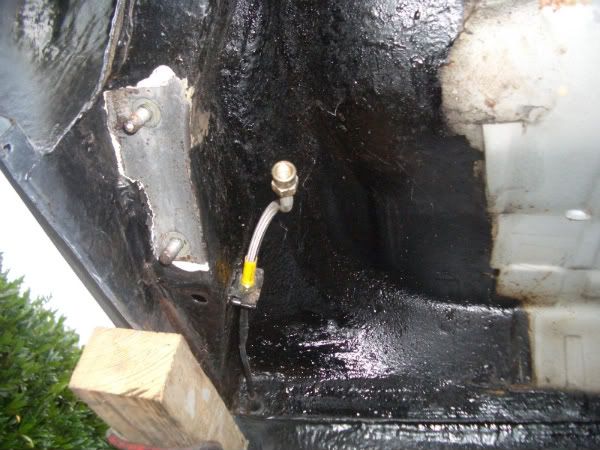
Bit of rust here
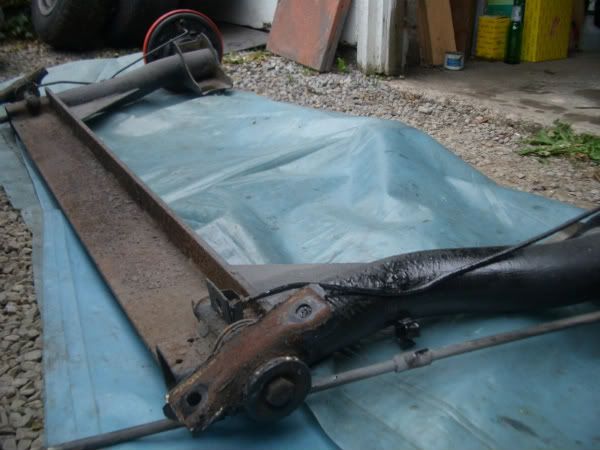
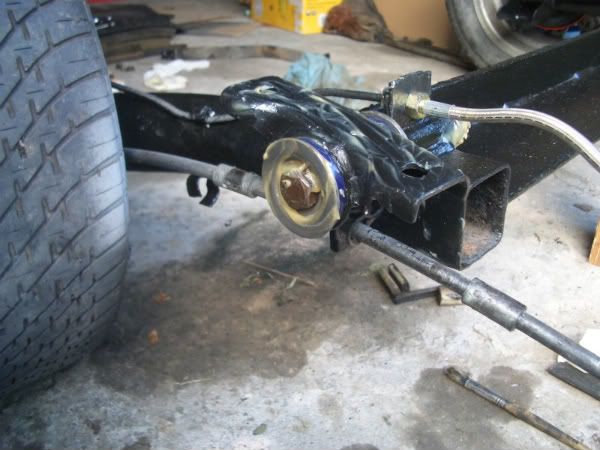
Tried these bushes from a local place, got a really good price for them, but I did not realize they were not in 2 halfs so had a bit of a nightmare getting the new ones in. Found a long nut and bolt with two large washers, held bracket in vice and put the bolt and nut throught the bush and bracket and tighten up so the bush was squashed up to the bracket. Got a large flat screwdriver and push, woble and swear at the thing and finally it went through the bracket..
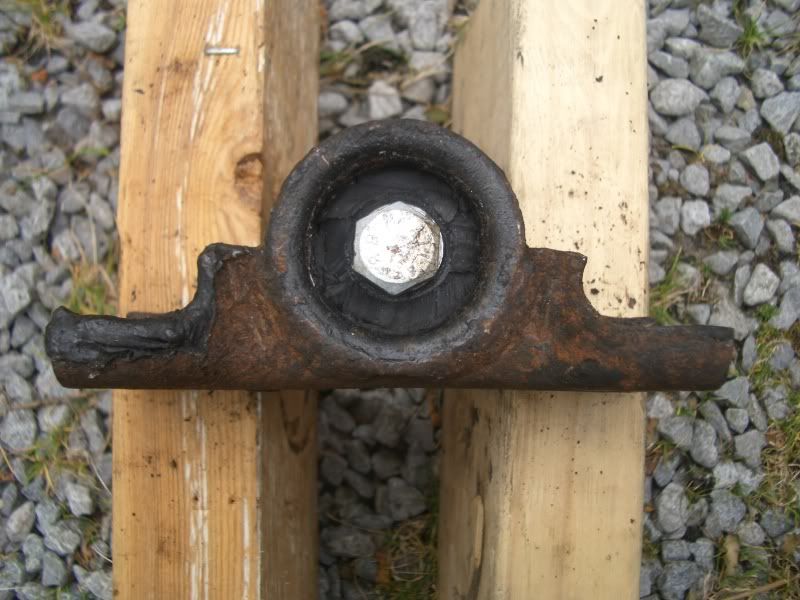
Just cut one end off the bush.
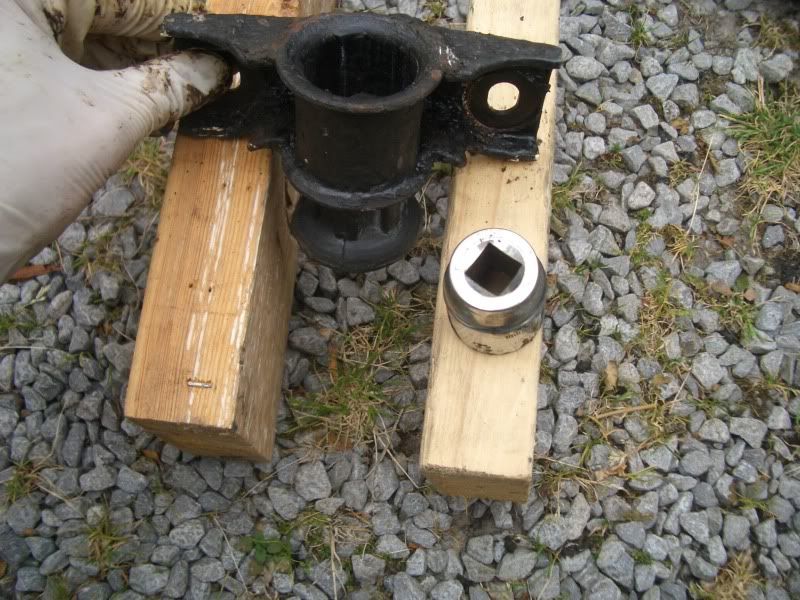
Put on two peices of wood, bolt in the middle and hit with a hammer and the bush comes out.
Socket to help out for the last bit
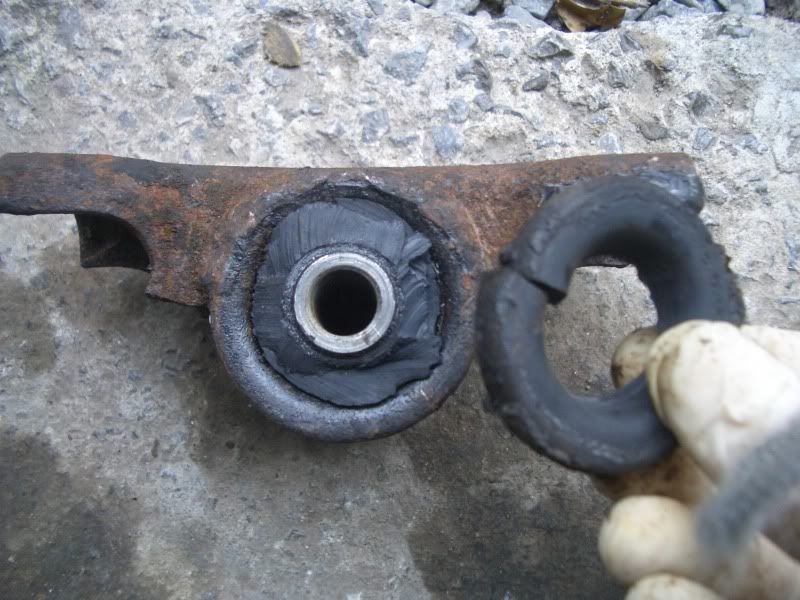
The old bush did not look that bad after taking them out
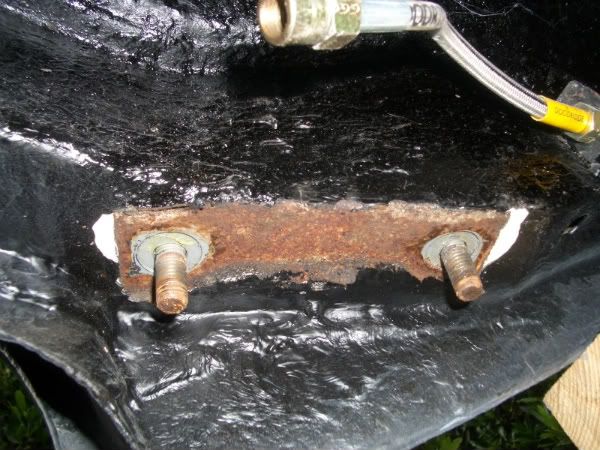
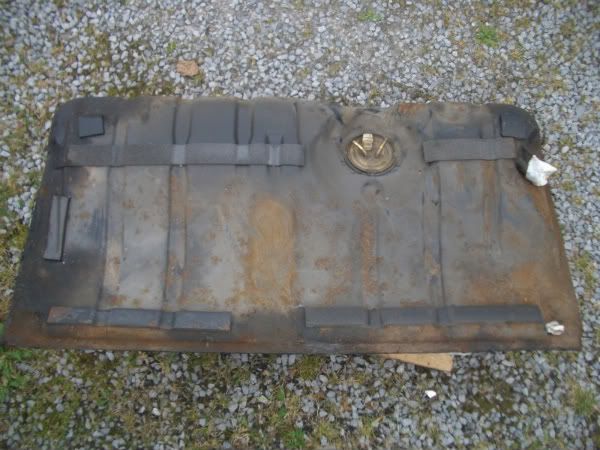
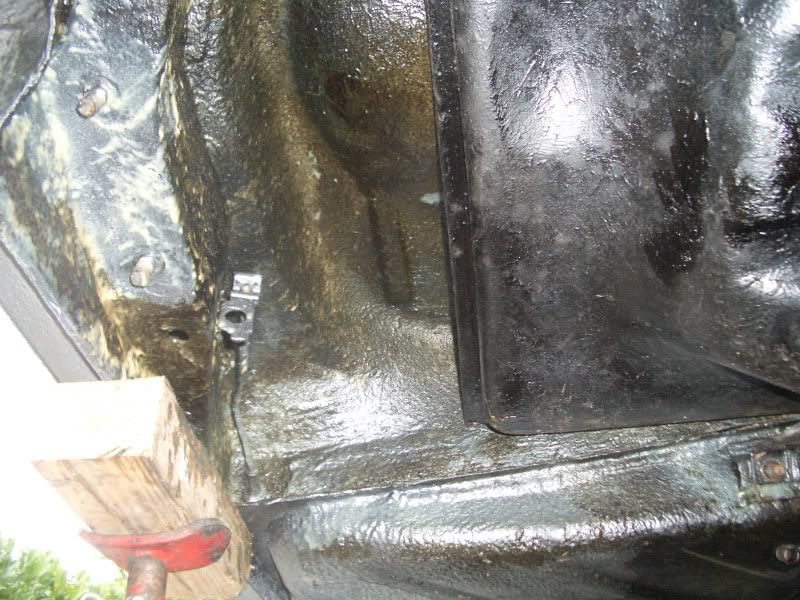
Top of fuel tank, bit more rust, cleaned with wire brush and repainted with rustbusters two pack epoxy primer.
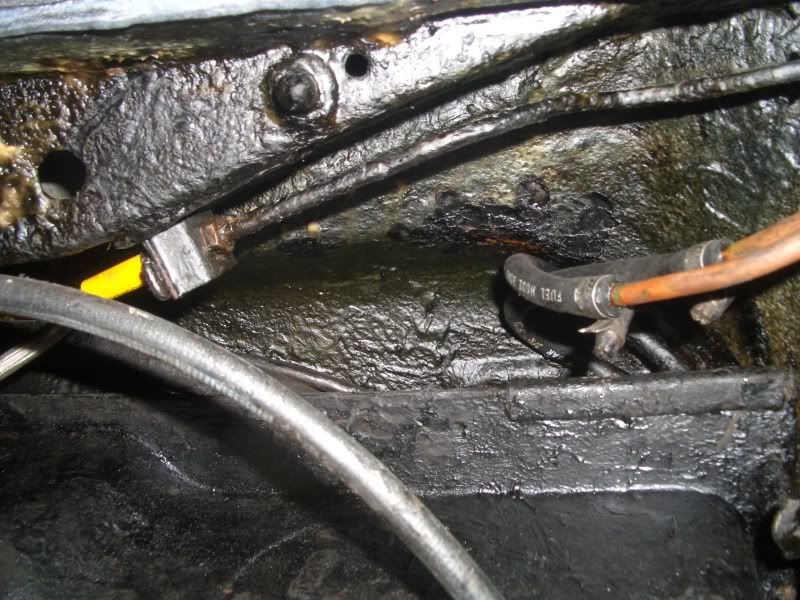
Bit more rust spots , cleaned up with dremal tool and more paint

More cleaning rust with dremal and Jenolite.
Paint rear beam. fit bushes and get out the waxoil.
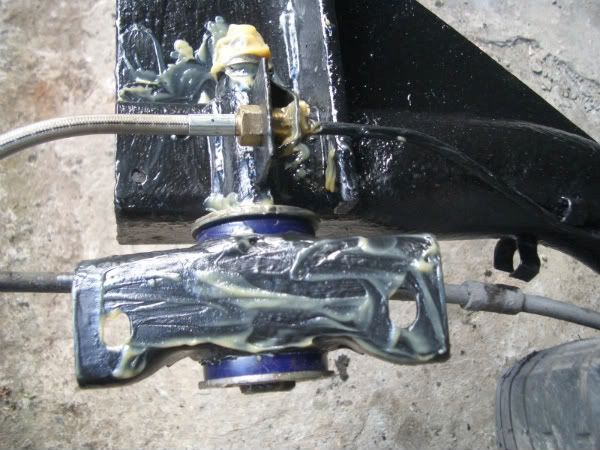
Fitted new fuel hoses while the tank was off I forgot the lable the fuel out and return so had to take the sender out to check which pipe was which.

The fuel tank was a right hassel to fit back as the two bolts which hold the straps are just to long so you have to fit that end first then the back of the tank, which is aright if unlike me you wanted to leave the fuel filler neck and hose on the car.
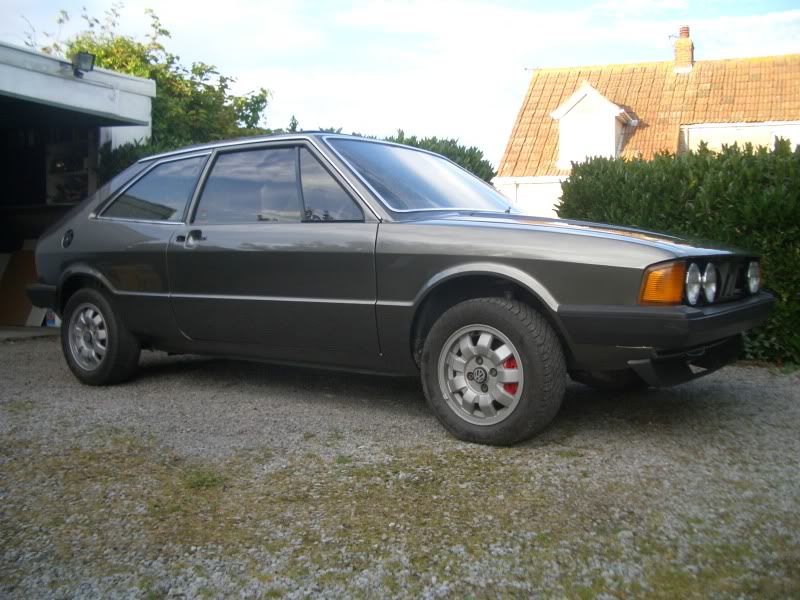
Back on the ground and all done
Re: Respray
Posted: Thu Sep 24, 2009 11:58 am
by FuzzyEdges
Still can't believe how solid the car is underneath.
Some-one must have spent a long time keeping the car wax-oiled, eh?
Your turn to buy the beers?
Re: Respray
Posted: Thu Sep 24, 2009 2:44 pm
by Shayn8v
Weather is looking good this weekend! You should get quite alot done.
Looking forward to the updates next week.

Re: Respray
Posted: Thu Sep 24, 2009 3:52 pm
by the edmundator
I've always wondered how you actually fit these things... what with the hole presumably not being big enough.
Re: Respray
Posted: Thu Sep 24, 2009 6:17 pm
by mark1gls
by the edmundator » Thu Sep 24, 2009 3:52 pm
I've always wondered how you actually fit these things... what with the hole presumably not being big enough.
I tried a vice to squash the bush in but it just kept popping out, the vice was used to hold the bracket and the long bolt and nut and washer through the bush and bracket stopped it moving around. There was some assembly paste in the bag which did help, it was a right pain to fit in the last bit but with a bit of pushing it just slipped in, well after about 20 minutes.

Re: Respray
Posted: Fri Sep 25, 2009 10:09 pm
by mark83
Coming along nicely .
I fitted the same superflex rear beam bushes to my mk1,have to agree they are a right pig to fit.
I fitted superflex all round ,well worth doing .
Re: Respray
Posted: Sun Sep 27, 2009 10:50 pm
by mark1gls
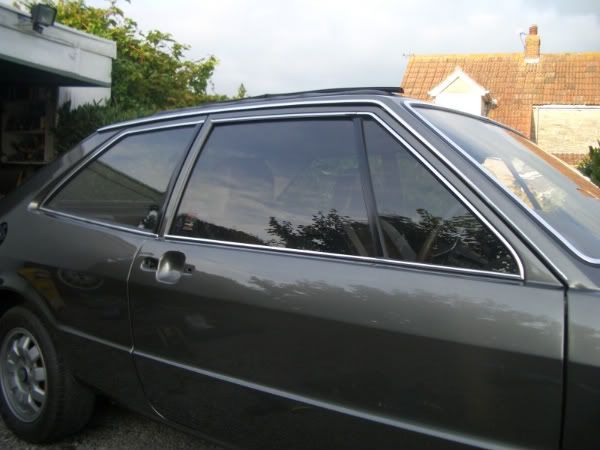
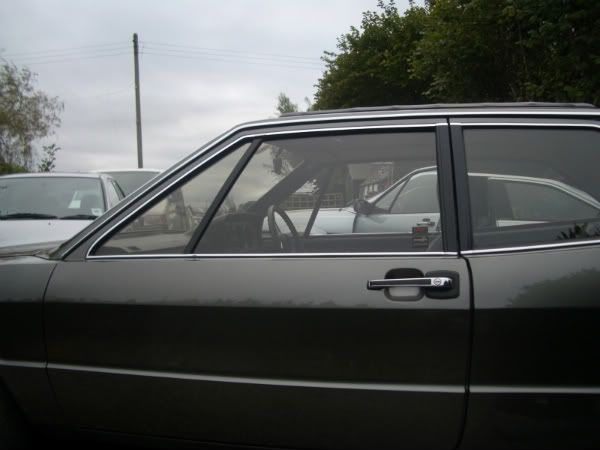
Not done much this weekend, fitted chrome around the door window after taking the glass out again, should of fitted it first.
Been busy checking over "fuzzyedges" Mk2 Storm which we picked up from Darren in cornwall on Friday, what an eventfull day that was....
I'm sure fuzzyedges will tell you more about his project soon.
Re: Respray
Posted: Fri Oct 09, 2009 10:17 pm
by mark1gls
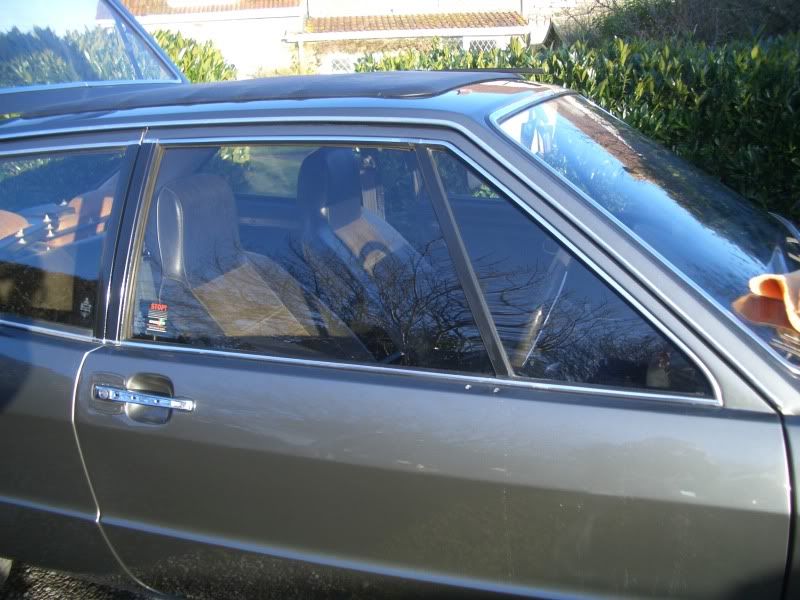
Fitted all the trim around passengers door, I did fit the black bit of trim on the drivers door but then chipped the black paint fitting the chrome trim so I had to take it off again so I'll be respraying that this weekend. The car is going back to the spray shop next week to touch up the paint chips and the couple of pin holes by the rear arch.
I've finally got brakes now, its surprising how much you have to pump the brakes to get the air out, at first I thought something was wrong!
Re: Respray
Posted: Sat Jan 30, 2010 9:10 pm
by mark1gls
Just a bit of a update, been able to do some work on the car the last couple of weekends as the weather has got better.
Fitted the last bits of chrome trim around the drivers door and fitted the new window scrappers to both doors.
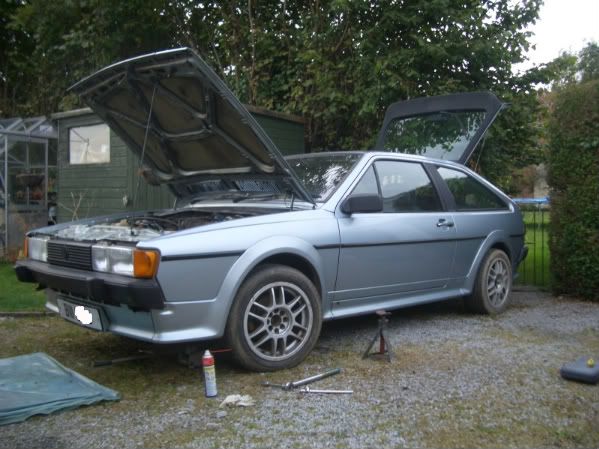
Fitted the card behind the grill and wax oiled in where the bumper fits
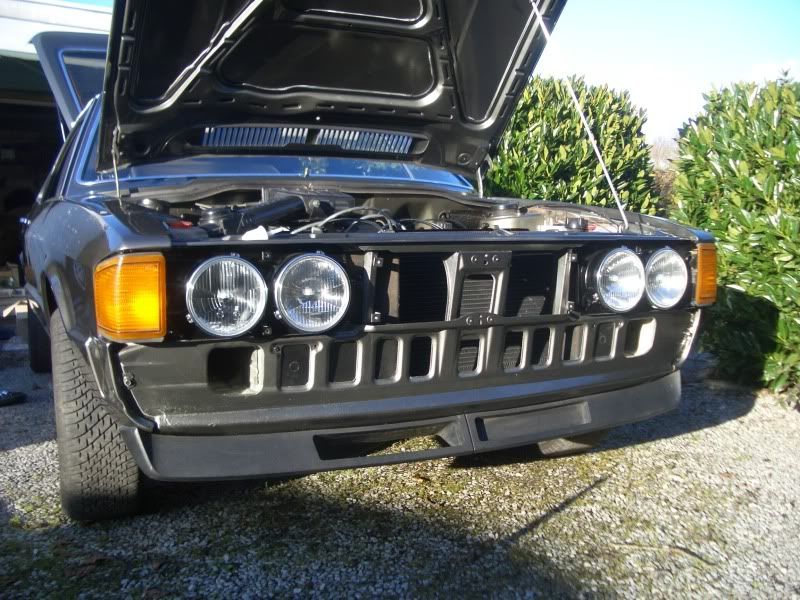
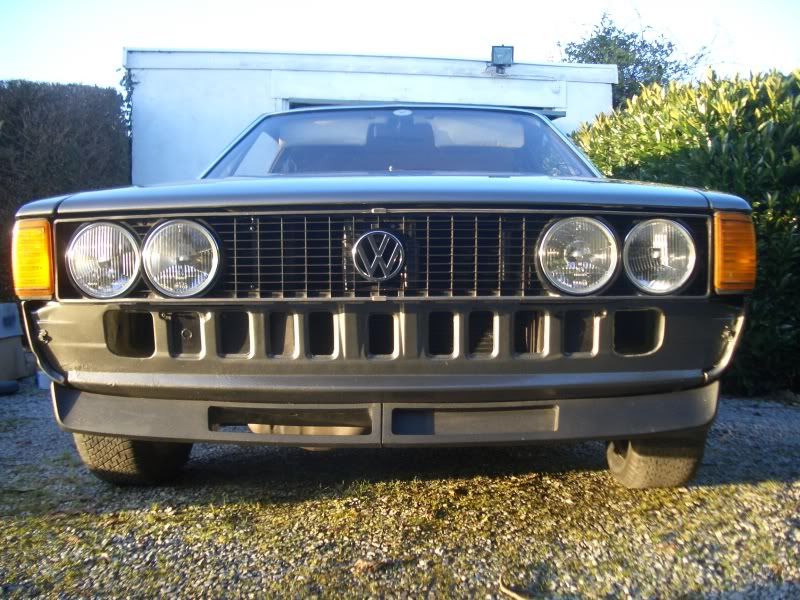
Fitted the grill
Just need to to fit the bottom spoiler properly.
Fitted a flew bit of trim inside and sorted out some of the cardboard boxes of bits I have everywhere, I'm still missing a few little bits and bobs, just need to look a bit harder, they must be somewhere!

Re: Respray
Posted: Sat Jan 30, 2010 10:55 pm
by GTXTRA
looks bloody superb. great colour.

Re: 1978 GLS
Posted: Thu Apr 21, 2016 2:54 pm
by mark1gls
Mods can this be moved to project and restoration as I would like to up date this thread with what's happened to it over the last 6 years....
Many thanks...
Re: 1978 GLS
Posted: Thu Apr 21, 2016 3:46 pm
by the edmundator
mark1gls wrote:Mods can this be moved to project and restoration as I would like to up date this thread with what's happened to it over the last 6 years....
Many thanks...
With pleasure.
Re: My 1978 GLS
Posted: Thu Apr 21, 2016 11:06 pm
by mark1gls
6 years after I started this thread I thought I better up date you on what's been happening.
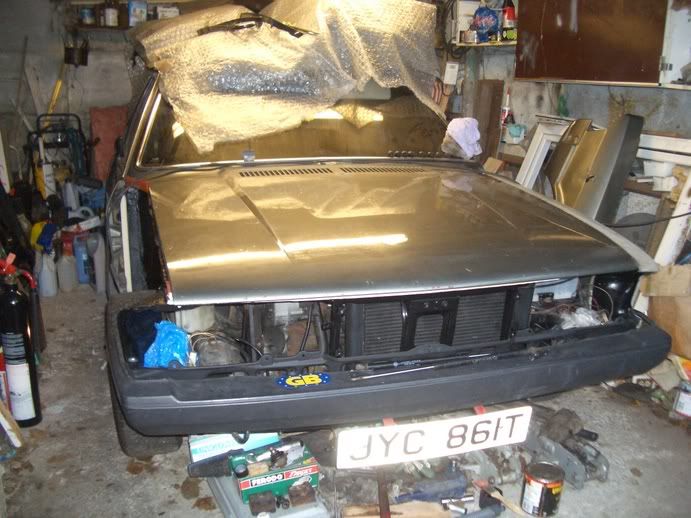
As I missed out a few things at the start I'll start there with pictures.
Before it was ready for paint.
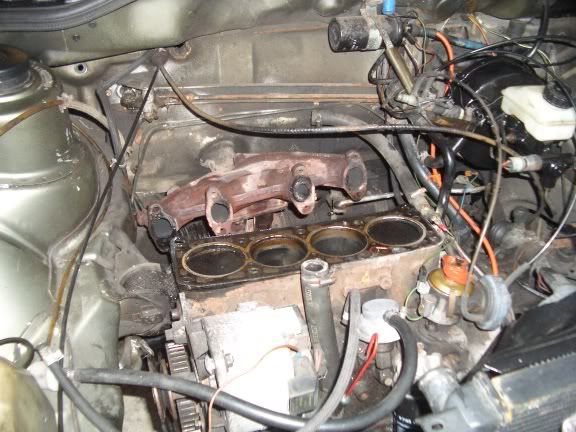
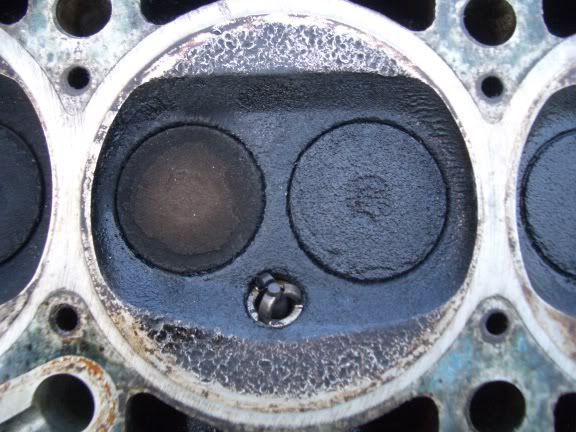
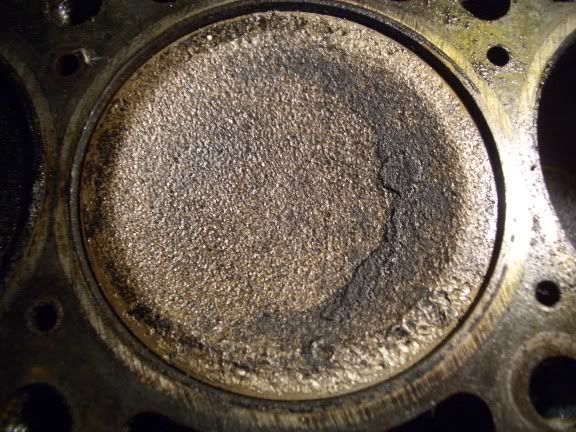
Carbon build up and pitted piston and head.
Ended up like this.
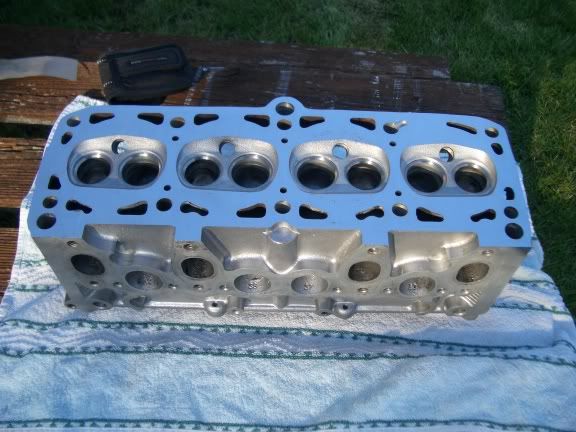
New bits fitted to head.
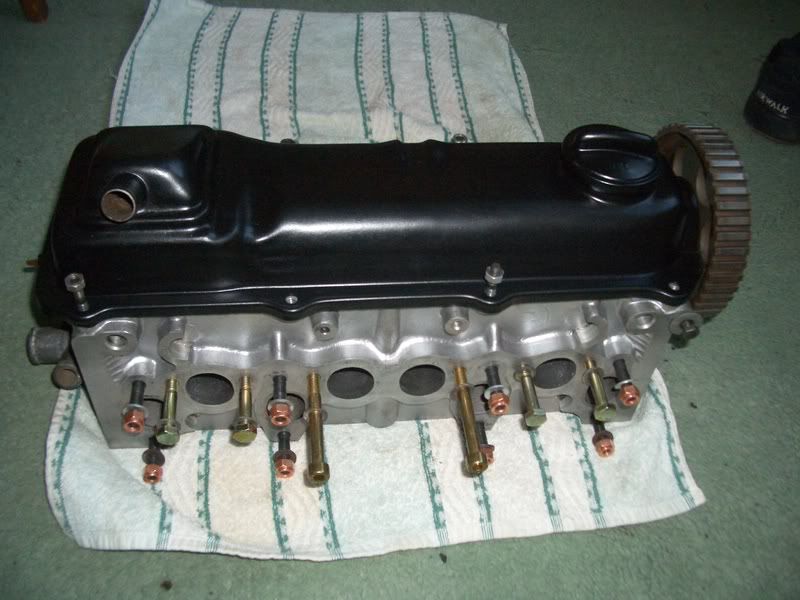
Engine in and running time for body work.

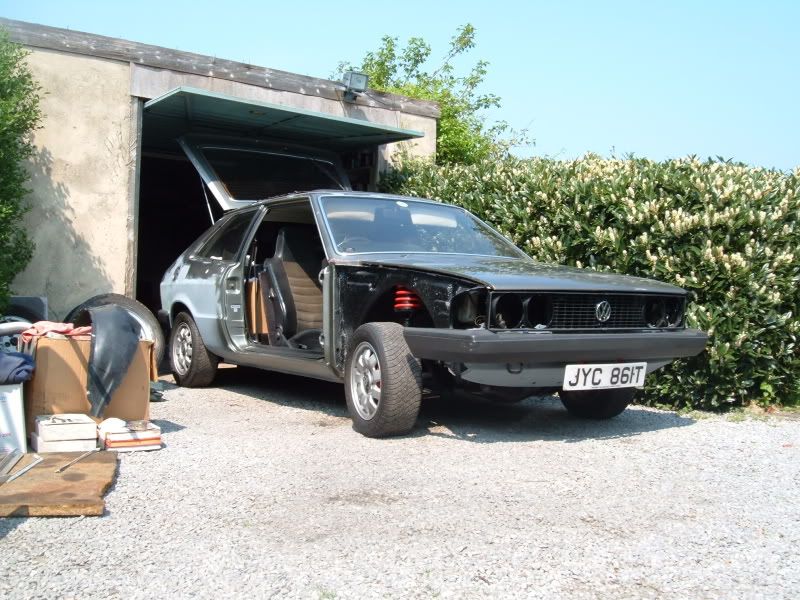
Ready for the respray and back to the start of this thread.