Page 2 of 4
Re: Project 21A
Posted: Wed Nov 04, 2009 5:50 pm
by markh
After a bit of a gap, its back to work on 21a. Made and fitted a new passenger side front metal brake pipe and bled all four corners. Also tackled an annoying cutting out problem. Cleaned out the jets with carb cleaner and compressed air, took the carb off to check the mounting flange wasnt split, it was then that i found out that the earth lead to the carb had broken off. Fitted a new terminal to the wire,and put everything back together and so far so good no cutting out, but i'l see how it goes when i can give it a good run.
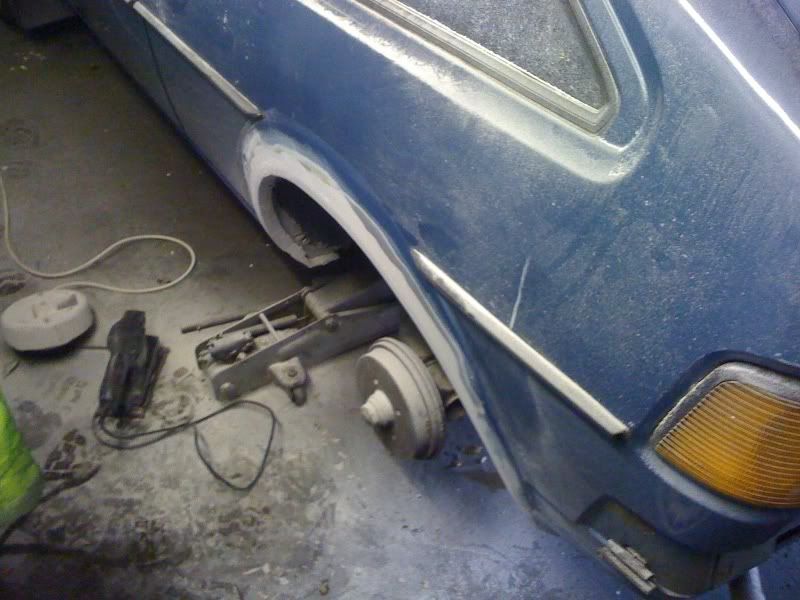
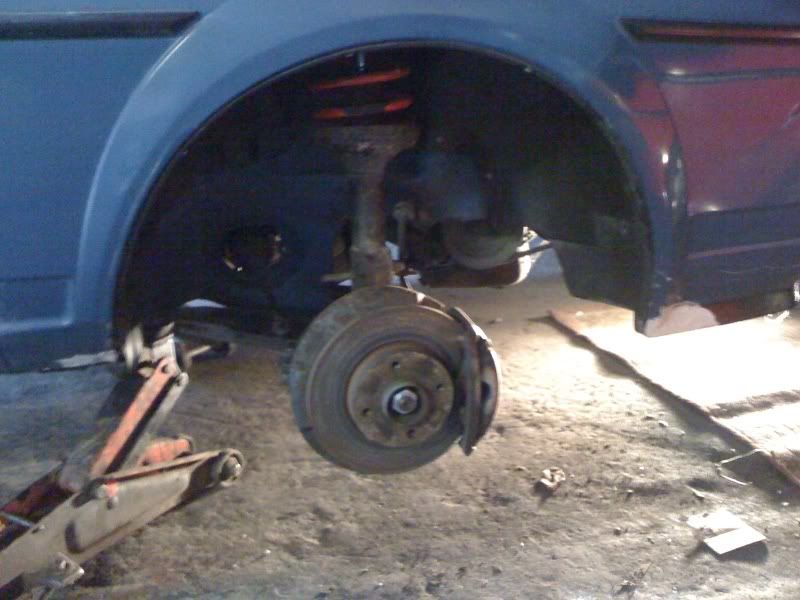
Did a bit more bodywork, the rear arches are nearly done, rubbed down the drivers side with 600 grade wet & dry paper....
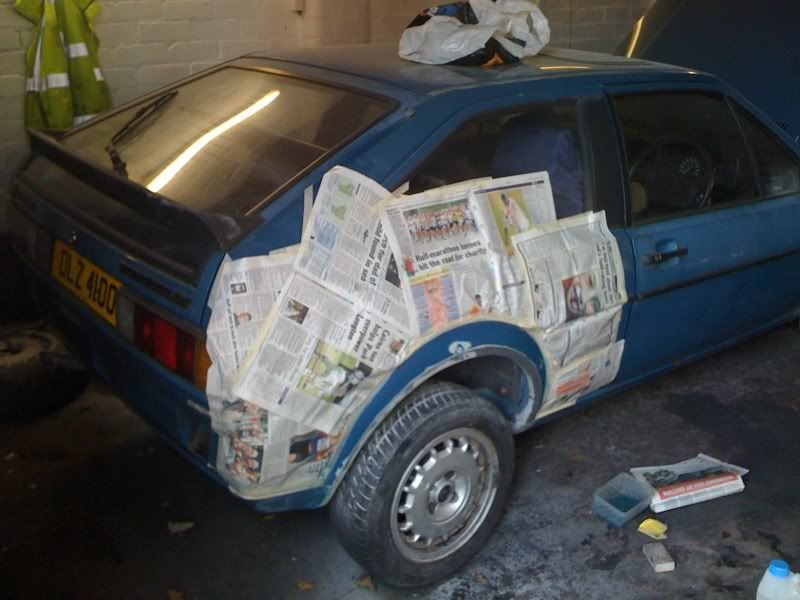
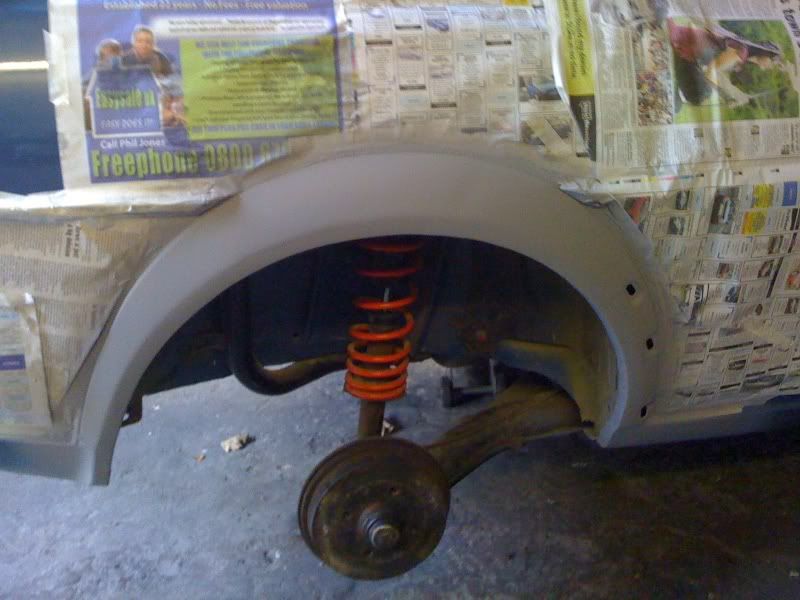
Then a few coats of filler primer...
Still a bit of sanding to do on the passenger side, but it will be painted (at least in primer) tomorrow...
Also changed a broken headlight adjuster, and seam sealed inside the rear arches.
More tomorrow..
Re: Project 21A
Posted: Thu Nov 05, 2009 8:23 pm
by The Autoad
welding and painting, yum yum munch munch. I love a great bit of bodywork, looking really good Mark

Nice to see you've made yourself at home in the new unit too!
Compressors: Have a look in the new Practical Classics for a good idea on compressors. I have a SIP, but i can't remember the spec right now. Will check.
Posted: Thu Nov 05, 2009 9:58 pm
by markh
Cheers Ant, yes im loving the new workshop, should of done it years ago !! I've temporarily borrowed a 25 litre compressor of my brother, but will be looking for something a bit bigger after xmas.
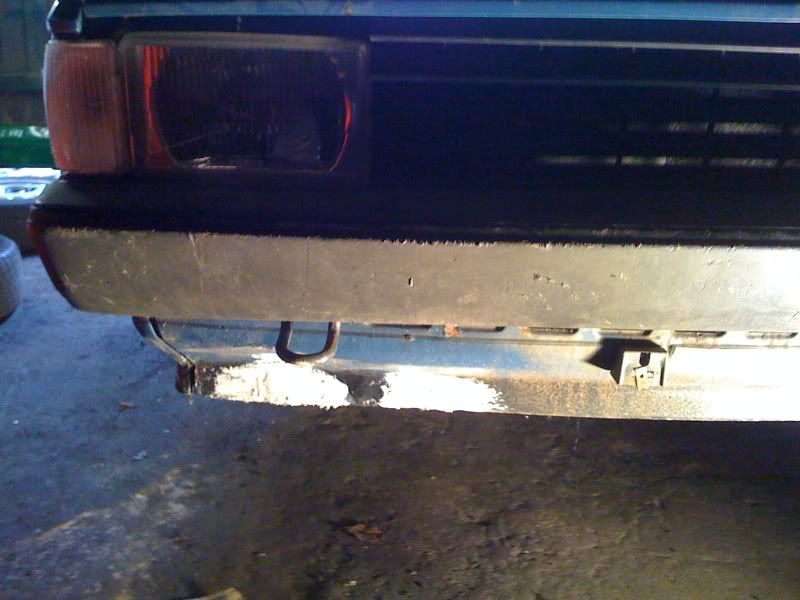
Today saw a bit of a set back when after scraping off some flaking underseal, i found this.....

Its just forward of the drivers side beam mount, so out came the MIG and new metal applied.
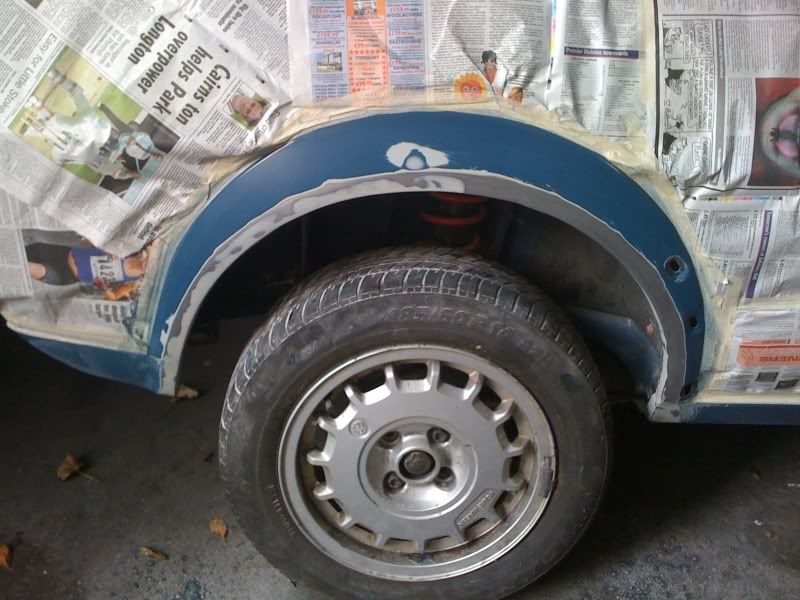
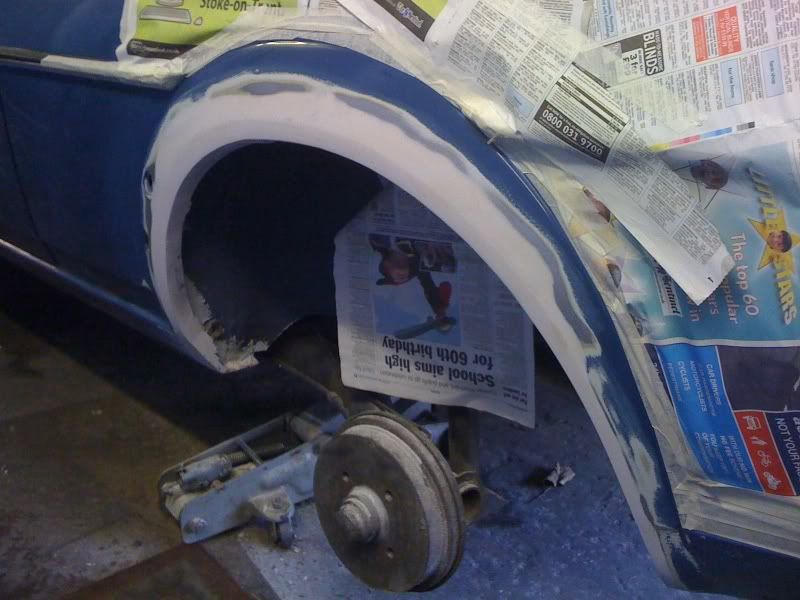
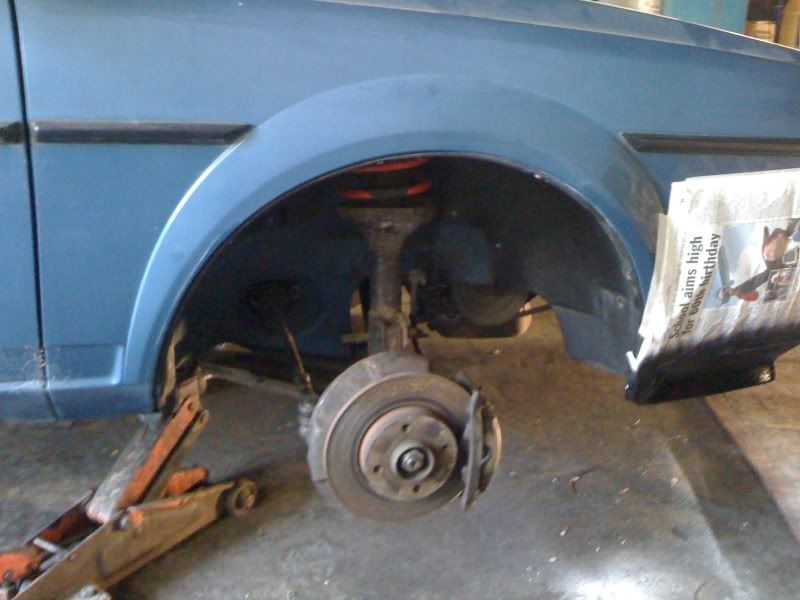
Rubbed down the filler primer on the drivers arch, gave it a coat of grey primer and then rubbed it down again. ...
On the passenger side, i finished sanding down the filler and then gave it a few coats of filler primer.....
Picked up a can of colour (Capri blue LK5E) from my local paint supply company, and so the arches will be finished tomorrow.
Re: Project 21A
Posted: Fri Nov 06, 2009 4:14 pm
by markh
A very productive day today

Filler primed and rubbed down the passenger side arch..
This showed up a few blemishes, so it was filler primered again and once again rubbed smooth, before being given a coat of grey primer. While this dried i gave the drivers side a few coats of colour.....

In between coats of primer and paint , i cracked on with some other jobs. Started to repair some damage to the front panel...
And a couple of small repairs to the drivers side front wing...
Then the front panel was given a few coats of black stonechip coating...
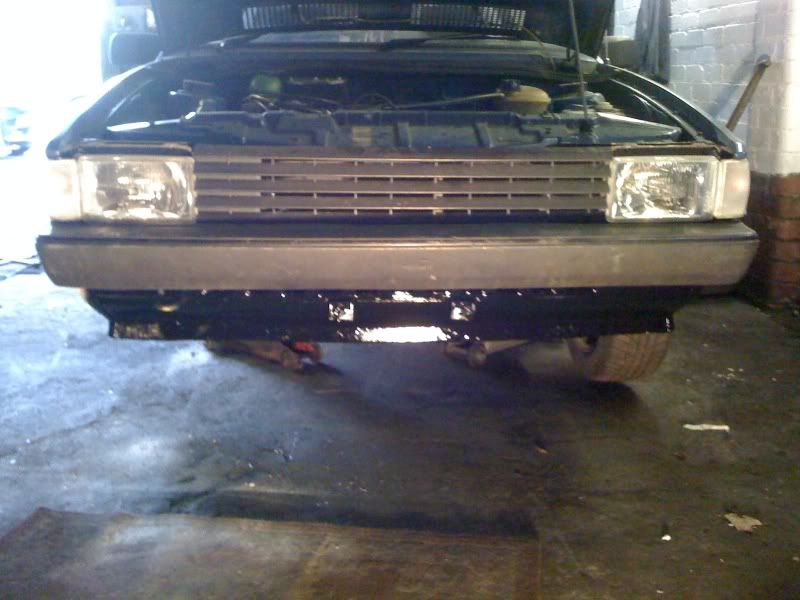
Next the repairs to the drivers wing were painted and stonechipped as required....
I also gave the bottom edges of each sill a couple of coats of stonechip to give them some protection through winter. I cleaned up and greased all the metal brake pipes, undersealed the inner arches, and also the welded repair to the drivers side chassis, fitted a new rear wiper blade and gave the metal fuel pipes another coat of underseal.
In between all these other jobs, i kept going back to applying mores coats of paint to the arches.
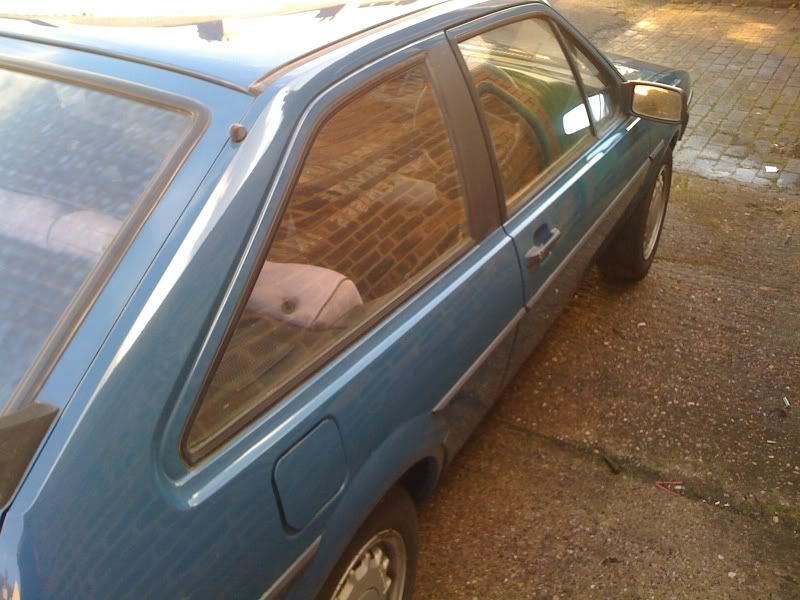
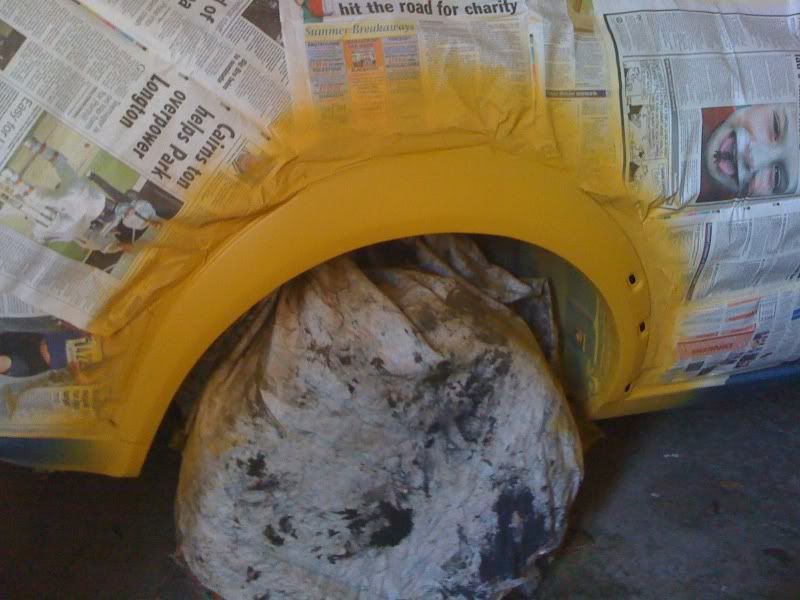
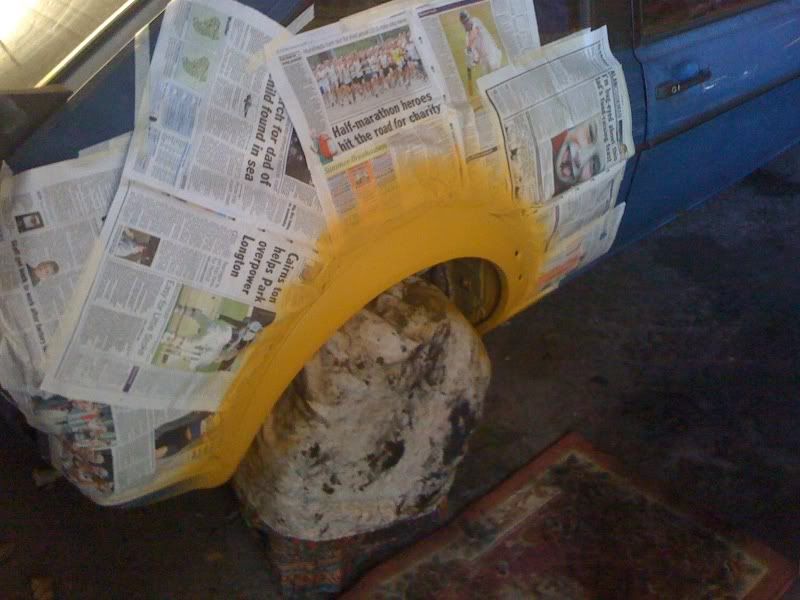
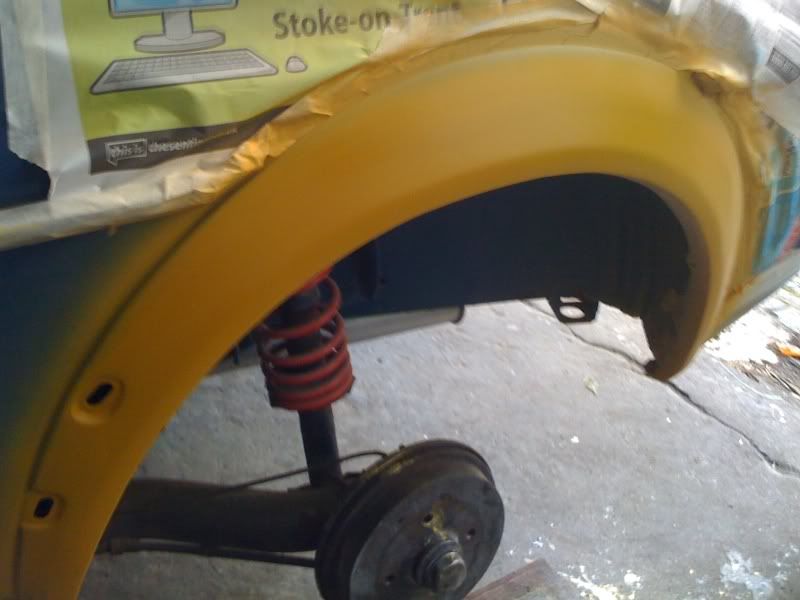
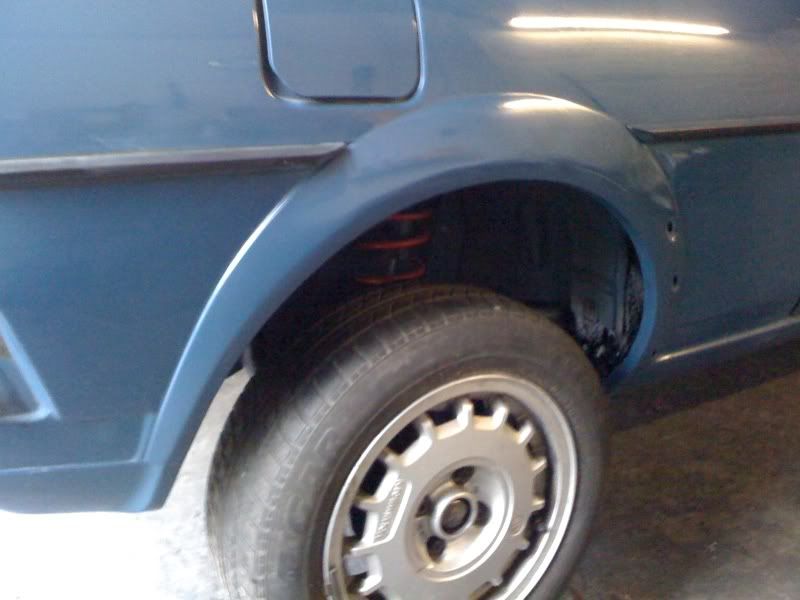
The drivers side rear arch with the masking removed, obviously it will need cutting once the paint has cured, but im very pleased with the finish...
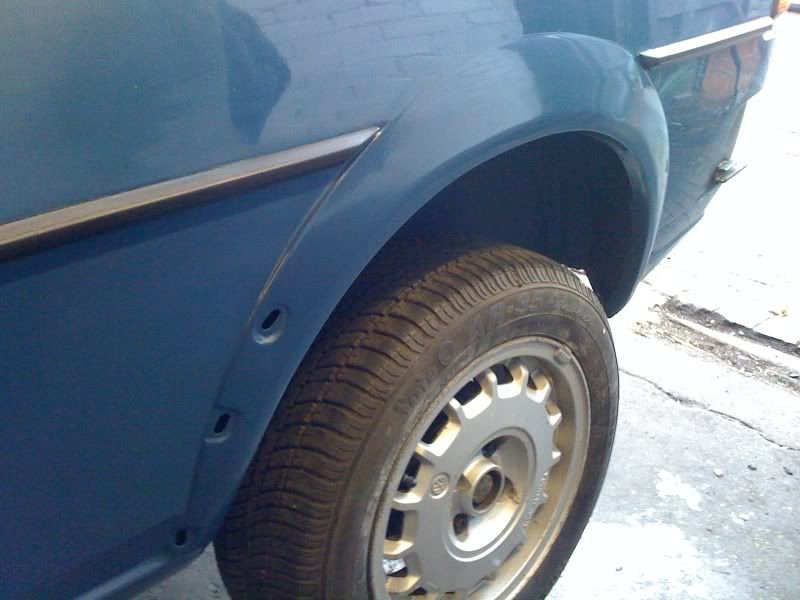
And the passenger side, again it will need to be cut when properly dry.....
Just had time to change the radiator too, as it had sprung a leak, so changed the anti freeze at the same time. Not much more to do now before MOT, but still a few jobs to do once its on the road.

Re: Project 21A
Posted: Fri Nov 06, 2009 8:27 pm
by Bill
Stunning work mate

Re: Project 21A
Posted: Sat Nov 07, 2009 12:14 pm
by markh
Thanks Bill !

Did a couple of odd jobs on the car this morning, basically cleared all the tools and crap out of the boot, refitted the carpet at the sides of the rear parcel shelf and refitted the back speakers and grills ( cheers again to Ed for the grills !!). Also fastened the battery in properly.
Its having a run down to my brothers garage tomorrow, to test the running, bed in the brakes and to check the emmissions.
Very nearly ready for MOT time

Re: Project 21A
Posted: Sat Nov 07, 2009 5:42 pm
by the edmundator
A pleasure. Arches look spot-on - very impressed and jealous!
Re: Project 21A
Posted: Sat Nov 07, 2009 6:39 pm
by markh

Thanks Ed, i'm getting quite good at arch repairs now, even if i do say so myself !!!

Re: Project 21A
Posted: Sat Nov 07, 2009 11:00 pm
by brass007
Never doubted ya Stokie!
will be really pleased to see this on the road
amazingly its been 24 months!

when this gets a good t-cut all over its really is going to look special
not many about in this colour
you are a legend!
takes hat off
Re: Project 21A
Posted: Mon Nov 16, 2009 11:30 pm
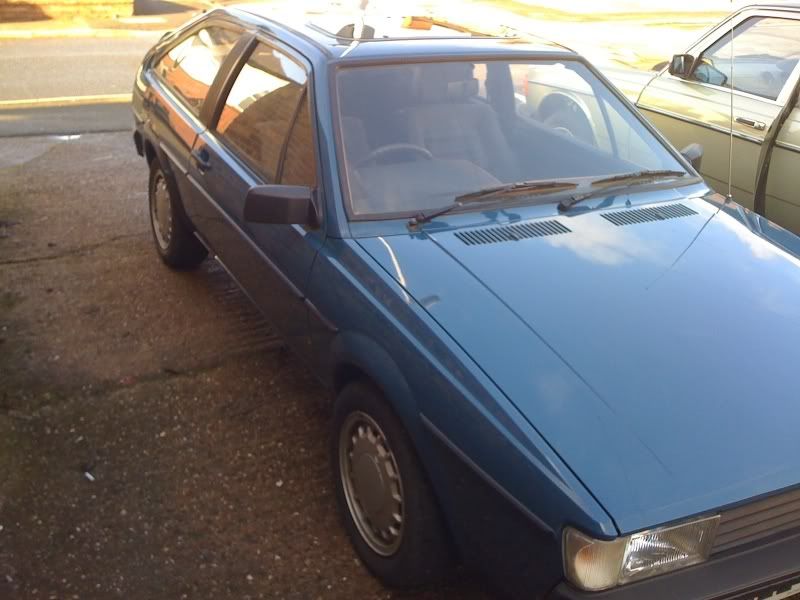
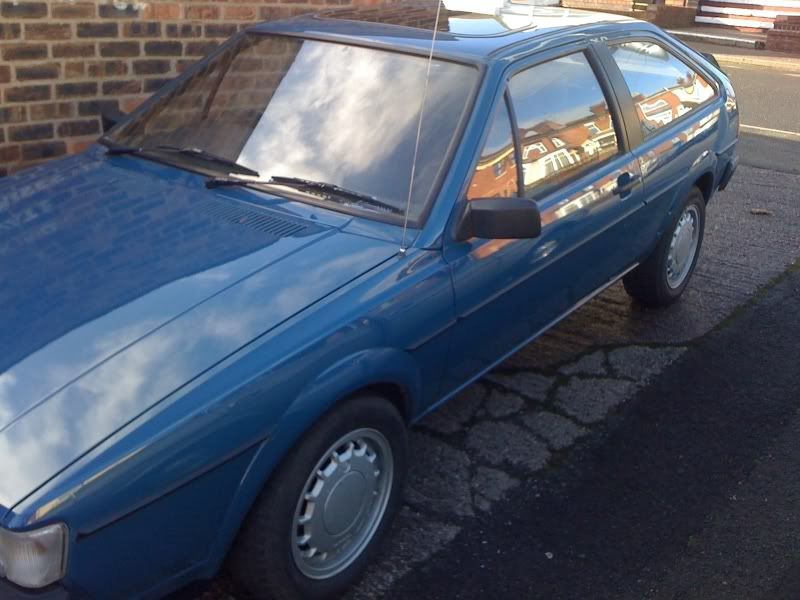
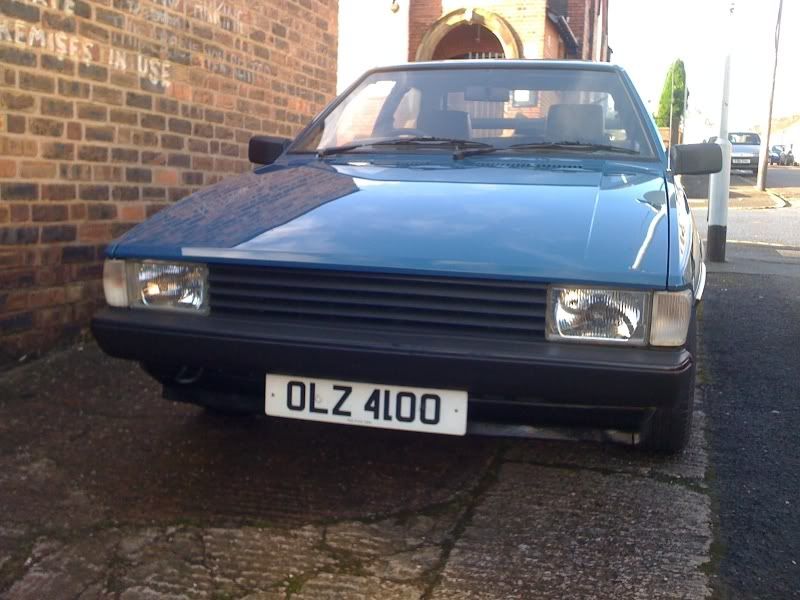
by markh
Re: Project 21A
Posted: Tue Nov 17, 2009 9:20 pm
by Risocco
She looks lovely mate, what a transformation! Paintwork has responded really well to some wax too dude.
Good luck with the MOT
Alex
Re: Project 21A
Posted: Wed Nov 18, 2009 1:34 pm
by Reverend Frog
That is the first time in my life that I have thought 'Hmm, Capri Blue is a nice colour....'
Re: Project 21A
Posted: Wed Nov 18, 2009 7:12 pm
by GTXTRA
very impressive Mark.

Re: Project 21A
Posted: Wed Nov 18, 2009 8:26 pm
by markh
Thank you Gents. ! Rich, to be honest I thought it was a terrible colour, but now it's cleaned up I am kinda warming to it. Still say black is THE colour for a Rocco though.
Re: Project 21A
Posted: Wed Nov 18, 2009 9:05 pm
by brass007
Loving it!
well done that Stokie Chap