Page 10 of 14
Re: The Rocco Grotto
Posted: Sun Aug 25, 2013 10:28 pm
by treefingers
awesome work man!
Re: The Rocco Grotto
Posted: Wed Aug 28, 2013 2:25 pm
by 81GTi
you nutter!! you have scrapped better than that! I believeI put a few quid towards that car circa 2006....
Re: The Rocco Grotto
Posted: Wed Aug 28, 2013 7:25 pm
by Nate
Yup, this is the one the got brought back from Italy. I'm so glad I didn't look at those rear beam mounts before I bettered it over the alps!
Re: The Rocco Grotto
Posted: Wed Aug 28, 2013 10:28 pm
by The Autoad
81GTi wrote:you nutter!! you have scrapped better than that!
I know! If I only had the skills and space then that I have now for my own cars of the past.... The customer is king nowadays!
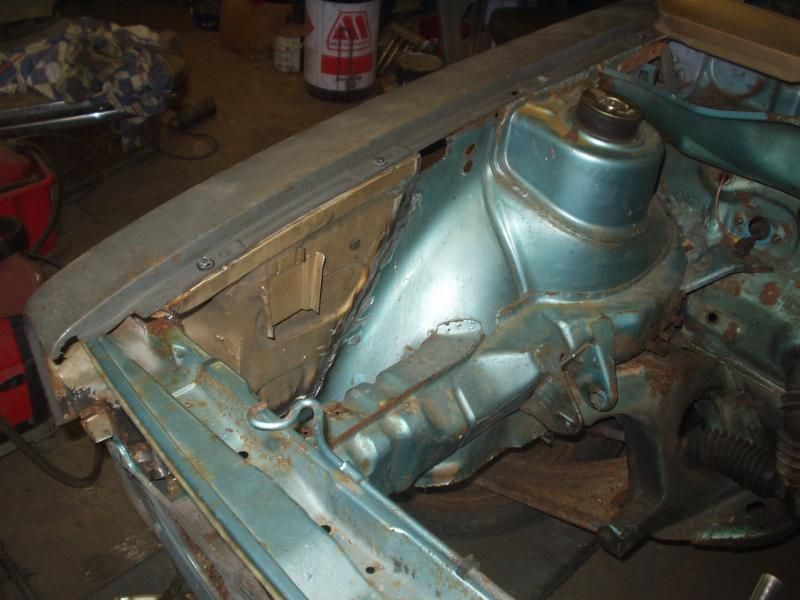
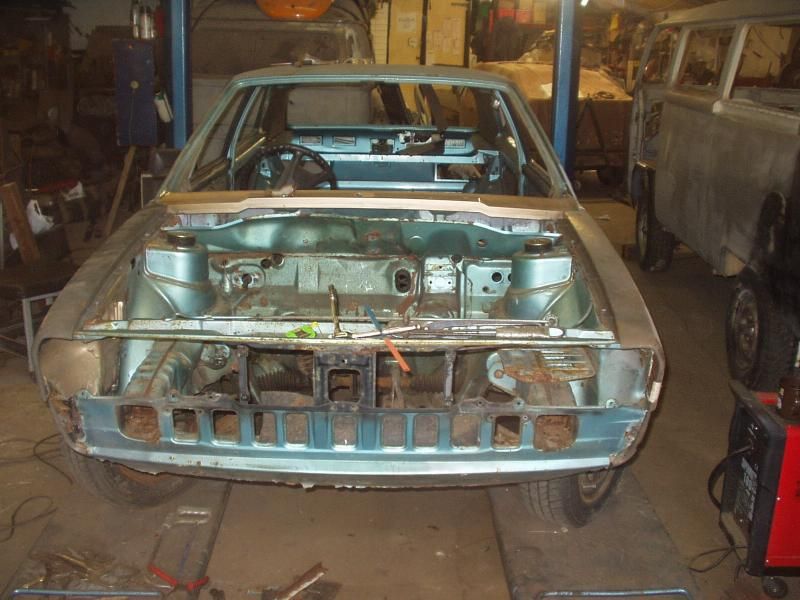
On we go,
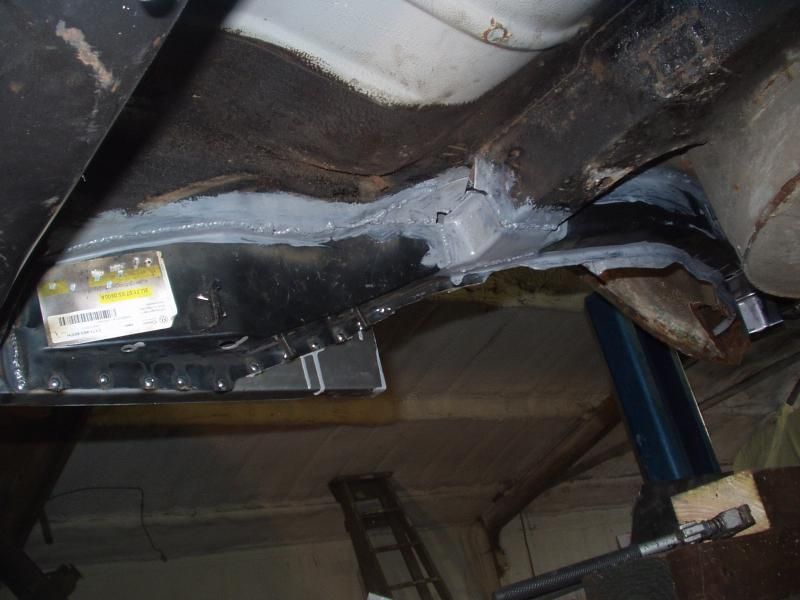
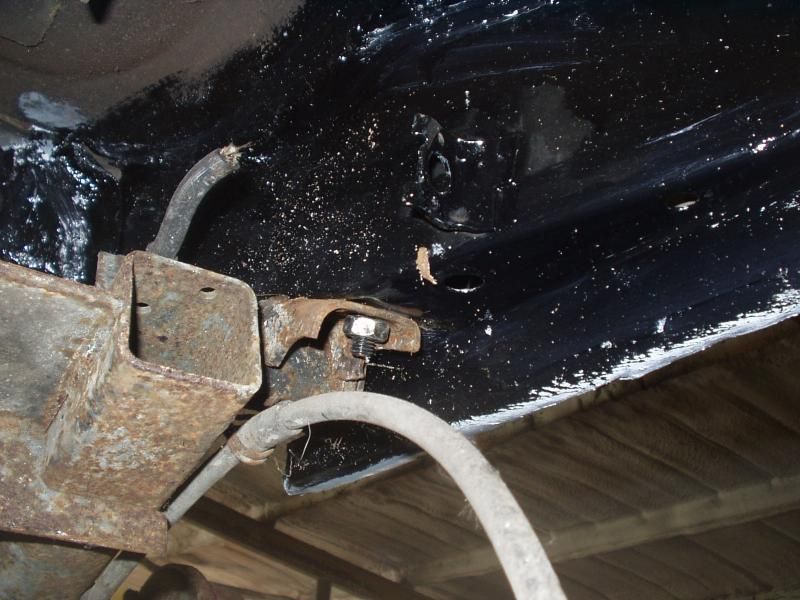
Drivers side chassis leg and inner sill completed
And then, big moment...
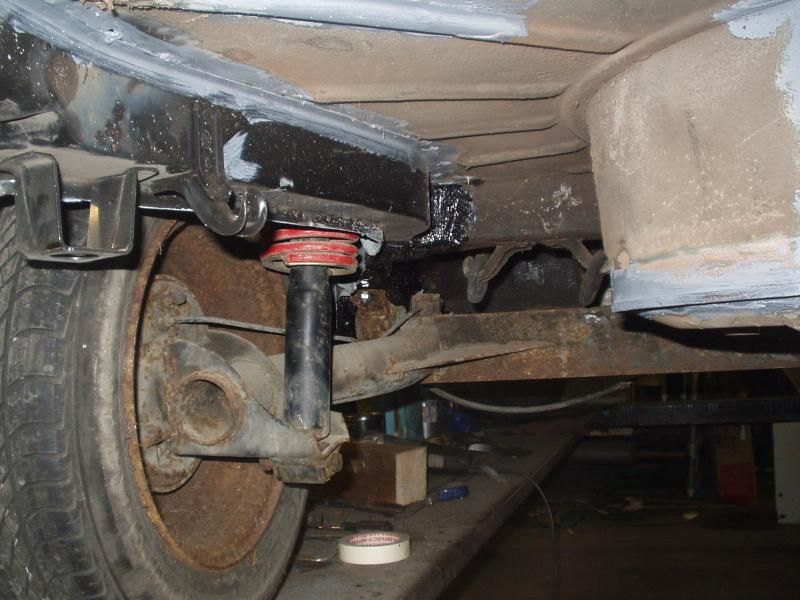
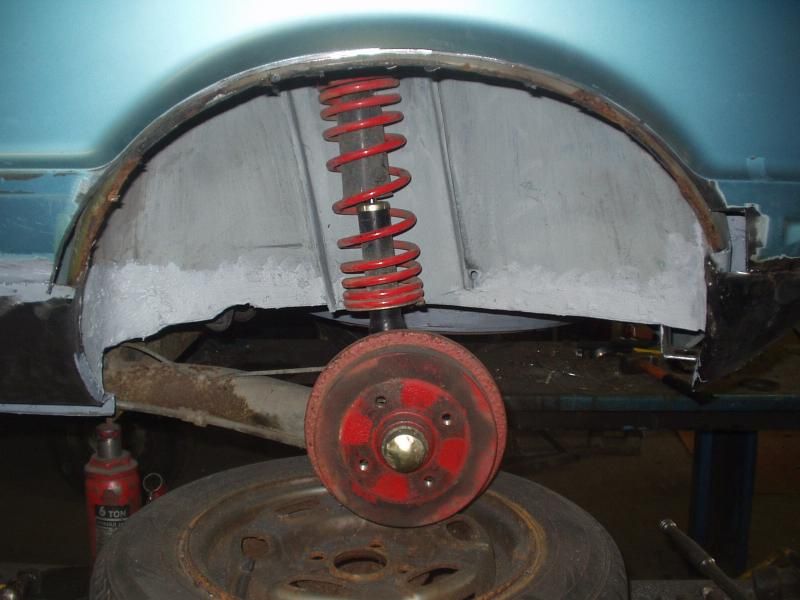
Rear axle beam test reattached and the car is back on its wheels

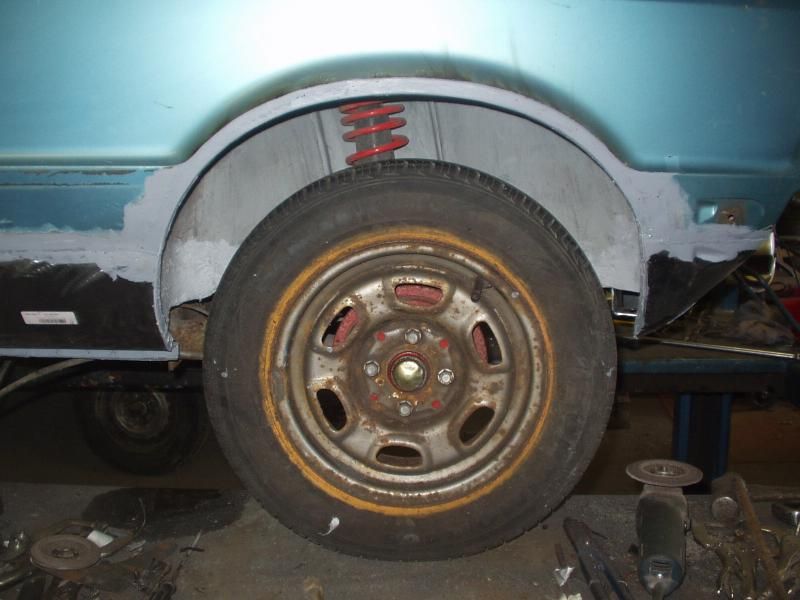
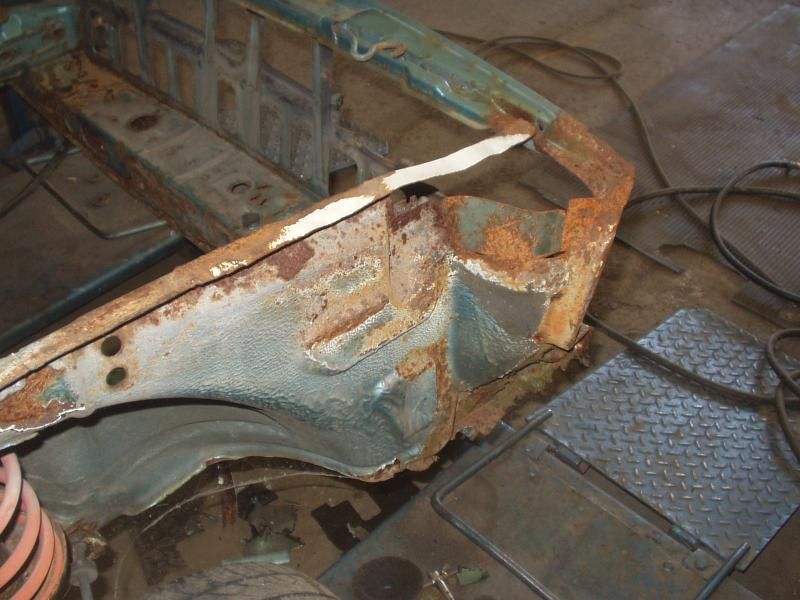
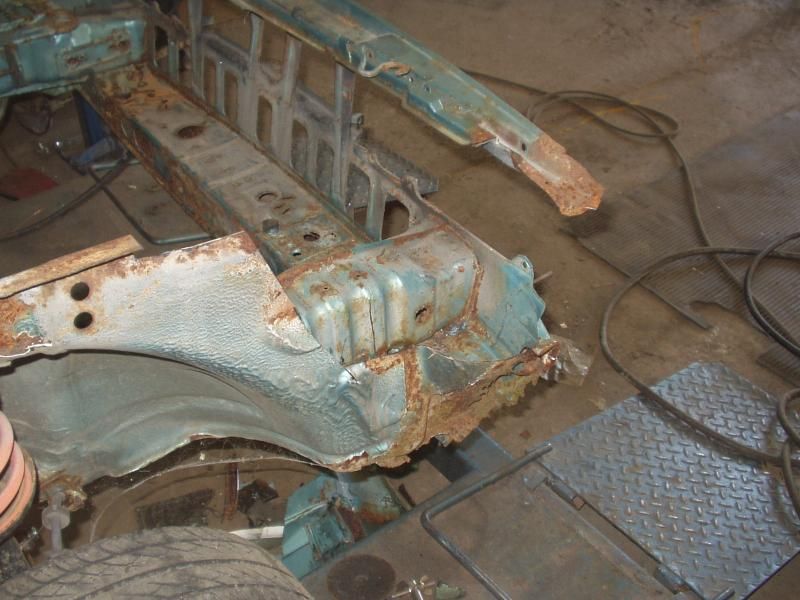
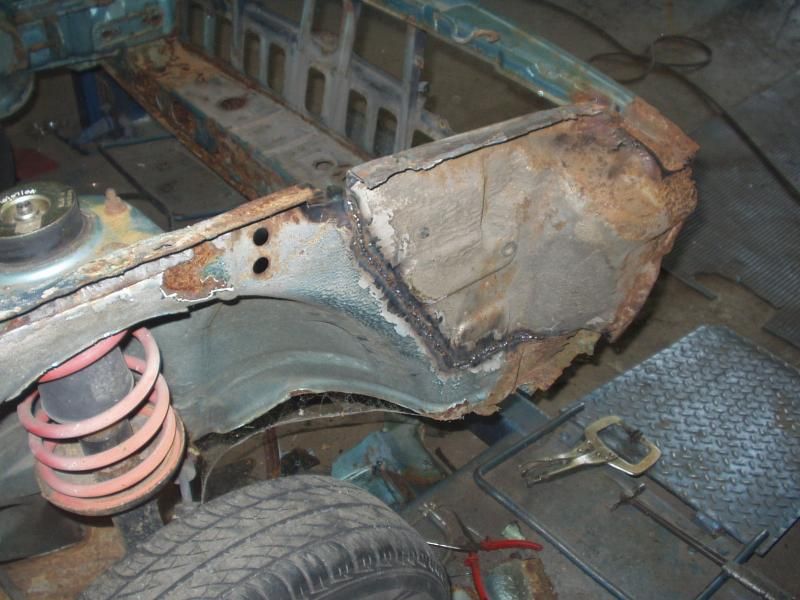
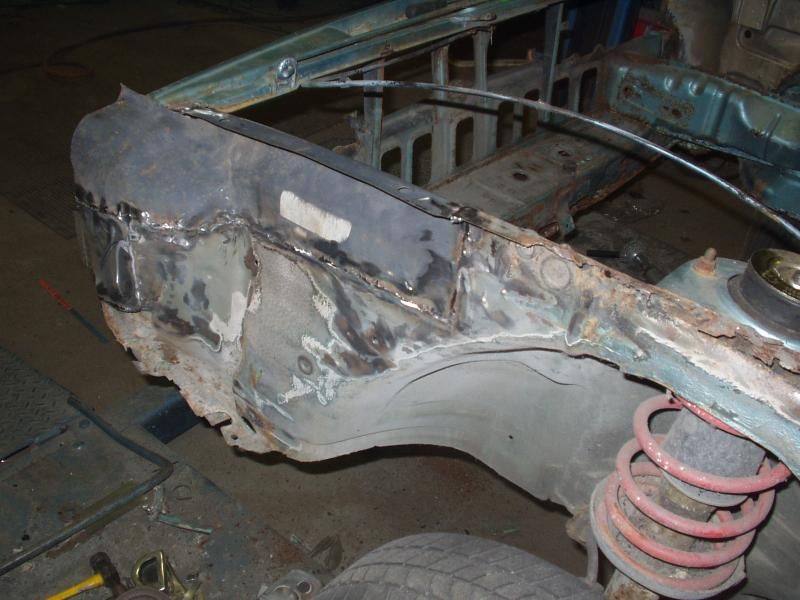
Onto the rear corners. Crusty.
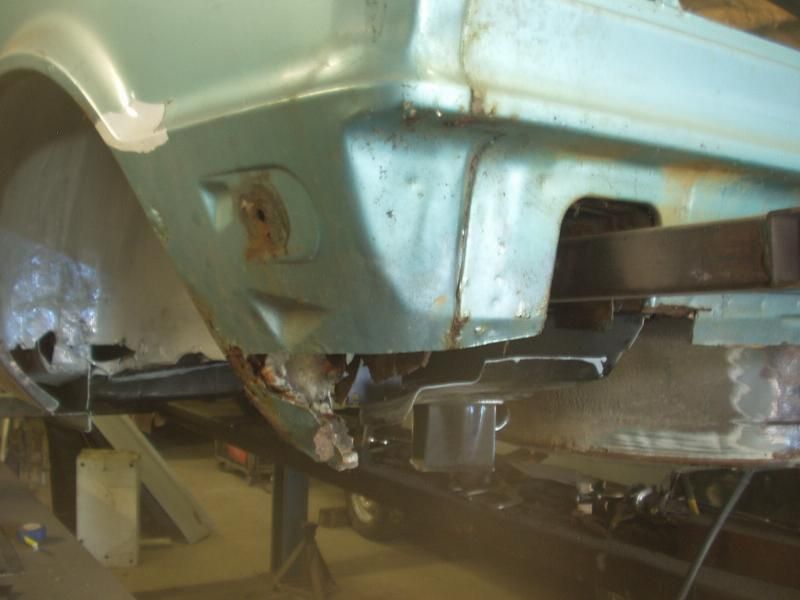
Inner structures repaired.
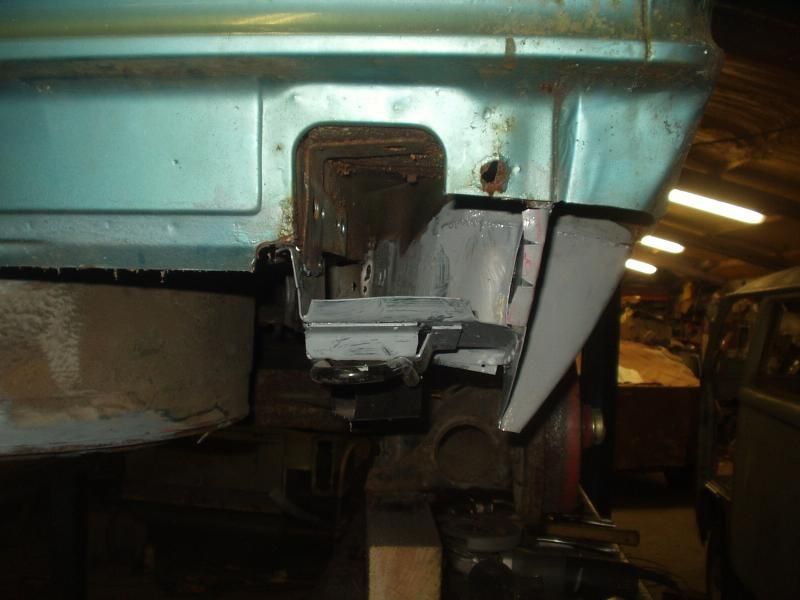
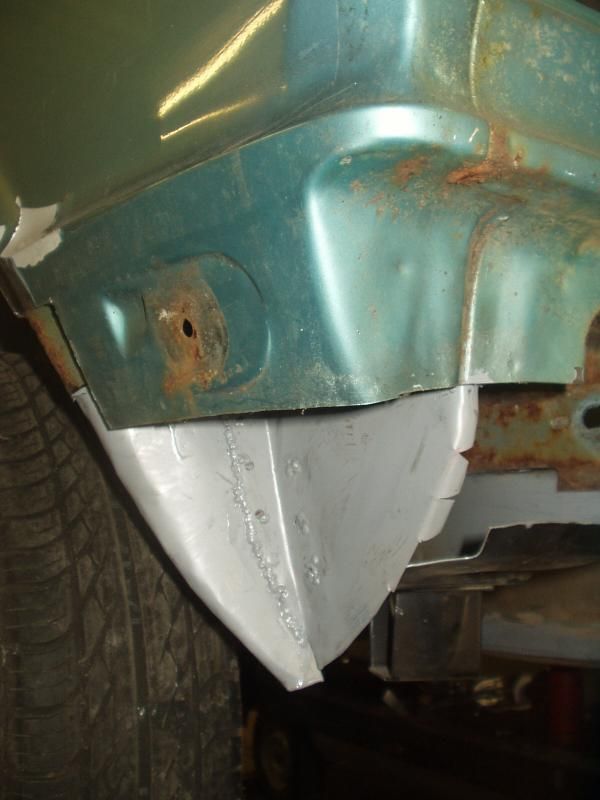
As at 20:30 today.

Re: The Rocco Grotto
Posted: Wed Aug 28, 2013 11:10 pm
by Nate
you have no idea just how much happier i get with each of these updates

just sent you a pm about another "little" project...

Re: The Rocco Grotto
Posted: Wed Aug 28, 2013 11:24 pm
by treefingers
your work is awesome sir.any single one of your photos would have taken me an iceage just to figure out what to do.. and you're blasting through it!
Re: The Rocco Grotto
Posted: Thu Aug 29, 2013 12:35 pm
by Reverend Frog
It's almost ridiculous how good you are at these things Ant. Like a surgeon that performs a brain operation in his tea break.
Re: The Rocco Grotto
Posted: Fri Aug 30, 2013 12:45 pm
by markh
Epic fella, absolutely epic !!!

Re: The Rocco Grotto
Posted: Sun Sep 01, 2013 11:25 am
by Reverend Frog
Ant, given your expertise with bodywork, this could be an interesting little project for you.... one of the first mk2s in the country, I would say...
http://cgi.ebay.co.uk/ws/eBayISAPI.dll? ... 1195335710
Re: The Rocco Grotto
Posted: Sun Sep 01, 2013 1:28 pm
by mark83
fantastic job, looks to me you could save any mk1 how ever badly rotted!! The rear chassis leg you fitted is it mk1 scirocco specific ? or is it a mk1 golf part?
Re: The Rocco Grotto
Posted: Sun Sep 01, 2013 3:17 pm
by Nate
It claimed to be Rocco specific (gen vw, don't you know) but to does have subtle differences, such as the addition of the towing eye and lack of the hole where the fuel breathers pass thru it
Re: The Rocco Grotto
Posted: Thu Sep 05, 2013 9:15 pm
by The Autoad
Thanks for the positive encouragement guys, its awesome

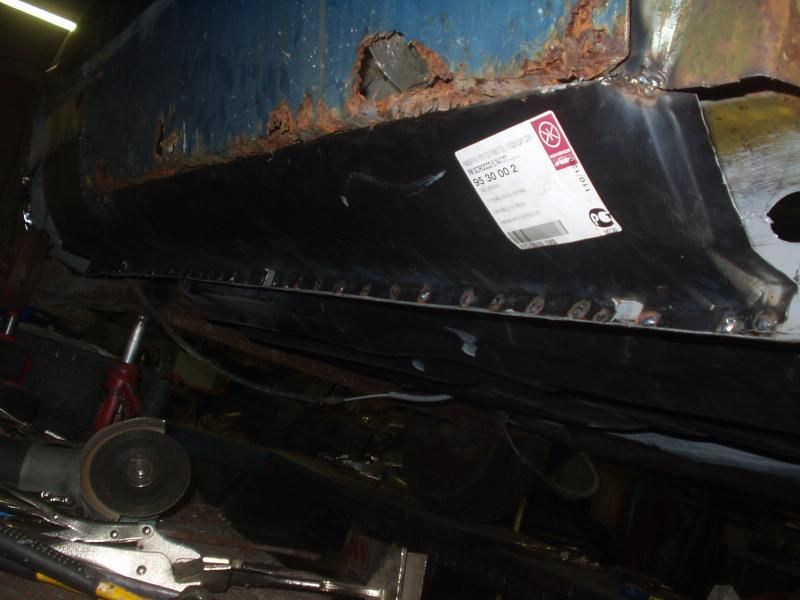
The rear chassis legs are essentially identical items for the Golf 1 and the Scirocco 1. Initially they
were identical but when VW moved the rear towing eye location on the Golf (around 1979) the right hand side chassis leg gained the rear towing eye. For Scirocco replacement the towing eye can simply be removed.
The legs carry a Mk1 Golf part number (as does most of the chassis of a Scirocco as it is identical in its key structural components, but body panels are very different!)
Left rear chassis leg: 171803501 H
Right rear chassis leg: 171803502 H
These are a late designation 'H' for cars where the fuel tank breather passes through the forward portion of the rear wheel tub. Nate's car is a bit earlier than this, so the leg had to be modified to accomodate the earlier routing of the breather pipes along the leg, through the middle of the wheel tub and up the vertical portion of the filler neck.
These items are also fundamentally the same components of the Golf Cabriolet and the Scirocco 2. And Citi Golf too.
Re: The Rocco Grotto
Posted: Thu Sep 05, 2013 10:08 pm
by The Autoad
more.
Drivers side outer sill done.
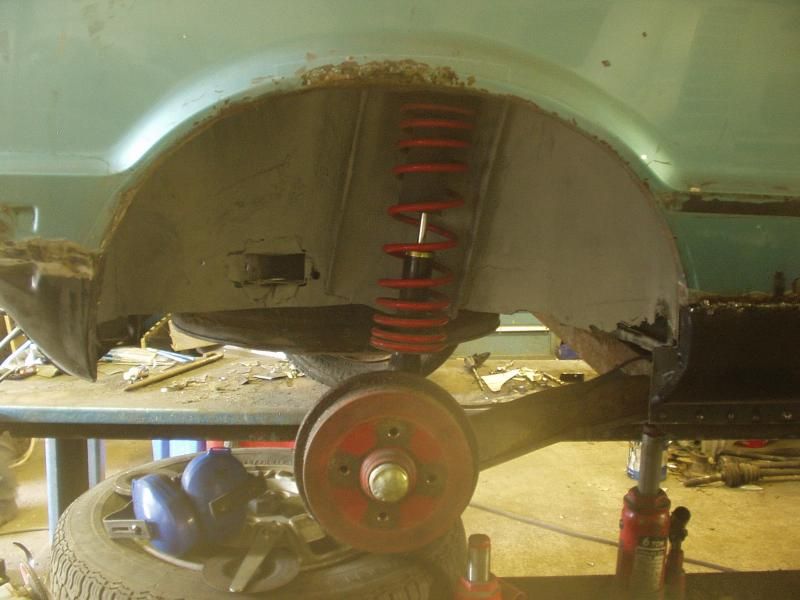
The rear arches were actually pretty good (surprised!), just the lips needed replacement and the inner arch lips would also need attention.
New rear arch cut down to size and attached to get an accurate cut.
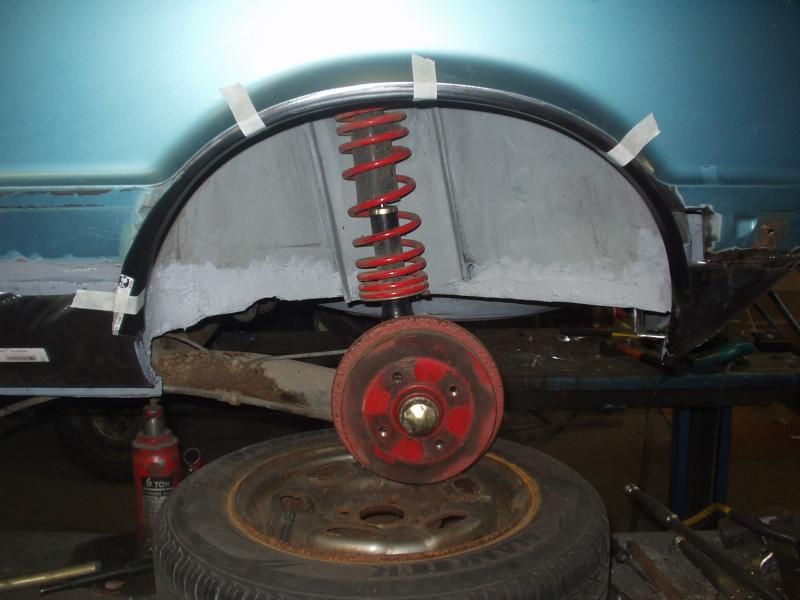
Outer cut away to reveal frilly inner.
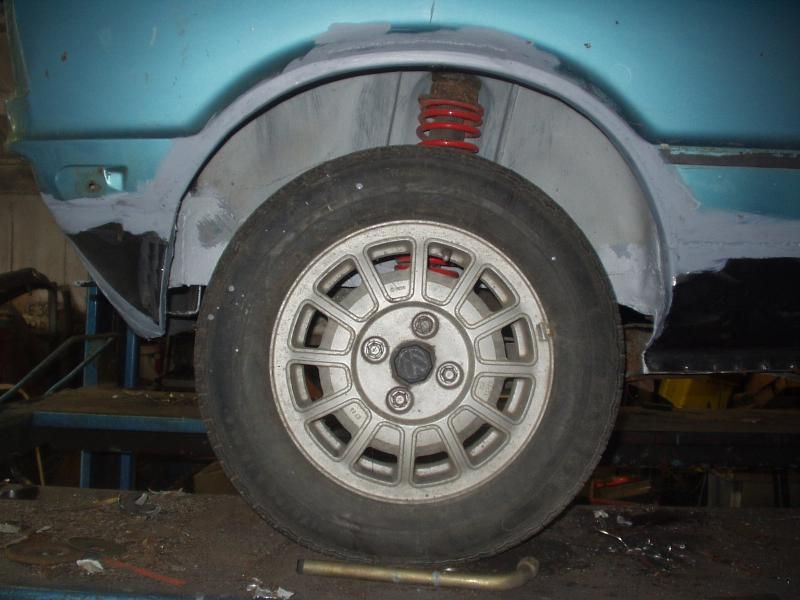
Inner repaired, outer lip welded in and painted with primer to prevent flash rusting.
And the other side, a little bit more work needed here.
Done.
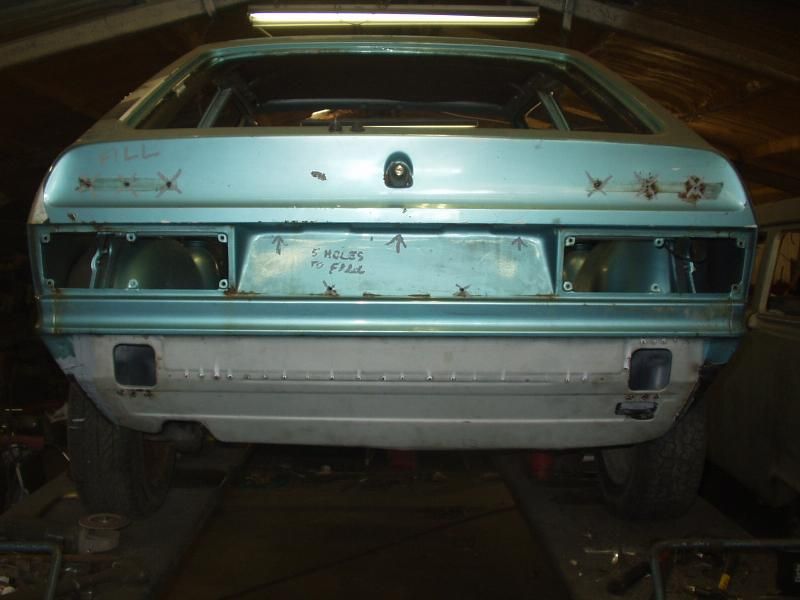
And the rear panel done. Nate elected to keep the towing eye. A subtle mod and stronger than the paper towing eyes on the early chrome bumpers.
Remember that windscreen cowling? Full of holes it was boyo. Get rid of it.
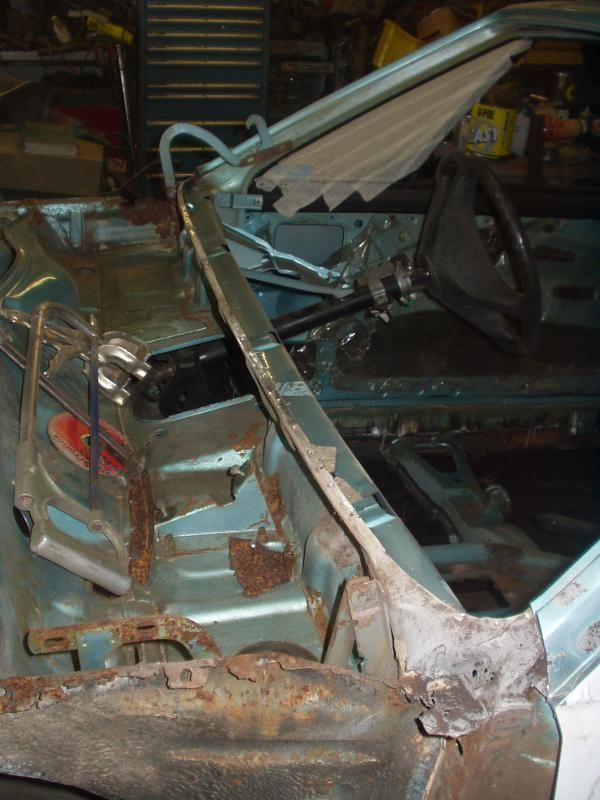
Luckily Nate supplied this here replacement panel, to be carefully detached from its surrounding metal.
The bottom corner sections where the inner windscreen pillars meet the inner wing received sandblasting and rebuilding (more holes) before the new cowling was welded to the car.

And onto the front. The inner wings are not as bad as some that I have seen, but still need lots of attention.
Drivers side. oh, nice.
Plenty of holes found after investigation with a fuzzy wire brush. Time to make one big hole.
And replace with another Nate supplied excellent second hand part, lovely job pal.
Just had to remake the very top of the indicator bowl on this replacement item.
Old school Veng aftermarket section sorted the passenger side.
Test fitting of wings, happy with that :D
Re: The Rocco Grotto
Posted: Thu Sep 05, 2013 10:24 pm
by mark1gls
Great work going on here.. Looks like you are welding/rebuilding the whole car! The demon rust has had a good go at this Mk1.
Re: The Rocco Grotto
Posted: Fri Sep 06, 2013 11:02 am
by Nate
I'm just off somewhere quiet with those pics for some special alone time


