Page 9 of 14
Re: The Rocco Grotto
Posted: Fri Jul 26, 2013 10:32 pm
by shavhead
Excellent!
Well done you pair! You finally got there.
Re: The Rocco Grotto
Posted: Fri Jul 26, 2013 11:52 pm
by mark1gls

Bet you are excited...
Re: The Rocco Grotto
Posted: Thu Aug 08, 2013 11:40 am
by Nate
Ant more recent pics ant?
Re: The Rocco Grotto
Posted: Thu Aug 08, 2013 12:05 pm
by filmidget
I took some yesterday that I need to email to Ant to 'publish' nicely.
Re: The Rocco Grotto
Posted: Tue Aug 13, 2013 11:50 pm
by The Autoad
Re: The Rocco Grotto
Posted: Wed Aug 14, 2013 12:02 am
by The Autoad
Re: The Rocco Grotto
Posted: Wed Aug 14, 2013 12:36 am
by The Autoad
Started dismantling the car for a closer look and to start the repairs.
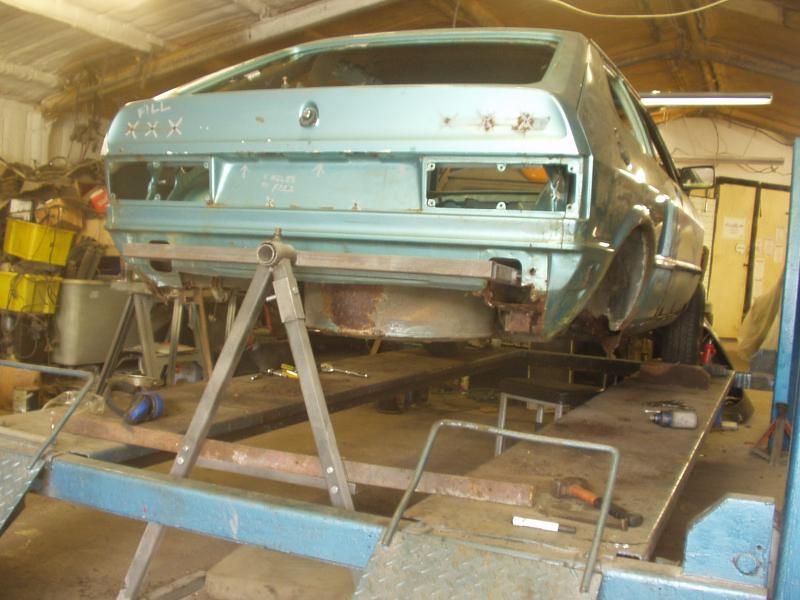
Then things started falling off.
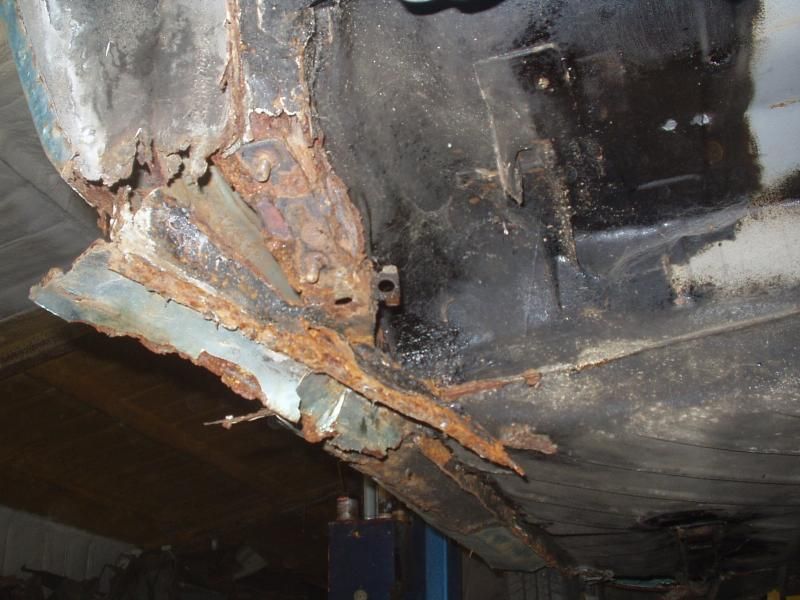
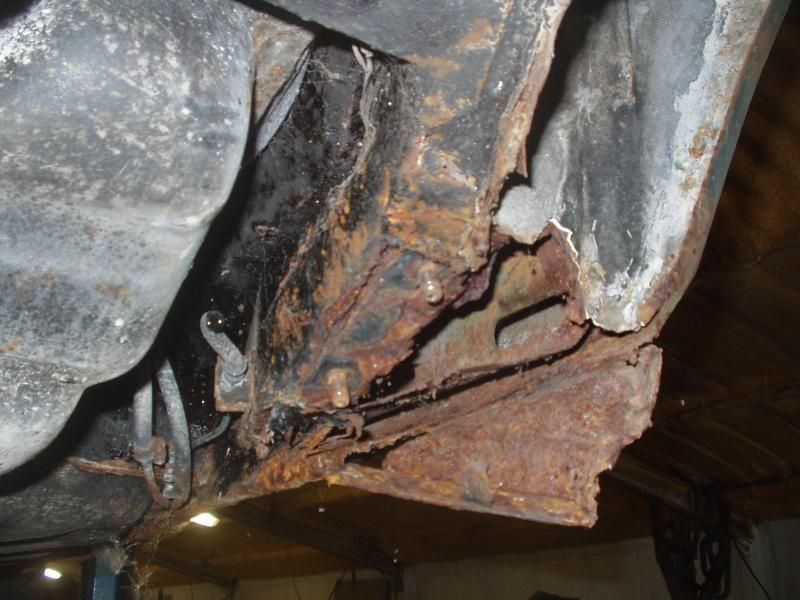
So had to start chopping.
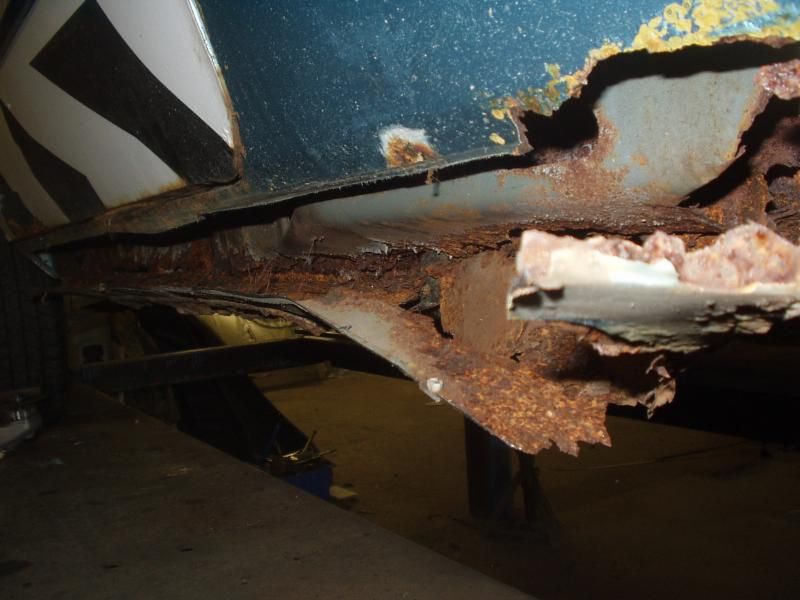
chop
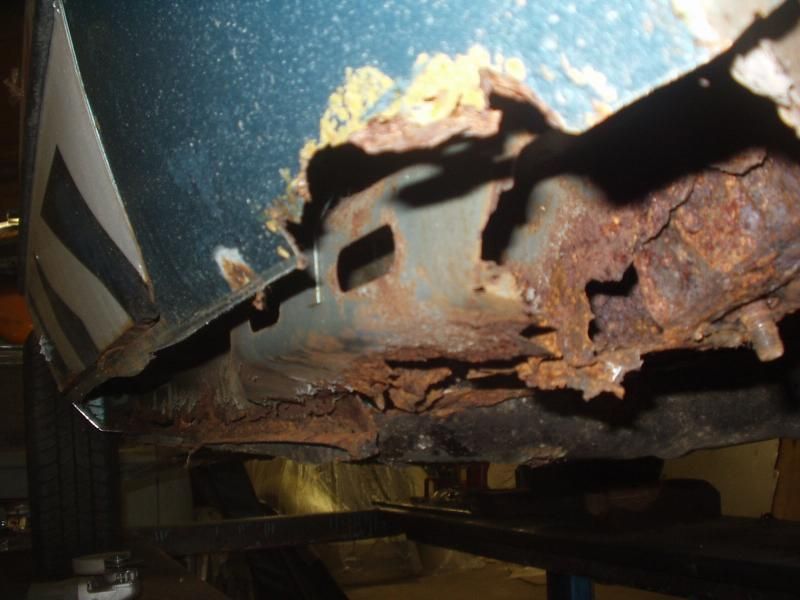
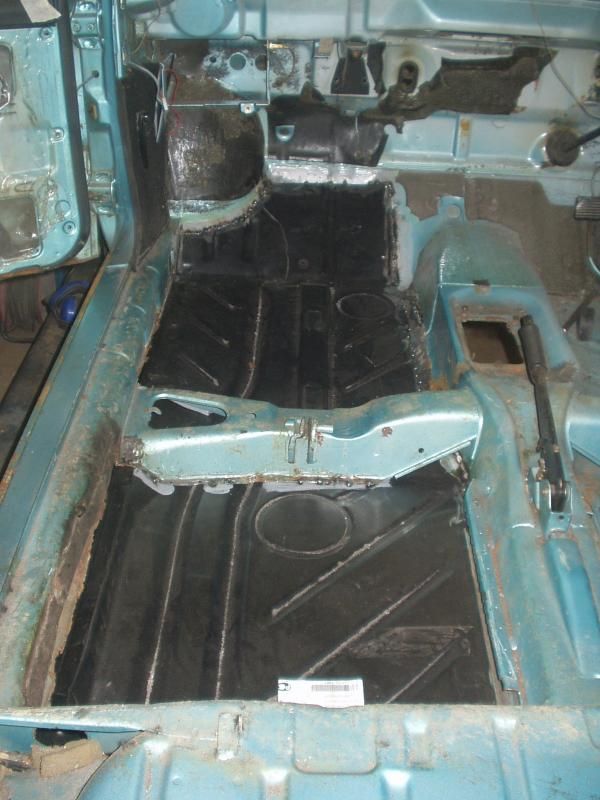
I needed to get some solid metal back into the car. Although it looks ok in this pic the floor of the car was rusty, it had parted company with the (now missing in action) lower edge of the inner sill and was wafer thin in places under the sound damping mats. Horrendous old 'repairs' put the nail in the coffin.
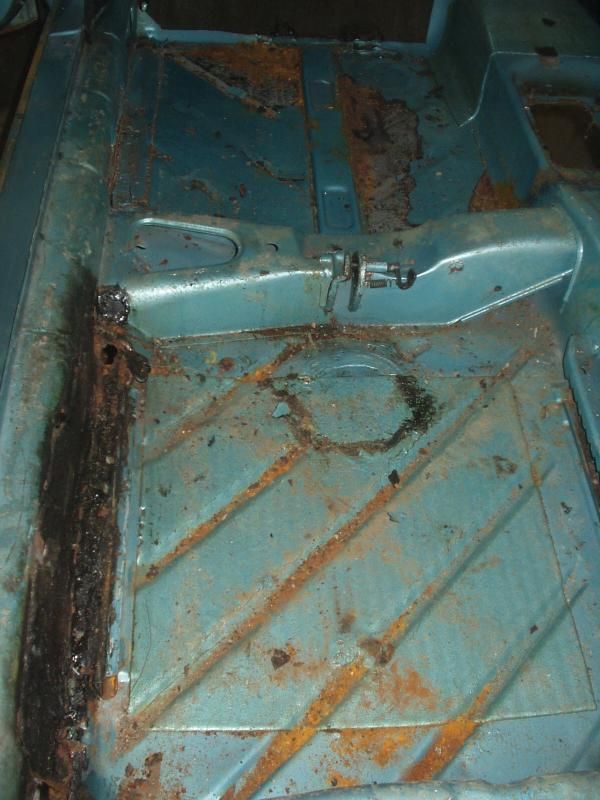
Chop.
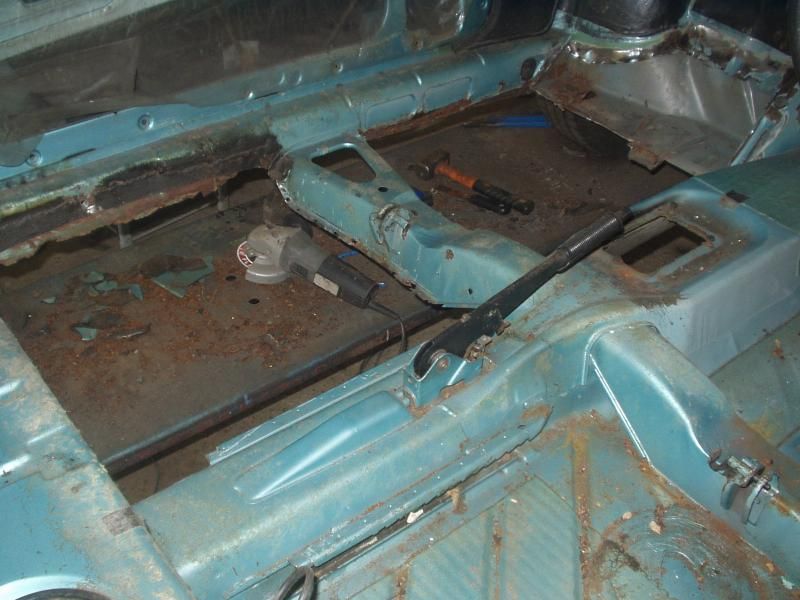
New floor half going in.
Re: The Rocco Grotto
Posted: Wed Aug 14, 2013 8:42 pm
by Nate
"chop" and "new floor half in" makes it sound like it took you 10 minutes

stirling work, looking forward to the next update. enjoy todays delivery :)
Re: The Rocco Grotto
Posted: Fri Aug 16, 2013 8:53 pm
by The Autoad
Delivery was truly welcome and well timed sir

So now the floor was in and lined up perfectly with the smidgen of of inner sill that was left I had me a datum point. Hurrah! So now i could get to chopping away the rest of the forward portion of the inner sill and putting in a new piece. I have opted to build the inner sill in two sections, replicating the factory.
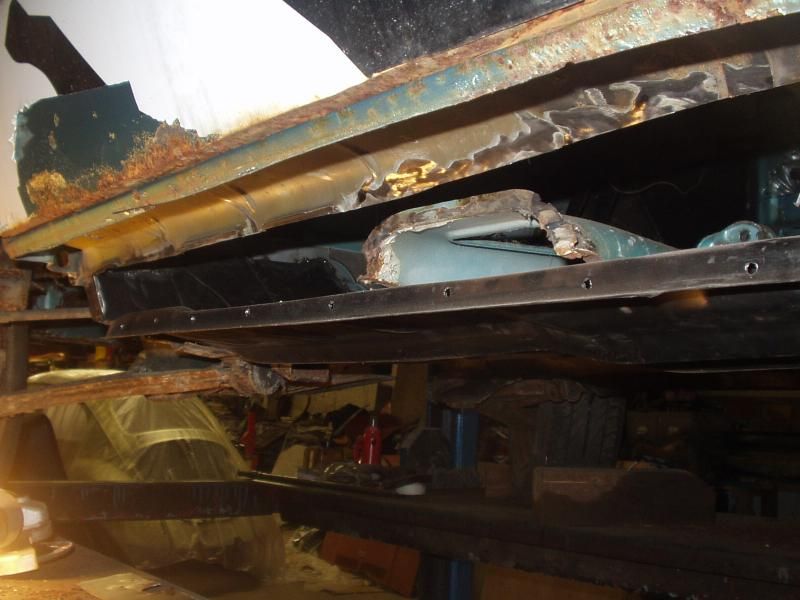
So now i needed a datum point at the rear, as I was presented with this: (new forward portion of the inner sill just visible in this pic)
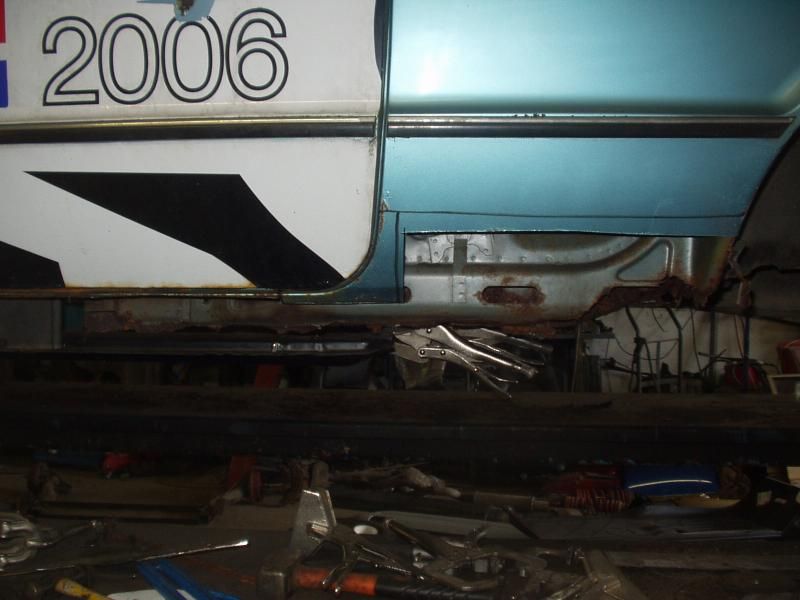
Strengthener had to be removed and put to one side for repair repair later so I could get to the rusty inner sill.
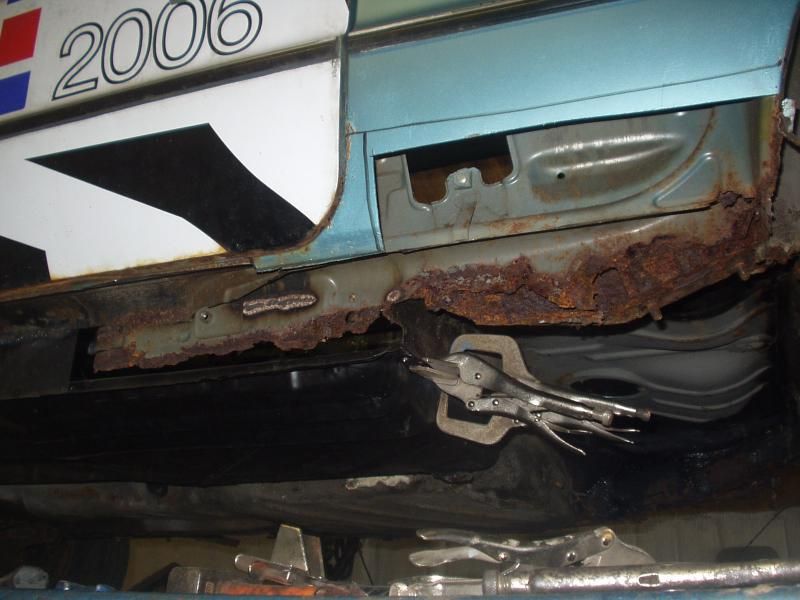
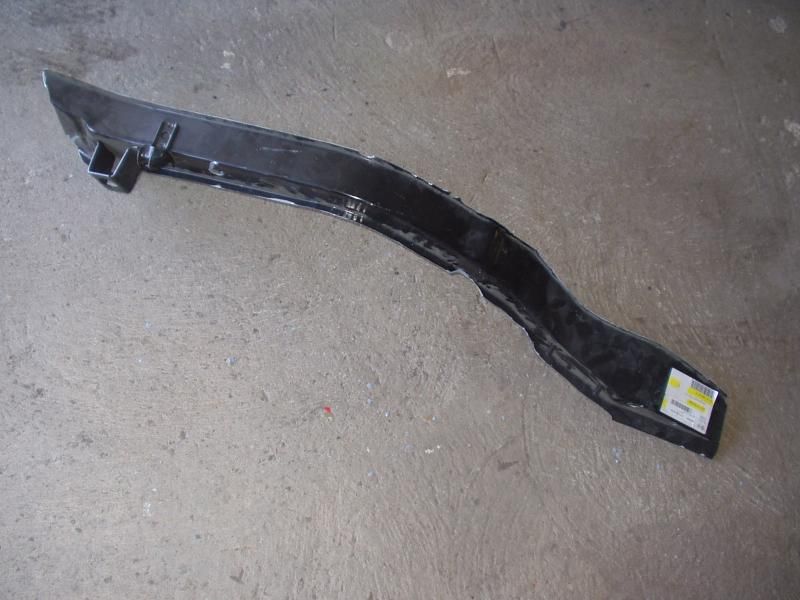
I cut away the worst of the inner sill (alot). The part that would provide me with a datum point for the rear would be this one as it wraps around the rear wheel tub. It would also replace the rotten rear beam mounts. I heart OEM repair panels.
Chop. Drill umpteen spot wells. Chop.
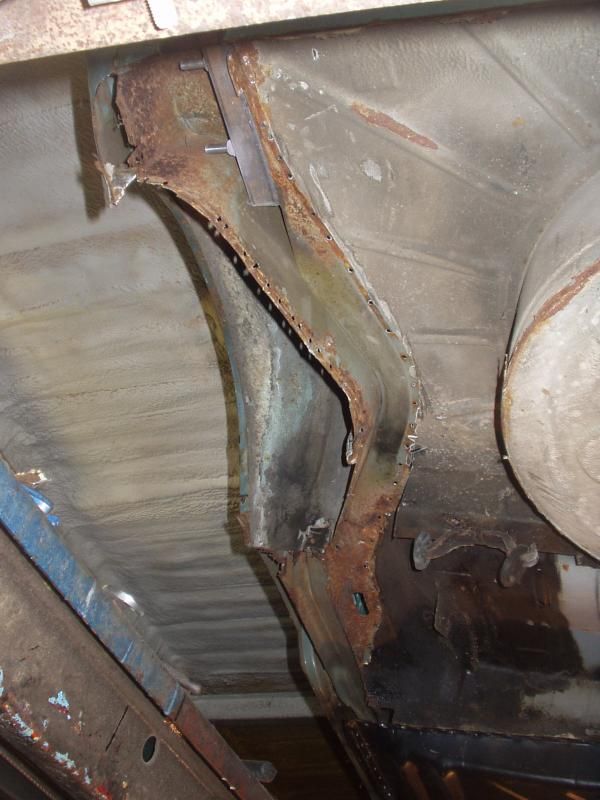
Good job that I did choppy chop. Hidden behind the chassis leg.
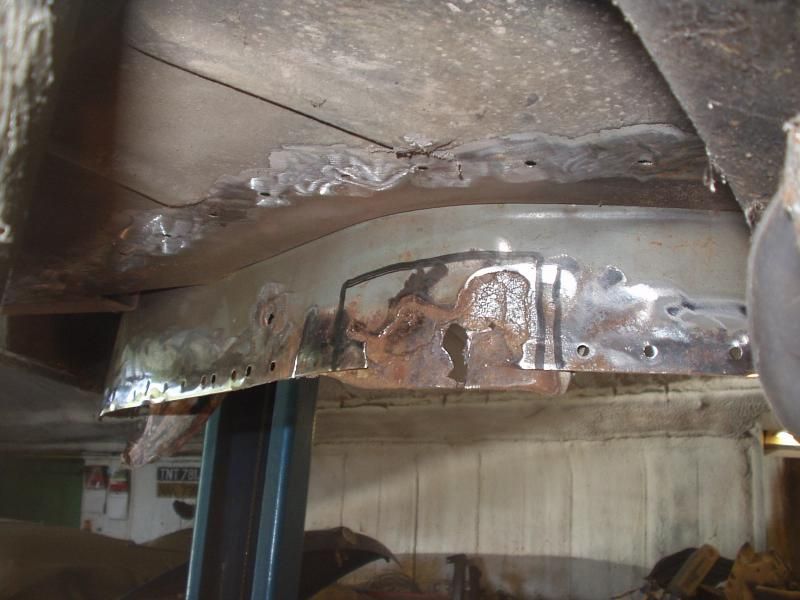
Are you sure you want a Mk1?

Cleaned and painted with weld-through primer and the grotty bit cut out out and replaced with fresh metal.
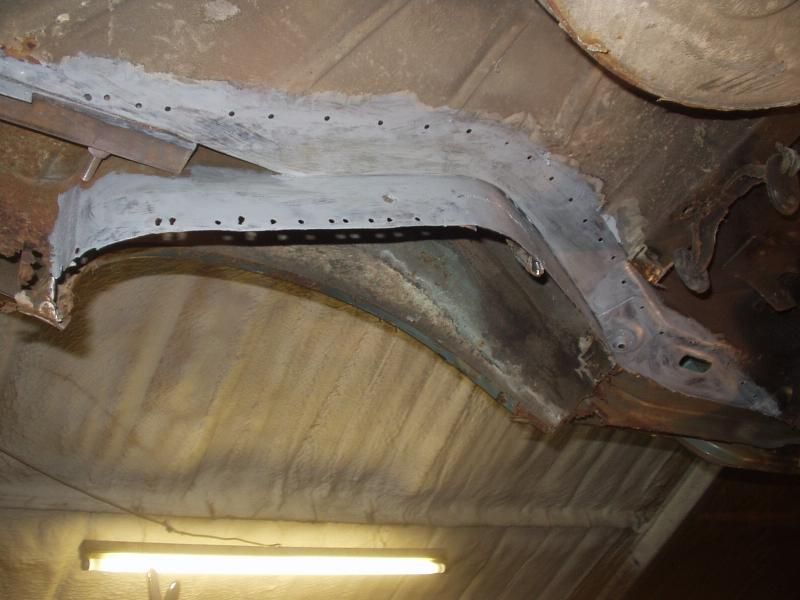
Boom! New chassis leg/rear beam mount in.
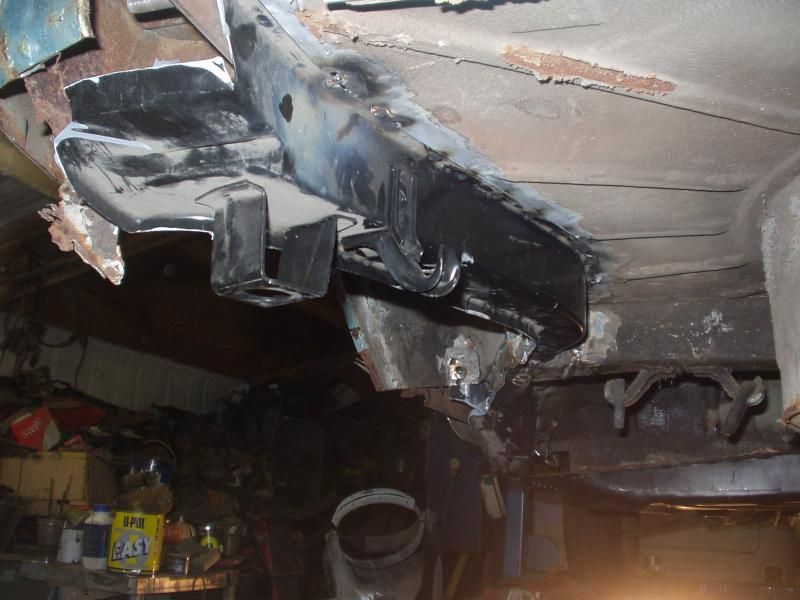
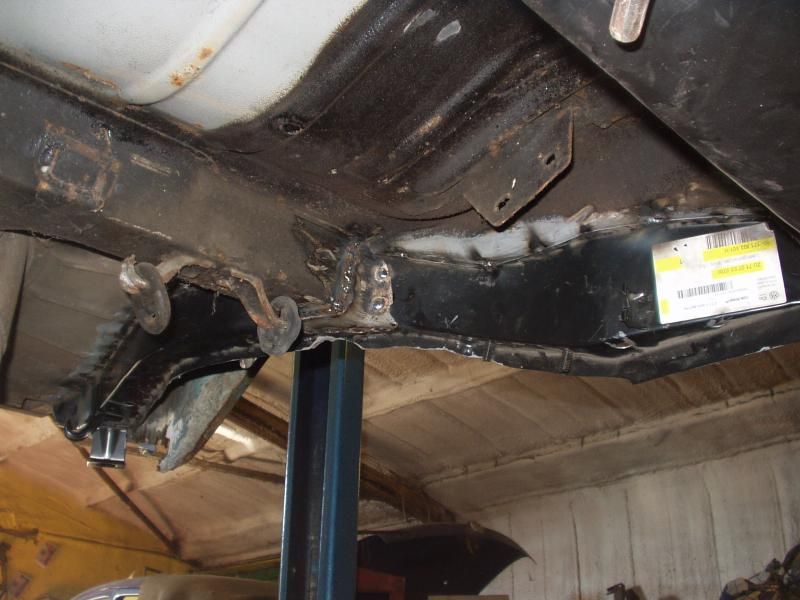
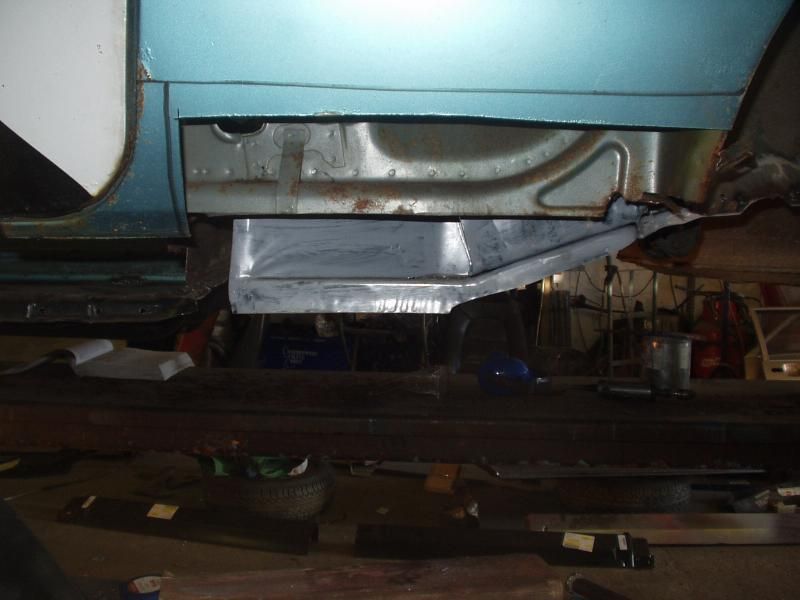
Rear datum point achieved, the new section lines up with the new floor to accept a new inner sill section and is spot on for dimensions as specified in the VW manual. Phew!

Re: The Rocco Grotto
Posted: Fri Aug 16, 2013 9:01 pm
by GT Matt
You rust magician you - it just disappears like magic!!

Re: The Rocco Grotto
Posted: Fri Aug 16, 2013 9:19 pm
by Bill
Yet again i tip my hat

a true legend

Re: The Rocco Grotto
Posted: Fri Aug 16, 2013 10:15 pm
by shavhead
Top work mate
Re: The Rocco Grotto
Posted: Sat Aug 17, 2013 2:00 am
by Nate
I am amazed at the speed you've motored through this so far. Absolutely excellent work.
I just need to think of a way to get the money to send my camper in your direction too. Anyone want to buy a kidney?
Re: The Rocco Grotto
Posted: Thu Aug 22, 2013 8:53 pm
by markh
Awesome work Ant, just awesome !

Re: The Rocco Grotto
Posted: Sun Aug 25, 2013 10:15 pm
by The Autoad
Thanks guys

coming from you legends it means alot
Bit of a catch up:
New rear portion of inner sill built.
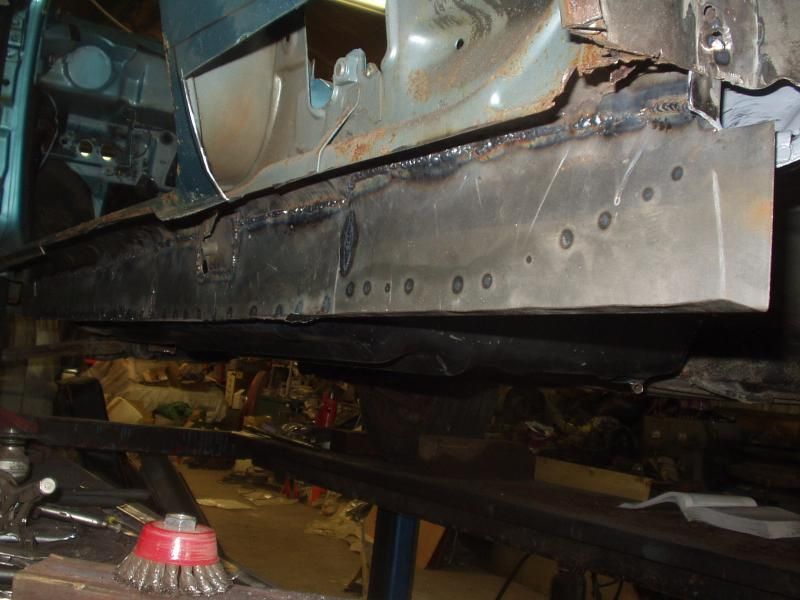
Inner sill was painted in a high zinc primer, the strengthener reinstated
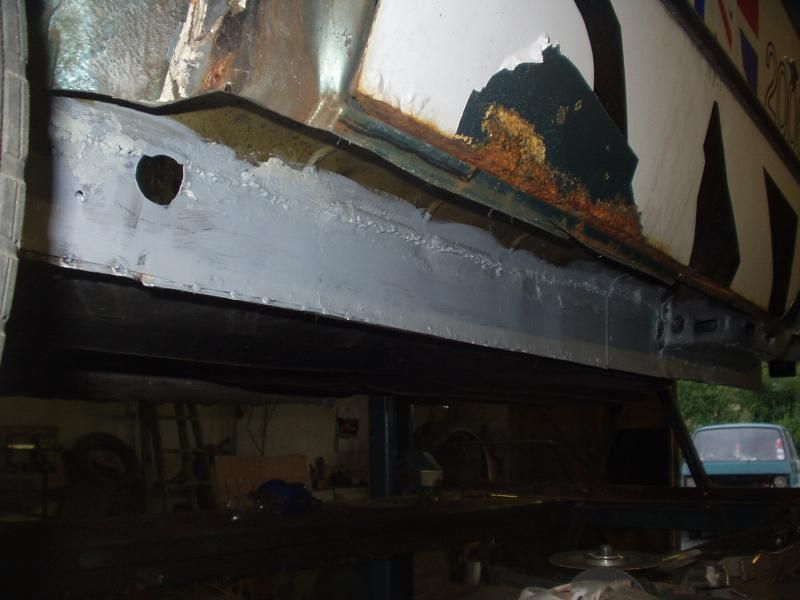
And new outer outer sill
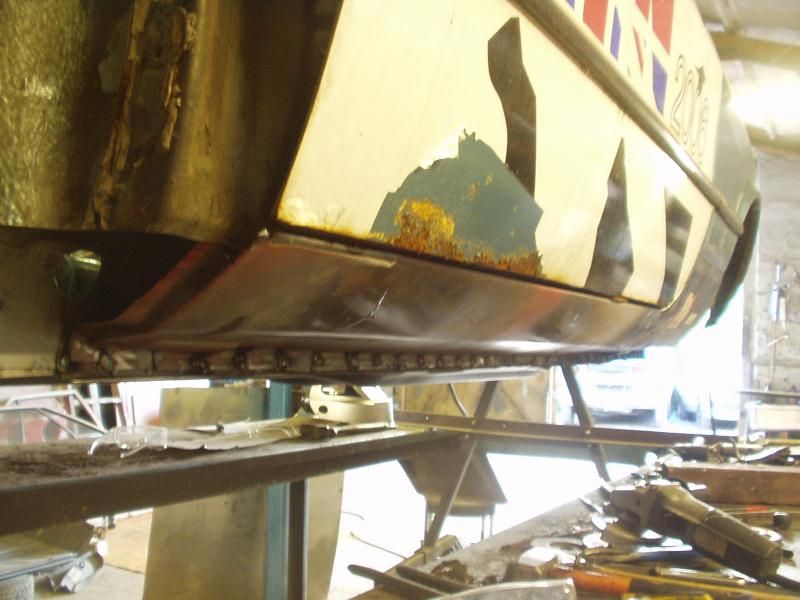
Still have the bottom of the A pillar and portion of the rear wheel tub that meets the sills to rebuild, but want to get on with the structural welding of the car first, so on we go....choppy chop chop....
Got the drivers side done. Two yummy new floor pans.
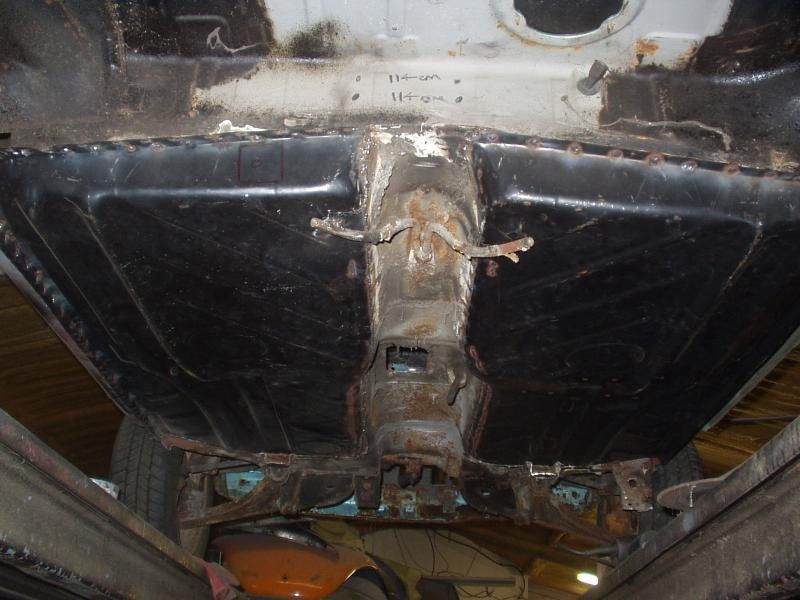
Forward portion of inner sill constructed
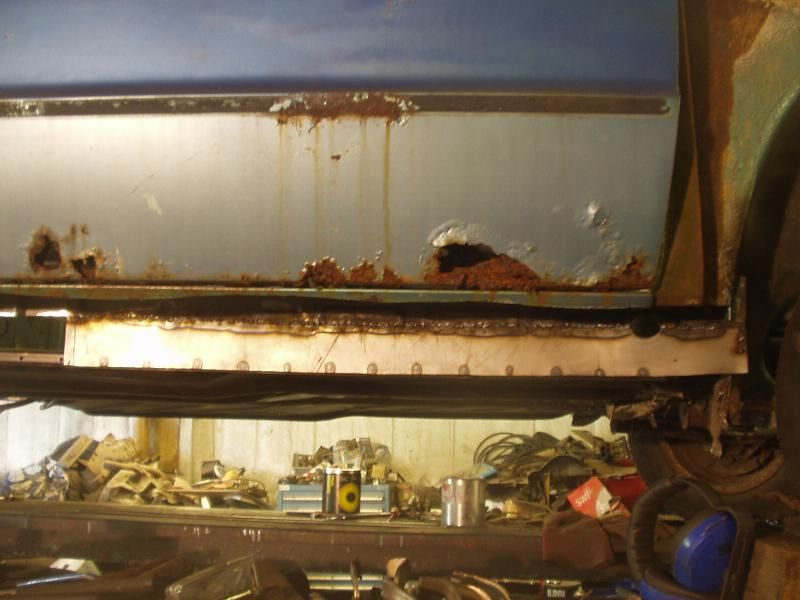
And again, new leg/mount is required at the back
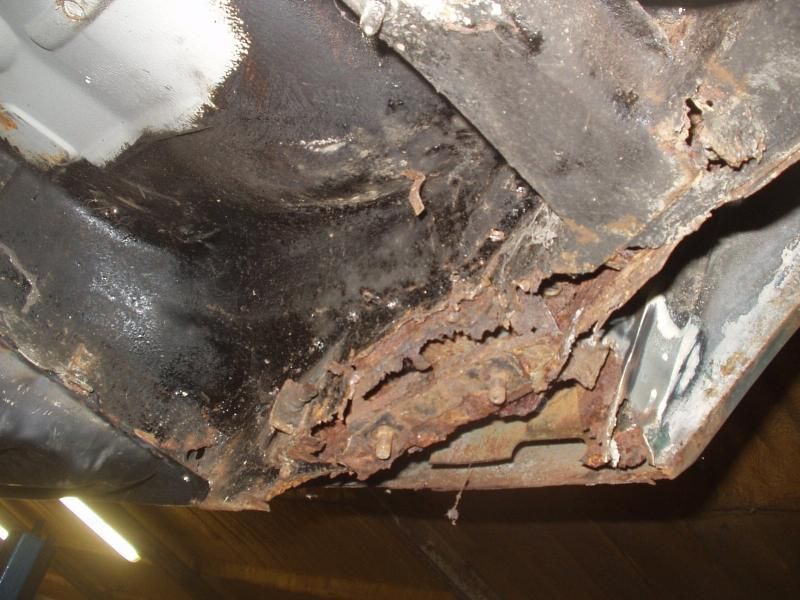
Remove the crap
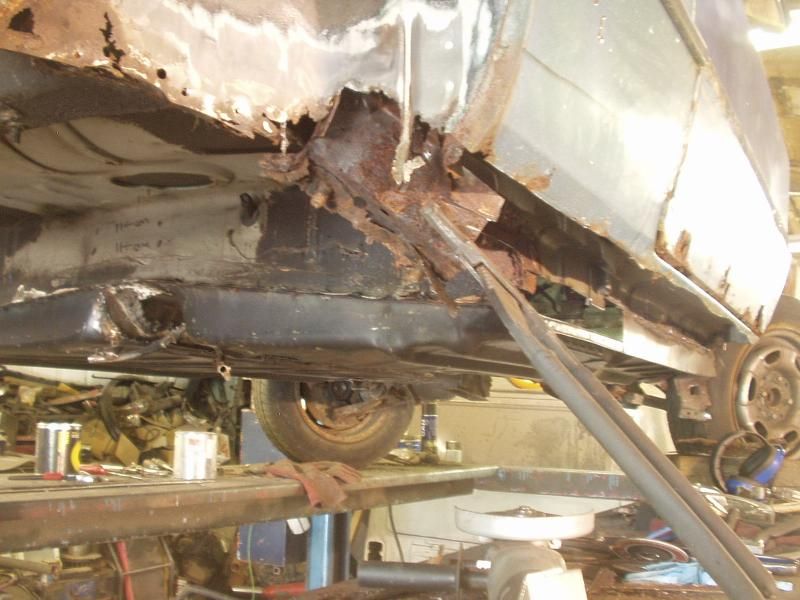
Drill, drill drill
