A pretty good weekend by all accounts. On Saturday I travelled across to Preston to meet Colin aka
DT1 at Junction 31 on the M6. He’d kindly agreed, while he was in the Stoke area, to pick up a replacement dash I’d bought from
jimmyconway and which was stripped out of his old Scala by
markh.
Thanks to their combined efforts and assistance I now have a crack free dash for when Poppy finally gets reassembled. The one that came out of her only has minor cracks around the air vents that are located along the front top edge. However, this one has no cracks at all.

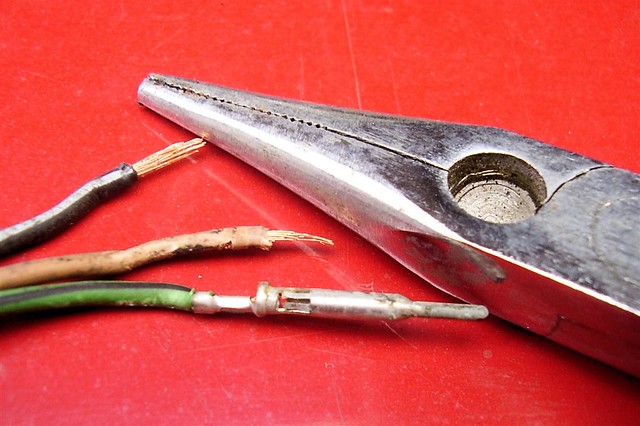
It does unfortunately have a bust lock, something Colin informs me is, like the cracking, a fairly common occurrence. He suggested a neat fix using some wire, but I might be able to swap the glove box door for the one that was in Poppy before … I think it was okay, but I’ll need to check.
Then yesterday, I was considering going along to a HDVWC meeting, but decided in the end that my time would be better spent up at the workshop catching up on things. And on the whole I think I made the right decision as it was a productive afternoon, even though everything didn’t go quite as I’d hoped.
I started off where I’d finished last time, if that makes sense, by carrying on stripping out the passenger door. Then I started on the driver’s door. Everything went okay, but getting the socket head bolt out of the front guide rail has surely got to be one of the most awkward little jobs I’ve encountered so far!

Anyway, it came out easier than the other side and so then I could get the glass out, followed by the quarter glass and then the wing mirrors. Then I took the doors off. Straightforward enough on the passenger side as the pin on the check strap simply popped out with a couple of taps. However, the one on the driver’s door really didn’t want to come out and took a lot of force to break it free. In the end the two pieces of metal that the strap slides between may have gotten slightly twisted so a little concerned as I’m not sure if these can be removed and replaced?

Next job on the list was to get the rear side windows out. Here I followed advice, taking the tried and trusted method of loosening the seals all the way around before lying inside the car and pushing the glass outwards using my feet.

I’ve got to say I really wasn’t sure about this approach as it means you need a ‘glamorous assistant’ waiting on the other side to catch the glass as it breaks free. In this case that role was filled by my wife and I was quite concerned at one point as it seemed to be taking so much pressure to even get it moving. I was sure that when it did go it would happen so quickly that I’d not be able to stop my legs shooting through the gap and had visions off the glass shattering as it went flying towards my wife. Anyway, eventually it started to break free and she was able to catch it in one piece.
Thankfully, the other side came out intact too.
So there you go, it does work!
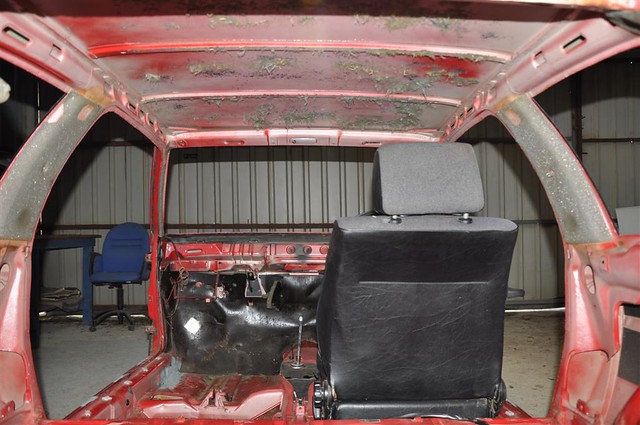
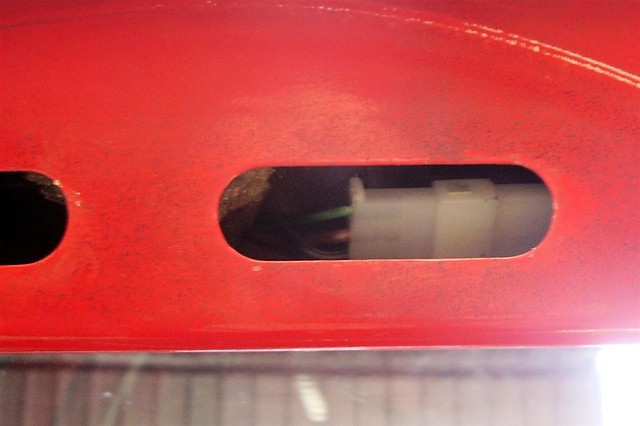
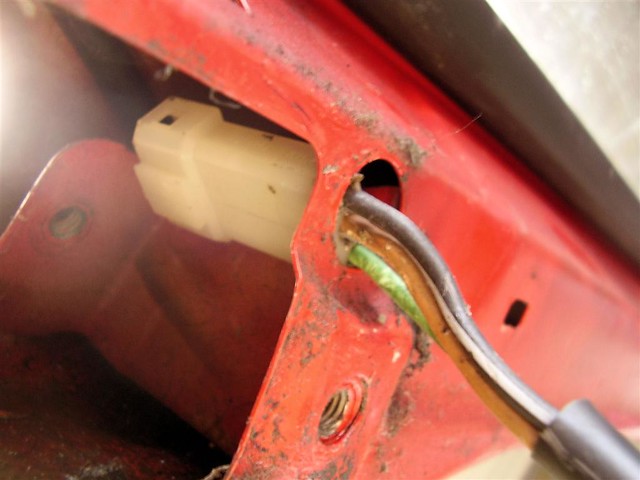
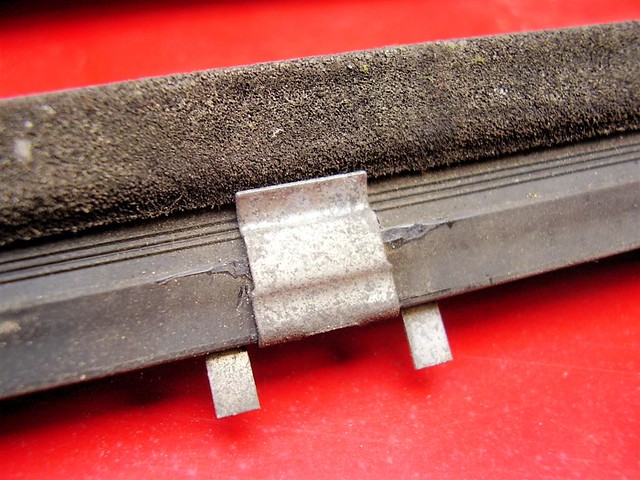
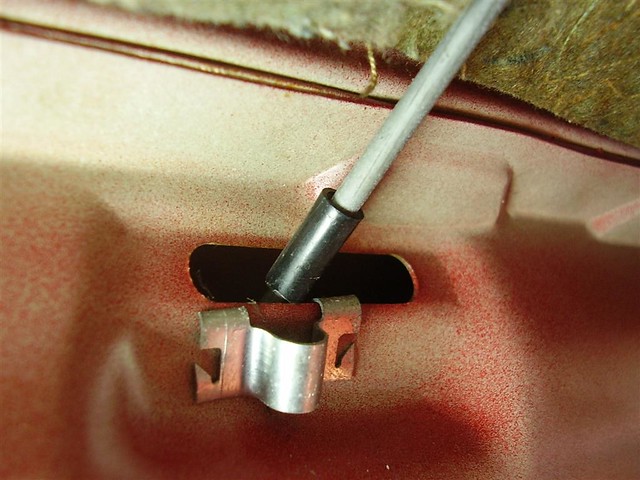
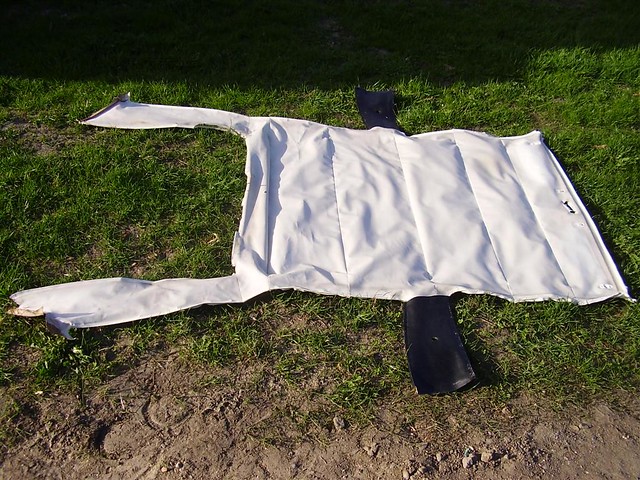
With all the side glass out I then unpicked the headlining where it was stuck around the window apertures to reveal the wire structure in the roof space that holds the whole thing in place. Basically, for those that haven’t done this before there are little fabric ‘tunnels’ on the topside of the headlining through which these metal wires/rods run. The tension on the rods is maintained by means of small metal clips that are inserted into the side of the roof.
Now I’m guessing you could pop the rods out from behind the clips like I started to do with the one in the photo below, but I eventually chose to remove the clips thus releasing the rods.
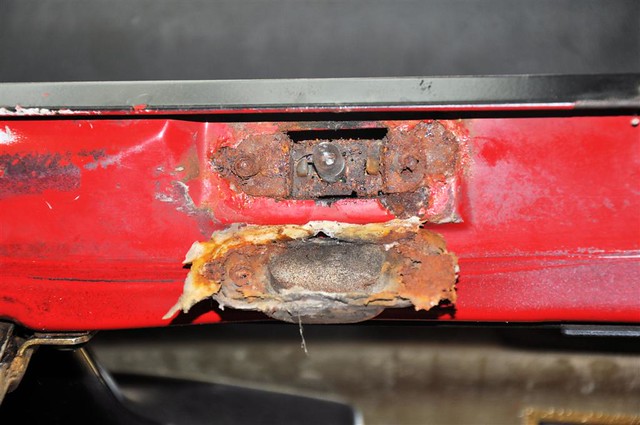
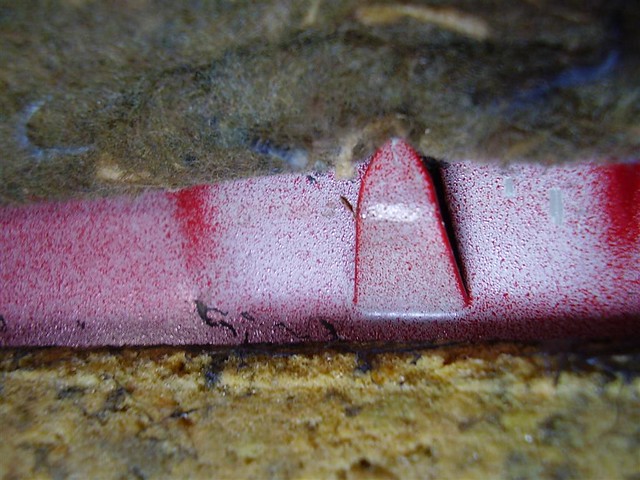
At the back of the roof the fabric is caught on a row of little metal ‘hooks that are positioned along the edge of the hatch area …
Then I discovered my mistake … I should have postponed removing the headlining until the windscreen was out. By not doing that it meant I was wrestling with it hanging down whilst trying to remove the front screen, but more of that in a moment.

The headlining came out pretty much intact. There’s some damage where it came down into the corner of the tailgate, but that was already there. It could be reused, but given the time and effort going into the project overall I reckon she deserves new, but I imagine this will serve as a useful template.
Right then, the front windscreen … it’s out, but it cracked!


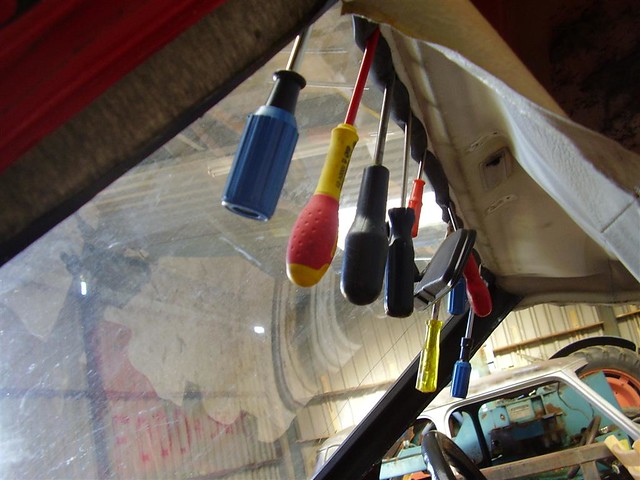
I was gutted when it happened, but can’t say it was unexpected as I know many people have had the same problem. I did as people had suggested, loosened all the seals and then began inserting screwdrivers along the top edge to gently begin prising it out. However, there were conflicting theories on where to start and I ended up putting the first screwdriver into place in the corner. As soon as I did this it cracked so I’d really recommend anyone else doing this job to start in the middle and work their way out towards the corners.

I decided to leave taking the hatch out for another day as the prospect of breaking two screens in one afternoon was too much to bear!

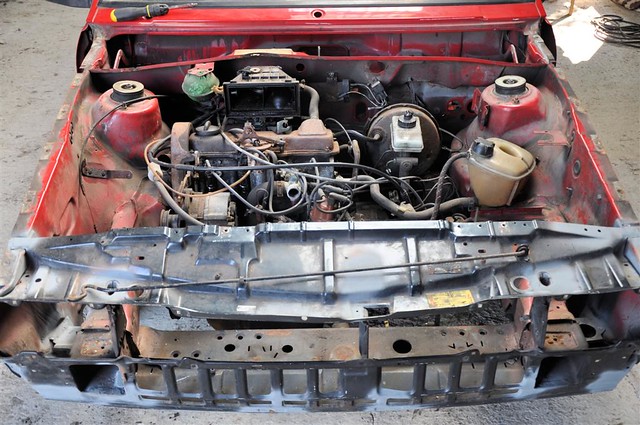
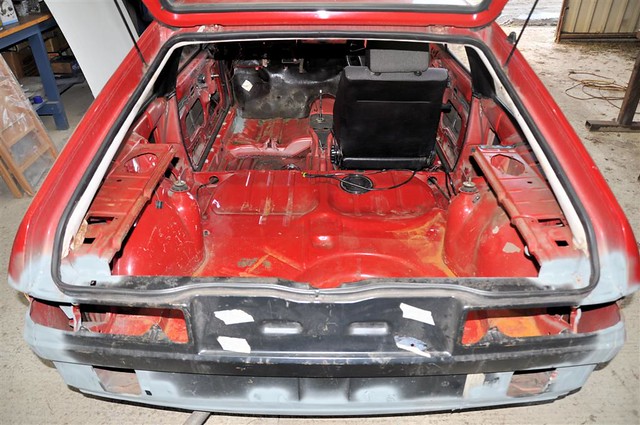
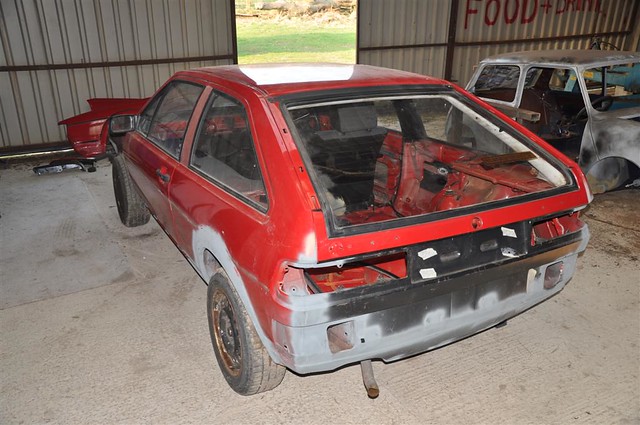
So here’s how she sits at the moment now with the bonnet, doors, wings and glass all removed …
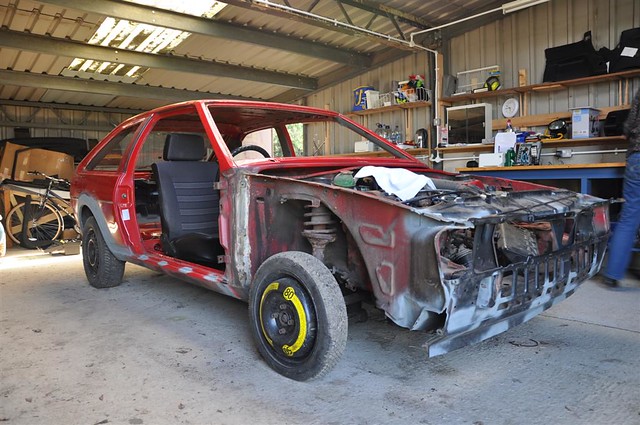
And, finally, a shot of the inside now that the headlining and the foam that lies behind it has been removed …