Project Sabine

Scirocco Register members projects
Forum rules
Section for all vehicle and related projects. Please keep responses pertinent to thread.
Post Reply
daveyg
Posts: 296
Joined: Thu May 14, 2009 8:15 am

Re: Project Sabine

Post by daveyg »

This weekend has mostly been spent with wiring, cambelts and brakes.
Removed the servo and master cylinder in anticipation of a servo and master cylinder from a mk2 golf 16v. Hopefully i will manage to get one delivered by next weekend so i can crack on with that.
At the same time i have been tidying up the wires into split conduit pipe and using wiring loom tape to tidy up smaller wires. Have also used some mate n lock connectors now we know where everything is going as these look much tidier than chocolate box connectors and also easier to undo if needed.

Servo and linkage gone
Image

Starting to tidy the wiring up
Image

New cambelt and pulley going on
Image

Will be dropping a load of bits off at the powdercoaters this week so hope to have them all back by next weekend to all be fitted. I have also started going a bit over the top on the colour coding front in the engine bay. More of that to follow on in future updates. I think i have a problem!


daveyg
Posts: 296
Joined: Thu May 14, 2009 8:15 am

Re: Project Sabine

Post by daveyg »

Didnt get anything done last weekend as i was running the bath half marathon but back to business this weekend. Had a delivery in the week of 16v servo and master cylinder plus a microswitch for the throttle body so plenty to be getting on with. Had a look in the spare room this morning and realised i still have a fair few parts that need to be fitted:
Image
I left the brake reservoir to soak whilst i headed down to the garage to get cracking on putting the servo and brake linkage back together
Image
Caught a lovely angle of the car on the way down the path but unfortunately it didnt come out too well. This is a view i have been seeing for the past 8 months or so and its getting me down so hopefully if i can get the brakes done today then i will reverse her out of the garage this afternoon....But thats possibly being a little optimistic as i think the brake lines will need to be rerouted as the outlets on the 16v master cylinder are on the top angling outwards.
Image
Hopefully a positive update later


daveyg
Posts: 296
Joined: Thu May 14, 2009 8:15 am

Re: Project Sabine

Post by daveyg »

Got the new servo and master cylinder in today. Have managed to mate a larger servo than originally planned which is 23mm so a larger piston size than the mk2 16v one.
Image
Also took out the old brake lines at the front, the nuts had absolutely had it so i ended up cutting the brake line and spring clip so i could take the flexi hose out through the hole and get easy acces in order to get a file on the nut to give it an edge to get some mole grips on and after a lot of trying and failing the nuts finally gave up.

Then i started to make up some new brake lines for the front, using the old ones as a template
Image

Also had a delivery in the week of some new dishes for the BBS RM's...These should be nice and wide at the rear now!!
Standard 6.5
Image
rears will now be 8.5 and the fronts 7.5. Need to get these painted though as im not a big fan of black rims personally
Image
I get the feeling i may be enquiring about arch rolling shortly :shock:


daveyg
Posts: 296
Joined: Thu May 14, 2009 8:15 am

Re: Project Sabine

Post by daveyg »

Took Friday off work this week and a couple of days at the beginning of next week to try and get the majority of things sorted.
Started with the brake lines and made up the two sections i needed with t pieces. Managed to break the die when on my second flare so this halted progress but got there in the end. Bled the brakes again and these should now be ready to go
Image
After this wanted to get the exhaust sealed for MOT time as the supersprint front and the mid section were (a) different bores and (b) didnt meet each other. Previously we had had some flexi pipe over the top of one pipe and into the other but this was just to channel the gases slightly whilst we were playing with the engine. So removed the centre pipe and back box. Its the first time ive had the back box off, after a quick clean up realised this was supersprint too
Image
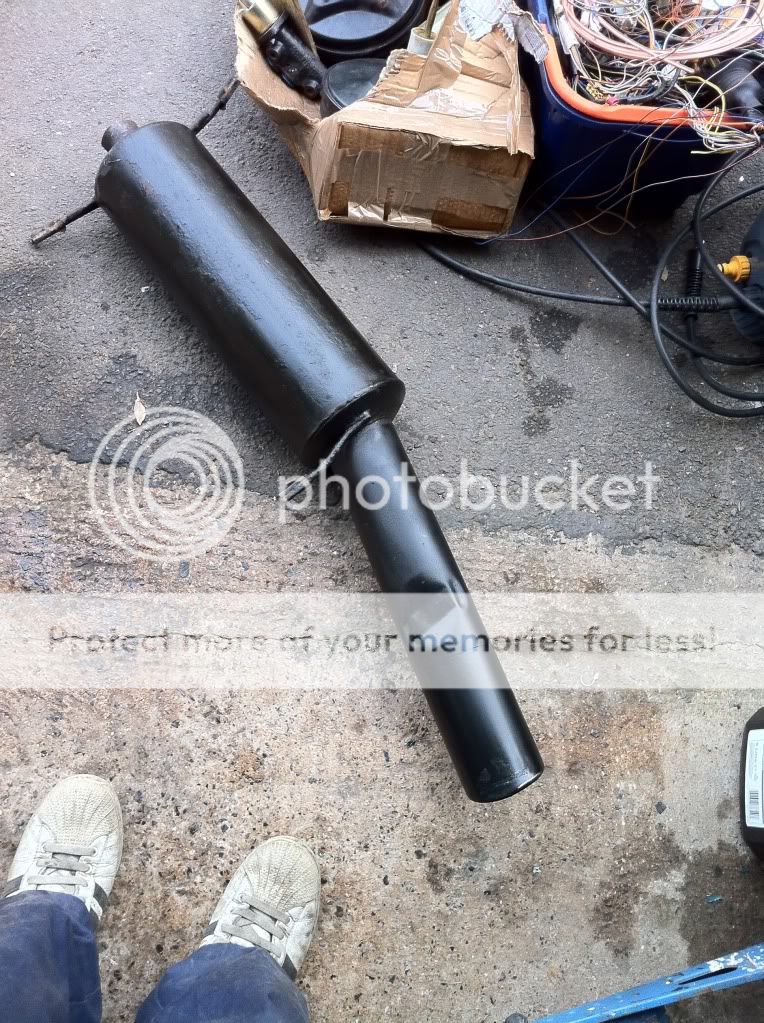
Took a trip down to my neighbours who gave us a hand with the exhaust and ideas on how to get it together. We ended up rolling some 3mm steel and welding this on to another section to basically act as an exhaust reducer.
Image
We then filed down some of the welds popped it into the centre pipe and used some exhaust paste to finish and ensure a good seal. Will need to get some clamps on this in the week. This will be a temporary measure until i get a stainless system made up.
It was at this point we hit a bit of a brick wall, the car wouldnt start, it seemed like it was an immboliser issue in the sense it turned freely we had spark, fuel pressure etc and the engine would try to start for a split second and then nothing..
Time for some VAGCOM
Image
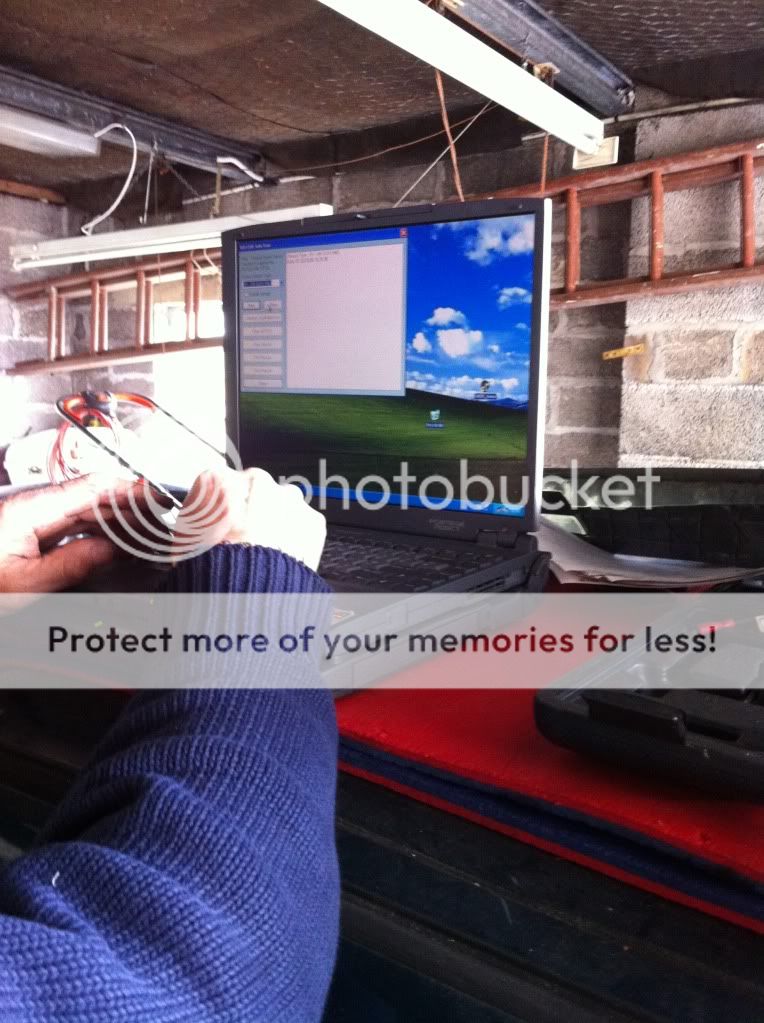
It came up with a fault code of engine start blocked by immobiliser. So we had to revisit the wiring of the immobiliser, after a lot of head scratching and metre readings it turned out that we had 12v but when the engine cranked it dropped to 0v. We were one pin out on the connection....Oops. Plugged in correctly the engine started on the button but there was a bit of a whine from the cambelt where it was tensioned a tad too much so this was de-tensioned a bit and then ran smooth.
The easiest part of the day was without a doubt fitting the new water bottle cap!!
Image
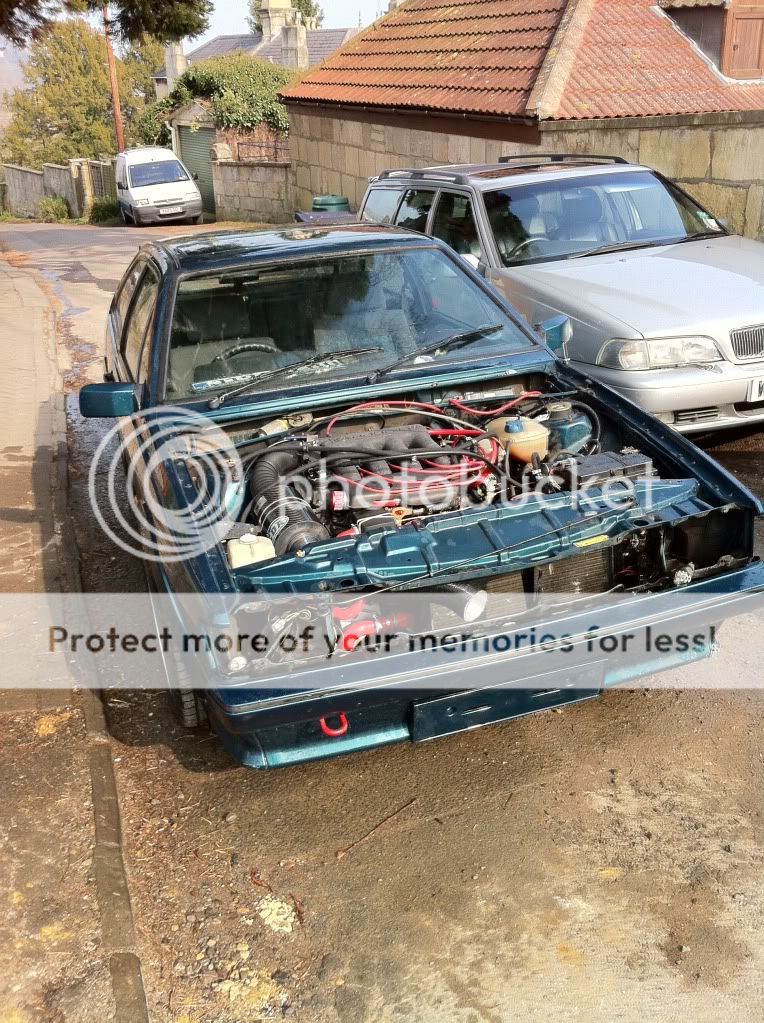
Also started to add some of the other goodies i have been collecting for a while. New HT leads on and a bit of red vacuum pipe along with new dipstick and guide and an Audi R8 oil cap
Image
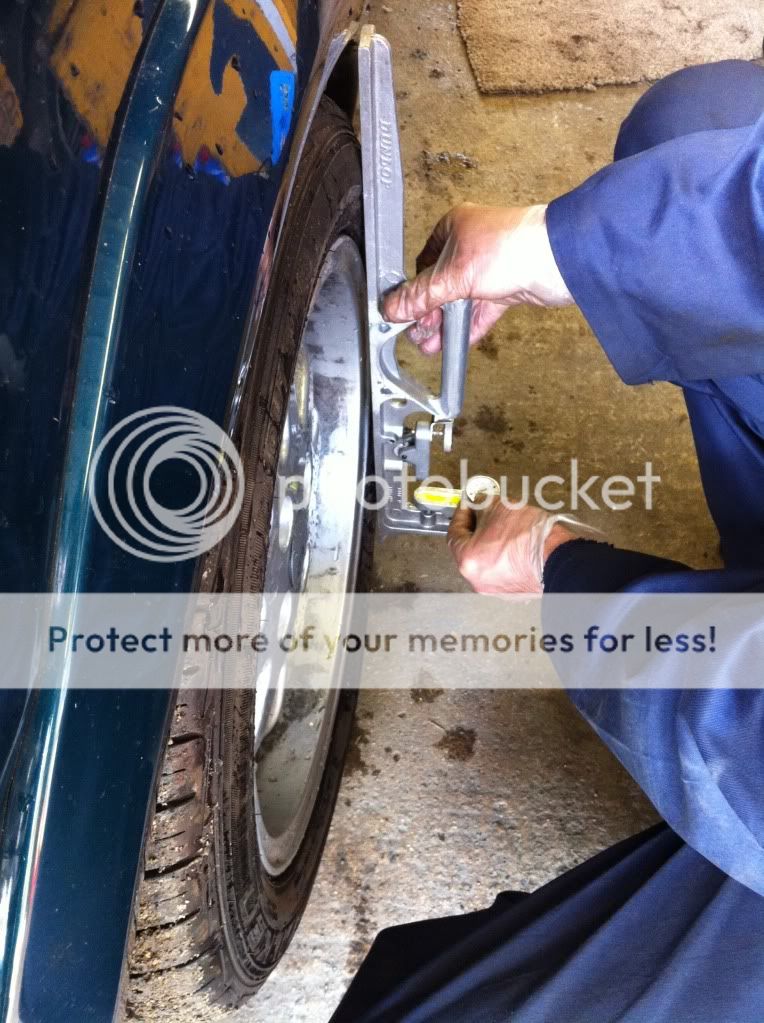
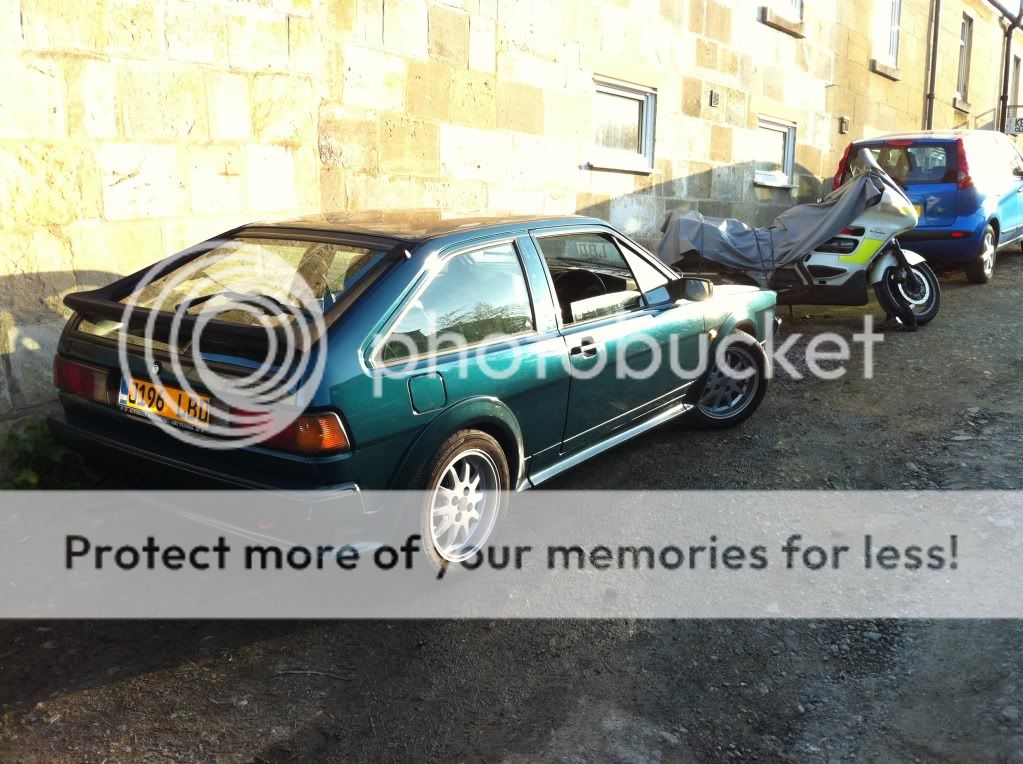
It was now time to take a test drive and make sure everything worked okay (i live up a private road) So wheels back on and dropped her to the floor. What a moment i was so excited and it just seemed so strange as its the first time she has been sat on the floor since i started this thread back in June or July of last year. I hadnt however judged the suspension height and it was far too low, i could just get a finger inbetween the tyres and the arch. I started adjusting the off side rear coilover but it was getting dark so i will do this tomorrow and then get her out the garage. Tidied all the crap off the roof and surrounding the car and this is how she was sitting tonight when i called it day. Cant wait to give her a good clean and detail
Image


daveyg
Posts: 296
Joined: Thu May 14, 2009 8:15 am

Re: Project Sabine

Post by daveyg »

Started today by adjusting all the coilovers, this turned out to be a very tedious task but once back on the floor it was sitting higher and more importantly high enough to get it out the garage without scraping. Sitting back on the floor it was apparent that the tracking was well out and there was also a fair bit of camber too. So out with the measuring gauges. Firstly did the tracking
Image
Then measured the camber before adjusting this
Image
Then cautiously edged it out the garage and drove it up and down the road to let the suspension settle etc then retracked it slightly.
Image
Really good feeling to have an empty garage for the first time in ages, still a few things to be done but getting closer and closer by the day. Got a few things to pick up tomorrow and need to go to the powder coaters too


daveyg
Posts: 296
Joined: Thu May 14, 2009 8:15 am

Re: Project Sabine

Post by daveyg »

Spent this morning driving round picking up new oil for engine and gearbox, stainless bolts washers etc for when the fuel lines get secured and the headlights go back in. Dropped off some stuff at the powdercoaters and then did an oil and filter change. Was a bit skeptical when draining the oil as the drain nut was so tight i had to get the impact driver on it. I thought this would end up in me having oil all up my sleeve but it went okay! New filter in place
Image
Also picked up brake line clips from the dealer and fitted those on too. This afternoon hoping to get the fuel lines all in place and secure.


daveyg
Posts: 296
Joined: Thu May 14, 2009 8:15 am

Re: Project Sabine

Post by daveyg »

This afternoon i drained the gearbox oil and replaced it with nice fresh stuff, also replaced the fuel filter and secured the fuel lines into place.
Image
Then spent a while faffing about with the steering gaiter boots as these were not secured on. Should have headlight brackets back from the powdercoaters for Friday at which point the front end refit can begin. I have a nice GTX front grille to go on but last week saw a Kamei one on ebay. I missed out on it as it went for crazy money but im sure someones Scirocco will look good with it on!
Tomorrow i am going to get a bit more exhaust work done and give it a damn good clean around the engine bay


Dom_500
Posts: 7
Joined: Sun Jun 20, 2010 12:22 am

Re: Project Sabine

Post by Dom_500 »

I cant believe it is all back together mate, seems an age since we pulled here old heart out.

one thing, you spent all that money on nice new silicon hoses but didnt splash out a few more quid for some new clamps you pikey!

not long and you can take me for a spin.


daveyg
Posts: 296
Joined: Thu May 14, 2009 8:15 am

Re: Project Sabine

Post by daveyg »

Tell me about it, the one month project thats taken 9 so far! As for the clips, its only the bottom hoses with old clips on! They may have to get replaced though, we'll see!


daveyg
Posts: 296
Joined: Thu May 14, 2009 8:15 am

Re: Project Sabine

Post by daveyg »

Have been busy for the last week but managed to squeeze another quick job in this evening. I got a new coolant sensor for the expansion tank and fitted that in to the new tank. While i was out it i thought it would be rude to not replace the hose to the radiator too. Made the bay look so much cleaner, shame that i cant get a new washer bottle too
Image
The bits that were due back from the powdercoaters on Friday had not even been touched, went to collect them to be told it would be Monday. Unfortunately im on an estimating course until Wednesday but will pick them up in time for the weekend so i can build back up the front end


daveyg
Posts: 296
Joined: Thu May 14, 2009 8:15 am

Re: Project Sabine

Post by daveyg »

With the weather being so nice this evening i got the car straight out the garage after i finished work, the only intention really was to run her up and down the road until the fan kicked in. Decided she could do with a good first wash before i buy all the goodies to give her a proper good clean. Ran her up for a few mins and the fan did as it should and kicked in perfectly. Then gave her a good wash, fitted some new aero wipers and then took some piccies!
Image
Image
The B pillars still need the last of the vinyl coming off, going to collect the headlight brackets and ECU bracket from the powdercoaters (for the 2nd time) tomorrow. I hope they are ready because then i can have a productive day on Saturday and get the front end finished off. :groove:


DT1
Posts: 709
Joined: Tue Dec 08, 2009 10:07 pm
fill in the right answer: 10
Location: Aberdeenshire

Re: Project Sabine

Post by DT1 »

Have you got a funny rear wiper motor? In a picture further up the wiper arm is sitting in the correct rest position. :dunno:


daveyg
Posts: 296
Joined: Thu May 14, 2009 8:15 am

Re: Project Sabine

Post by daveyg »

Good spot Colin! No i just tried it on the other side hoping it might lay flat. Unfortunatley it didnt, well not enough for my liking anyhow. I thought it looked bad so i swapped it back after the photos!


DT1
Posts: 709
Joined: Tue Dec 08, 2009 10:07 pm
fill in the right answer: 10
Location: Aberdeenshire

Re: Project Sabine

Post by DT1 »

Looks like it won't be long 'til it's on the road proper now. Good job.


User avatar
Funky Diver
Posts: 1175
Joined: Fri Apr 17, 2009 10:26 pm
fill in the right answer: 10
Location: Darlington
Contact:

Re: Project Sabine

Post by Funky Diver »

Looking good fella!! :cards:


Post Reply