Replacing the LCD Clock in a Mk2

For all electrical questions; Alternators including fitment; Light connections/wiring; Instruments; Gauges; MFA; Heater blower (not coolant related) issues etc etc.
Forum rules
Hints, tips and guides for repair and modification - the FAQ section on the main website is worth checking first for information relating to common faults and technical help. Useful posts and guides will be added to the FAQ http://www.sciroccoregister.co.uk/scirocco-faq
Post Reply
User avatar
unknownmale
Posts: 991
Joined: Tue Jul 23, 2013 2:34 pm
fill in the right answer: 15
Location: London

Replacing the LCD Clock in a Mk2

Post by unknownmale »

Today I finally got around to replacing the bleed out LCD clock in my 87 Scala. This is a fairly common problem in 80's cars and I think i've been in more 80's VWs with a broken clock than a clear one. There are a few write ups about removing the gauges but couldn't find anything on just replacing the clock so thought I would take a few pictures incase anyone else needed the info.

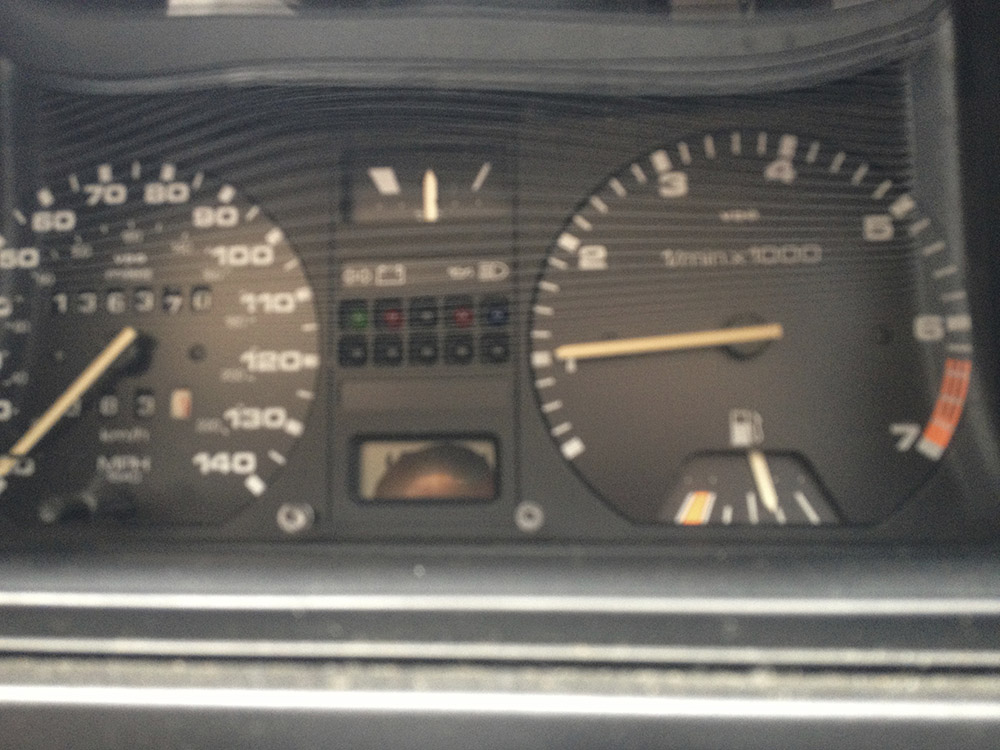
So this was the sorry state of my clock before I started.
Image

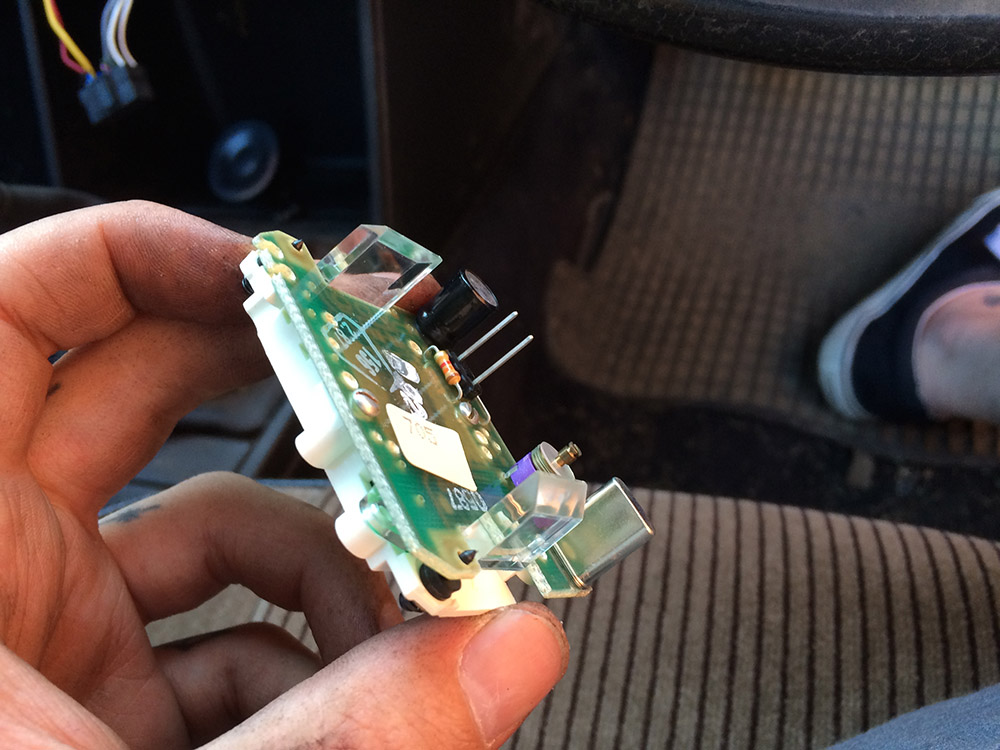
The haynes manual has a pretty good write up for removing the cluster...But incase you don't have one. Remove the two screws at the top of the binnacle and remove it. You'll then see one phillips head screw at the top of the cluster in the middle. Now I believe the haynes manual tells you to remove your steering wheel (You don't need to do this, as long as the wheel is centred, the cluster will fit through the gap fine). It's a good idea to remove the shelf and the covering from the steering column, It'll really help you get to the power, gauge and techo connectors from behind the cluster, the cables are not long enough to remove the cluster still connected. Once out you'll have something like this:

Image

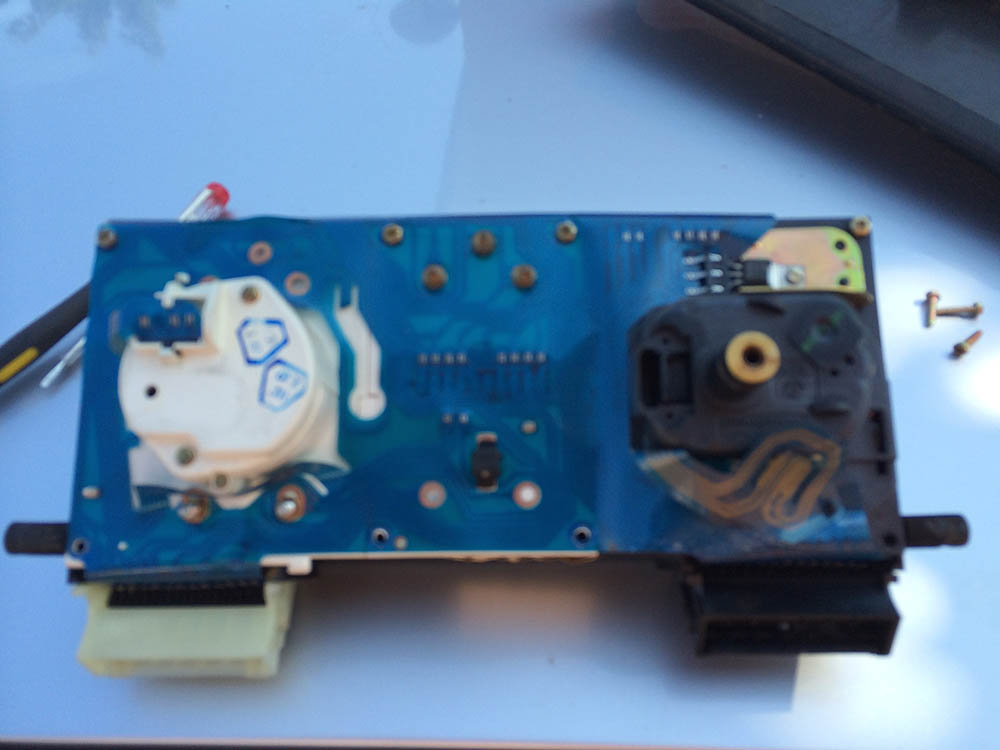
This is my donor clusrer from an 83 GL (Notice the vacuum connector for the MPG gauge in the centre)

Image

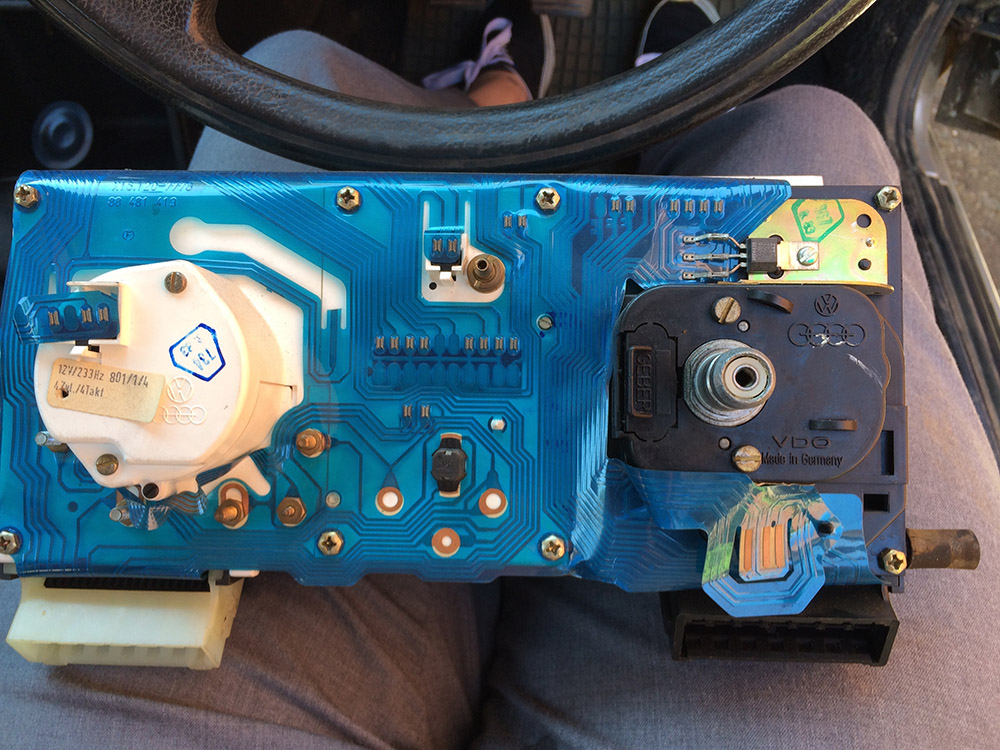
Unscrew all of the phillips head screws from the back of the cluster, You'll also need to remove the two bulbs from the top, the clock bulb and all other nuts and connections can stay in place.

The plastic should now separate from the back without issue. Now we have access to the clock.

Image

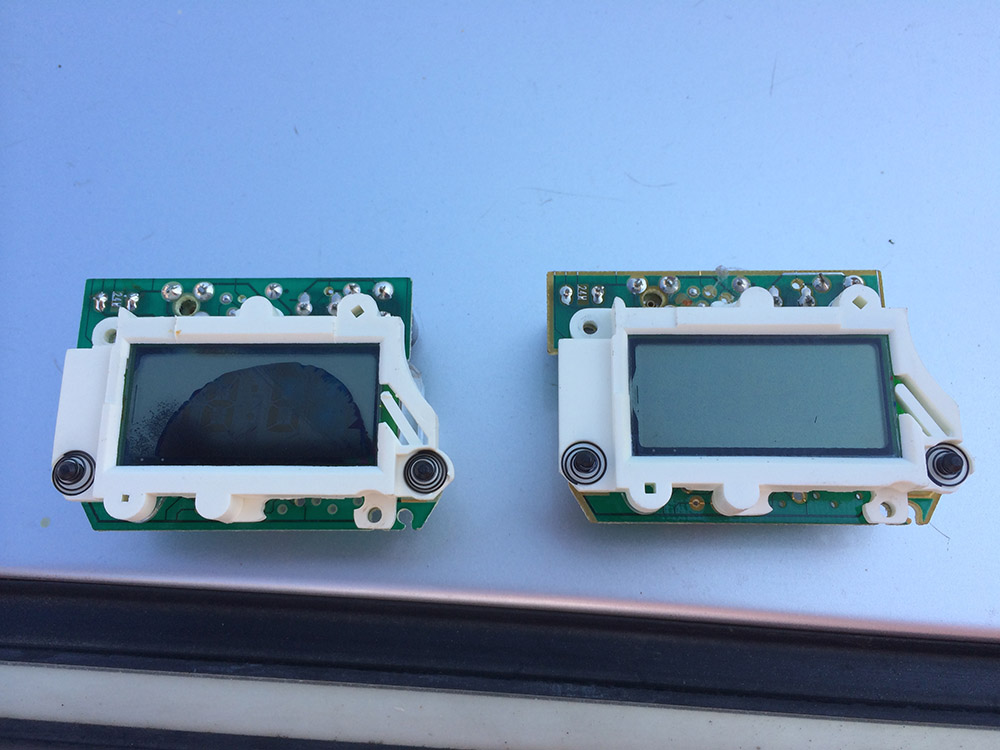
There are two flat head screws that you'll need to remove and the whole clock assembly will lift out, You may need to pull the white plastic housing to the side and wiggle it loose. The clock has two clear plastic clips ether side.
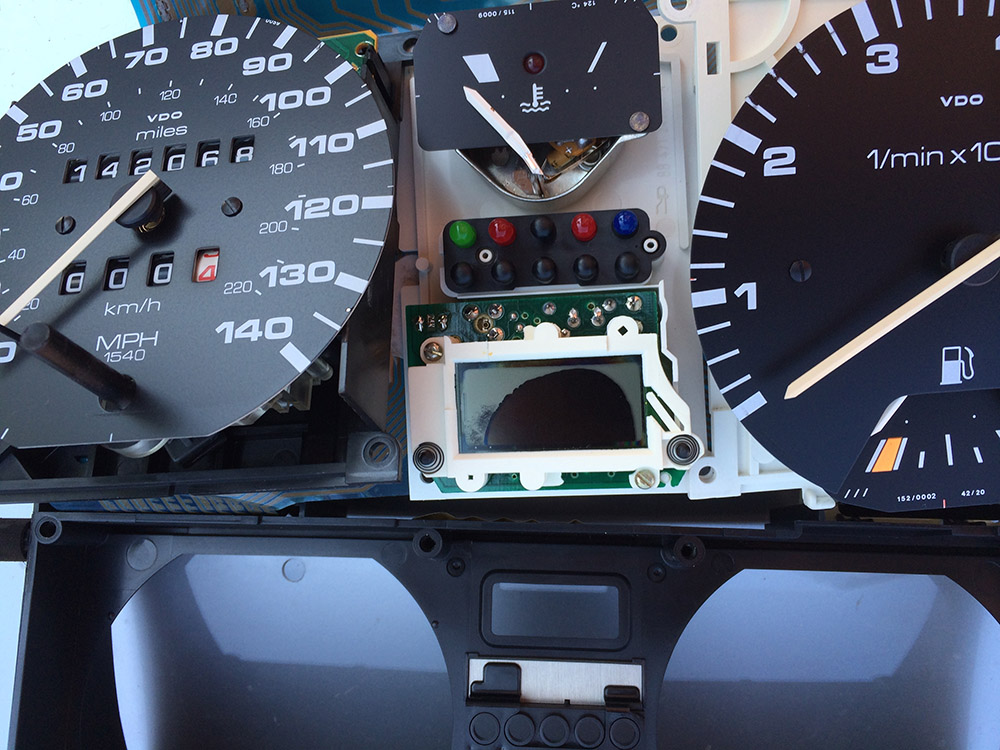
Image

Out with the old

Image

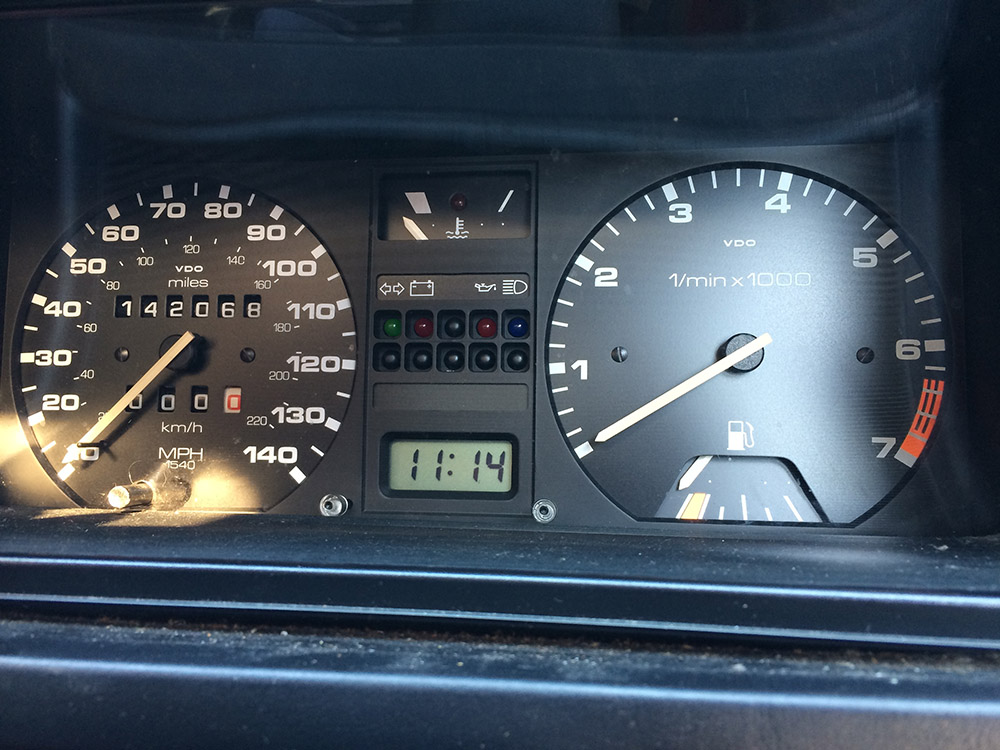
Assembly is the same in reverse.

And viola!

Image

A couple of notes, Make sure all of the connections are secure and working before putting everything back together. In my rush I did forget a bulb so now i'm looking at this:

Image

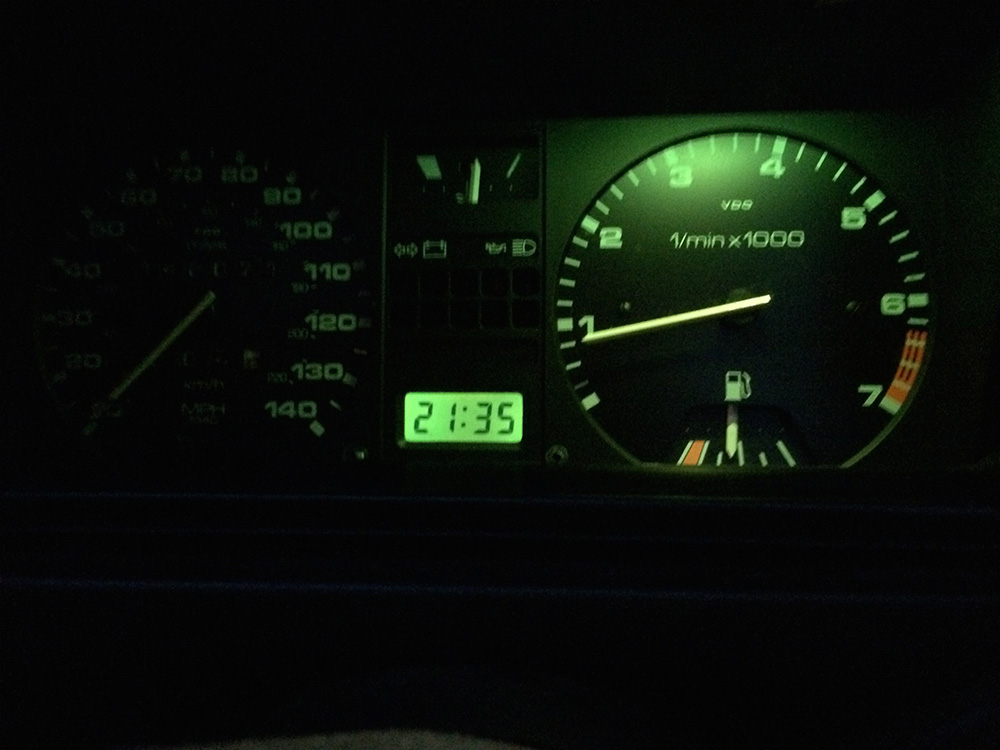
I hope this helps someone else out...I held of doing this as I expected the clock to be soldered in.
Last edited by unknownmale on Wed Mar 11, 2015 4:11 pm, edited 1 time in total.


- David
User avatar
Risocco
Posts: 1374
Joined: Wed Apr 01, 2009 1:09 am
fill in the right answer: 10
Location: Costa-Del-Kidderminster

Re: Replacing the LCD Clock in a Mk2

Post by Risocco »

Cracking write up that. :good:


1983 GL
1986 GT
1994 Corrado VR6
User avatar
unknownmale
Posts: 991
Joined: Tue Jul 23, 2013 2:34 pm
fill in the right answer: 15
Location: London

Re: Replacing the LCD Clock in a Mk2

Post by unknownmale »

Another option which might be of use to someone - http://www.gowesty.com/product-details.php?v=&id=24626


- David
Tee3
Posts: 78
Joined: Wed Apr 01, 2009 6:24 pm
fill in the right answer: 10
Location: Huddersfield

Re: Replacing the LCD Clock in a Mk2

Post by Tee3 »

OOh...

I haven't been here for a while (since I sold my Mk1!)

Seems we've been unknowingly supplying these to a few Mk2 Scirocco owners who have been using this excellent guide to fitting.
We have a fitting guide but it's transporter specific, LCD panel is the same though!
https://www.brickwerks.co.uk/digital-cl ... it-t3.html


blakey
Posts: 135
Joined: Wed Oct 19, 2011 9:18 pm
fill in the right answer: 10
Location: Nottingham

Re: Replacing the LCD Clock in a Mk2

Post by blakey »

Do you know if these are compatible with MFA equipped models?


'89 Sapphire Scala Inj.
Member No. 1455
User avatar
james butler
Posts: 2966
Joined: Fri Apr 24, 2009 1:54 pm
fill in the right answer: 10
Location: birmingham

Re: Replacing the LCD Clock in a Mk2

Post by james butler »

blakey wrote:Do you know if these are compatible with MFA equipped models?
they will be one or the other (MFA doesnt work in non MFA and vice versa) so i suggest you email the company that sell them.


I dont mind project cars but I HATE SANDING!!!
rosie
Posts: 168
Joined: Sun May 31, 2009 2:36 pm
fill in the right answer: 10
Location: Brighton

Re: Replacing the LCD Clock in a Mk2

Post by rosie »

Just thought I'd add a note to this as I swapped the LCD panel on my clock today. I struggled to get the instrument panel out of the dash - the two lugs that it rests on wouldn't fit through. I removed the rubber sleeves from the lugs - it gave me an extra millimetre or two which was just enough room to get it out.
I took the steeering wheel off for access which was easy, but requires a torque wrench when refitting.
I found that it wasn't necessary to remove any of the bulbs, though had to be really careful folding back the blue plastic to access the clock.
Useful video of the LCD replacement process for a T25. The instrument panel is different, but once you access the clock it's identical.
https://m.youtube.com/watch?v=hT6ROkQZHWk

The same company (campervan culture) have the LCD panels for sale on eBay.


1992 GTII 1.8 black
Brighton
Running it into the ground
Post Reply