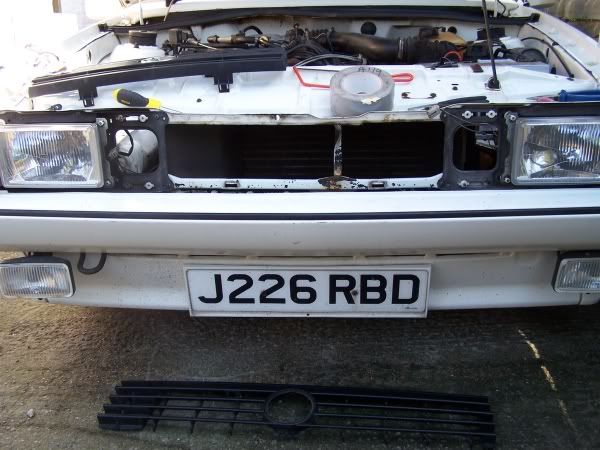
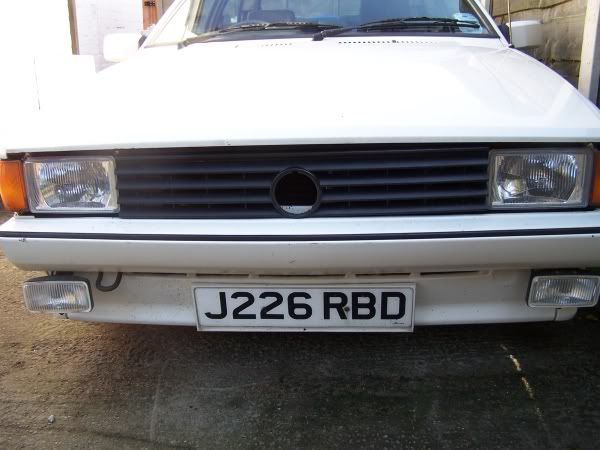
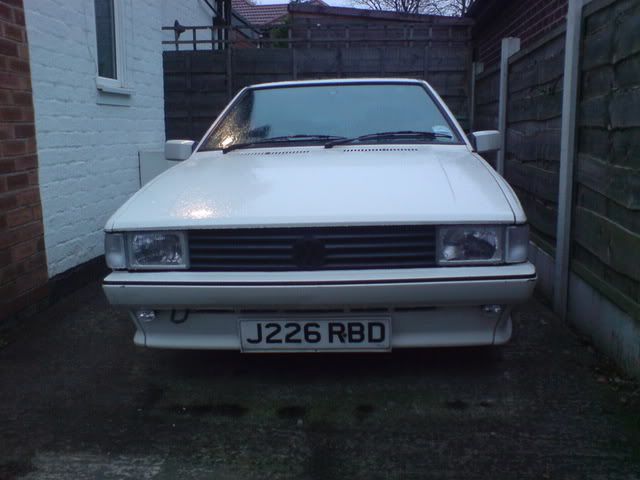
Here’s the front of my car as was-

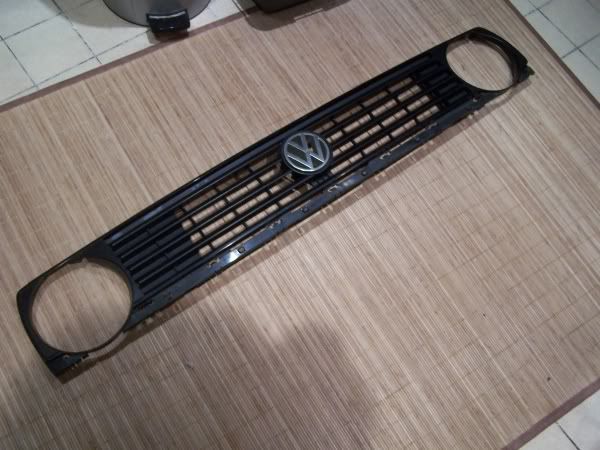
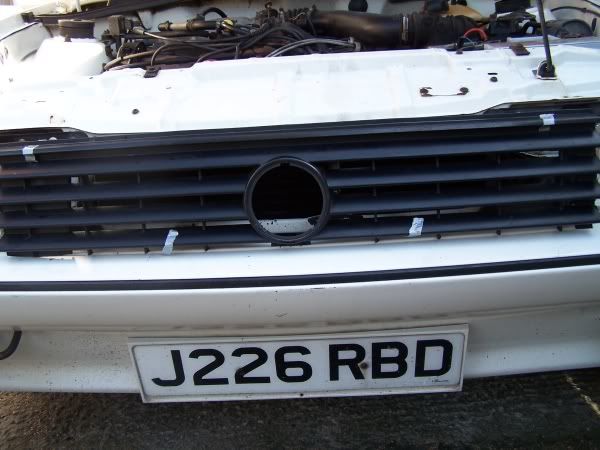
Donor grill-
The first job was to cut the length of the grill down to fit the front of the rocco, after measuring it (a few times 830mm long if you wanted to know) I marked it out on the grill. I left the centre badge in place so I could use the points of the V and the W to set a centre line for the grill. I then set the cut lines, using masking tape and a set square, and checked them a few times and offered it up to the front of the car for one last check. I then took a deep breath and started cutting.
Marked up-
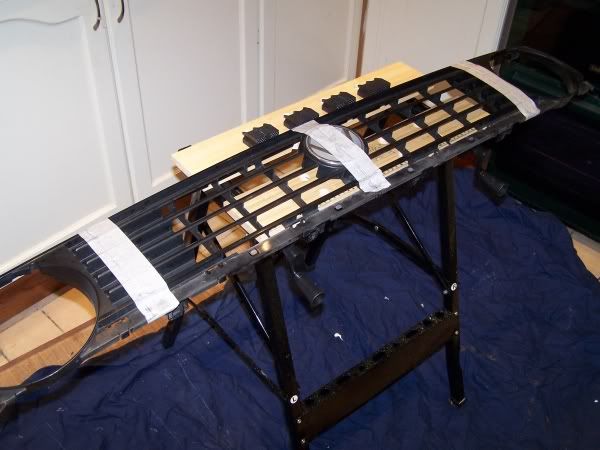
Cut down-

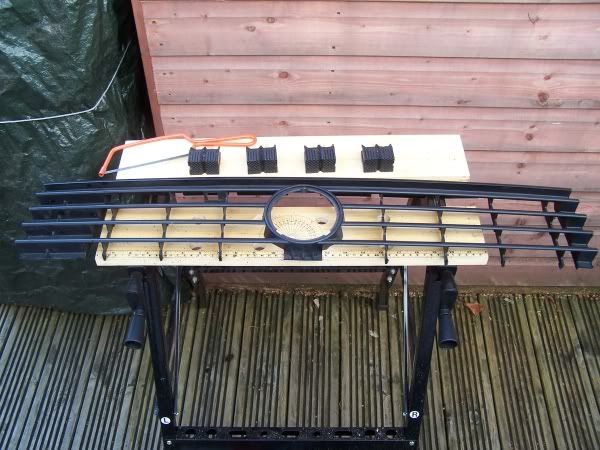
I then cut removed the badge and cut the lower section of the grill off leaving the hanging struts to hold the grill up and space it when fitted-
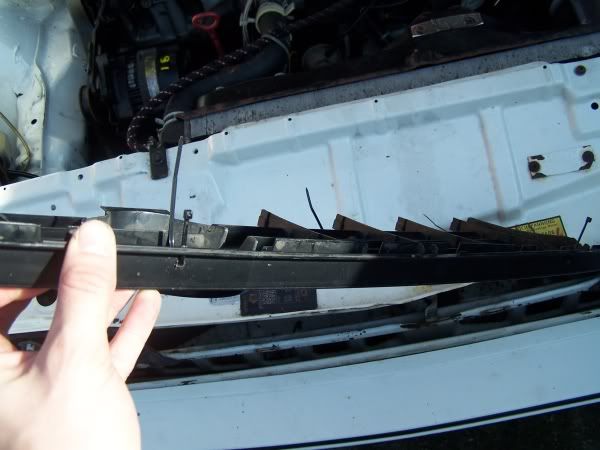
I left the top as is and set off removing the grill and lights. The grill was straight forward to top clips, easy, the lower clips just needed a little pressure from a flathead screwdriver and they popped out. The drivers inner light came off with the 4 adjusting screws removed. The passenger side light though require some more persuading. At some point it’s been removed, and instead of screwing it back in the, bottom was held in place with a friction bolt that wouldn’t move. So after a brew and some thought a hack saw did the job-
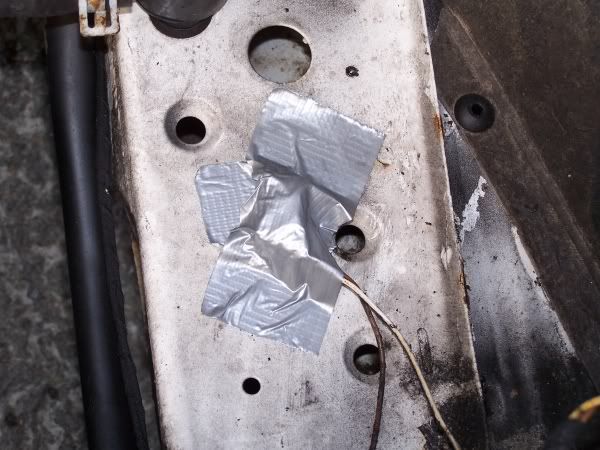
I then taped up the light connectors with insulation tape-
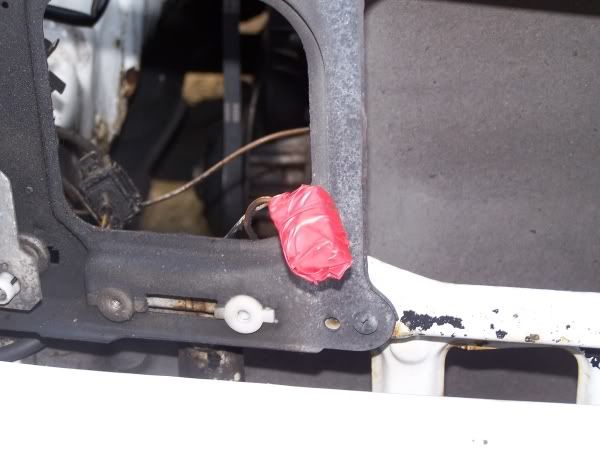
And duct taped them away safely-
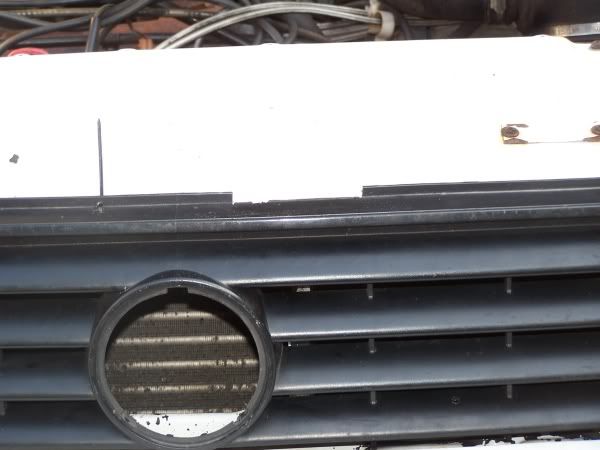
I offered it up and made sure the bonnet closed/didn’t catch, in order to see if the top of the grill needed cutting down-
Luckily it didn’t :)
The thought then came to fixing it, I had hoped to use the top clips from the original grill, but these wouldn’t fit. So it was cable ties to the rescue. I decided to use the long holes in the headlight surround (top and bottom). I marked up the grill for location-
I then started to drill, half way through the first hole the battery died!!!!! Typical, fortunately the cable ties I had were only small and would fit though the hole made by a bradawl, bonus :) I did dual holes where possible so as to hide the ties as much as possible. Once they were all done I fitted the ties and had a look-
After discovering the ties were too short!!!!! I doubled them up, this had the added bonus of allowing a little for room to work through the engine bay for tightening the lower ones later.
Fitted and tightened I once again checked it didn’t foul on the bonnet when closing and opening. No problems. I didn however decide to cut the lowered section out to match the original using a Stanley knife, just incase-
As you can see the ties hold it nice along the front of the car-
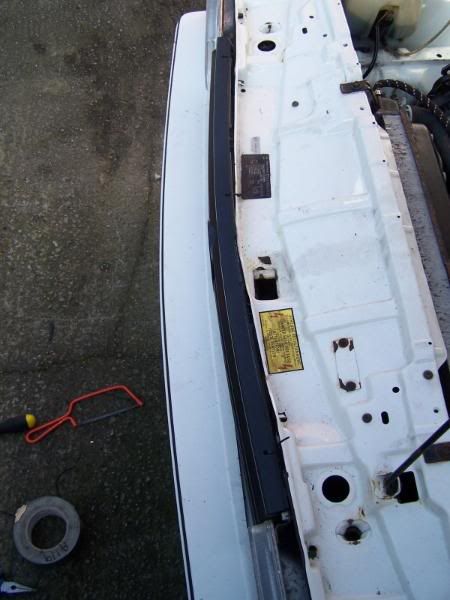
So fitted and secure as stood back to admire my handy work-
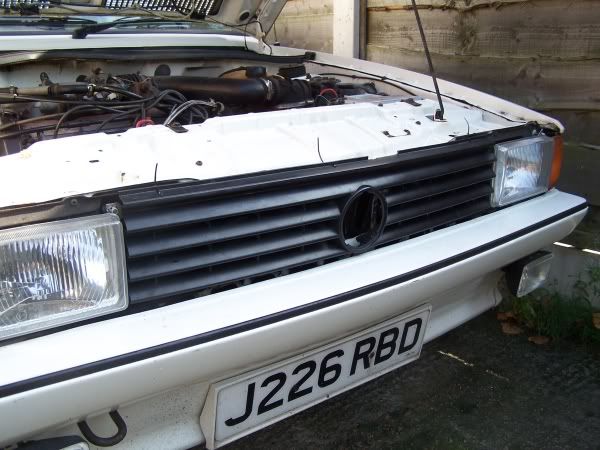
Before-
After-
So after a few hours of work I have a long front grill fitted with no real issues :)